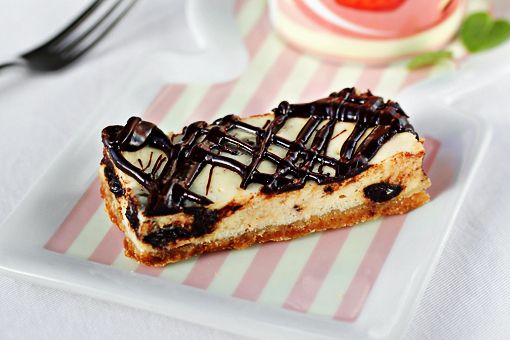
Chocolate Chunk Cheesecake Bars

chocolate chunk cheesecake bars recipe with step by step pictures

Are you one of those people who, like me, had thought that cheesecake and chocolate are not possible together?

Well, then I have something to tell you.

Something very important.

Something enlightening!

Dear friends, cheesecake and chocolate ARE possible to exist together.

SO possible.

Beyond possible!

Finger-licking possible!

Let me show you…
chocolate chunk cheesecake bars recipe with step by step pictures

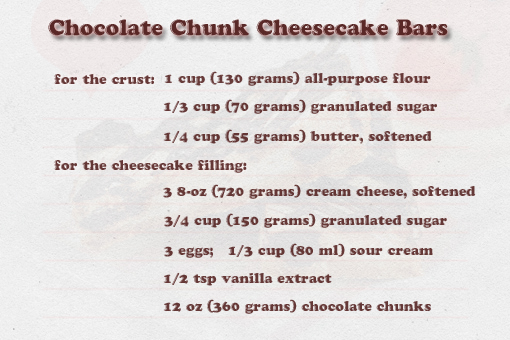
These are our lovely ingredients.
chocolate chunk cheesecake bars recipe with step by step pictures

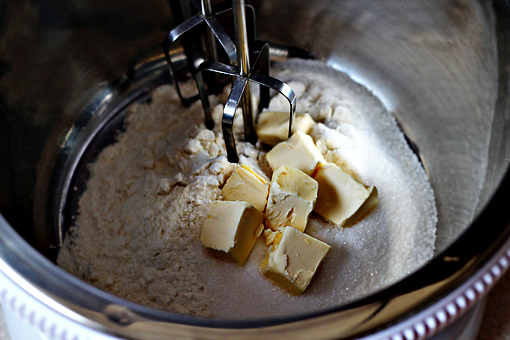
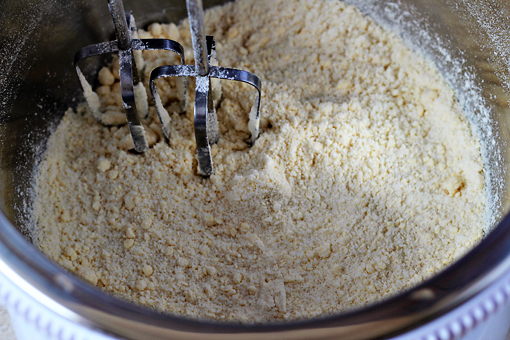
1. First, place the first three ingredients in the bowl of your electric mixer…
chocolate chunk cheesecake bars recipe with step by step pictures

2. …and beat them at medium-low speed until combined.

Then increase the speed to medium, and beat until well blended and crumbly.
chocolate chunk cheesecake bars recipe with step by step pictures

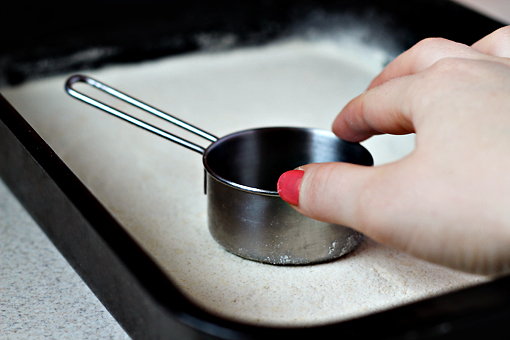
3. Pat the mixture into a lightly greased 13 x 9-inch (33 x 22 cm) pan.

A good trick is to use the bottom part of a measuring cup or a glass to do that.
chocolate chunk cheesecake bars recipe with step by step pictures

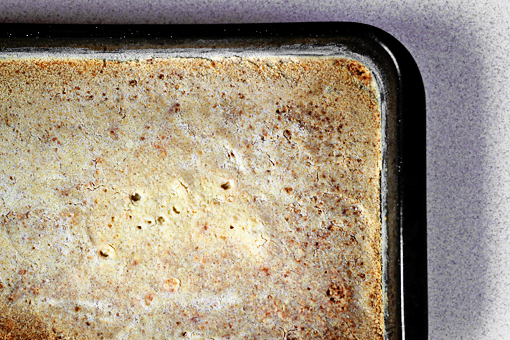
4. Preheat your oven to 350 °F (175 °C) and bake for 13-15 minutes or until lightly browned.

This is a lovely, delicious and easy substitute for crushed wafers that are often used in cheesecake recipes.

Cool, huh?
chocolate chunk cheesecake bars recipe with step by step pictures, cheesecake filling

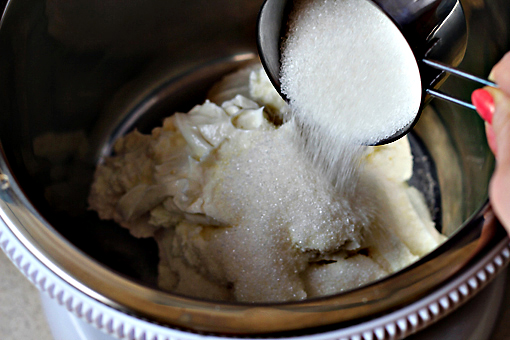
5. Now, let’s make the cheesecake filling.

Place the cream cheese and sugar in the bowl of your electric mixer and beat at medium speed until creamy.
chocolate chunk cheesecake bars recipe with step by step pictures, add the eggs

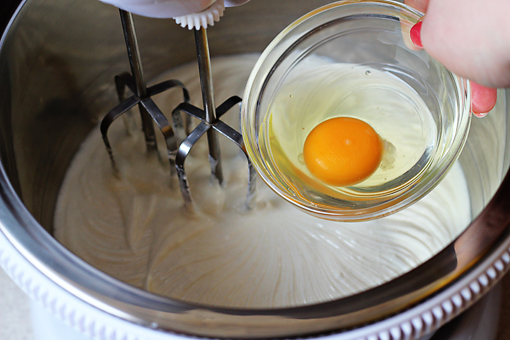
6. Add the eggs, one at a time, beating at low speed just until blended after each addition.
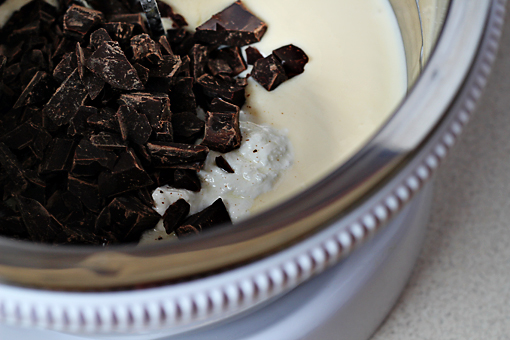
7. Finally, add the sour cream, vanilla, and one cup of the chocolate chunks.

Beat just until blended.

Of course, you can use chocolate chips instead of the chunks.
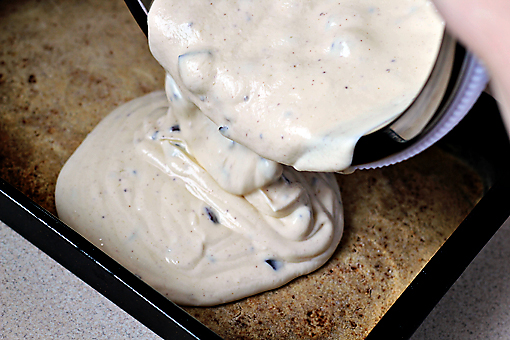
chocolate chunk cheesecake bars recipe with step by step pictures, pour the cheesecake mixture over the baked crust

8. Pour the cheesecake mixture over the baked crust.
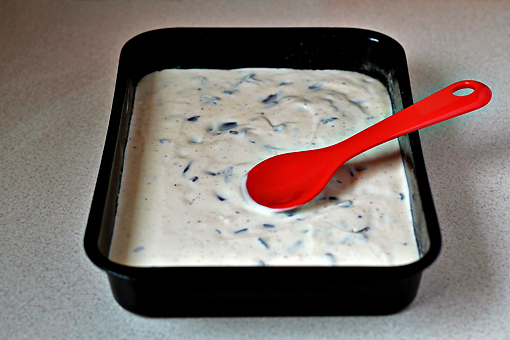
chocolate chunk cheesecake bars recipe with step by step pictures, using a spoon or an offset spatula, even out the surface

9. And using a spoon or an offset spatula, even out the surface.
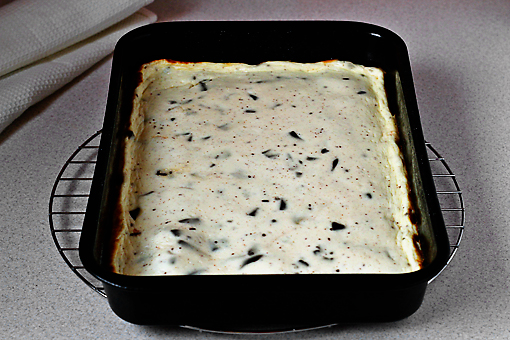
chocolate chunk cheesecake bars recipe with step by step pictures, bake

10. Bake at 350 °F (175 °C) for about 25 minutes or until set.


11. Remove from the oven and let cool completely on a wire rack.
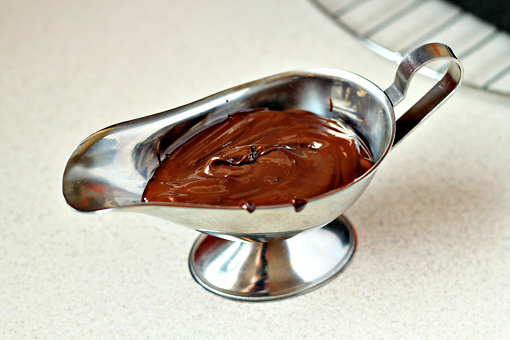
chocolate chunk cheesecake bars recipe with step by step pictures, melt the rest of your chocolate chunks

12. Then melt the rest of your chocolate chunks.

Microwave oven will work just fine.

(Oh, and use microwave friendly dishes, please. The one in the picture hadn’t gone to the microwave oven. If it had, things would have gotten sparkly… I guess. Don’t ask me how I know. Please.)
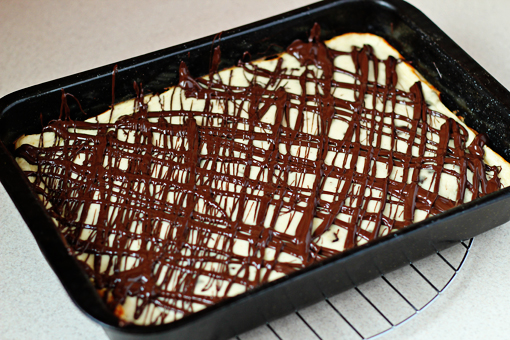
chocolate chunk cheesecake bars recipe with step by step pictures, stir the melted chocolate until smooth, then drizzle the chocolate over the cheesecake

13. Stir the melted chocolate until smooth. Then drizzle the chocolate over the cheesecake.


14. Cover and chill for at least 4 hours. Then cut into bars.

Also, I’ve found out that it’s fine to reheat the bars in the microwave oven for a little while before serving. That way the chocolate will melt slightly making the whole eating experience even more divine.
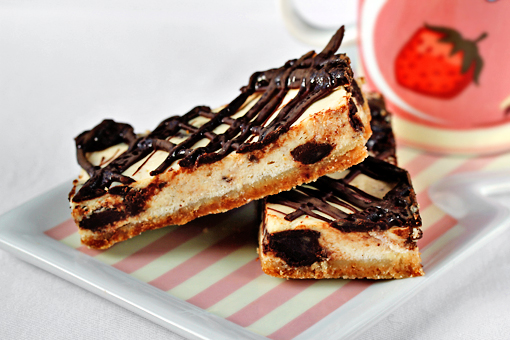
chocolate chunk cheesecake bars recipe with step by step pictures

Enjoy, dear friends.


(This lovely recipe was adapted from here. The recipe makes about 14 3×1.5-inch (8 x 4 cm) bars. The recipe takes about 1 hour to prepare and about 4 hours to chill. And the whole thing takes about 10 minutes to eat. Funny but true.)

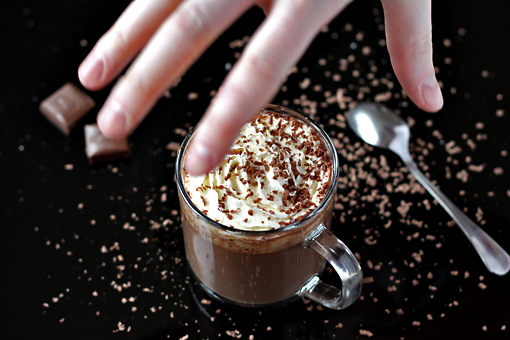
Hot Chocolate

homemade hot chocolate recipe with step by step pictures

I love it when fall strikes and days get colder.

The reason why I love this time of year so much might have something to do with the fact that I suddenly have all the good reasons to indulge myself with sweet mulled wine or hot chocolate.

The best hot beverages ever!

Oh, how I love them!

They are true soul soothers!


The following recipe is just delicious.

The taste vastly depends on the kind of chocolate you use. So get the one you really like.

Also, there are different types of chocolate when it comes to its fat content. So remember – the higher the fat content, the more creamy and rich your hot chocolate will be.

So let’s experiment!

homemade hot chocolate recipe with step by step pictures, ingredients

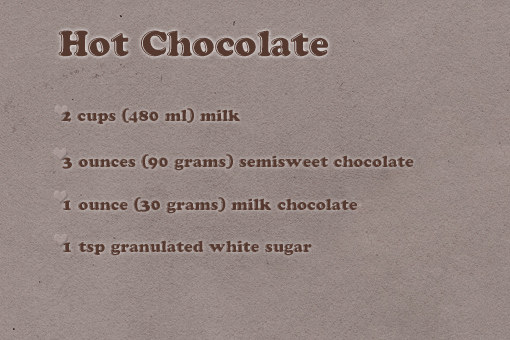
These are the ingredients you will need.

Just this few.

homemade hot chocolate recipe with step by step pictures, break chocolate into smaller chunks, place the chocolate chunks into a heatproof bowl

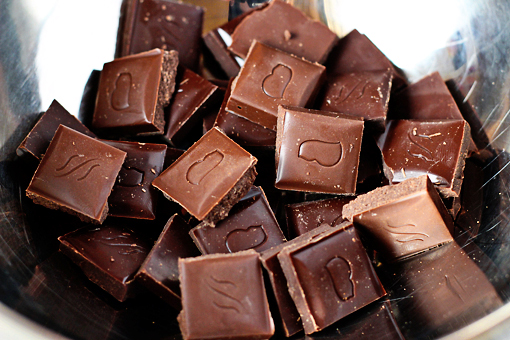
1. To prepare your own soothing drink, first break the chocolate into smaller chunks.


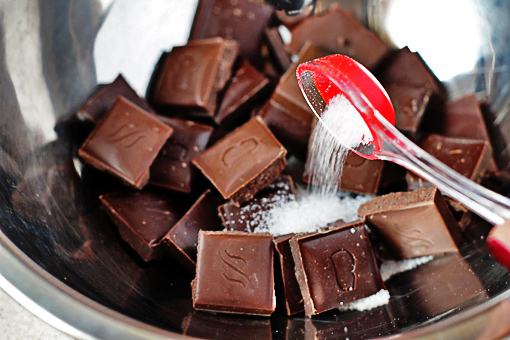
2. Place the chocolate chunks into a heatproof bowl.

homemade hot chocolate recipe with step by step pictures, add the sugar

3. Add the sugar.

homemade hot chocolate recipe with step by step pictures, add the milk

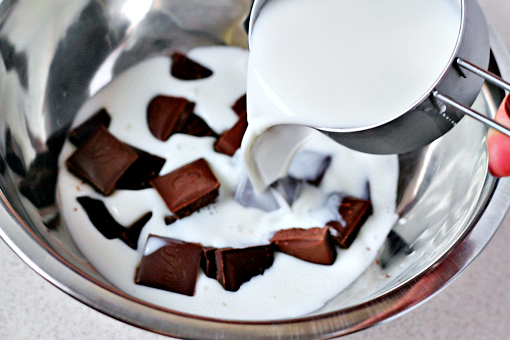
4. Add the milk.

homemade hot chocolate recipe with step by step pictures, place the bowl over a pot of boiling and steaming water, stir until the chocolate melts, keep stirring until the mixture gets hot, nearly boiling

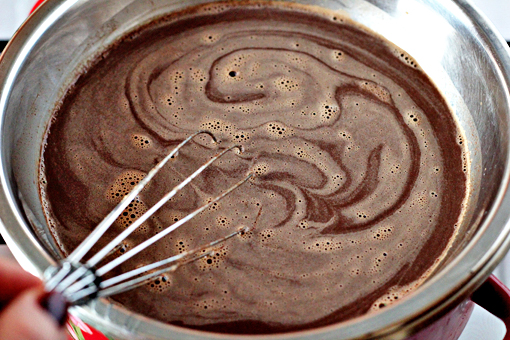
5. And place the bowl over a pot of boiling and steaming water.


6. Stir until the chocolate melts. Then keep stirring until the mixture gets hot, nearly boiling.

homemade hot chocolate recipe with step by step pictures, pour the chocolate into two cups and garnish with a dollop of whipped cream and some grated chocolate or a dusting of cocoa powder

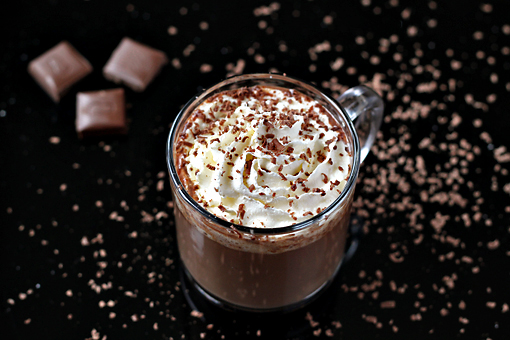
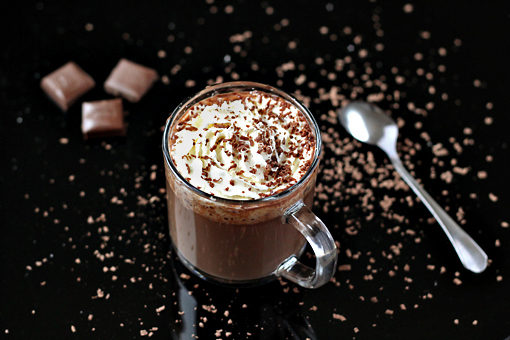
7. Pour the chocolate into two cups and garnish with a dollop of whipped cream and some grated chocolate or a dusting of cocoa powder, if desired.

homemade hot chocolate recipe with step by step pictures

And in case someone comes and steals your chocolate shamelessly be really thankful that this recipe yields two mugs.

Enjoy, dear friends!

(This lovely recipe was adapted from Joyofbaking.com.)

Send this to a friend