Hello everybody? How are you doing this very fine day?
Today I am excited to share with you a few words about painting with chalk paint.
First of all, chalk paint is GORGEOUS!
I have been toying with the idea of using this kind of paint for for quite some time. The internet is just flooded with beautiful chalk paint projects. When I stumbled across a chalk paint video tutorial one day and realized that applying this kind of paint is actually BEYOND EASY, I just knew this needed to be done.
So, what is chalk paint then, you might ask… It is a kind of paint mostly used for furniture refinishing to give it that beautiful, aged, rustic, dreamy, milky, matte, slightly distressed appearance which is often used to create a Shabby Chic look.
Chalk paint can pride itself by adhering to almost any surface (no priming or sending necessary), it is extremely easy to apply, it dries very quickly (like 20 minutes quickly), it can be applied as a thin wash or in thicker layers, it is non toxic and is easily distressed.
Perfect, right?
So, being eager to give this paint a try, I scoured our flat for the right item and found a victim.
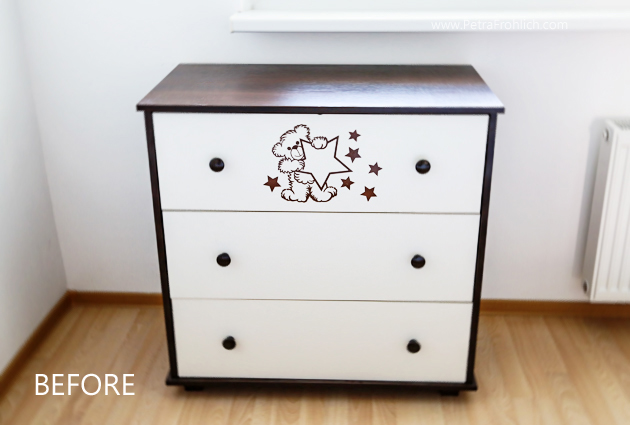
This chest of drawers.
We bought this chest a couple of years ago for our son (well, actually, my husband bought it while I was still in the hospital with the little one after he was born). Although I really liked the shape of this piece of furniture, I never was a big fan of the image (dear teddy, I have nothing against you, I just never really understood why is your star inverted, that’s no bueno, nah-uh).
When choosing the color, I actually had a few choices in my mind – pink, yellow and turquoise. Since this chest will have its place in the bedroom where the color scheme is golden, pink and purple mostly, I thought that this nice fuchsia shade could work nicely there. And then, you can never go wrong with pink, right? (… no matter what a husband might say, just tell him he’ll learn to appreciate it… one day… for sure… the beauty will reveal itself to him…)
So, there I was, with a lovely fuchsia color.
The fun about painting with chalk paint is that you most usually combine two colors, with the bottom color peeking slightly through the top layer.
So, for the bottom layer I chose dark brown, just the same shade as the top and sides of the chest.
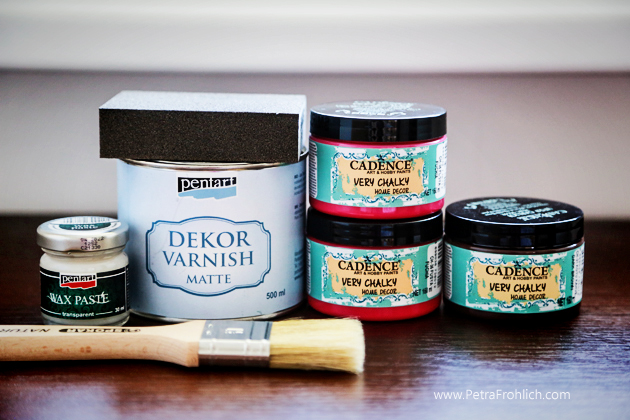
I also used a brush, a fine sanding sponge block, matte varnish and wax (I used that to refinish the top and sides of the chest only).
Oh, and I used much less paint and varnish then I thought I would – about 3 1/2 oz (100 ml) brown paint (the jars in the picture are 5 oz – 150 ml), 2 3/4 oz (80 ml) pink paint and about 6 3/4 oz (200 ml) varnish (the can in the picture is 17 oz – 500 ml).
And here’s what I did…
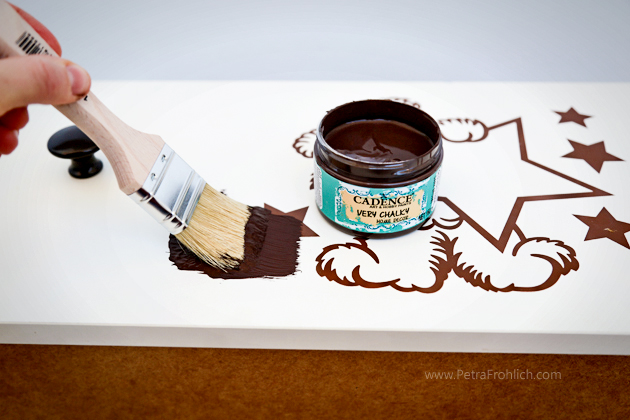
First I applied a layer of brown paint.
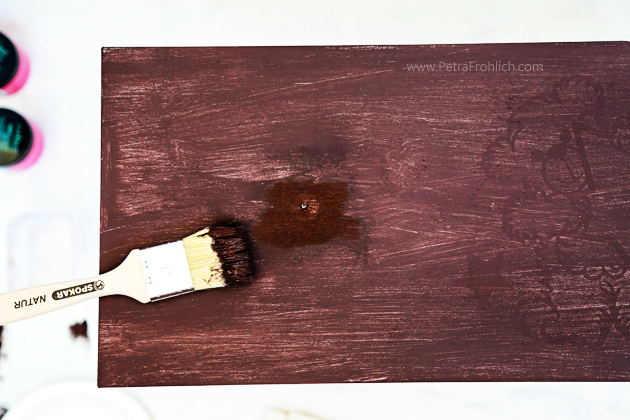
I found out that the painting worked best for me when I applied only small amounts of paint at a time and after each addition, I kept brushing and thinning the paint until the result was milky and rather thin.
I let the first layer dry and applied a second brown layer.
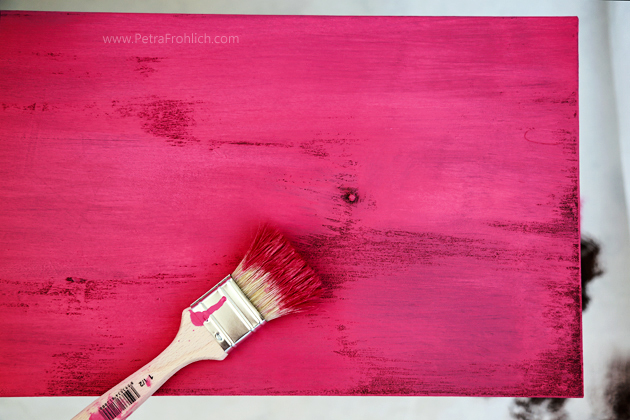
After the second brown layer was nice and dry, I applied the lovely fuchsia. I was impressed by how easy it was to work with this paint and how lovely it looked immediately.
Since I was going for a shabby look, and let considerable patches of brown color rather visible.
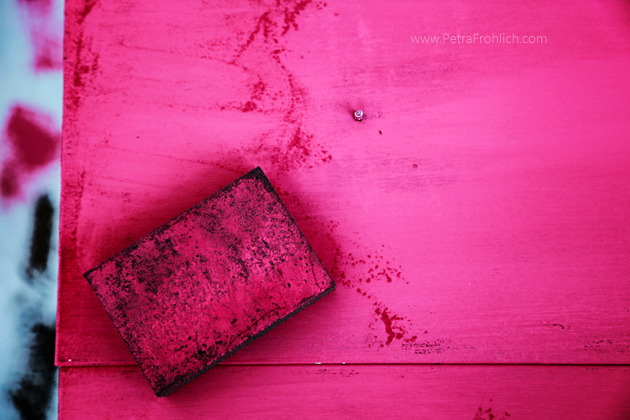
After the pink layer had dried, I sanded the surface here and there for a slightly more distressed look (I especially worked on the edges and corners, but not much, just a little).
I then cleaned the surface thoroughly with a clean cloth.
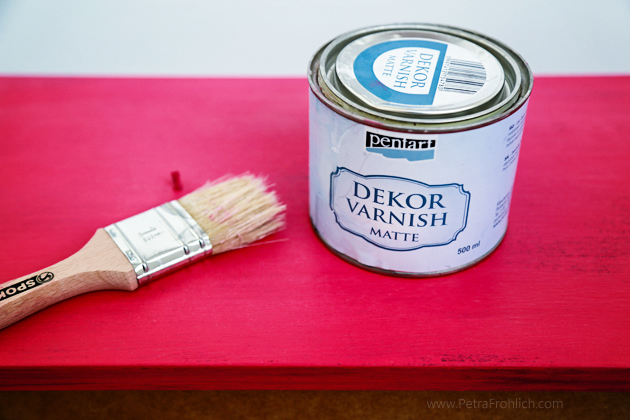
Finally, I applied a matte varnish.
To be frank, I am not really sure about this product. It had little lumps in it and after I initially freaked out, I realized that brushing thoroughly makes them kind of melt and disappear.
Next time, I might just finish with transparent wax, which, as I hear, is an alternative to a varnish.

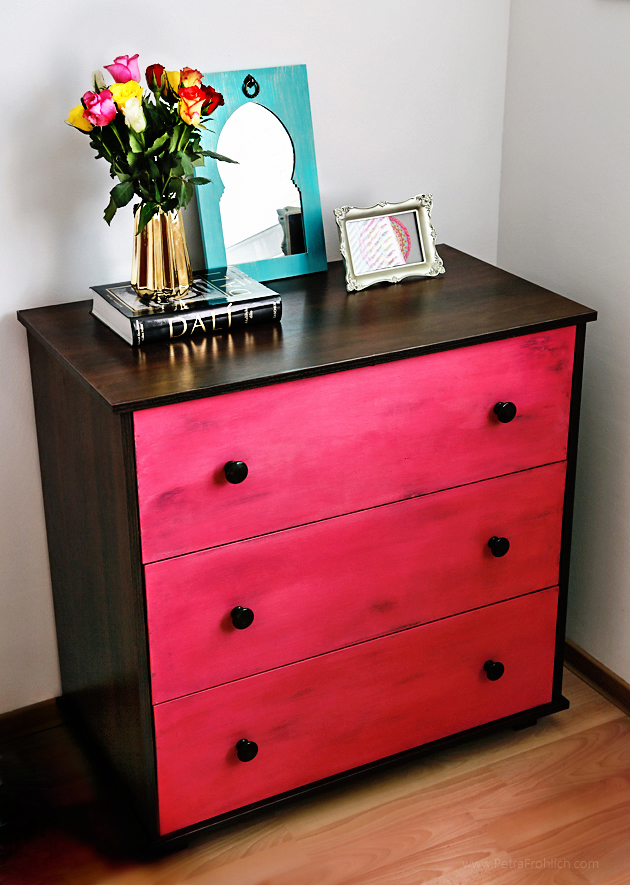
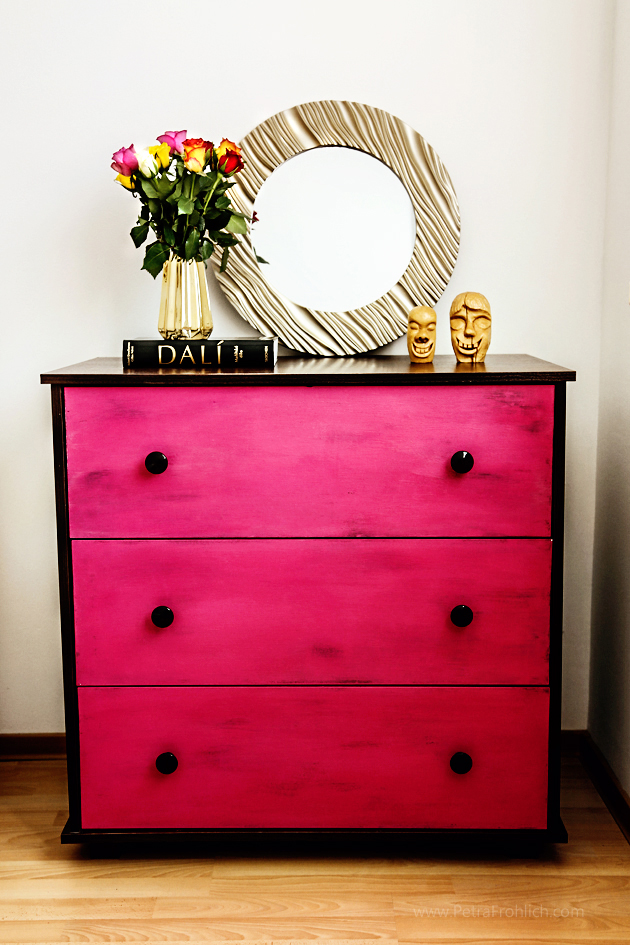
So, here’s our new chest…
My heart is happy! 🙂
Next up: living room – TV table, from white to rustic blue. Cannot wait. I will definitely share the project with you.
Take care.
With love,
Petra
- Like
- Digg
- Del
- Tumblr
- VKontakte
- Buffer
- Love This
- Odnoklassniki
- Meneame
- Blogger
- Amazon
- Yahoo Mail
- Gmail
- AOL
- Newsvine
- HackerNews
- Evernote
- MySpace
- Mail.ru
- Viadeo
- Line
- Comments
- Yummly
- SMS
- Viber
- Telegram
- Subscribe
- Skype
- Facebook Messenger
- Kakao
- LiveJournal
- Yammer
- Edgar
- Fintel
- Mix
- Instapaper
- Copy Link

Petra Dear, you and your projects always make me happy! Thanks for this. I have the perfect victim, er, chest, to try this on! Love and Peace, Safiyyah
Thanks for sharing this project with us ❤???????????? I’m going to try this on my old chest & some other wood stuff,with much love , zohreh ????????????????????????????????
I always lightly sand surfaces after every coat to ensure that the paint has a key to adhere to.
Thanks for sharing.