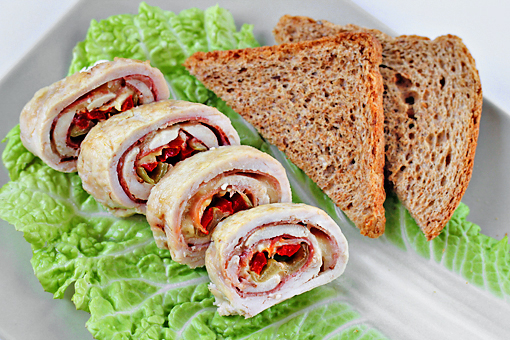
Chicken Roulade Stuffed with Ham, Cheese, and Peppers

chicken roll stuffed with ham, cheese, and peppers, recipe with step by step pictures

This roulade, which by the way is just another word for a roll, is devilishly good.

There are countless variations of chicken roulades, in fact. They can be stuffed with basically anything you can imagine. Well, not anything maybe (chocolate chicken roulade might be a little too funky, I guess), but still there are many ingredients that just work perfectly in that lovely rolled up wonder.

Spinach, bacon, cheese, sun-dried tomatoes, shallots – these are just some of the ideas, and the list goes on.


What I love about chicken roulades is how cute they look. This is one of those dinners that will elicit a lot of oohs and wows.

And you know what?

They really are easy to make!
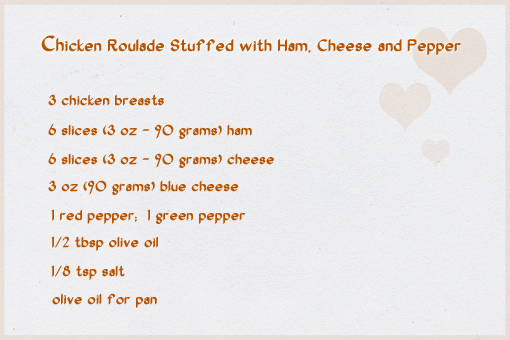
 

chicken roll stuffed with ham, cheese, and peppers, recipe with step by step picturesHere’s what we need.


chicken roll stuffed with ham, cheese, and peppers, recipe with step by step pictures

1. First, preheat the oven to 400 °F (200 °C).

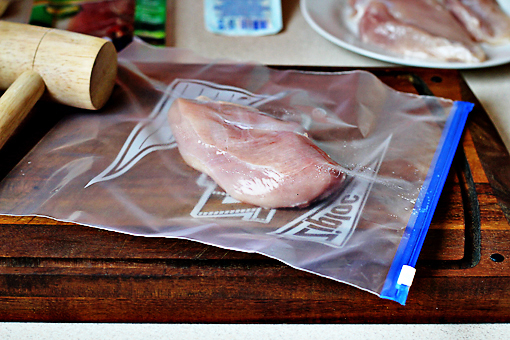
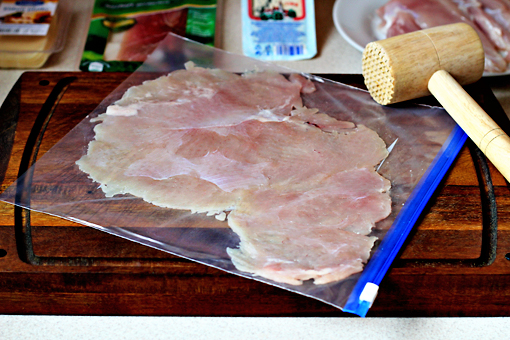
2. Place the chicken breast into a Ziploc bag (or between two sheets of plastic wrap).
 

chicken roll stuffed with ham, cheese, and peppers, recipe with step by step pictures

3. Beat the chicken breast with a meat mallet until about 1/8 inch (3 mm) thin.
 

chicken roll stuffed with ham, cheese, and peppers, recipe with step by step pictures

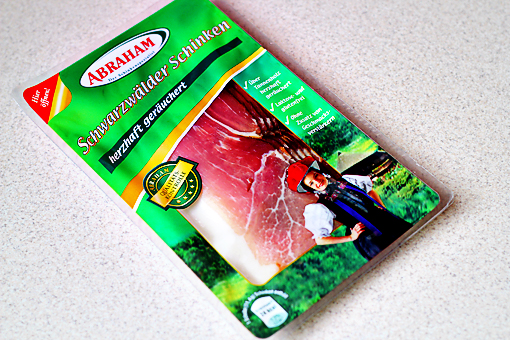
This is the ham I had on hand.

It’s beyond yummy!
 

chicken roll stuffed with ham, cheese, and peppers, recipe with step by step pictures

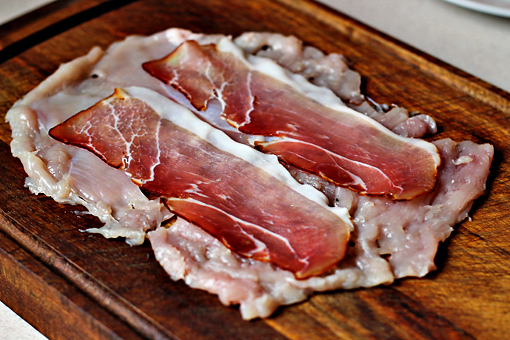
4. Place two slices of ham lengthwise along middle of the breast.
 

chicken roll stuffed with ham, cheese, and peppers, recipe with step by step pictures

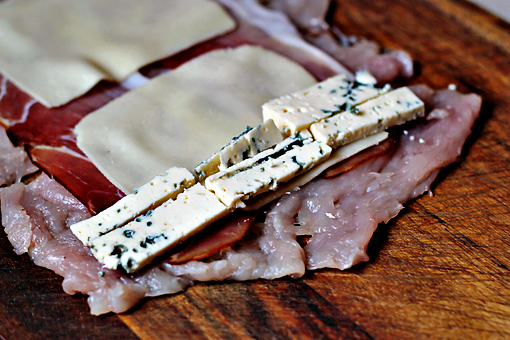
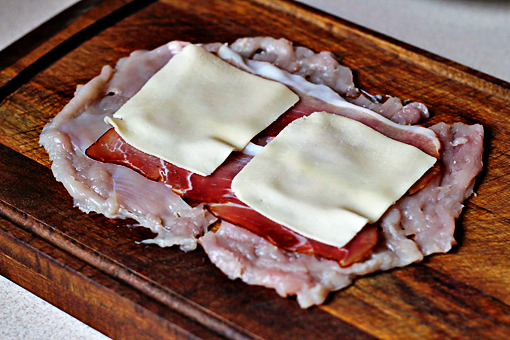
5. Then place two thin slices of the cheese over the ham.

I use Edam cheese in this recipe. You can, of course, use any kind you like.
 

chicken roll stuffed with ham, cheese, and peppers, recipe with step by step pictures

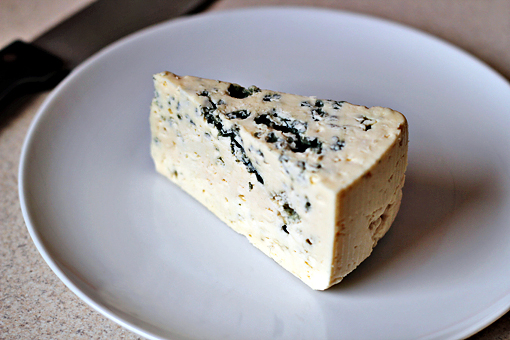
Blue cheese.

My true love.


chicken roll stuffed with ham, cheese, and peppers, recipe with step by step pictures

6. Now divide the blue cheese into three equal parts and arrange one third crosswise at the near end of the breast.

We are starting to create the center of our roulade here.
 

chicken roll stuffed with ham, cheese, and peppers, recipe with step by step pictures

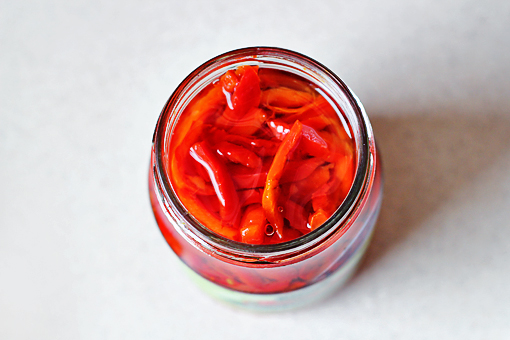
These are red peppers.

I had some pickled ones in my fridge.

Yum!
 

chicken roll stuffed with ham, cheese, and peppers, recipe with step by step pictures

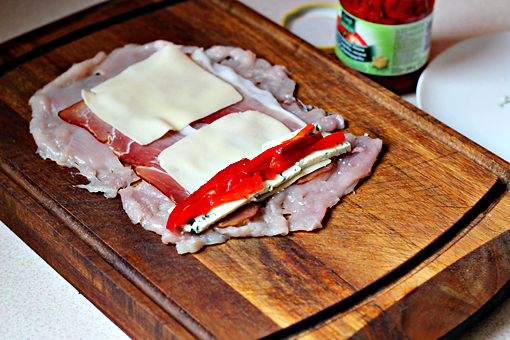
7. If you are using fresh red pepper then place two thin slices over the blue cheese.
 

chicken roll stuffed with ham, cheese, and peppers, recipe with step by step pictures

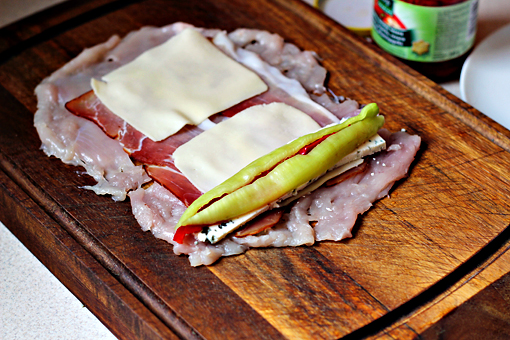
8. And two green pepper slices over the red ones.
 

chicken roll stuffed with ham, cheese, and peppers, recipe with step by step pictures

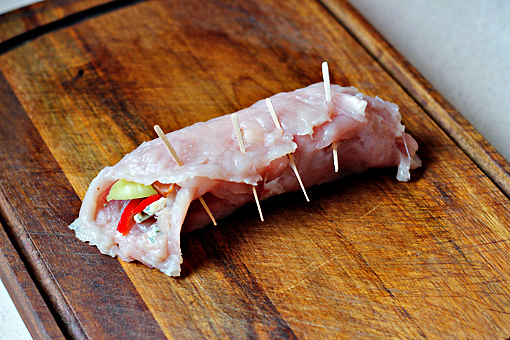
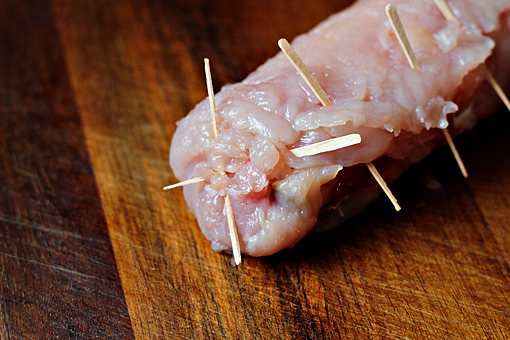
9. Roll the chicken roulade from one end to form a cylinder, securing the seam with a couple of toothpicks.
 

chicken roll stuffed with ham, cheese, and peppers, recipe with step by step pictures

10. Secure the ends as well.

We definitely want to keep those flavorful juices inside.

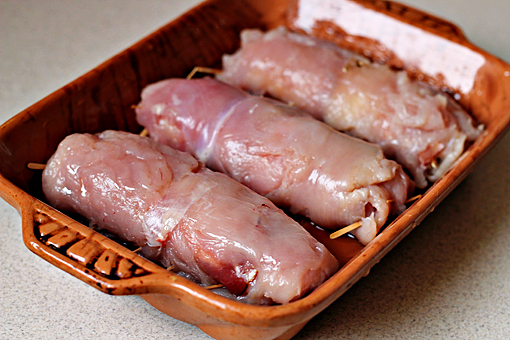
11. Repeat the process for each of the two remaining chicken breasts.
 

chicken roll stuffed with ham, cheese, and peppers, recipe with step by step pictures

12. Brush a baking pan with some olive oil and place the roulades inside, the seam side down.

(Tip: You can sear the rolls in a hot oiled pan before putting them into the baking pan – about 2 minutes from each side. That will help keep the juice inside the roll while baking.)
 

chicken roll stuffed with ham, cheese, and peppers, recipe with step by step pictures

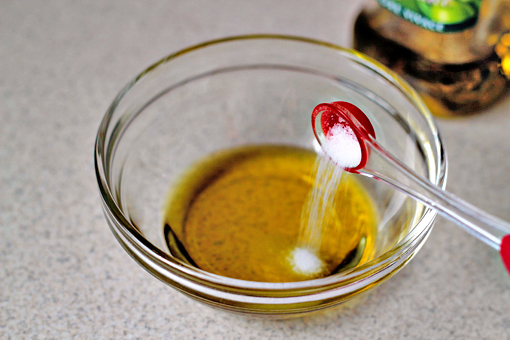
13. In a small bowl, mix the olive oil with salt.
 

chicken roll stuffed with ham, cheese, and peppers, recipe with step by step pictures

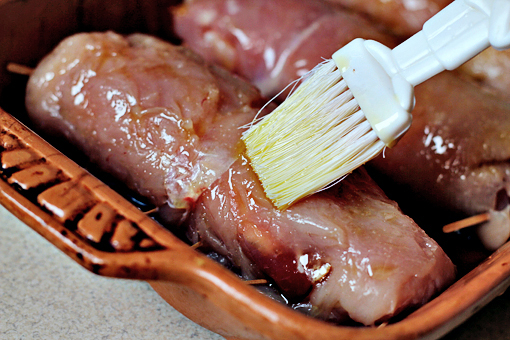
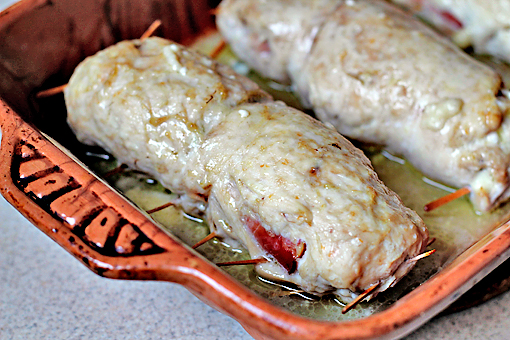
14. And brush the roulades with the oil mixture.
 

chicken roll stuffed with ham, cheese, and peppers, recipe with step by step pictures

15. Place in the oven and bake (at 400 °F – 200 °C) for 30 minutes.

There will be a little juice in the pan when your remove the roulades from the oven.

Keep it please, it’s precious.
 

chicken roll stuffed with ham, cheese, and peppers, recipe with step by step pictures

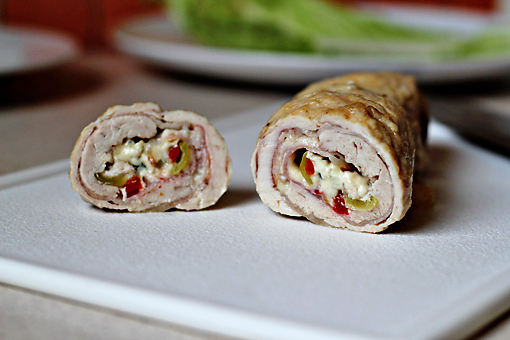
16. Remove the roulades from the pan and let them rest for 5 minutes before doing anything else.


17. Then remove the toothpicks and slice the roulades crosswise into 1/2 inch (1 1/2 cm) rounds.

Then sit down for awhile and feast your eyes on that cute structure you’ve just created.


chicken roll stuffed with ham, cheese, and peppers, recipe with step by step pictures

When serving these cuties, pour a little of that precious and flavorful sauce from the pan over them. That will make them even more moist and delicious.

You can serve these roulades warm with toasts.

Or, to create a more satisfying dish, serve them with mashed potatoes.


And most importantly, ENJOY, dear friends!


(This recipe takes about 1 hour to prepare and makes 3 servings.)

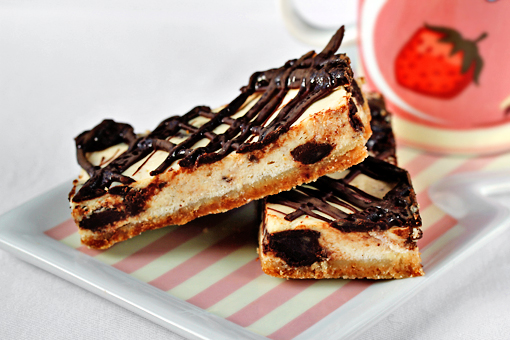
Chocolate Chunk Cheesecake Bars

chocolate chunk cheesecake bars recipe with step by step pictures

Are you one of those people who, like me, had thought that cheesecake and chocolate are not possible together?

Well, then I have something to tell you.

Something very important.

Something enlightening!

Dear friends, cheesecake and chocolate ARE possible to exist together.

SO possible.

Beyond possible!

Finger-licking possible!

Let me show you…

chocolate chunk cheesecake bars recipe with step by step pictures

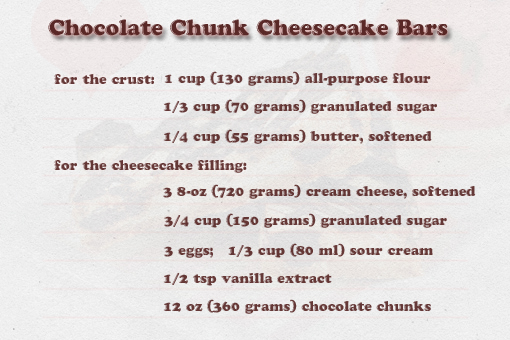
These are our lovely ingredients.
chocolate chunk cheesecake bars recipe with step by step pictures

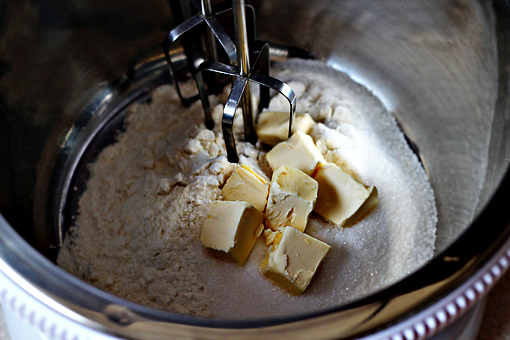
1. First, place the first three ingredients in the bowl of your electric mixer…

chocolate chunk cheesecake bars recipe with step by step pictures

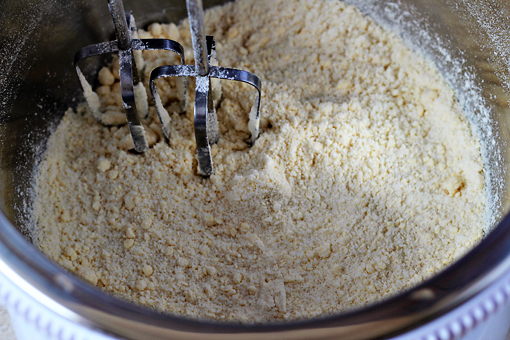
2. …and beat them at medium-low speed until combined.

Then increase the speed to medium, and beat until well blended and crumbly.

chocolate chunk cheesecake bars recipe with step by step pictures

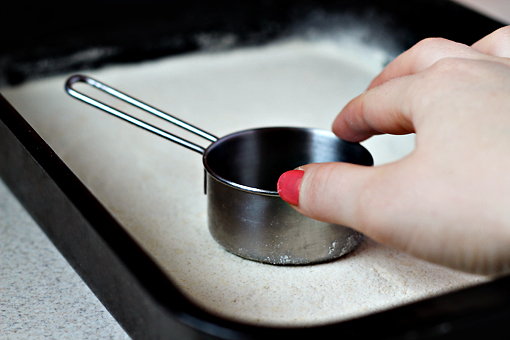
3. Pat the mixture into a lightly greased 13 x 9-inch (33 x 22 cm) pan.

A good trick is to use the bottom part of a measuring cup or a glass to do that.

chocolate chunk cheesecake bars recipe with step by step pictures

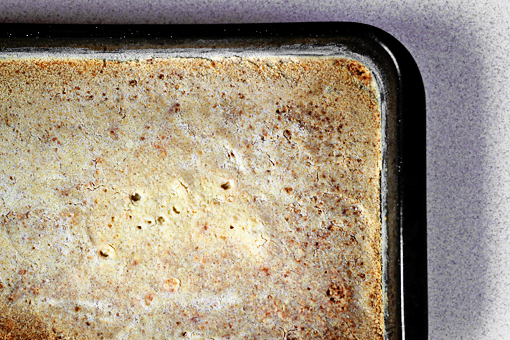
4. Preheat your oven to 350 °F (175 °C) and bake for 13-15 minutes or until lightly browned.

This is a lovely, delicious and easy substitute for crushed wafers that are often used in cheesecake recipes.

Cool, huh?

chocolate chunk cheesecake bars recipe with step by step pictures, cheesecake filling

5. Now, let’s make the cheesecake filling.

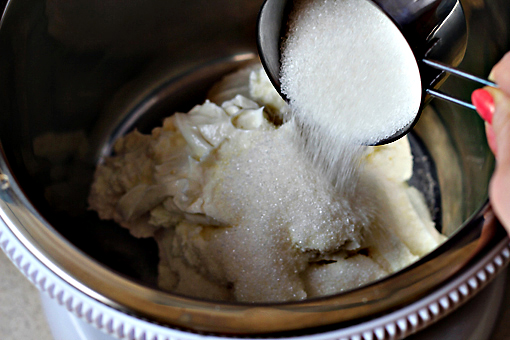
Place the cream cheese and sugar in the bowl of your electric mixer and beat at medium speed until creamy.

chocolate chunk cheesecake bars recipe with step by step pictures, add the eggs

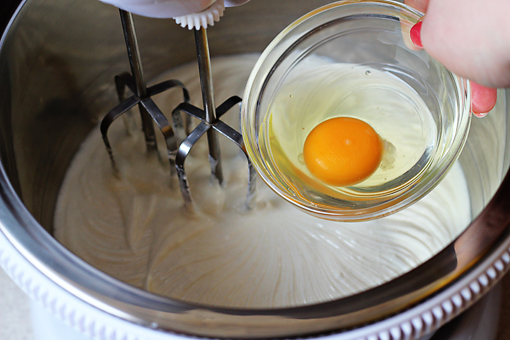
6. Add the eggs, one at a time, beating at low speed just until blended after each addition.

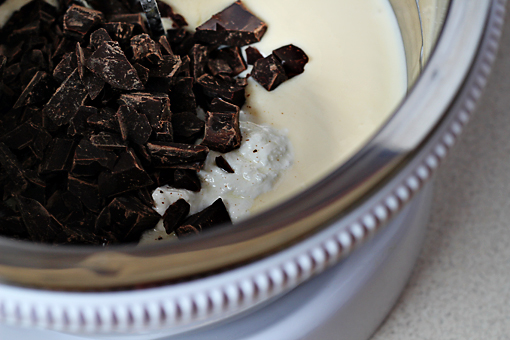
7. Finally, add the sour cream, vanilla, and one cup of the chocolate chunks.

Beat just until blended.

Of course, you can use chocolate chips instead of the chunks.

chocolate chunk cheesecake bars recipe with step by step pictures, pour the cheesecake mixture over the baked crust

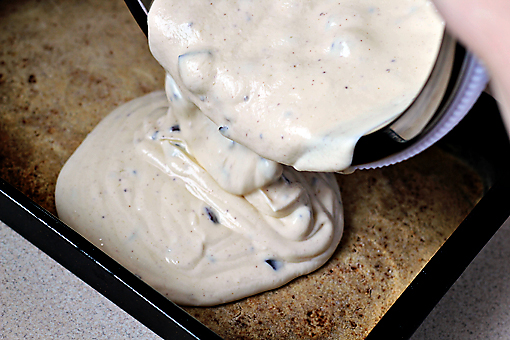
8. Pour the cheesecake mixture over the baked crust.

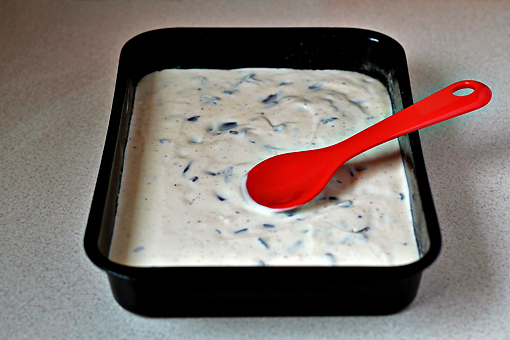
chocolate chunk cheesecake bars recipe with step by step pictures, using a spoon or an offset spatula, even out the surface

9. And using a spoon or an offset spatula, even out the surface.

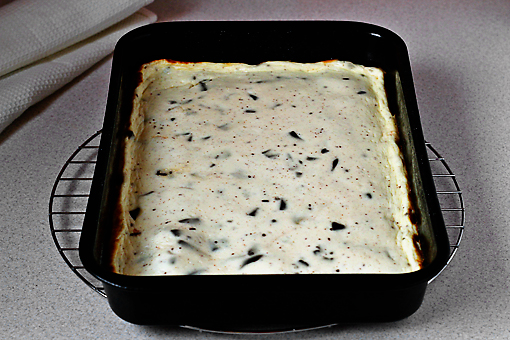
chocolate chunk cheesecake bars recipe with step by step pictures, bake

10. Bake at 350 °F (175 °C) for about 25 minutes or until set.


11. Remove from the oven and let cool completely on a wire rack.

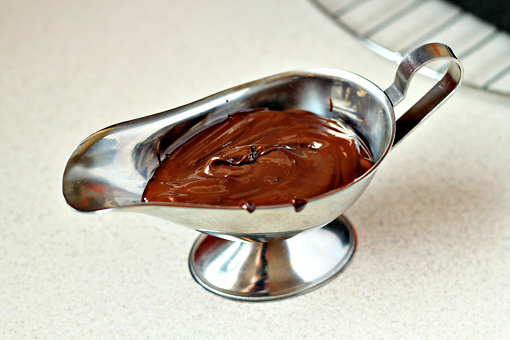
chocolate chunk cheesecake bars recipe with step by step pictures, melt the rest of your chocolate chunks

12. Then melt the rest of your chocolate chunks.

Microwave oven will work just fine.

(Oh, and use microwave friendly dishes, please. The one in the picture hadn’t gone to the microwave oven. If it had, things would have gotten sparkly… I guess. Don’t ask me how I know. Please.)

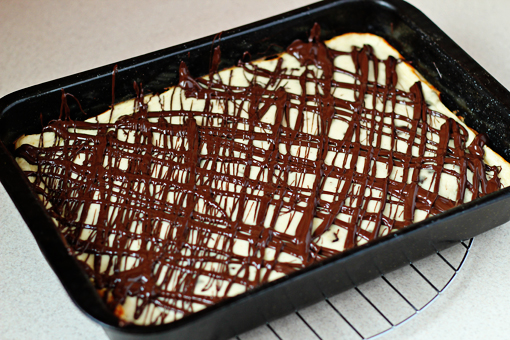
chocolate chunk cheesecake bars recipe with step by step pictures, stir the melted chocolate until smooth, then drizzle the chocolate over the cheesecake

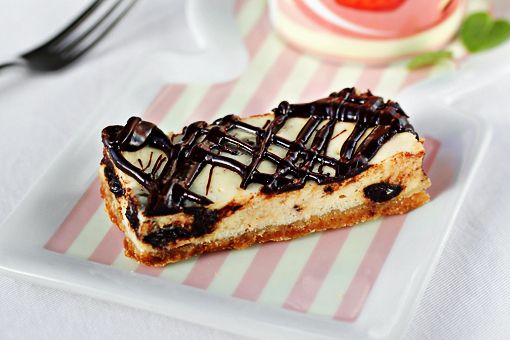
13. Stir the melted chocolate until smooth. Then drizzle the chocolate over the cheesecake.


14. Cover and chill for at least 4 hours. Then cut into bars.

Also, I’ve found out that it’s fine to reheat the bars in the microwave oven for a little while before serving. That way the chocolate will melt slightly making the whole eating experience even more divine.

chocolate chunk cheesecake bars recipe with step by step pictures

Enjoy, dear friends.


(This lovely recipe was adapted from here. The recipe makes about 14 3×1.5-inch (8 x 4 cm) bars. The recipe takes about 1 hour to prepare and about 4 hours to chill. And the whole thing takes about 10 minutes to eat. Funny but true.)

Send this to a friend