Bacon and Cheese Biscuits

bacon and cheese biscuits recipe

I’d love to reveal a little secret about our monkey household of two.

We love biscuits! All sorts of them!

Unbelievable, huh?


Biscuits are especially enjoyed by the male monkey over here.

You should see his smile each time he finds out they are in the oven.

It’s the widest and most content smile I’ve ever seen.

And when the biscuits are done my boyfriend immediately grabs his plate of at least fourteen and hurries to watch his favorite sitcoms.

I love to make biscuits because somehow they make the world a perfect place.

They are magical.
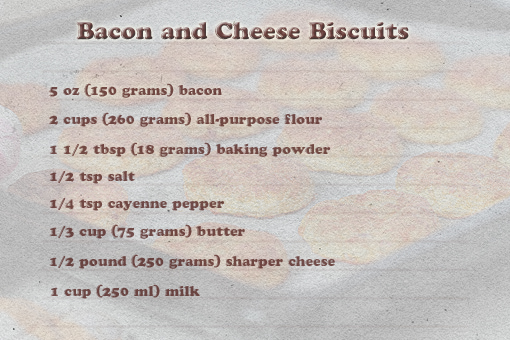
bacon and cheese biscuits recipe with step by step pictures

Here are the ingredients.

bacon and cheese biscuits recipe with step by step pictures

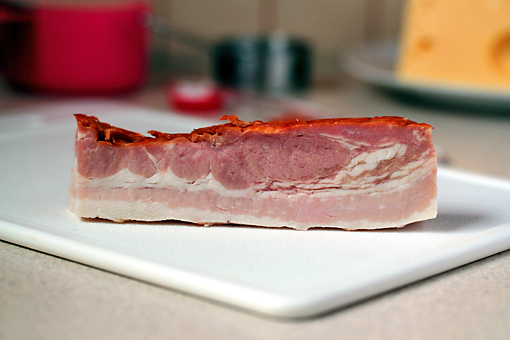
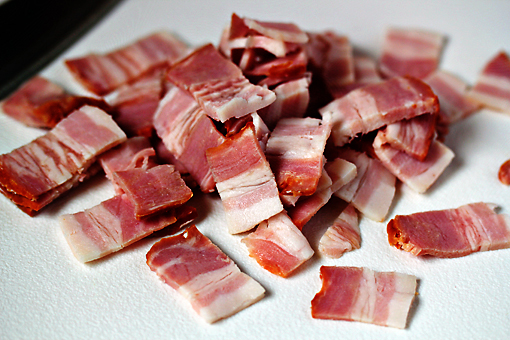
And here’s the bacon.

It’s a crucial part of the magic.
bacon and cheese biscuits recipe with step by step pictures

1. To make your own Bacon and Cheese Biscuits, first preheat the oven to 390 °F (200 °C).


2. Then slice the bacon thinly.
bacon and cheese biscuits recipe with step by step pictures

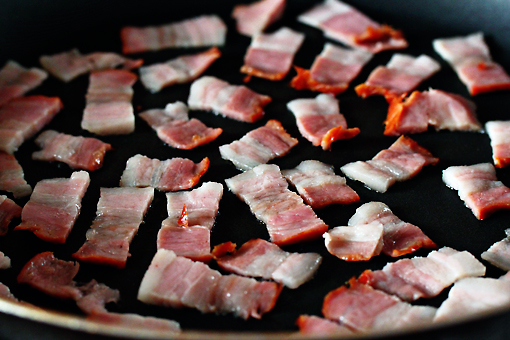
3. In a large pan, fry the bacon over moderate heat until crisp.

This will take a couple of minutes.
bacon and cheese biscuits recipe with step by step pictures

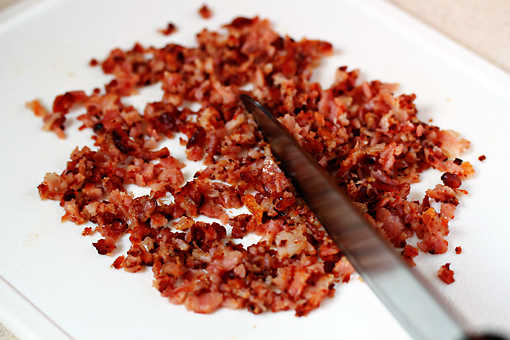
4. When beautifully crispy, remove the bacon from the pan and crumble it finely.
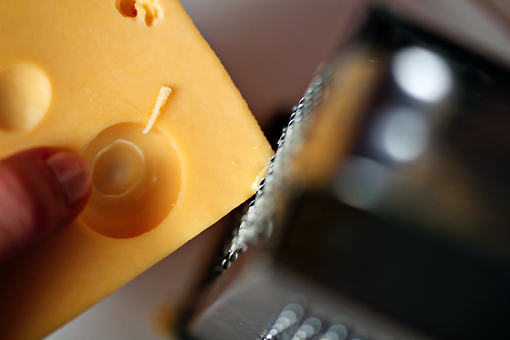
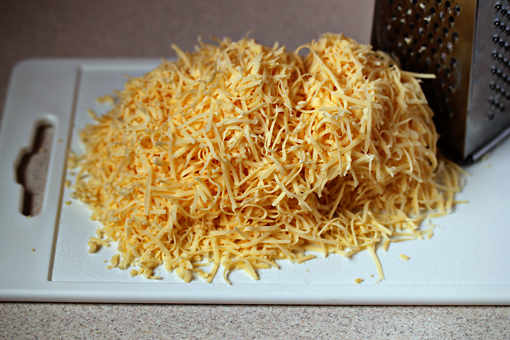
5. Grab the cheese and grate it.
bacon and cheese biscuits recipe with step by step pictures

Just like this.

This is a lot of cheese.


The cheese mostly will constitute the flavor of your biscuits. So choose the one you really like.

It’s completely up to you.

I used Leerdammer. Next time I’ll try Cheddar, I think.

It’s fun because the biscuits can be different every time.
bacon and cheese biscuits recipe with step by step pictures

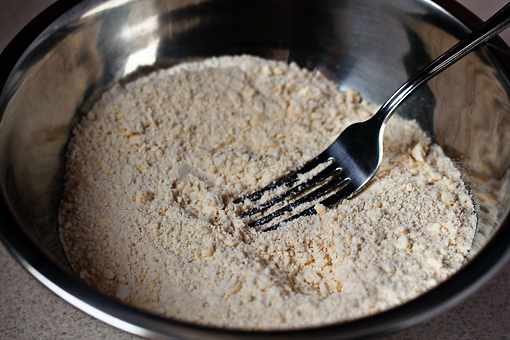
6. Now we need a large bowl.

Using a pastry cutter (or just a fork), combine the flour, baking powder, salt, cayenne pepper and butter until crumbs form.
bacon and cheese biscuits recipe with step by step pictures

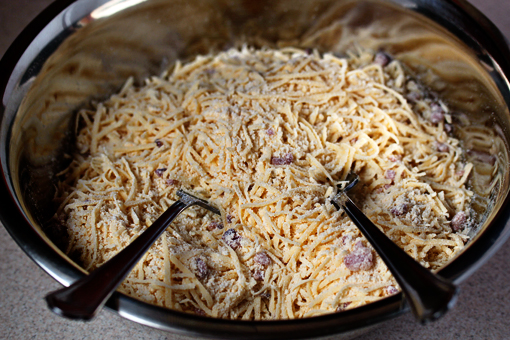
7. Stir in the grated cheese and the bacon.
bacon and cheese biscuits recipe with step by step pictures

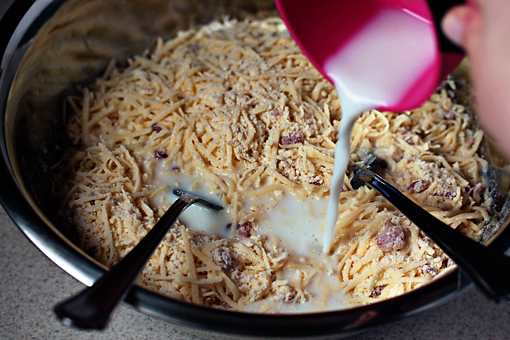
8. Then add the milk…

bacon and cheese biscuits recipe with step by step pictures

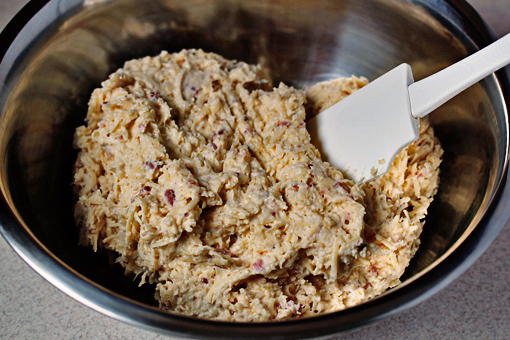
9. …and stir together just until the dry ingredients are well moistened.
bacon and cheese biscuits recipe with step by step pictures

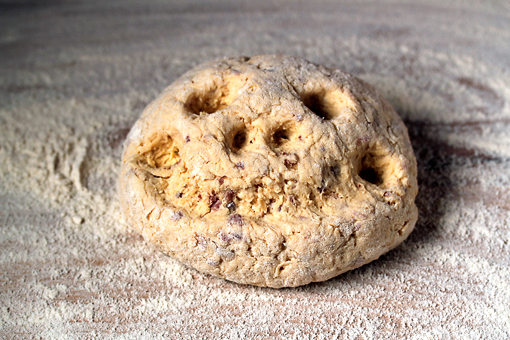
10. Transfer the dough onto a lightly floured surface and make a Halloween face out of it.

Sorry.

What I really mean is that now you should knead the dough 4 – 5 times.

To make the biscuits perfectly soft, the trick is not to over-knead the dough.
bacon and cheese biscuits recipe with step by step pictures

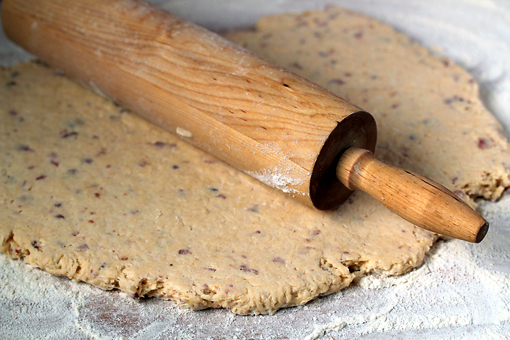
11. Roll it out to about 1/2 inch (1 cm) thickness.

When it gets sticky use some flour to make the job easier.
bacon and cheese biscuits recipe with step by step pictures

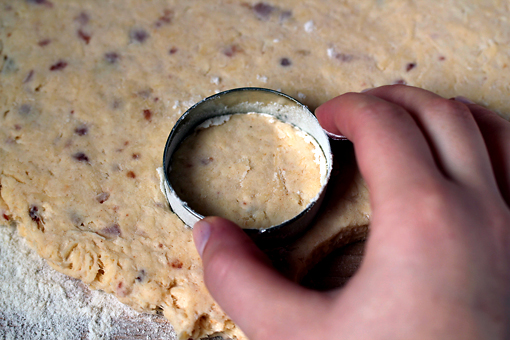
12. Cut out rounds using a 2-inch (5 cm) cutter.

Pat the scraps together, re-roll them and cut out some more rounds.
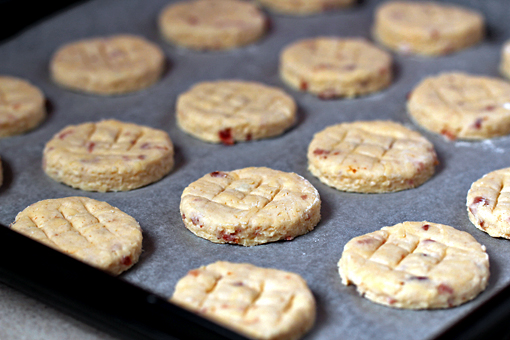
bacon and cheese biscuits recipe with step by step pictures

13. Line a baking sheet with parchment paper.

Arrange your biscuits on the sheet about 1/2 inch (2.5 cm) apart.
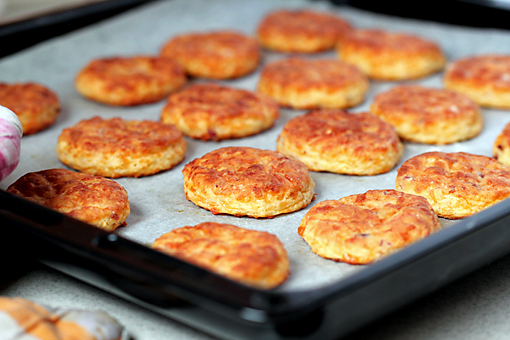
bacon and cheese biscuits recipe with step by step pictures

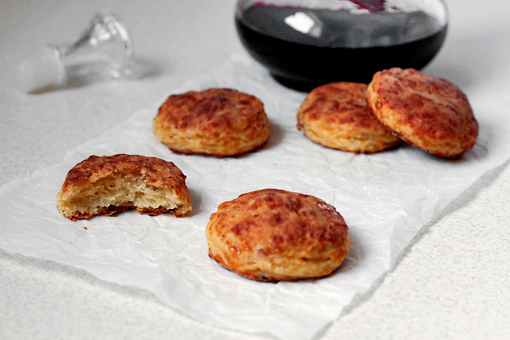
14. And bake them for about 15 minutes.
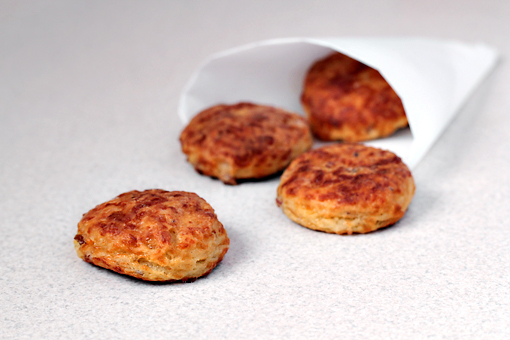
bacon and cheese biscuits recipe with step by step pictures

These are so yummy.

Enjoy, dear friends!


This recipe makes about 36 biscuits.

(The recipe was adapted from LeitesCulinaria.com.)

Pierogi with Chive Filling and Cheese Sauce

Pierogi, pierogi…what an interesting name.

Martha Stewart, for example, likes to make them and talk about them quite often.

Have you noticed?

It’s kind of the national food of the country her parents came from – Poland.

These cute, boiled dumplings with various kinds of fillings are spread and enjoyed over vast regions of Europe and America too.

Well, who knows, maybe also somewhere else.

If you know more, feel free to let me know.

I’d be very thankful.

Now I’m really curious – do you know them?

Do you like them?

Would you give them a try?

Or would you rather hide around a corner scared?

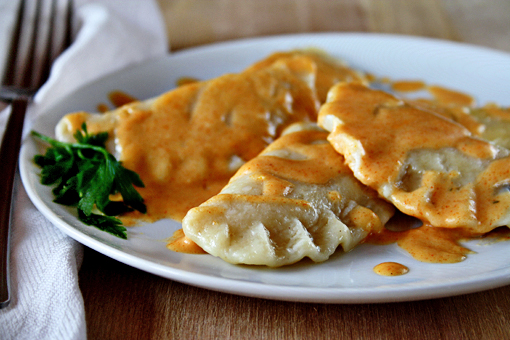
Well, I gave them a try, and not just once, and you know what?

They are yummilicious…

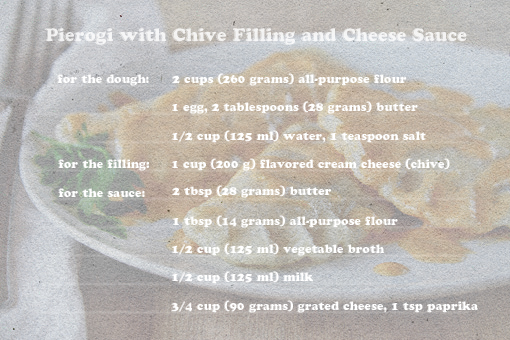
These are the ingredients I used to make very simple pierogi.

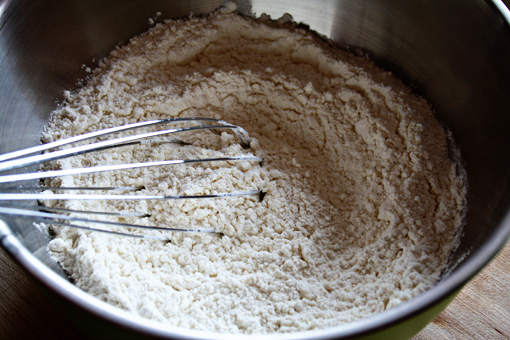
1. In a large bowl, whisk together the flour and salt.

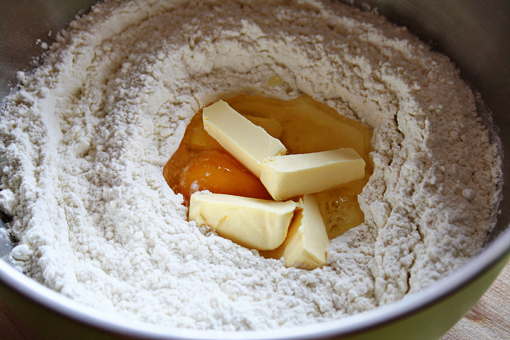
2. Add the egg and the butter.

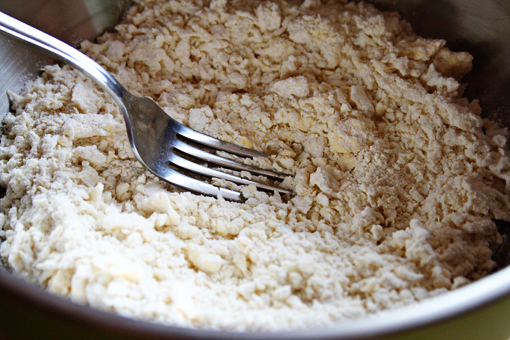
3. Using a pastry blender or a fork, incorporate the butter and egg into the flour until crumbs form.

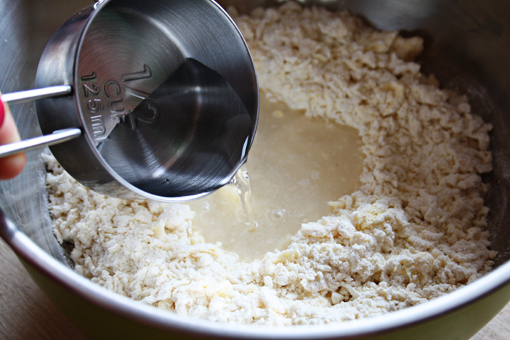
4. Add the water.

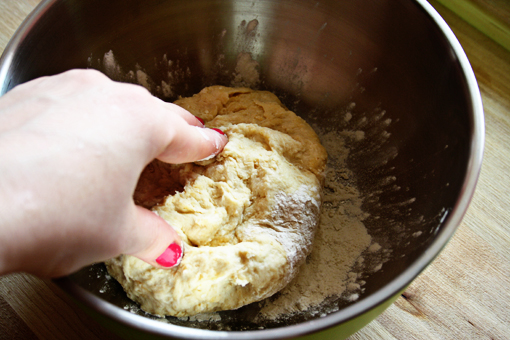
5. With your hand, gather all the ingredients into a ball and knead until it’s rather smooth (for about 4 minutes).

The dough will be a little sticky. To make the kneading easier, dip your hand in some flour.

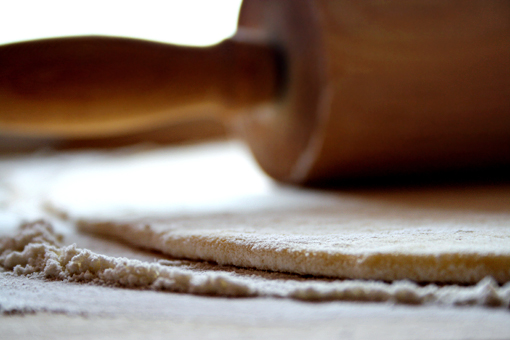
6. Now place the dough ball onto a well-floured working surface and roll it out into about 1/5 inch (0.5 cm) thickness.

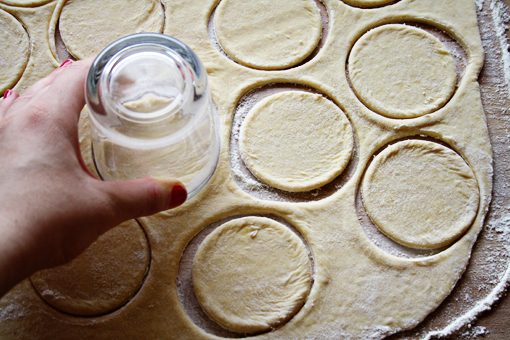
7. Then grab a 3-inch (7.5 cm) cookie cutter – or a glass (see? I like the easier solutions so much – probably because I have no clue where my cookie cutter is right now) and cut out cute circles.

The glass or the cutter cuts into the dough much more easily if you dip it into some flour before.

8. Now we are going to magically turn the dough circle into pierogi.

For these very special purposes, we need the filling.

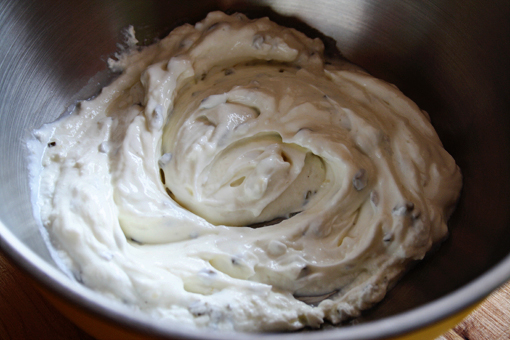
There are dozens of recipes for scrumptious pierogi fillings out there – sweet or savory. What I think is that this one might be the easiest of them all. Because all you have to do is just open your cream cheese container.

TA DA!

In case you would like to prepare your own flavored cream cheese filling, just go ahead and combine about 3/4 cup plain cream cheese with 1/4 cup plain yogurt, add about 1/2 cup chopped chives and salt to taste. Easy!

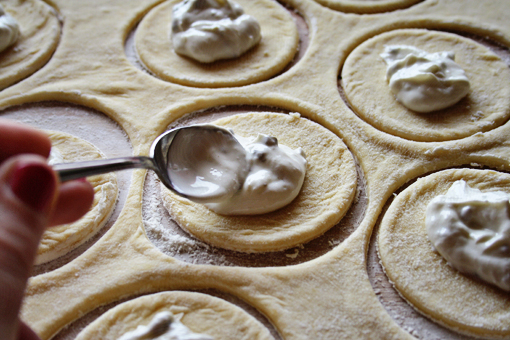
9. Place a small spoonful of the filling into the center of each circle.

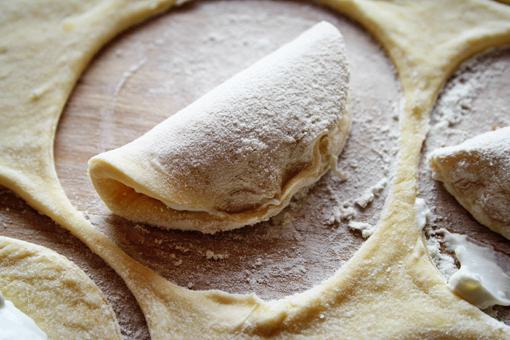
10. Fold over.

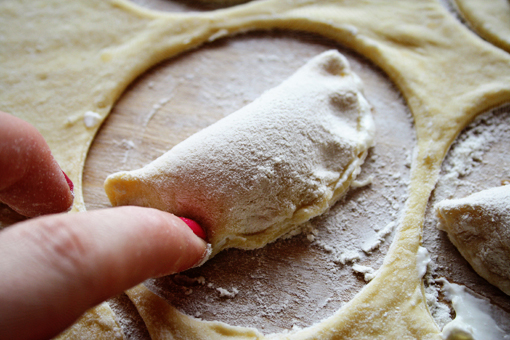
11. And with your fingertip press the edges together to seal.

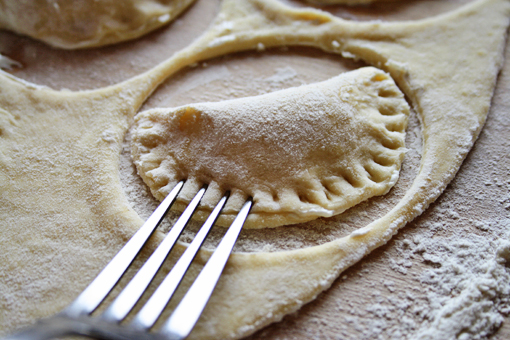
You can also use a fork to crimp the edges.

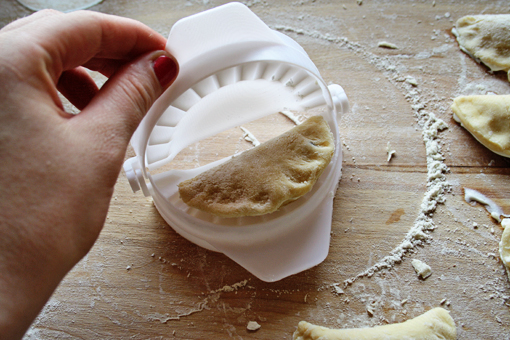
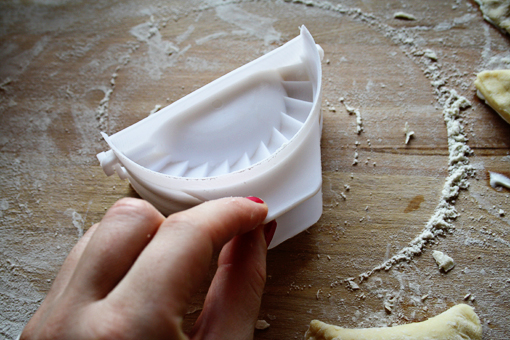
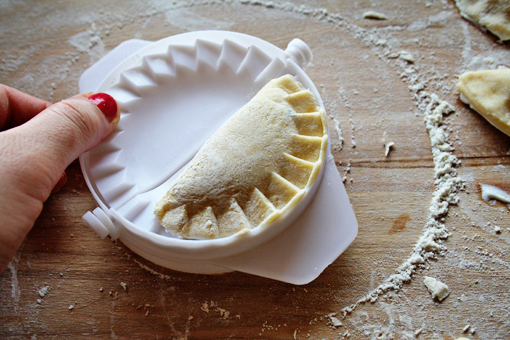
I used this gadget.

I love it from the deepest depths of my heart.

One day, I might break loose and write a poem about the pierogi press.

It’s my sweetheart from the first day we met.

I’m sure you’d love it too…

…if you saw this.

Amazing.

The best helper ever!

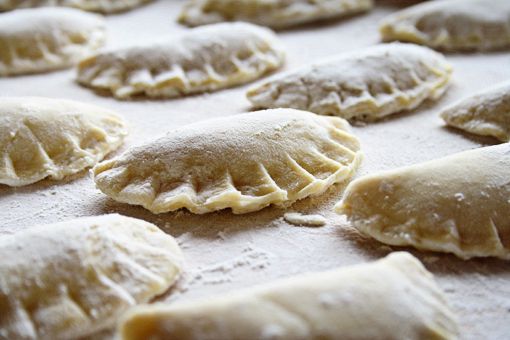
Hello little cuties.

You are having a bath soon!

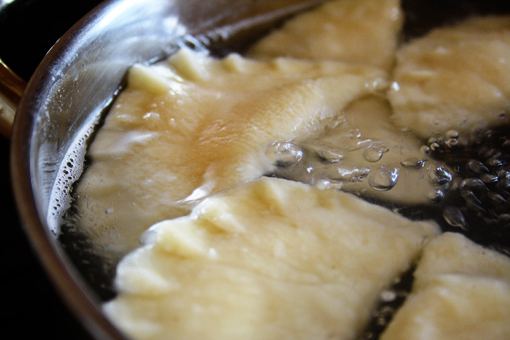
12. To cook the pierogi, fill a large pot with water and bring to a boil.
13. Add the pierogi and cook – I recommend cooking them in three batches.

At first, your pierogi will sink. Stir them a little so that they don’t get stuck to the bottom. After a couple of minutes they will rise to the top – from this point on let them cook for additional 2 more minutes.

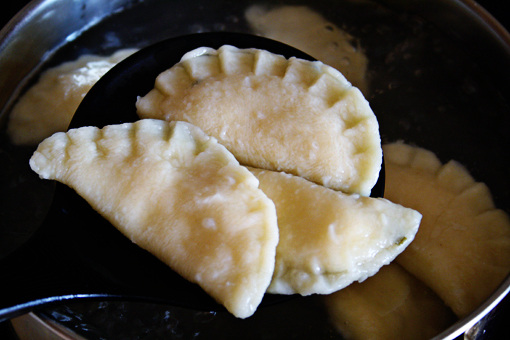
14. Using a spoon, remove the pierogi from the pot.

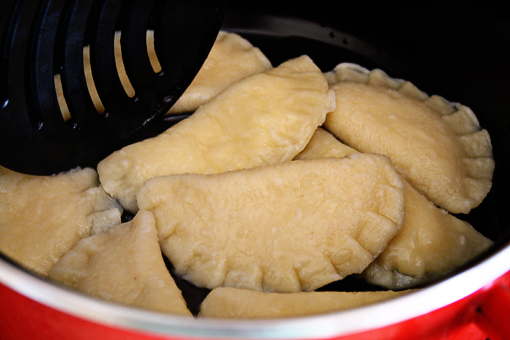
15. Drizzle some vegetable oil over a plate or a bottom of a pot and transfer the beauties there.

Toss them around every now and then (while the second and third batches will be cooking) so that they don’t get dry.

16. Meanwhile, you can prepare the sauce.

Again, it’s unbelievably simple and easy.

But then, I am afraid I am never going to come up with something difficult.

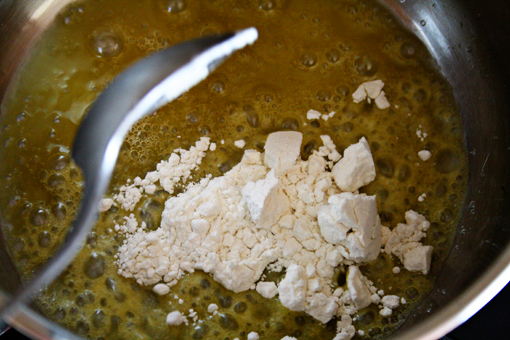
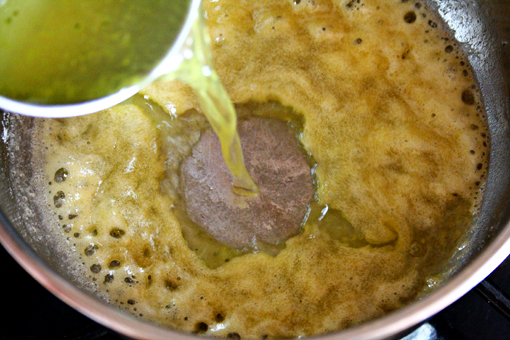
So…in a small saucepan, melt the butter. Add the flour and whisk until the mixture starts to bubble.

17. Then add the broth, milk…

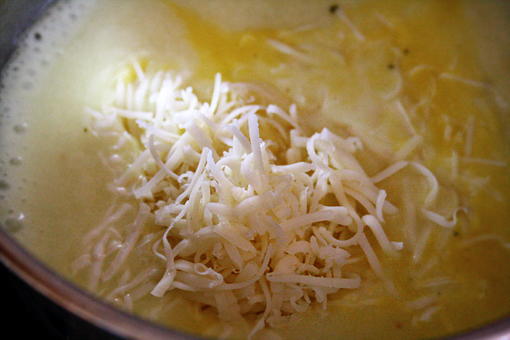
…and the cheese.

Stir until combined.

Bring the sauce to a boil, stirring constantly. Then remove the saucepan from heat.

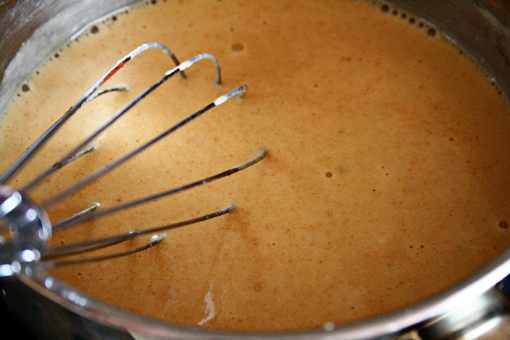
18. Oh, and then I added the sweet paprika powder.

I just thought it would create a nice color contrast between the pierogi and the sauce.

Yummy.

Pierogi taste best when served warm (and with love, preferably).

Enjoy, dear friends.

(This recipe makes 22 pieces of pierogi and I guess you won’t spend more than one hour preparing it.)


Send this to a friend