Mixed Berry Muffins with White Chocolate Chunks

mixed berry muffins with white chocolate chunks recipe with step-by-step images

These muffins are like treasure boxes.

Cute, little treasure boxes.

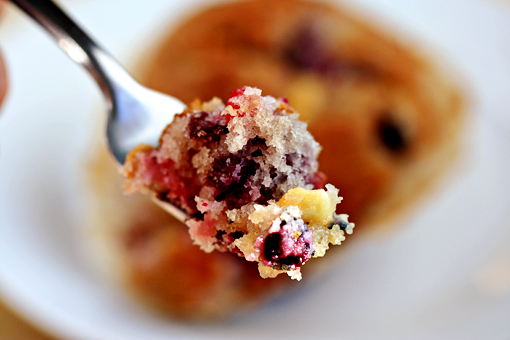
The moment you take a bite the muffin welcomes you with its moist and tender texture.

After a while you’ll notice that a couple of refreshing assorted berries have come to greet you too.

‘Yum’ – that’s exactly what comes to your mind!

And then, as if this wasn’t enough already, you’ll stumble upon these wonderfully rich and creamy white chocolate chunks that counterbalance the tartness of the berries in a way you’ve never even dared to dream about before.

And you think: ‘I thought “Yum” before… so what am I supposed to think now? Shall I scream? Or call somebody? Or shall I run really fast?’

These muffins, they are amazing.
mixed berry muffins with white chocolate chunks recipe with step-by-step images

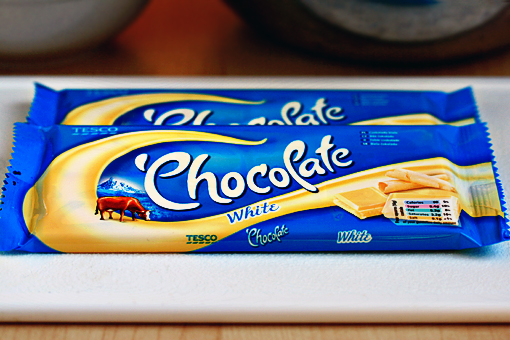
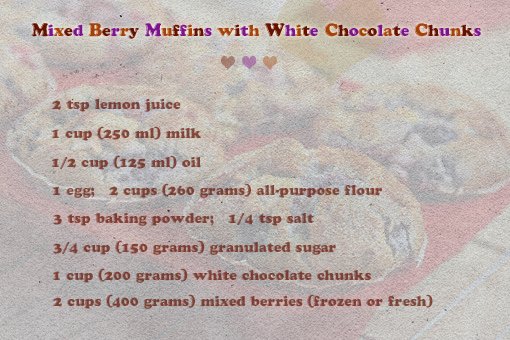
This is the cast of characters.


I’ve noticed that for some reason the number of ingredients in my recipes rarely exceeds ten.

If ever.

Who knows why?

‘Cause I don’t.
mixed berry muffins with white chocolate chunks recipe with step-by-step images

1. To make your own ‘treasure box’ muffins you’ll need two bowls.

One bowl for the ‘wet’ ingredients and the other one for the ‘dry’ ones.

Then you just combine the two, bake it and that’s it.

Bye!


No, no, no, just kidding – don’t you expect me to leave that quickly.

You know me, don’t you?

I’m here to reveal the whole story in every specific detail.

Otherwise my brain would break.


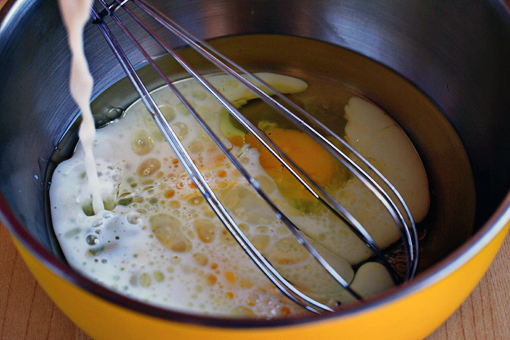
So (and this really is the step number one), in a bowl pour all the wet ingredients – the lemon juice, oil, milk and egg.
mixed berry muffins with white chocolate chunks recipe with step-by-step images

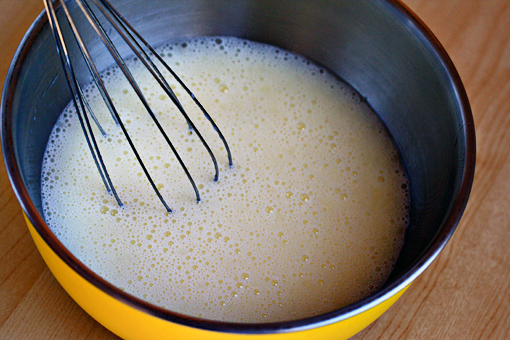
2. Whisk them to combine.

mixed berry muffins with white chocolate chunks recipe with step-by-step images

3. Then grab the white chocolate.

mixed berry muffins with white chocolate chunks recipe with step-by-step images

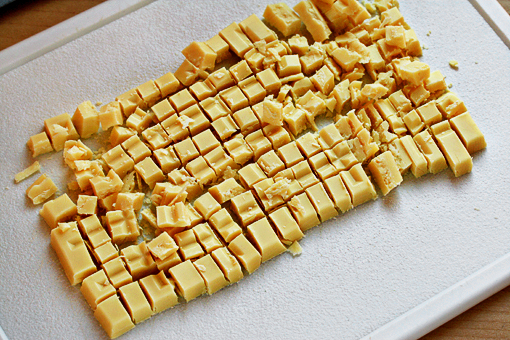
And chop it roughly into chunks.

Of course, you can also use store-bought chunks or even chips.
mixed berry muffins with white chocolate chunks recipe with step-by-step images

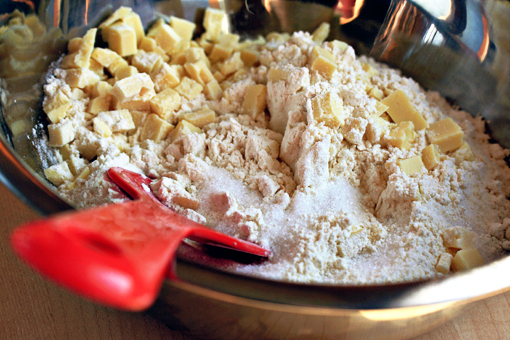
4. Place the dry ingredients (the flour, baking powder, salt, sugar and chocolate chunks) into the second bowl.

Set about half a cup of chunks aside for decorating.


5. Stir to combine.
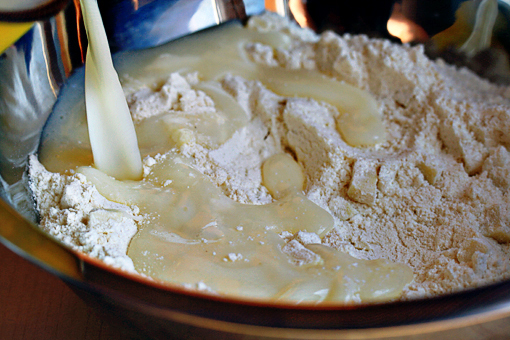
mixed berry muffins with white chocolate chunks recipe with step-by-step images

6. Now pour the wet mixture into the dry one.
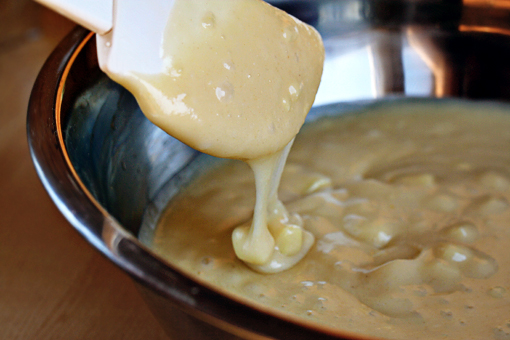
mixed berry muffins with white chocolate chunks recipe with step-by-step images

7. And stir -and this is important when it comes to muffins – just until it combines.

Small lumps are perfectly all right.

Overmixing a muffin batter might result in tough muffins.
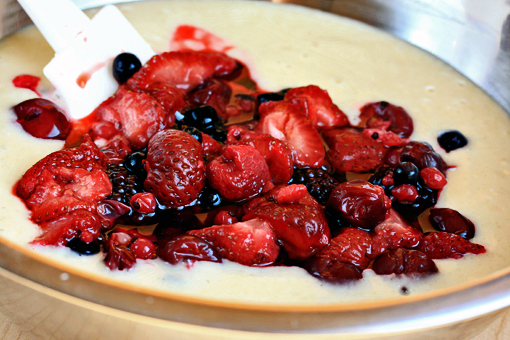
mixed berry muffins with white chocolate chunks recipe with step-by-step images

8. Finally, add the berries.

If you decide to use frozen berries, don’t let them thaw before baking. That way they won’t bleed into the batter and the batter will remain yellow(ish).

Which is exactly what I didn’t do.
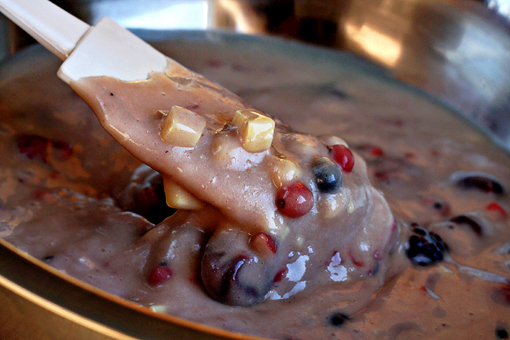
mixed berry muffins with white chocolate chunks recipe with step-by-step images

9. Gently, fold in the berries and admire the beauty you’ve created.

Yes, I see a lot of beauty in batters.

Yes, I am feeling all right.

Why do you ask?
mixed berry muffins with white chocolate chunks recipe with step-by-step images

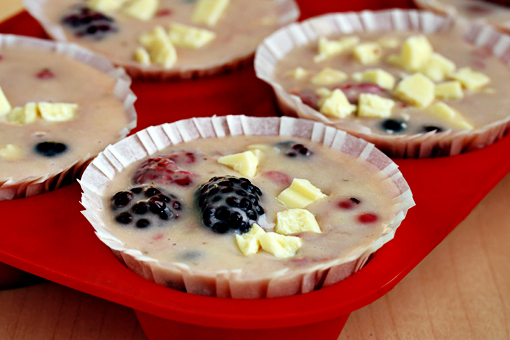
10. Line the muffin tin with paper liners.

If you don’t want to use papers, then just oil the tins with some vegetable oil.


11. Using a spoon, fill each cup full of batter and sprinkle a few chocolate chunks over the top.

The extreme amount of batter per cup might surprise you, but that way you’ll achieve those nice domed tops more easily.
mixed berry muffins with white chocolate chunks recipe with step-by-step images

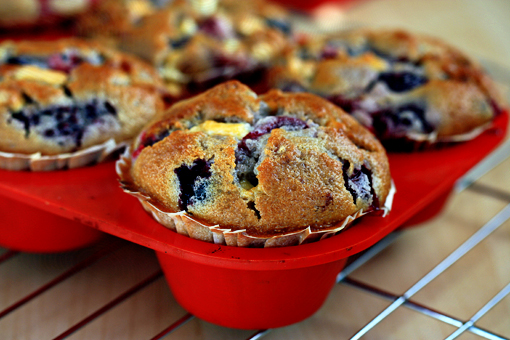
12. Bake at 356 F (180 C) for about 20-25 minutes…
mixed berry muffins with white chocolate chunks recipe with step-by-step images

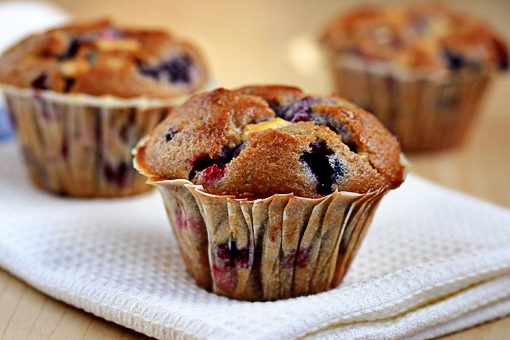
… or until the tops are golden brown and a toothpick inserted in the center of a muffin comes out clean.
13. Remove from the oven, transfer to a wire rack and let cool for about 5 minutes before removing from pan.

Then let cool completely.
mixed berry muffins with white chocolate chunks recipe with step-by-step images

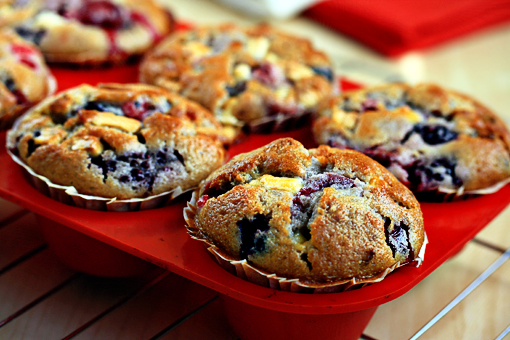
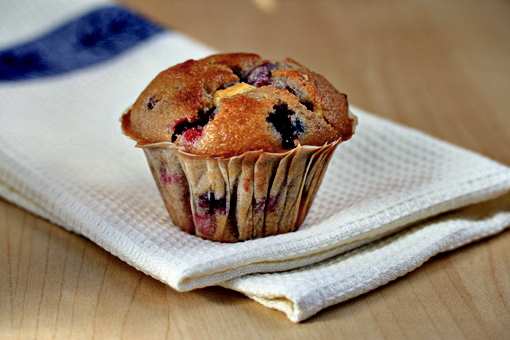
Here it is – standing proud in all its irresistible deliciousness.
mixed berry muffins with white chocolate chunks recipe with step-by-step images

Oh my!

Enjoy, dear friends!


This recipe makes 11 large muffins.

Apple Crisp

apple crisp recipe with step-by-step images

The early fall is truly magical.

These days I love to revel in all the pleasant impressions that this time of year evokes in me.

I love the calm… as if everything is coming to rest after all the hard work.

I’m excited when I see first signs of the glitter party that nature is going to throw soon.

Also, I love to go for long walks and enjoy the nice and warm days.

And if I didn’t sleep so late I’d definitely enjoy the crisp and cool mornings.

Hm, you can’t have everything, I guess.


But most of all, I enjoy the fruits of this season.

Like apples, for example.

In my world, there’s nothing more wonderful than the smell of apples and cinnamon coming out of the oven.

That’s why I end up making all sorts of apple-cinnamon creations these days each year – Apple Crisp being one of my favorite.

Yum!

apple crisp recipe with step-by-step images

The ingredients are simple and economical.

And that’s great.


Now I invite you to have a look at what crazy stuff was going on in my kitchen…
apple crisp recipe with step-by-step images

1. First, I preheated the oven to 375 degrees F (190 degrees C).

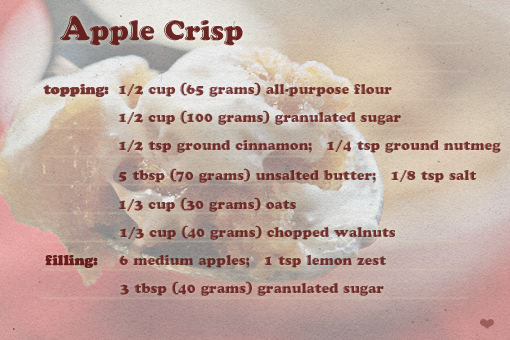
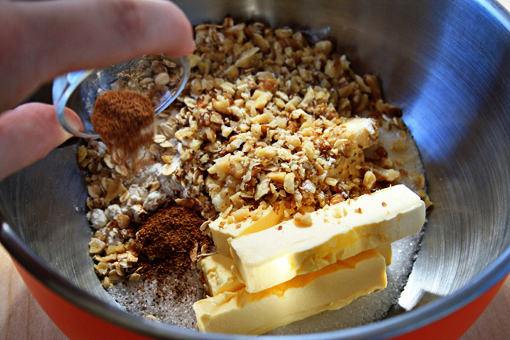
2. I placed all the ‘topping’ ingredients into one bowl – namely the flour, sugar, cinnamon, nutmeg, butter, salt, oats and walnuts.

Okay, maybe it wasn’t that crazy.

apple crisp recipe with step-by-step images

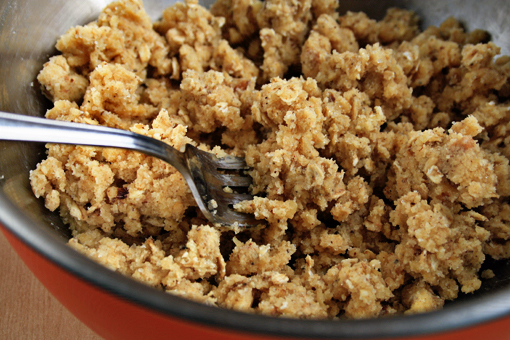
3. Using a fork, I combined them all just until this crumbly mixture had formed and no large pieces of butter were visible.

The topping is finished.

Easy!

apple crisp recipe with step-by-step images

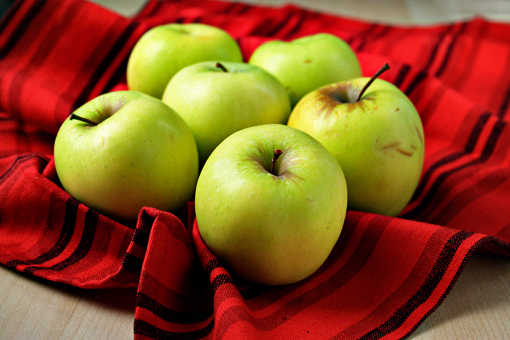
4. Then I grabbed six medium apples.

These are Golden Delicious.

Also Empire, Gala, or Braeburn are especially good in this recipe.

apple crisp recipe with step-by-step images
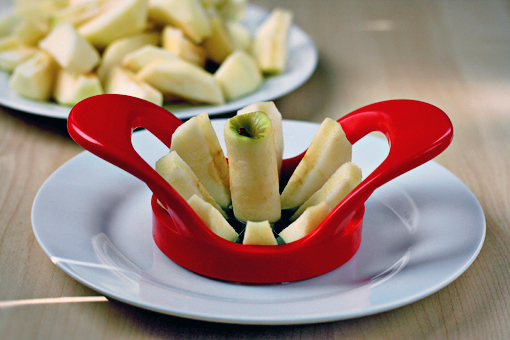
5. I peeled, washed, cored and sliced them.

apple crisp recipe with step-by-step images

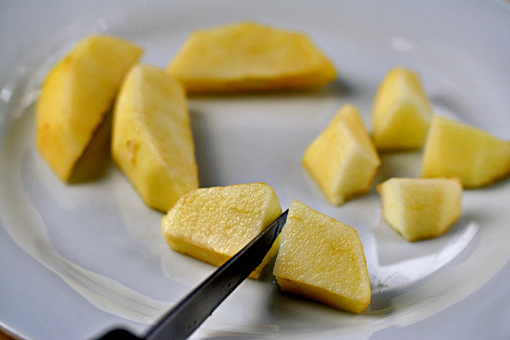
6. And then I cut the slices into 1 inch (2.5 cm) chunks.

apple crisp recipe with step-by-step images

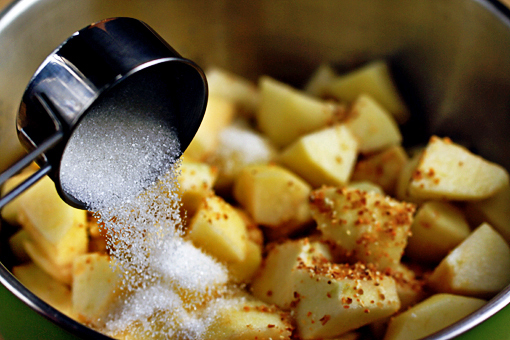
7. To make the filling, I placed the apples, the lemon zest (I used dried lemon zest) and the sugar in a larger bowl…

apple crisp recipe with step-by-step images

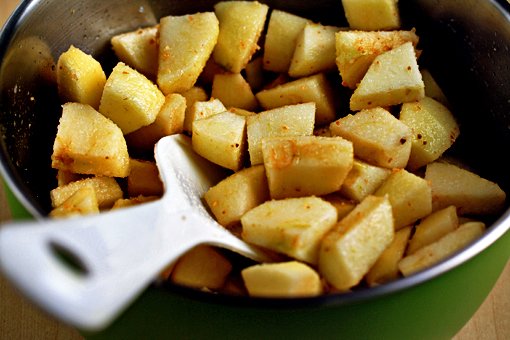
8. …and tossed it to combine.

Mmmm… can you smell that?

Instant home!

apple crisp recipe with step-by-step images

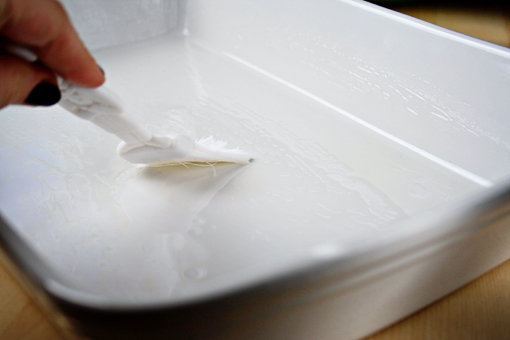
9. I am brushing a dish with vegetable oil here.

Instead, you can butter the dish or just spray it with some cooking spray.

Also, although I used a slightly larger dish, I recommend to use a 9 inch (23 cm) deep dish pie plate or an 8 x 8 x 2 inch (20 x 20 x 5 cm) baking dish.

apple crisp recipe with step-by-step images

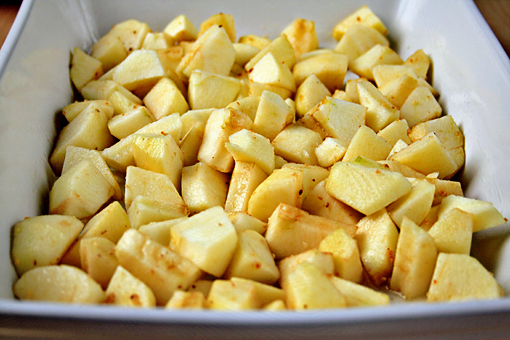
10. Fill the dish with the fragrant apple filling.
apple crisp recipe with step-by-step images

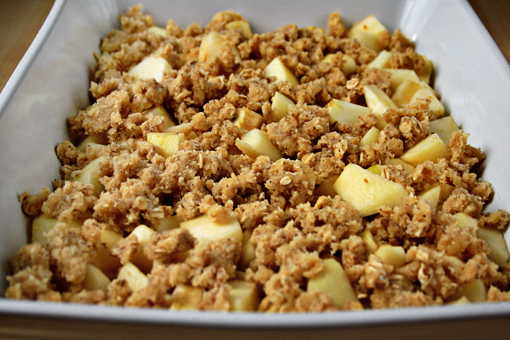
11. And, using your fingertips, spread the topping evenly over the apples.

apple crisp recipe with step-by-step images

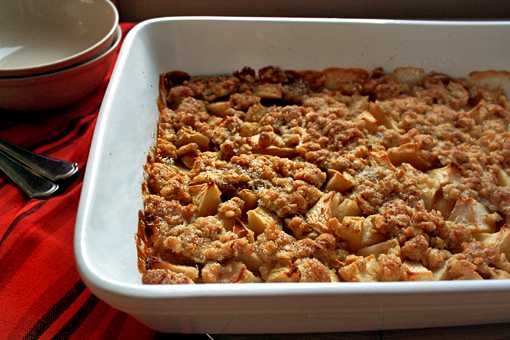
12. Pop it in the oven and bake for about 30-40 minutes, or until bubbly and the topping is golden brown.

13. Remove from the oven, place on the cooling rack and let cool for about 30 minutes.

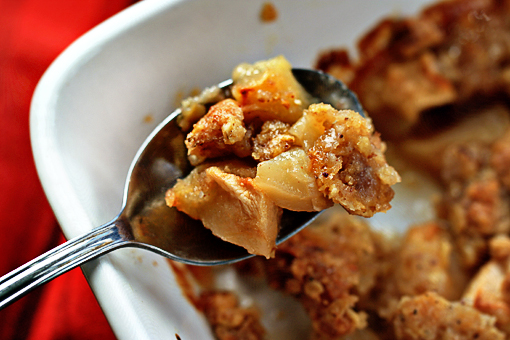
Then dig into it with a spoon and check whether everything is all right.

apple crisp recipe with step-by-step images

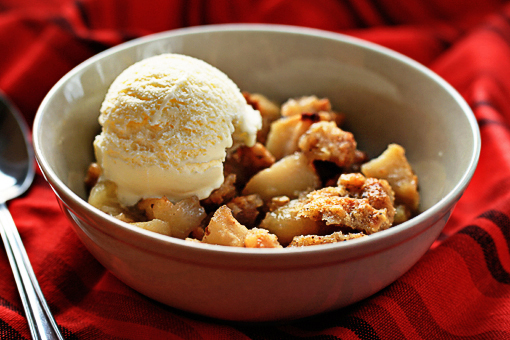
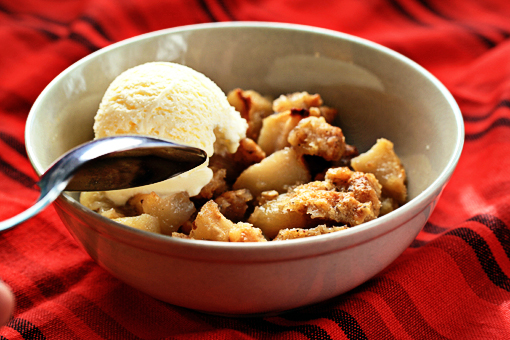
And if everything is perfectly all right, and it definitely will be, proceed to another step – fill a bowl with some more spoonfuls of this flavorful, juicy and crispy wonder.

Add a nice, fat scoop of vanilla ice-cream.

Or two.

Or four.

apple crisp recipe with step-by-step images

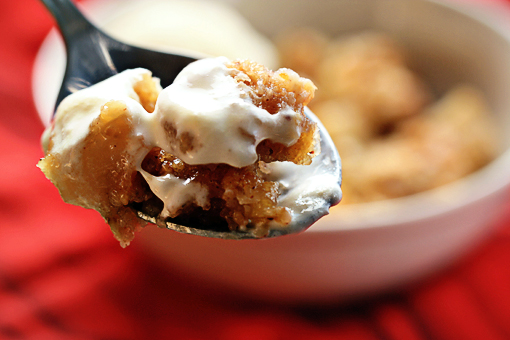
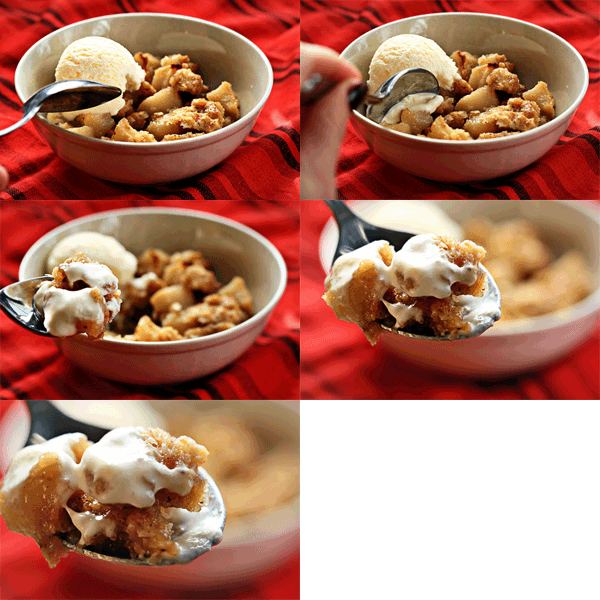
And have a great time!
If, by any chance, you end up with some leftovers, refrigerate them and reheat them before serving.

apple crisp recipe with step-by-step images

Enjoy!


Send this to a friend