Apple Cake

apple cake recipe with step by step pictures

I’m in love with apples and cinnamon.

Forever.

I’ve noticed that I can go without some treat from the cinnamon-apple realm for about two days.

Hm.

It seems that I have issues.

Wonderful and delicious apple-cinnamon-fall issues.


Anyway, as I was searching for the right recipe I found out there were loads and loads of different variations of the apple cake.

I borrowed a little from here and a little from there and created this ultra-simple and easy version.

Luckily, everything turned out perfect and the cake tasted just as I’d wished it would have.

Yummilicious!


apple cake recipe with step by step pictures

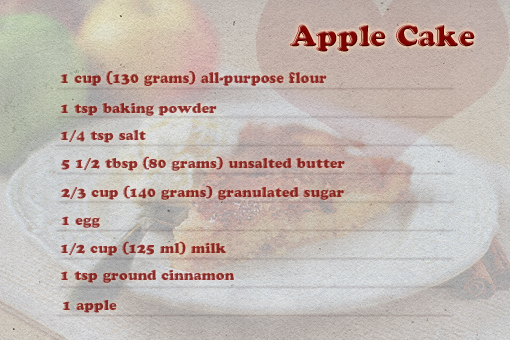
Here’s what you need if you want to make it too.

Which is highly advised!


apple cake recipe with step by step pictures

1. Preheat the oven to 375 F (190 C).
 

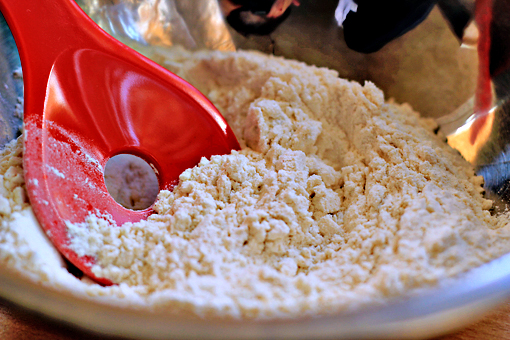
2. Then prepare your dry ingredients.

In a bowl, combine the flour, baking powder and salt.


apple cake recipe with step by step pictures

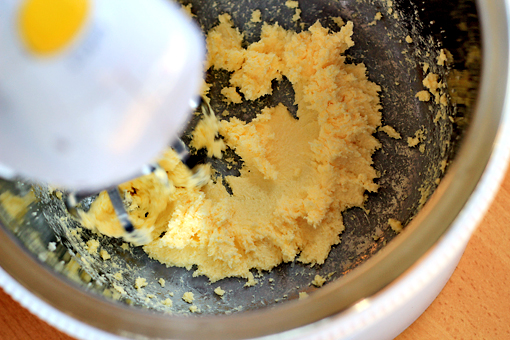
3. Now, in the bowl of your electric mixer, whisk the butter and 1/3 cup – 70 grams (!) of sugar until light and fluffy.

Please notice that I am using only half of the sugar amount for the batter.

The other half will go on top of the cake.


4. Add the whole egg and mix just until blended.


apple cake recipe with step by step pictures

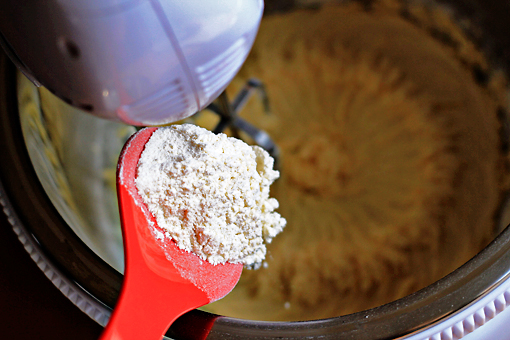
5. Add the flour mixture in three additions, …


apple cake recipe with step by step pictures

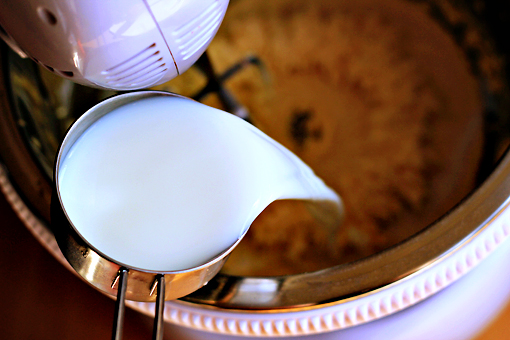
6. …alternating with the milk, beating until just combined.

The batter is done.

Easy.


apple cake recipe with step by step pictures

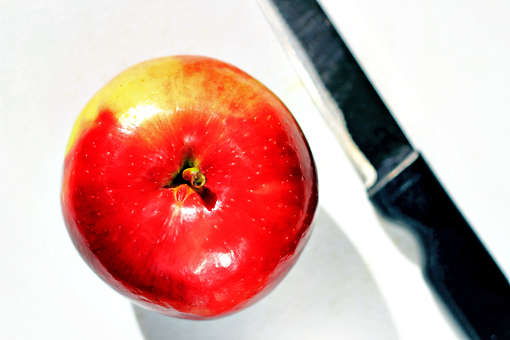
Now we need one apple – any kind, sweet or tart.


apple cake recipe with step by step pictures

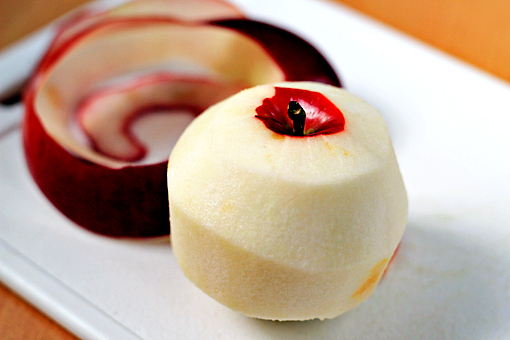
7. Peel the apple.


apple cake recipe with step by step pictures

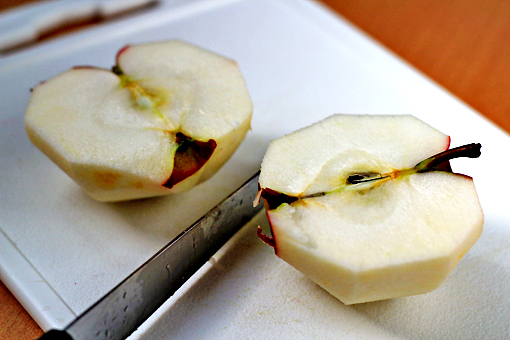
8. Cut it in half.


9. Using a sharp knife, remove the core.


apple cake recipe with step by step pictures

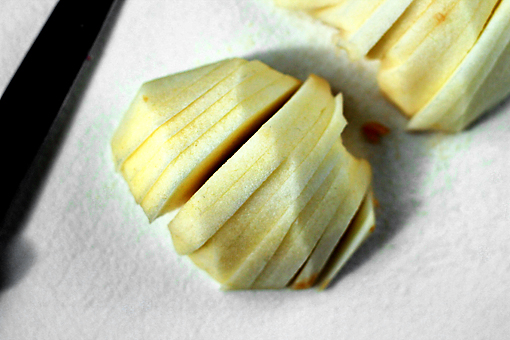
10. And slice the apple.


apple cake recipe with step by step pictures

11. Grab a round pie pan (it should have the capacity of 4 cups/1 liter) and grease it with some butter.


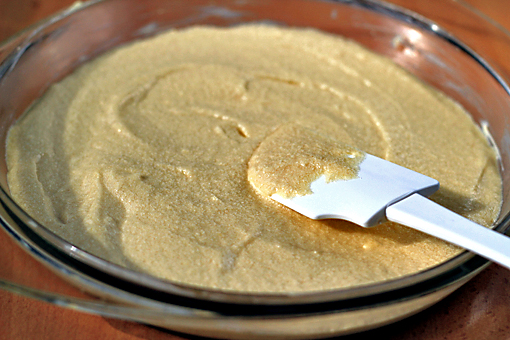
12. Pour the batter in the pan and even out the surface.
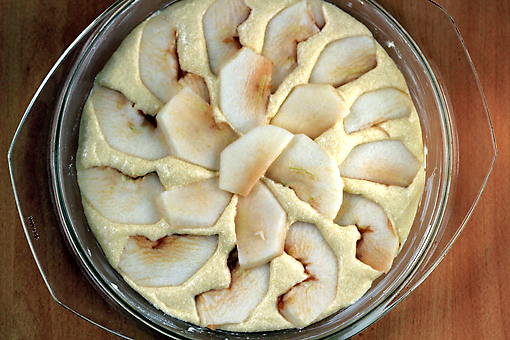


apple cake recipe with step by step pictures

13. Lay the apple slices on the batter in concentric circles, starting at the outside edge.


apple cake recipe with step by step pictures

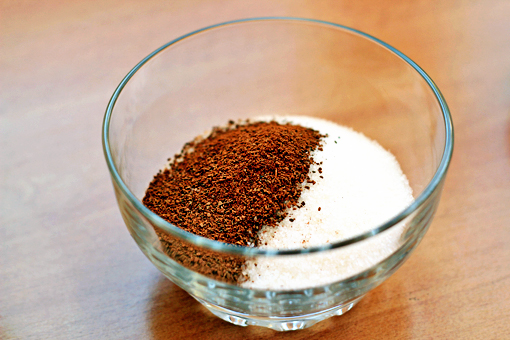
14. Now, for the final touch we need the remaining sugar (1/3 cup – 70 grams).

Combine the sugar with the cinnamon in a bowl…
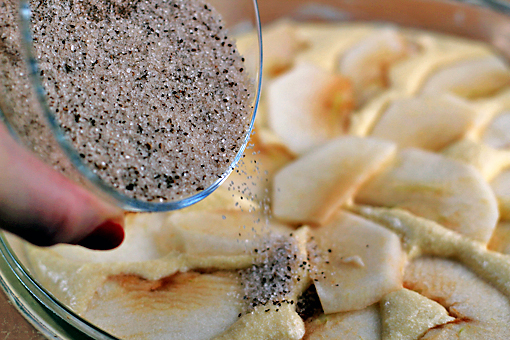


apple cake recipe with step by step pictures

15. …and sprinkle the heavenly fragrant mixture over the apples.

Just like this.

While baking, the mixture will turn into a lovely sugary crust.

If you are not a huge fan of generous sugary crusts, use just about half of the mixture.
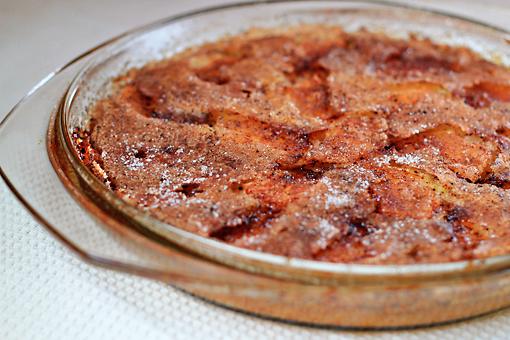


apple cake recipe with step by step pictures

16. Bake for 25 minutes.


17. Remove the cake from the oven and let cool on the wire rack.


apple cake recipe with step by step pictures

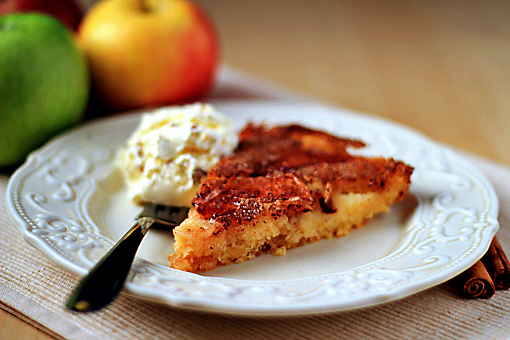
Oh, yum!

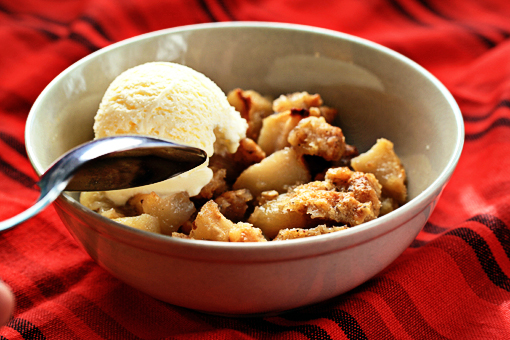
You can serve this cake as is or (OR!) with a scoop of vanilla ice-cream.

I thank heavens for that combination very, very often.


Enjoy, dear friends!

(This recipe was vastly adapted from SimplyRecipes.com.)


Apple Crisp

apple crisp recipe with step-by-step images

The early fall is truly magical.

These days I love to revel in all the pleasant impressions that this time of year evokes in me.

I love the calm… as if everything is coming to rest after all the hard work.

I’m excited when I see first signs of the glitter party that nature is going to throw soon.

Also, I love to go for long walks and enjoy the nice and warm days.

And if I didn’t sleep so late I’d definitely enjoy the crisp and cool mornings.

Hm, you can’t have everything, I guess.


But most of all, I enjoy the fruits of this season.

Like apples, for example.

In my world, there’s nothing more wonderful than the smell of apples and cinnamon coming out of the oven.

That’s why I end up making all sorts of apple-cinnamon creations these days each year – Apple Crisp being one of my favorite.

Yum!

apple crisp recipe with step-by-step images

The ingredients are simple and economical.

And that’s great.


Now I invite you to have a look at what crazy stuff was going on in my kitchen…
apple crisp recipe with step-by-step images

1. First, I preheated the oven to 375 degrees F (190 degrees C).

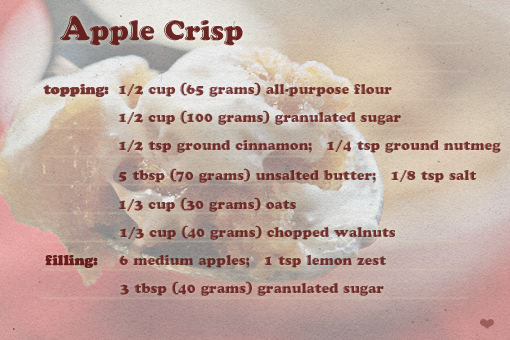
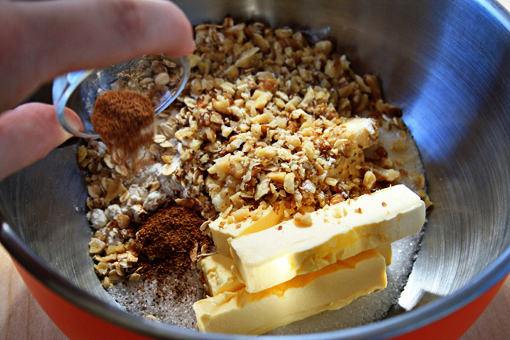
2. I placed all the ‘topping’ ingredients into one bowl – namely the flour, sugar, cinnamon, nutmeg, butter, salt, oats and walnuts.

Okay, maybe it wasn’t that crazy.

apple crisp recipe with step-by-step images

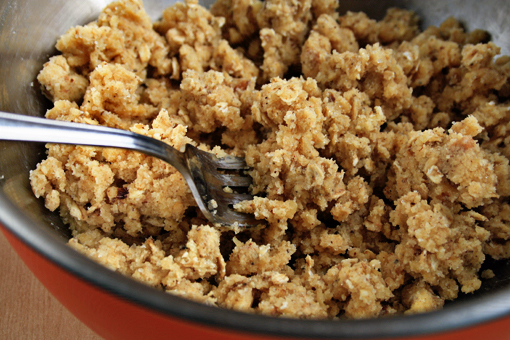
3. Using a fork, I combined them all just until this crumbly mixture had formed and no large pieces of butter were visible.

The topping is finished.

Easy!

apple crisp recipe with step-by-step images

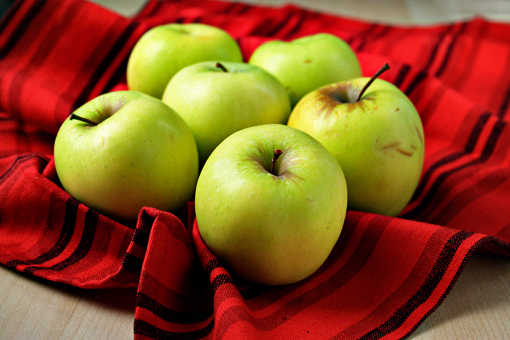
4. Then I grabbed six medium apples.

These are Golden Delicious.

Also Empire, Gala, or Braeburn are especially good in this recipe.

apple crisp recipe with step-by-step images
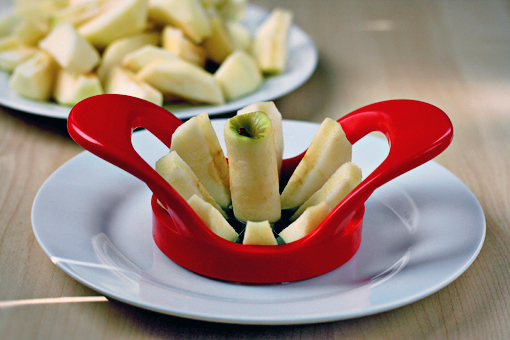
5. I peeled, washed, cored and sliced them.

apple crisp recipe with step-by-step images

6. And then I cut the slices into 1 inch (2.5 cm) chunks.

apple crisp recipe with step-by-step images

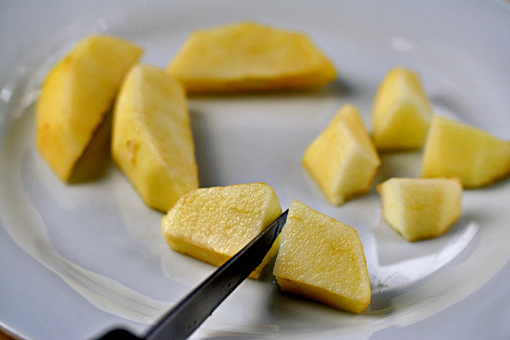
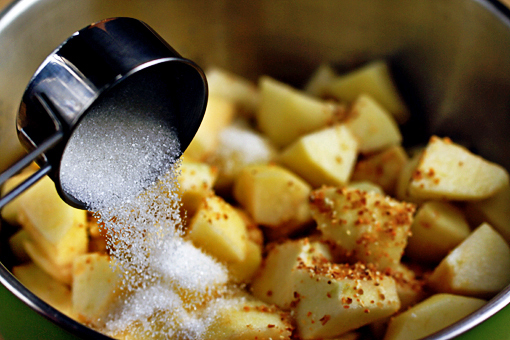
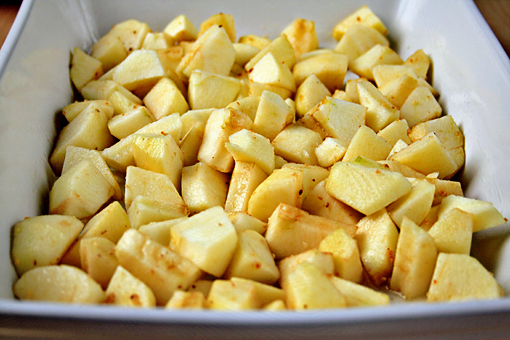
7. To make the filling, I placed the apples, the lemon zest (I used dried lemon zest) and the sugar in a larger bowl…

apple crisp recipe with step-by-step images

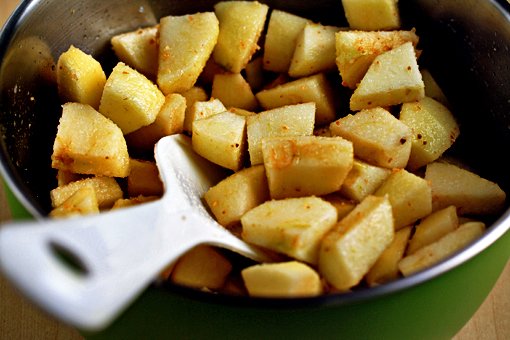
8. …and tossed it to combine.

Mmmm… can you smell that?

Instant home!

apple crisp recipe with step-by-step images

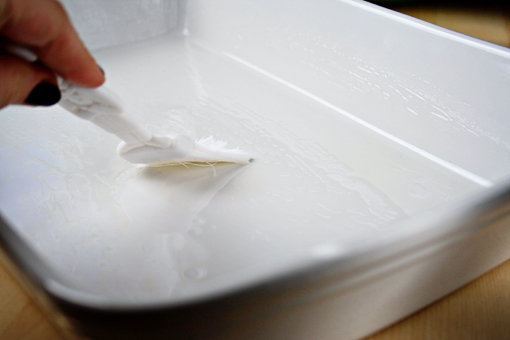
9. I am brushing a dish with vegetable oil here.

Instead, you can butter the dish or just spray it with some cooking spray.

Also, although I used a slightly larger dish, I recommend to use a 9 inch (23 cm) deep dish pie plate or an 8 x 8 x 2 inch (20 x 20 x 5 cm) baking dish.

apple crisp recipe with step-by-step images

10. Fill the dish with the fragrant apple filling.
apple crisp recipe with step-by-step images

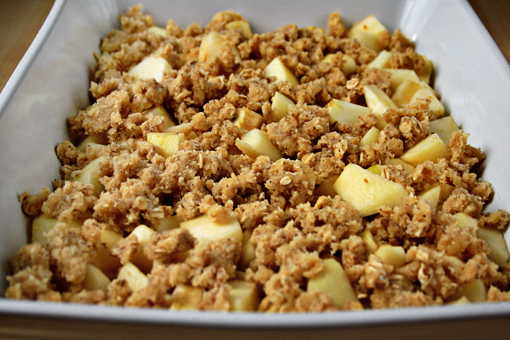
11. And, using your fingertips, spread the topping evenly over the apples.

apple crisp recipe with step-by-step images

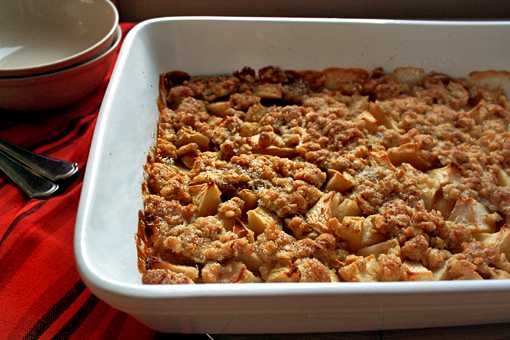
12. Pop it in the oven and bake for about 30-40 minutes, or until bubbly and the topping is golden brown.

13. Remove from the oven, place on the cooling rack and let cool for about 30 minutes.

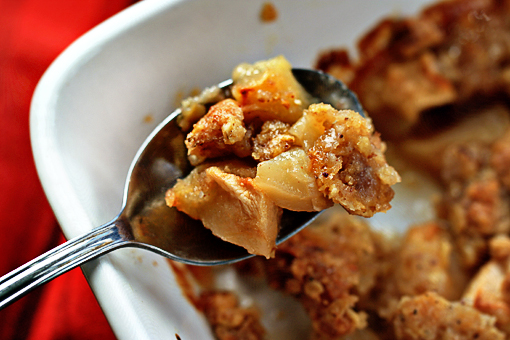
Then dig into it with a spoon and check whether everything is all right.

apple crisp recipe with step-by-step images

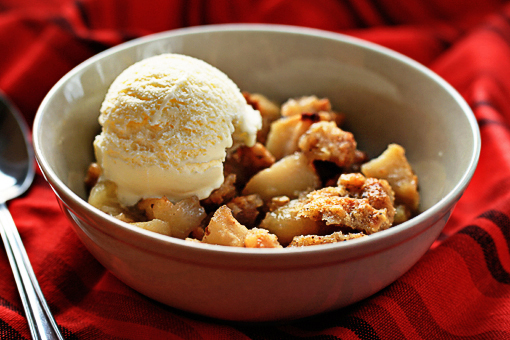
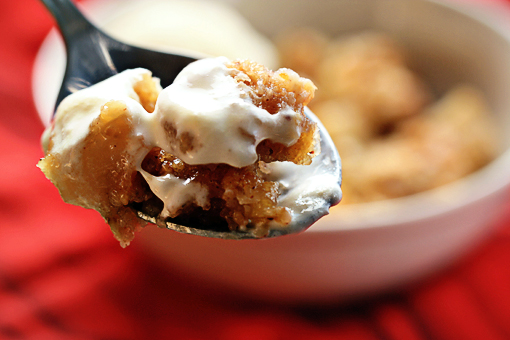
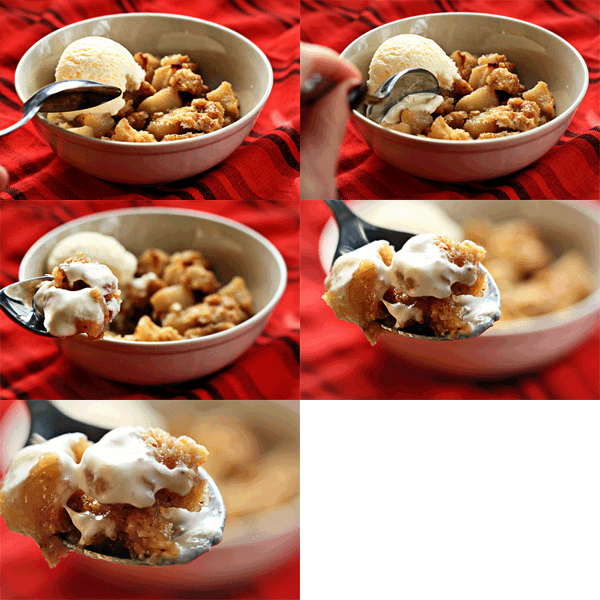
And if everything is perfectly all right, and it definitely will be, proceed to another step – fill a bowl with some more spoonfuls of this flavorful, juicy and crispy wonder.

Add a nice, fat scoop of vanilla ice-cream.

Or two.

Or four.

apple crisp recipe with step-by-step images

And have a great time!
If, by any chance, you end up with some leftovers, refrigerate them and reheat them before serving.

apple crisp recipe with step-by-step images

Enjoy!


Chicken Steaks with Green Onion Potatoes

As you might have noticed, my greatest passion is to prepare simple and healthy dishes for this blog.

Okay, sometimes I just break loose and prepare a sweet little dessert.

Okay, okay …you mostly see me preparing desserts and you might have heard me saying about a million times how much I love baking and how I can’t live without it, but listen folks – I am attending a wedding this Saturday and really need to squeeze myself into that cute dress I haven’t even bought yet. That is the main reason why I’ve been treating myself to vegetable diets or lemon juice afternoons recently.

Yes, lately I’ve been determined to lose the weight of at least one well-fed elephant.

Or even more.

Because when I think, I think BIG.

So that is for the theory.

In practice, I’d like to note that chocolate has never tasted better than it does these days and I’ll also be posting about those wonderful, wonderful cream cheese crepes soon.

And you know what?

I think I’ll just blame the lack of my self-control on the full moon.

Yeah, that’s exactly what I’ll do.

Now, back to the Chicken Steaks with Green Onion Potatoes.

This dish is truly wonderful, light and the determined ones will definitely appreciate its low calorie count.

In the picture above I am showing the ingredients that I’ve used to prepare it.

1. First, grab the young, green onions.

Aren’t they just cute?

Place them on a cutting board and lop off their tops.

2. Slice the onions into little rounds.

Set aside a couple of the rounds for later.

Then play with the chopped onions – form various shapes and take pictures of it all …let this activity last for the next 30 minutes or so, then start feeling really hungry and continue the cooking process.

3. Heat up some oil in a medium pot and throw the onions in.

Fry them for a little while over medium heat.

4. Peel, wash and slice the potatoes.
5. Add the potatoes to the onions.
6. Add the salt.

7. Then add the other spices –  red sweet paprika powder, ground black pepper and the ground cumin.

Stir it all together.
8. Add a little water – about 1/2 cup (125 ml), cover and let cook.
9. Keep your eye on the potatoes while they are cooking – stir them every now and then (!) and when the water evaporates add some more (this thing likes to burn a little so make sure there’s always at least a little water in the pot).

The whole process – just until the potatoes were done – lasted (in my case) about 30 minutes.

10. In the meantime, wash the chicken breasts and slice them in half lengthwise.
11. Pound the breasts lightly so that they are of even thickness.

12. In a pan, heat up some vegetable oil.
13. Put the breasts in the pan and sprinkle them with your favorite grilling spice.
14. Fry over medium heat for about 5-7 minutes. Then turn the meat, sprinkle the other side with the grilling spice and  fry for another 5-7 minutes.

Now place your lovely, fragrant steak on a plate…

… and add the delicious, irresistible potatoes.

Yummy!

Sprinkle with the remaining onions that you’ve set aside.

And enjoy, dear friends.

It’s really good – even my man said so!

(This recipe makes 2 portions.)

Send this to a friend