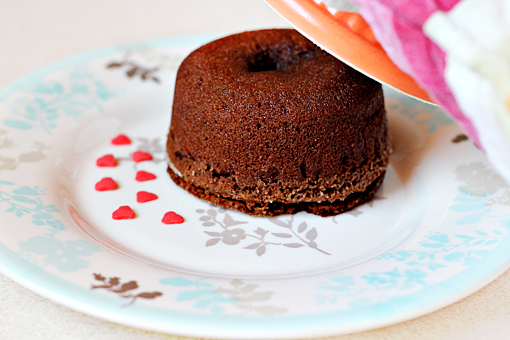
Molten Lava Cakes

molten lava cakes recipe with step by step picture tutorial

I love these little babies.

Surprisingly, this has been the first time I’ve ever made them myself.


While preparing these Chocolate Lava Cakes I learned that they are super-fun to make.

They are also surprising. That is what you find out when you dig into them.

And, with the generous amount of chocolate they contain, I’m sure they are just super seductive.

That all makes them the perfect dessert choice for Valentine’s Day, don’t you think?


Now, let me invite you to my kitchen and show you how I prepared my version of these adorable sweet cakes…
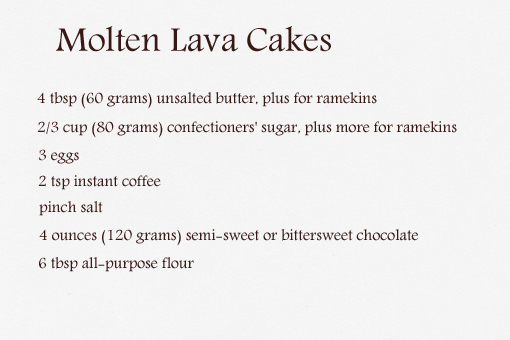
molten lava cakes recipe with step by step picture tutorial, ingredients

Here’s what we need.

Couldn’t be simpler.
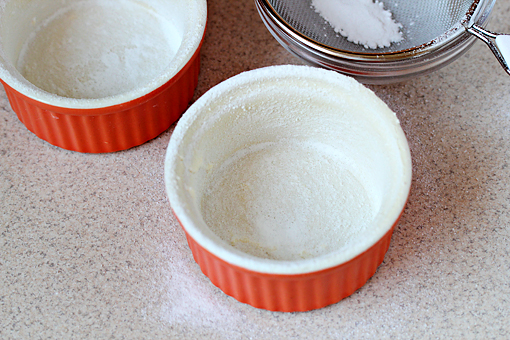
molten lava cakes recipe with step by step picture tutorial, preheat the oven to 400 F - 200 C, butter 4 ramekins, 6-ounce - 180 ml ramekins

1. First, preheat the oven to 400 °F (200 °C).


2. Butter 4 ramekins.

I’ve used 6-ounce (180 ml) ramekins.


3. Then dust the ramekins with some confectioners’ sugar.
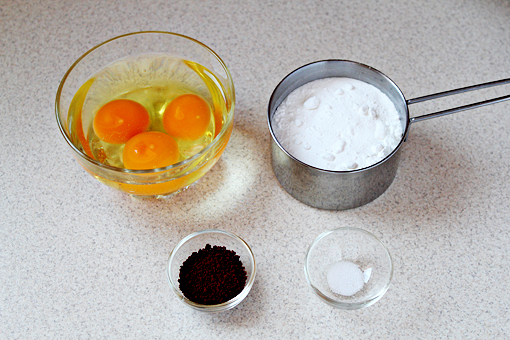
molten lava cakes recipe with step by step picture tutorial, eggs, sugar, coffee, and salt

4. Now we need the eggs, sugar, coffee, and salt.
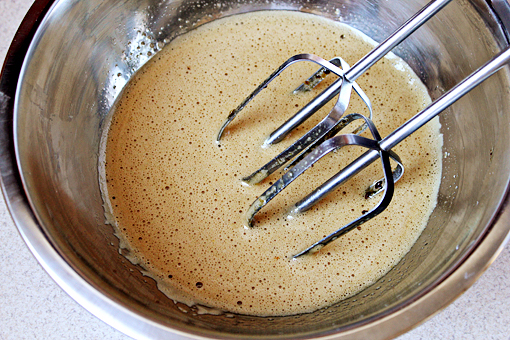
molten lava cakes recipe with step by step picture tutorial, eggs, sugar, coffee, salt in a bowl

5. Throw them all into one bowl and mix them for about 2 minutes.
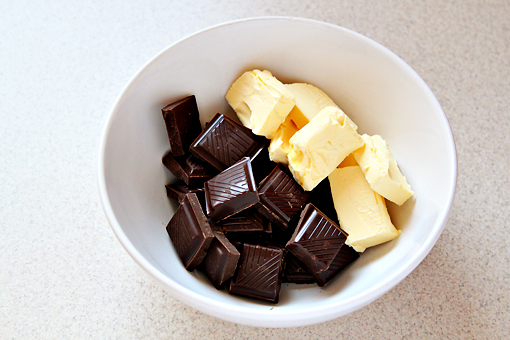
6. Break the chocolate into pieces. Place the butter and chocolate in a microwave-safe bowl.
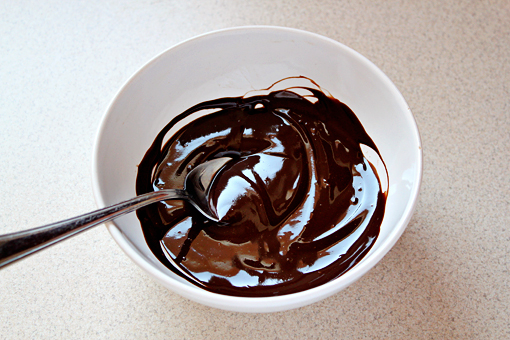
molten lava cakes recipe with step by step picture tutorial, microwave on high in 20-seconds increments, stirring after each, until melted, let cool slightly

7. Microwave on high in 20-second increments, stirring after each, until melted.

Let cool slightly.

And be strong!
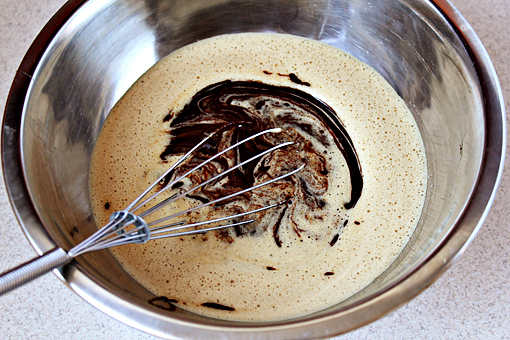
molten lava cakes recipe with step by step picture tutorial, add the chocolate mixture into the egg mixture, whisk to combine

8. Add the chocolate mixture into the egg mixture. Whisk to combine.
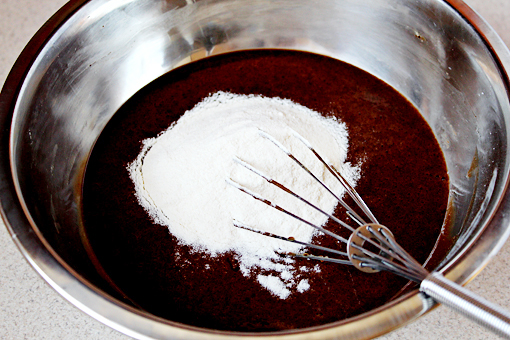
9. Then add the flour, and whisk just until combined (do not overmix).
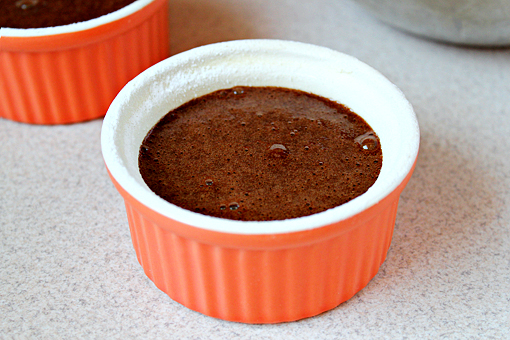
molten lava cakes recipe with step by step picture tutorial, pour the batter into prepared ramekins

10. Pour the batter into prepared ramekins.

I only have two, so I had to bake in two batches.
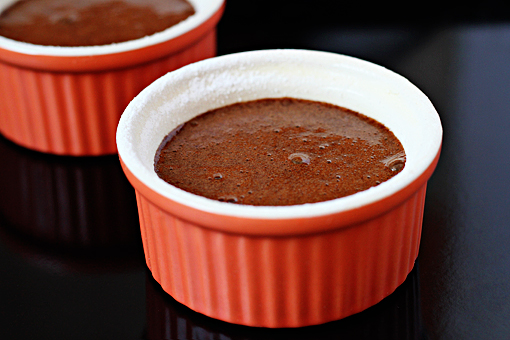
molten lava cakes recipe with step by step picture tutorial, place the ramekins on a baking sheet

11. Place the ramekins on a baking sheet.
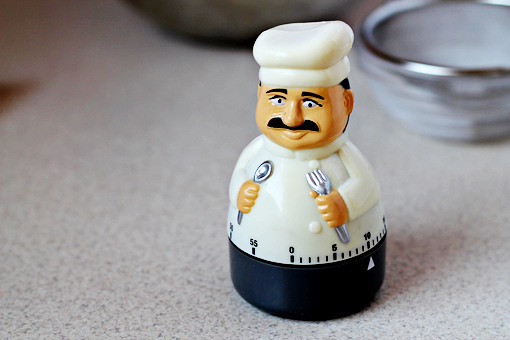
molten lava cakes recipe with step by step picture tutorial, bake for about 11 minutes

12. And bake for about 11 minutes.
molten lava cakes recipe with step by step picture tutorial

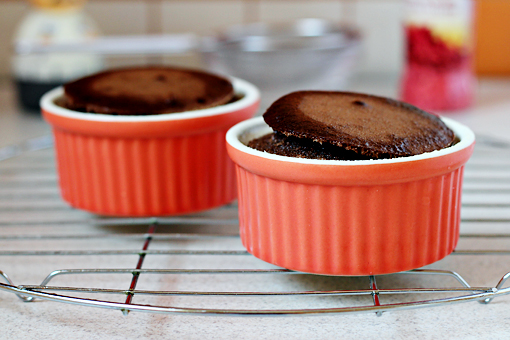
13. These babies were baked for about 14 minutes.

Too long.
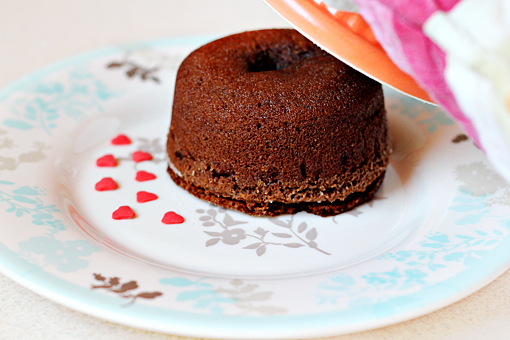
 

molten lava cakes recipe with step by step picture tutorial

Although nice and tasty, they weren’t that ‘molten’ in the center.
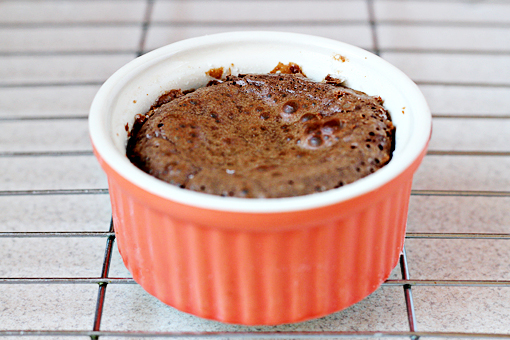
molten lava cakes recipe with step by step picture tutorial

I baked the second batch for only 10 minutes.
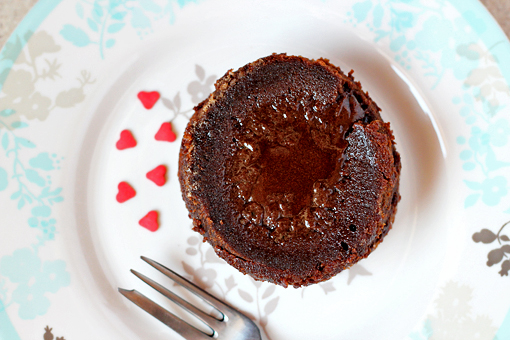
That was much better.

I really like the moist center.
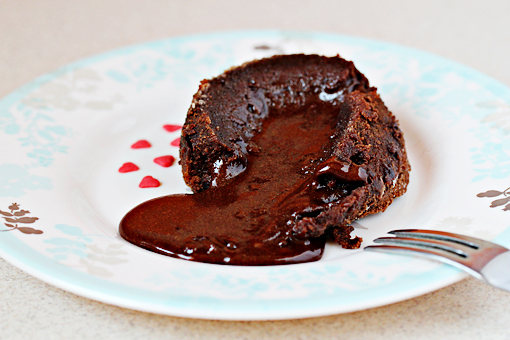
molten lava cakes recipe with step by step picture tutorial

Aah, I love this game.


But, if I had another chance, which I think I am going to give myself soon, I’d try baking these for exactly 11 minutes.

11 minutes would make them absolutely perfect.


Enjoy, dear friends!


(This recipe makes 4 cakes and was loosely based on Molten Mocha Cakes from www.delish.com.)


Plum Cake

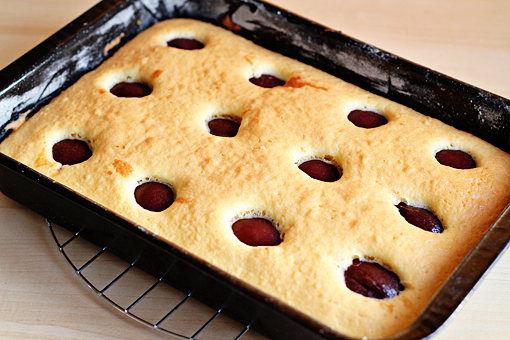
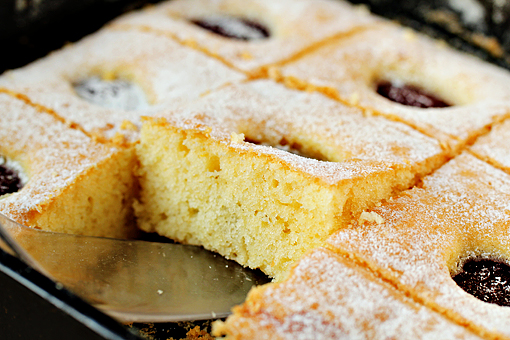
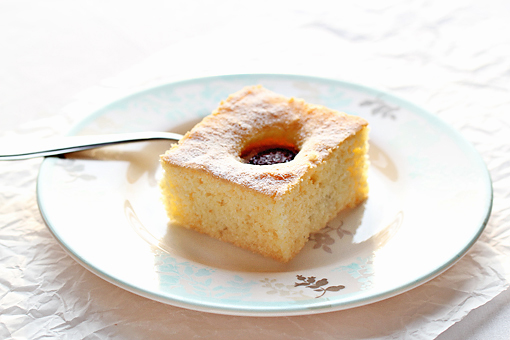
plum cake recipe with step by step picture tutorial

When I was a kid, cakes like this one were on our table very often.

My lovely Mom used to make them.

They were filled with any fruit that was in season. And during the months of winter, Mom would use just about any canned fruit she had on hand.

So, whether you use plums, cherries or any kind of berries to make this sponge cake with fruit, you’ll be amazed by a very nice flavor it has and how surprisingly easy it is to prepare it.


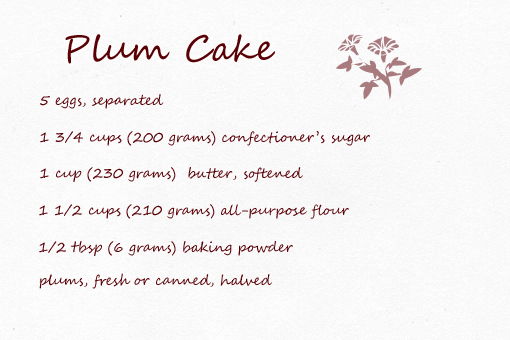
plum cake recipe with step by step picture tutorial, ingredients

Here’s what we need.


1. First, preheat the oven to 350 °F (175 °C).


2. Separate the eggs placing the yolks in one bowl and the whites in another.

Use larger bowls.


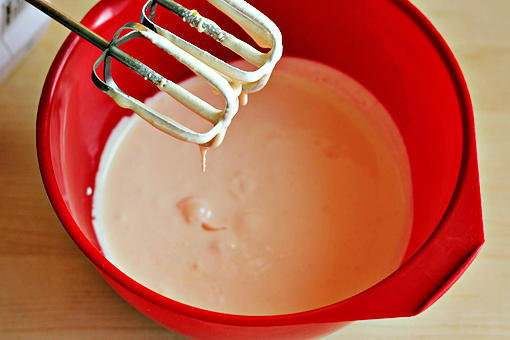
3. Pour the sugar into the egg yolks and beat until thick and pale in color.


Try your best not to eat this all.

Oh my gosh, it’s so good.

Or is it just me?


plum cake recipe with step by step picture tutorial, add the butter and mix until fluffy

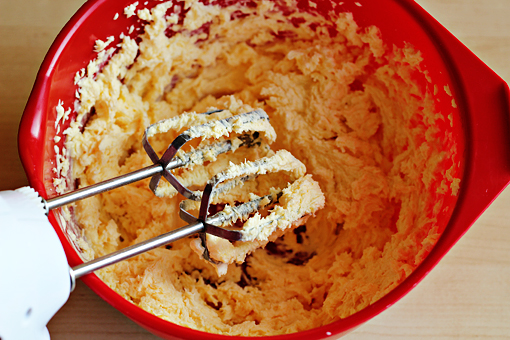
4. Then add the butter and mix until fluffy.


plum cake recipe with step by step picture tutorial, in a small bowl, combine the flour and baking powder, add it to the egg-yolk mixture, mix to combine

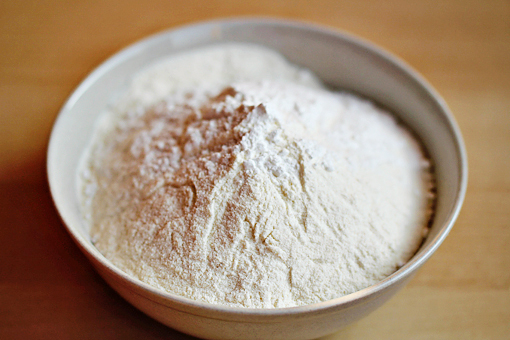
5. Next, in a small bowl, combine the flour and baking powder. Add it to the egg-yolk mixture. Mix to combine.


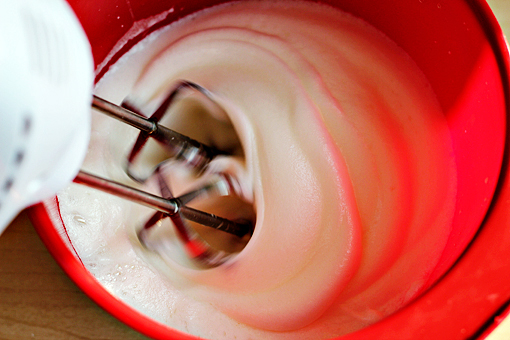
plum cake recipe with step by step picture tutorial, using a cleaned whisk attachment, whisk the egg whites

6. Then, using a cleaned whisk attachment, whisk the whites…


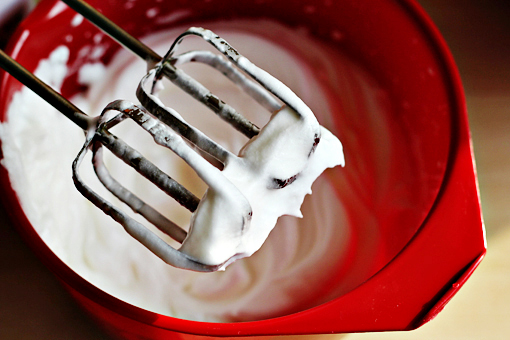
plum cake recipe with step by step picture tutorial, whisk the egg white until they hold stiff peaks

…until they hold stiff peaks.


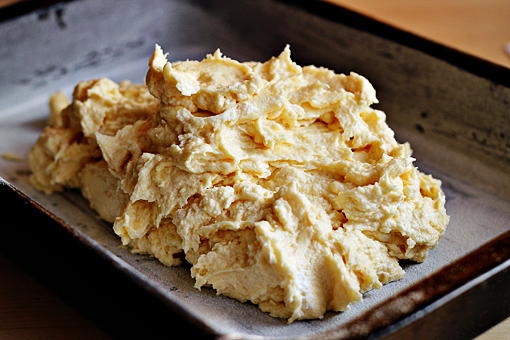
7. Add the whites into the egg-yolk batter.

Small lumps of egg whites in the batter are okay.


plum cake recipe with step by step picture tutorial, spray a baking pan with cooking spray and dust it lightly with flour, scrape the batter into the prepared pan

8. Spray a baking pan with cooking spray and dust it lightly with flour.


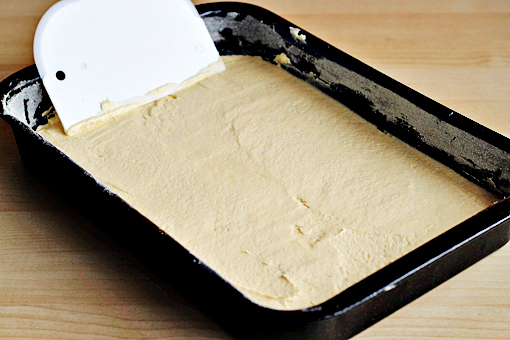
9. Scrape the batter into the prepared pan.

I used a 13 x 9-inch (33 x 22 cm) baking pan. This cake will rise a lot, so if you are going for a less tall version, use a larger baking pan.


plum cake recipe with step by step picture tutorial, spread out the batter evenly

10. Spread out the batter evenly.


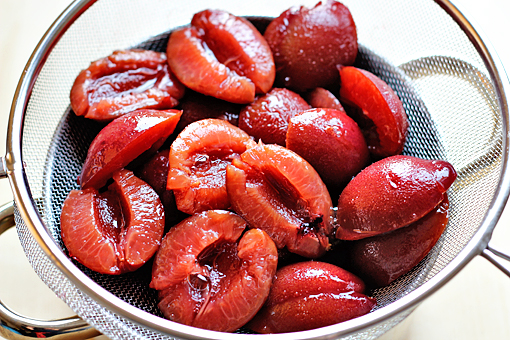
plum cake recipe with step by step picture tutorial, cut the plums into halves, or if you are using canned plum, drain them

11. Now cut the plums in, halves. Or, if you are using canned plums, drain them.


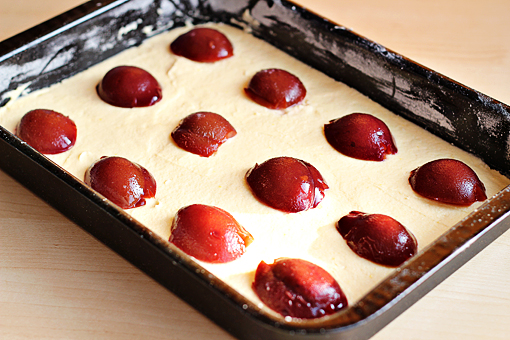
plum cake recipe with step by step picture tutorial, evenly arrange the halved plums on top of the batter

12. Evenly arrange the halved plums on top of the batter.


plum cake recipe with step by step picture tutorial, bake at 350 F - 175 C for about 20 minutes or until a toothpick inserted in the center of the cake comes out clean

13. Bake at 350 °F (175 °C) for about 20 minutes or until a toothpick inserted in the center of the cake comes out clean.


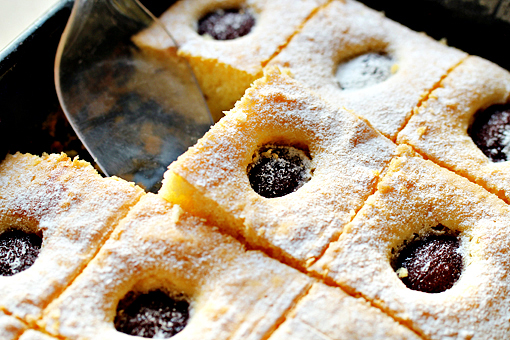
plum cake recipe with step by step picture tutorial, remove from the oven and let cool, then dust with a little confectioners' sugar and cut into squares

14. Remove from the oven and let cool.


14. Then dust with a little confectioner’s sugar and cut into squares.


plum cake recipe with step by step picture tutorial

And most importantly, enjoy, dear friends!


(This cake takes about 45 minutes to prepare.)


Send this to a friend