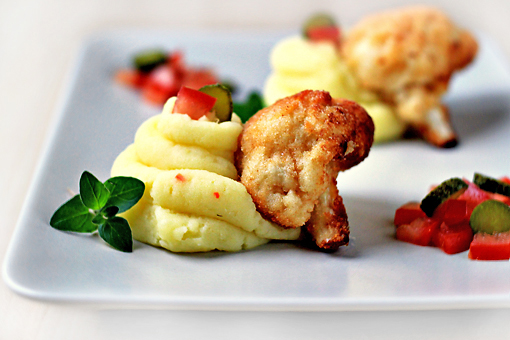
Breaded Cauliflower

breaded cauliflower recipe with step by step pictures

Again, my mother gets the credit for this delicious dish.

My beloved sweet Mom.

It has been a mainstay in our family ever since I can remember.

We love to eat it as a side dish but also as a light main dish served with mashed potatoes or rice.

It’s impressive how well a cauliflower can taste when nicely seasoned, breaded and fried.

This is finger-licking good, my friends!
breaded cauliflower recipe with step by step pictures

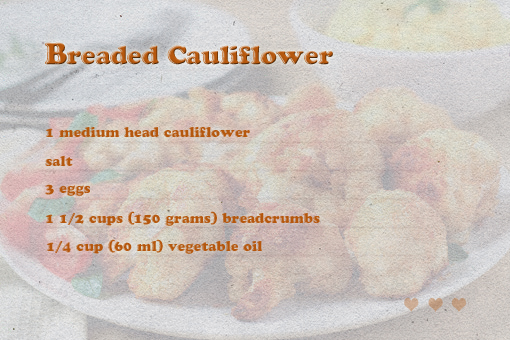
Here the list of ingredients.

Would you believe it could be so simple?
breaded cauliflower recipe with step by step pictures

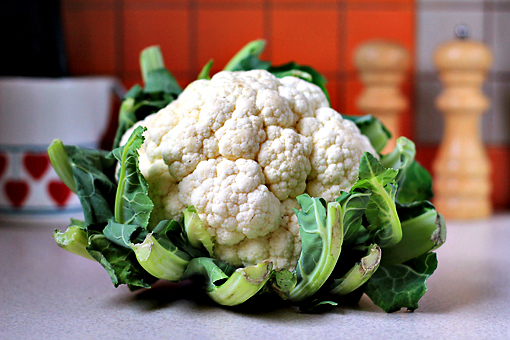
This is a cauliflower.

I am here to tell you all the important things, you know.
breaded cauliflower recipe with step by step pictures

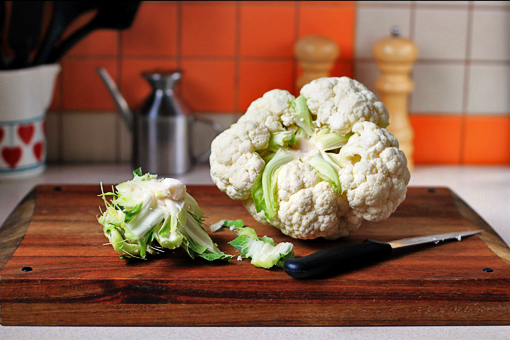
Despite their rather impenetrable-seeming appearance, cauliflowers are actually pretty easy to break down into bite-sized florets.

Here’s how I do it:

1. First, remove the green leaves and then, using a knife, remove the central stem, too.

Now your cauliflower is ready to be easily cut into individual florets.
breaded cauliflower recipe with step by step pictures

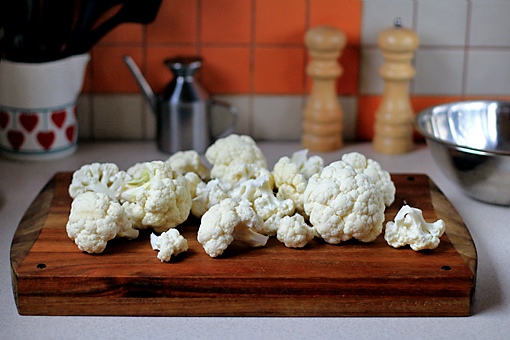
2. With your fingers, or using a knife if you want to, pull the florets apart.

In this recipe, bigger florets work better.
breaded cauliflower recipe with step by step pictures

3. Rinse the florets under cold running water.
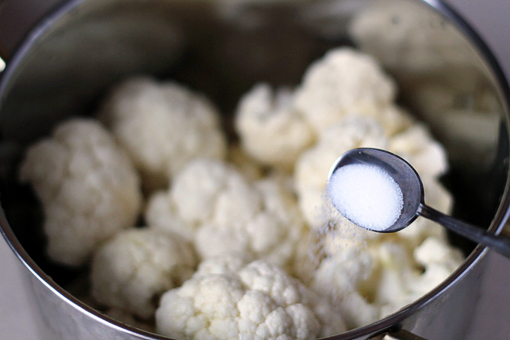
4. Then place them into a larger pot and add about 2 teaspoons of salt.
breaded cauliflower recipe with step by step pictures

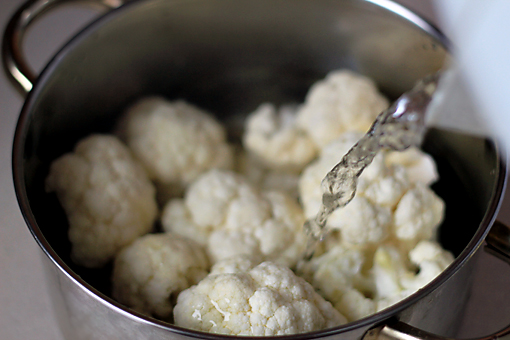
5. Pour in water – we need just enough to cover all the florets.
breaded cauliflower recipe with step by step pictures

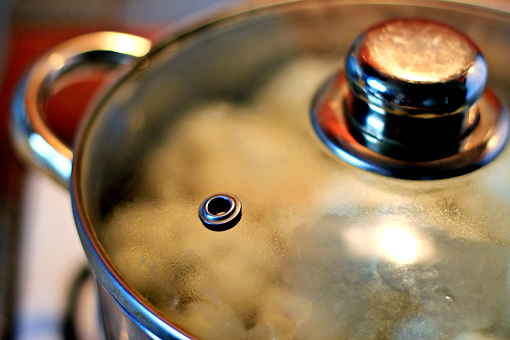
6. Cover the pot and place it over medium heat.
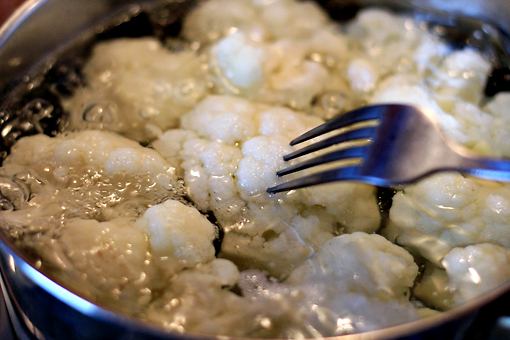
7. Bring to boil and let cook for about 15 minutes…
breaded cauliflower recipe with step by step pictures

… or until tender when poked with a fork.

But not too tender. The florets should still be firm enough to hold the shape and shouldn’t fall apart. If they get too tender then it’s hard to work with them later.
breaded cauliflower recipe with step by step pictures

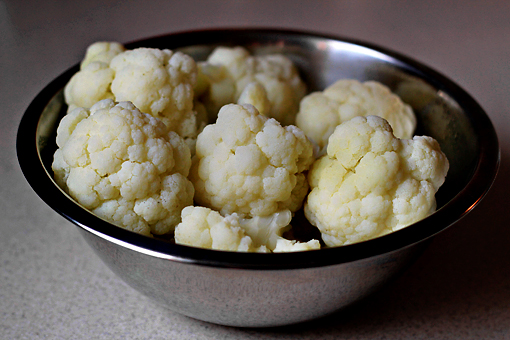
8. When the florets are cooked drain them and set aside.
9. Pour 1/4 cup (60 ml) of vegetable oil into a larger frying pan and preheat the oil over medium-low heat.
breaded cauliflower recipe with step by step pictures

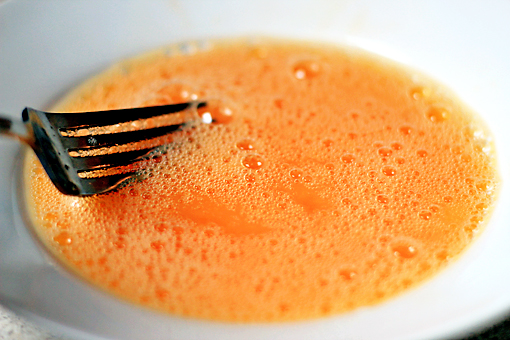
10. In a medium bowl, whisk the eggs lightly with about 1/2 teaspoon of salt.
breaded cauliflower recipe with step by step pictures

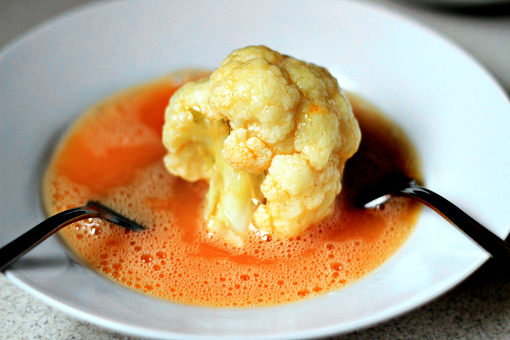
11. Working with one floret at a time, coat it with the egg.
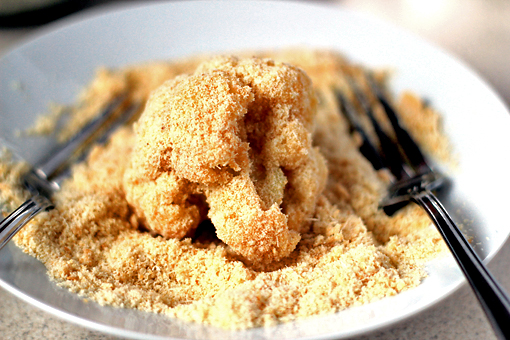
breaded cauliflower recipe with step by step pictures

12. Then place the breadcrumbs in another bowl and roll the egg-covered floret in the breadcrumbs until nicely coated.


13. Repeat this process with all the remaining florets.
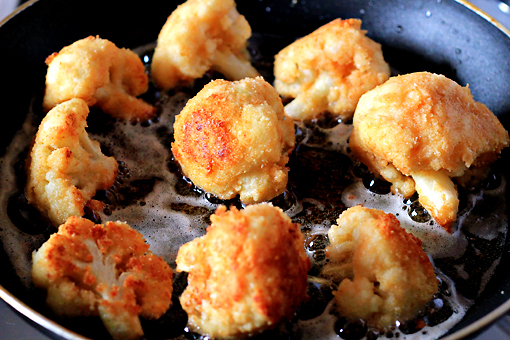
breaded cauliflower recipe with step by step pictures

14. In batches, put the cauliflower in the preheated pan and fry it. Turn the florets so that they get golden-brown on all sides.

This process takes about 5 minutes.
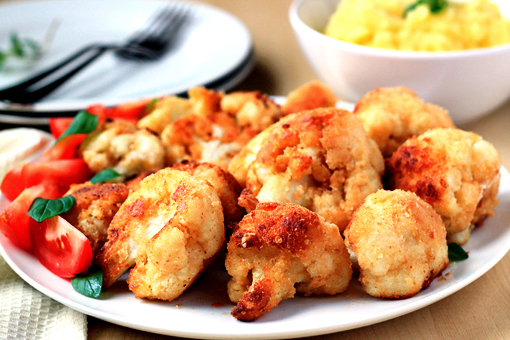
breaded cauliflower recipe with step by step pictures

Serve as a side dish or as a main dish with mashed potatoes or rice.

Enjoy, dear friends!
This recipe yields 3-4 servings and it takes about one hour to prepare it.

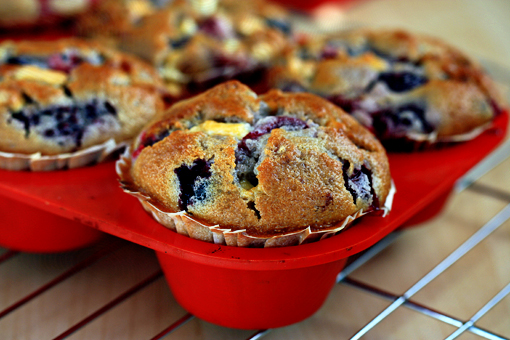
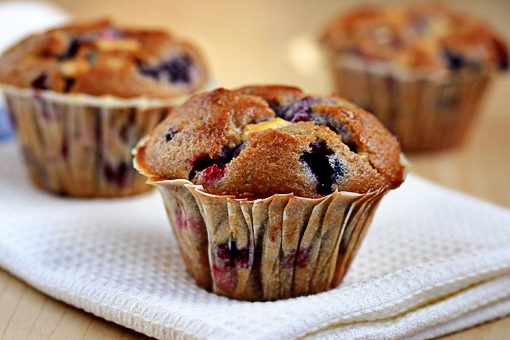
Mixed Berry Muffins with White Chocolate Chunks

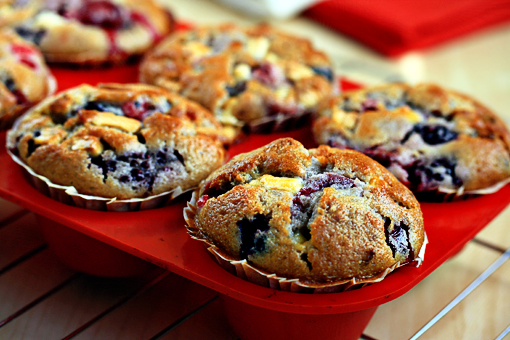
mixed berry muffins with white chocolate chunks recipe with step-by-step images

These muffins are like treasure boxes.

Cute, little treasure boxes.

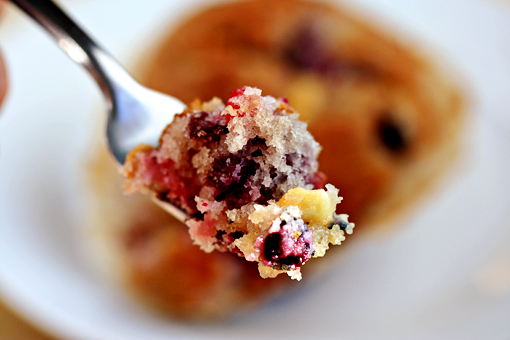
The moment you take a bite the muffin welcomes you with its moist and tender texture.

After a while you’ll notice that a couple of refreshing assorted berries have come to greet you too.

‘Yum’ – that’s exactly what comes to your mind!

And then, as if this wasn’t enough already, you’ll stumble upon these wonderfully rich and creamy white chocolate chunks that counterbalance the tartness of the berries in a way you’ve never even dared to dream about before.

And you think: ‘I thought “Yum” before… so what am I supposed to think now? Shall I scream? Or call somebody? Or shall I run really fast?’

These muffins, they are amazing.

mixed berry muffins with white chocolate chunks recipe with step-by-step images

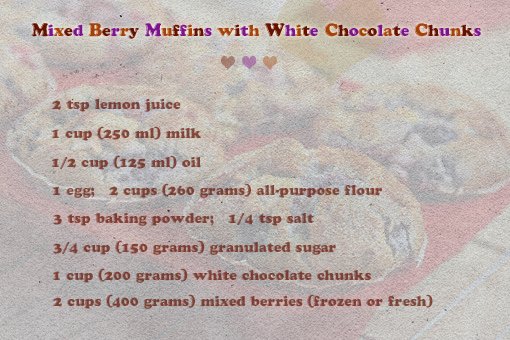
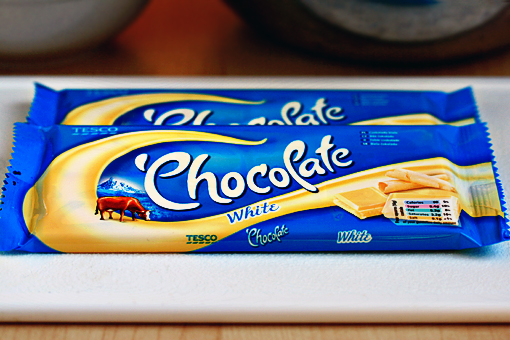
This is the cast of characters.


I’ve noticed that for some reason the number of ingredients in my recipes rarely exceeds ten.

If ever.

Who knows why?

‘Cause I don’t.

mixed berry muffins with white chocolate chunks recipe with step-by-step images

1. To make your own ‘treasure box’ muffins you’ll need two bowls.

One bowl for the ‘wet’ ingredients and the other one for the ‘dry’ ones.

Then you just combine the two, bake it and that’s it.

Bye!


No, no, no, just kidding – don’t you expect me to leave that quickly.

You know me, don’t you?

I’m here to reveal the whole story in every specific detail.

Otherwise my brain would break.


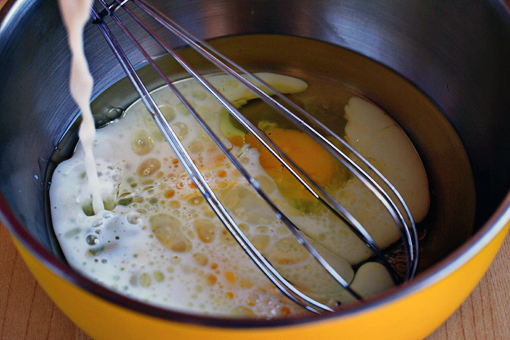
So (and this really is the step number one), in a bowl pour all the wet ingredients – the lemon juice, oil, milk and egg.

mixed berry muffins with white chocolate chunks recipe with step-by-step images

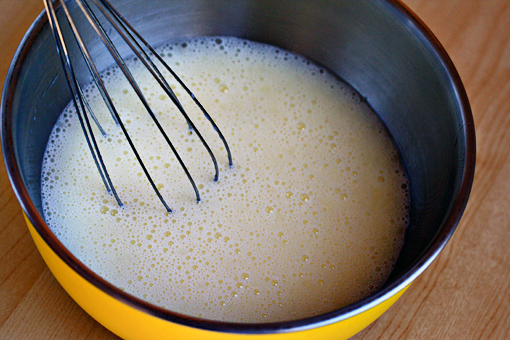
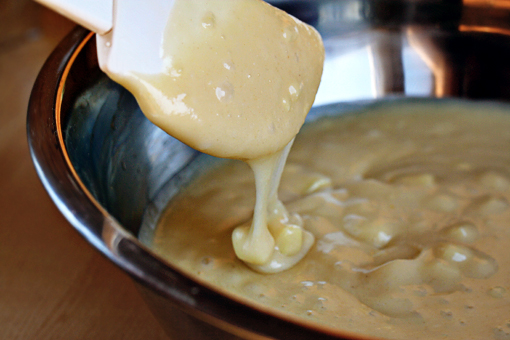
2. Whisk them to combine.

mixed berry muffins with white chocolate chunks recipe with step-by-step images

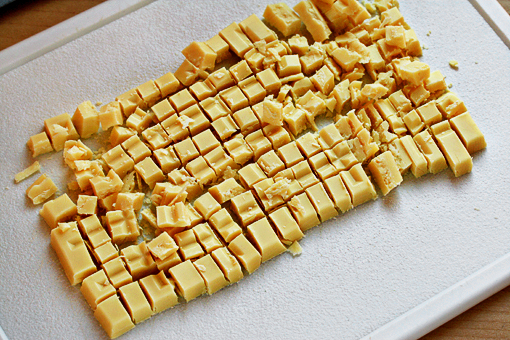
3. Then grab the white chocolate.

mixed berry muffins with white chocolate chunks recipe with step-by-step images

And chop it roughly into chunks.

Of course, you can also use store-bought chunks or even chips.

mixed berry muffins with white chocolate chunks recipe with step-by-step images

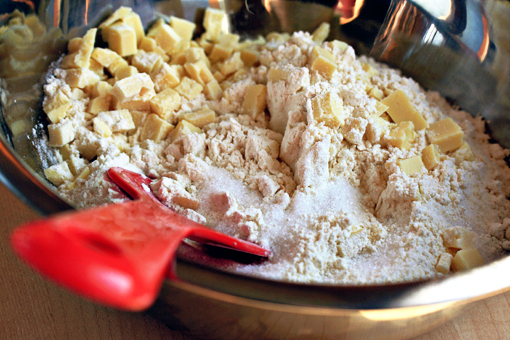
4. Place the dry ingredients (the flour, baking powder, salt, sugar and chocolate chunks) into the second bowl.

Set about half a cup of chunks aside for decorating.


5. Stir to combine.

mixed berry muffins with white chocolate chunks recipe with step-by-step images

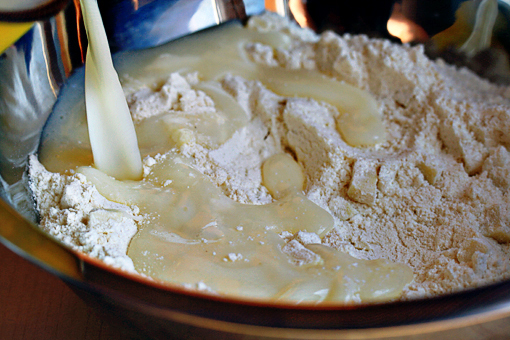
6. Now pour the wet mixture into the dry one.

mixed berry muffins with white chocolate chunks recipe with step-by-step images

7. And stir -and this is important when it comes to muffins – just until it combines.

Small lumps are perfectly all right.

Overmixing a muffin batter might result in tough muffins.

mixed berry muffins with white chocolate chunks recipe with step-by-step images

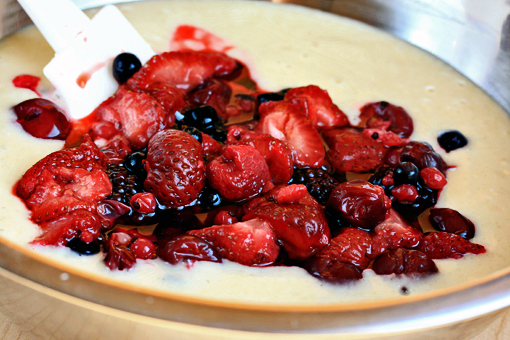
8. Finally, add the berries.

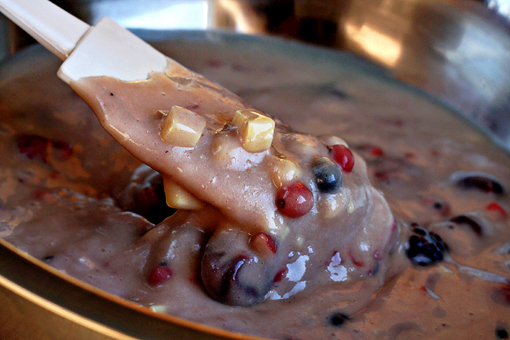
If you decide to use frozen berries, don’t let them thaw before baking. That way they won’t bleed into the batter and the batter will remain yellow(ish).

Which is exactly what I didn’t do.

mixed berry muffins with white chocolate chunks recipe with step-by-step images

9. Gently, fold in the berries and admire the beauty you’ve created.

Yes, I see a lot of beauty in batters.

Yes, I am feeling all right.

Why do you ask?

mixed berry muffins with white chocolate chunks recipe with step-by-step images

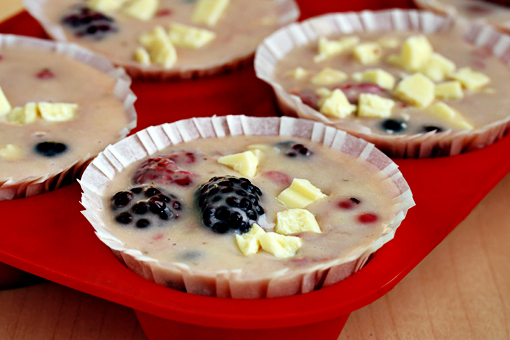
10. Line the muffin tin with paper liners.

If you don’t want to use papers, then just oil the tins with some vegetable oil.


11. Using a spoon, fill each cup full of batter and sprinkle a few chocolate chunks over the top.

The extreme amount of batter per cup might surprise you, but that way you’ll achieve those nice domed tops more easily.

mixed berry muffins with white chocolate chunks recipe with step-by-step images

12. Bake at 356 F (180 C) for about 20-25 minutes…

mixed berry muffins with white chocolate chunks recipe with step-by-step images

… or until the tops are golden brown and a toothpick inserted in the center of a muffin comes out clean.
13. Remove from the oven, transfer to a wire rack and let cool for about 5 minutes before removing from pan.

Then let cool completely.

mixed berry muffins with white chocolate chunks recipe with step-by-step images

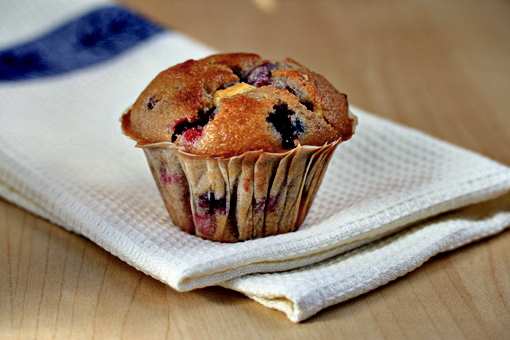
Here it is – standing proud in all its irresistible deliciousness.

mixed berry muffins with white chocolate chunks recipe with step-by-step images

Oh my!

Enjoy, dear friends!


This recipe makes 11 large muffins.

Send this to a friend