Basil – Interesting Facts

basil facts

The first interesting fact about basil is that I’ve bought myself one.

Sorry!

But yes, buying a fresh potted basil was a gorgeous thing for me.

It is wonderful to look at, it smells divine, it requires very little care (just water, basically).

And, as I’ve also noticed, you can hardly run out of it even if you’re using the leaves in your kitchen quite often.
 
 
basil facts

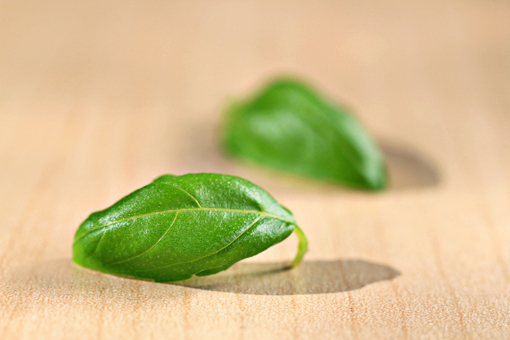
Wonderful, gorgeous basil.

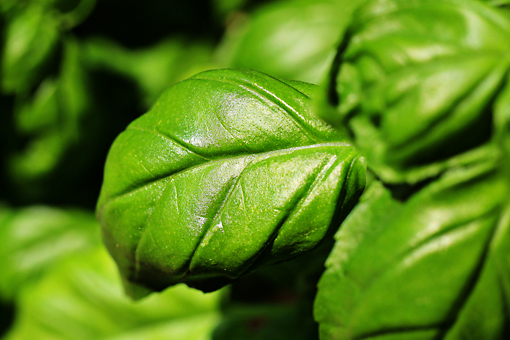
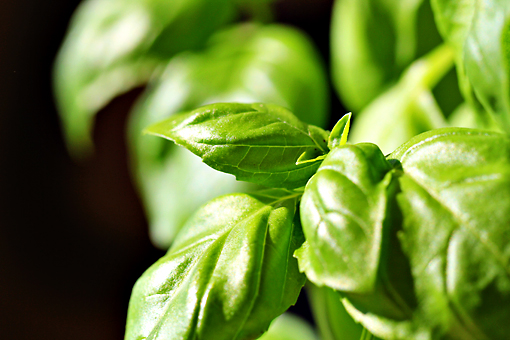
I love how the leaves look – all silky and shiny.

They smell strong and sweet.


basil facts

  • The name ‘basil’ is derived from the old Greek word basilikohn, which means ‘royal’, reflecting that ancient culture’s attitudes held towards this herb were very noble and sacred.
  • There are various kinds of  basil. The various basils have different scents because the herb has a number of different essential oils which come together in different proportions for various breeds. Cool, huh? The most common basil scents are lemon, clove, camphor and licorice.
  • Basil  is very sensitive to cold, with best growth in hot, dry conditions. It thrives in strong sunlight. It behaves as an annual if there is any chance of a frost. Keep that in mind if you keep your plant outside!
  • If you wish to propagate your plant, it can be done in two ways – from seed or from cuttings (with the stems of short cuttings suspended for two weeks or so in water until roots develop).
  • Yellow leaves towards the bottom of the plant are an indication that the plant has been stressed. Usually this means that it needs less water, or less or more fertilizer.
  • Don’t be afraid to pick the leaves. Picking the leaves off the plant helps promote growth, largely because the plant responds by converting pairs of leaflets next to the topmost leaves into new stems.
  • Scientific studies have established that compounds in basil oil have potent antioxidant, anticancer, antiviral, and antimicrobial properties.
  • Basil leaves are best used fresh and added only during the last few minutes of cooking.


I’ve used basil in some lovely, lovely recipes on this site:
basil facts

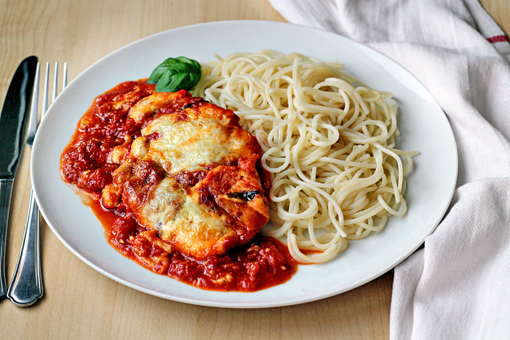
As in this delicious Parmesan Chicken.


basil facts

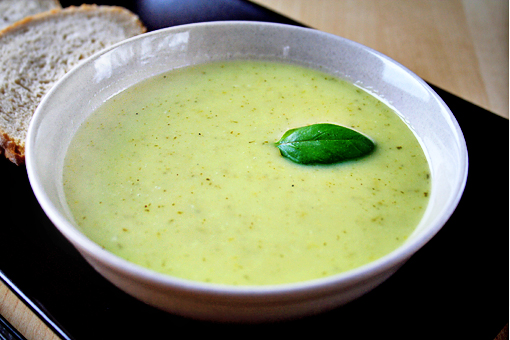
Or in this yummy Potato and Celery Soup.


basil facts

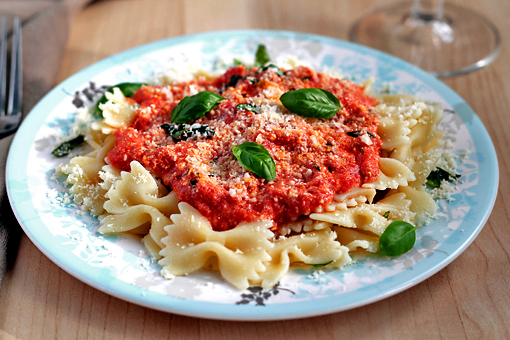
Oh, and in this Farfalle with Tomato and Cheese Sauce, too.

Yum!
 
 
basil facts

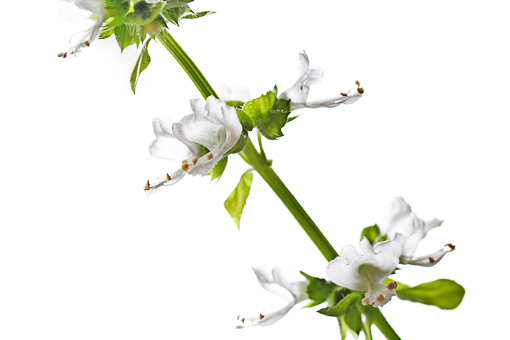
One morning I woke up and saw this on my plant!

I had never seen basil flowers before in my life so this view really got me.

Yes, I easily become overwhelmed by things like my plant’s first bloom.

It’s good to know that once your stem produces flowers, foliage production stops on that stem, the stem becomes woody, and essential oil production declines. To prevent this, you may pinch off any flower stems before they are fully mature. Because only the blooming stem is so affected, some stems can be pinched for leaf production, while others are left to bloom for decoration or seeds.

 
I just love basil!

It’s a miraculous plant with so much to offer.

And what about you? Do you already have a pot with fresh basil on your windowsill?
 

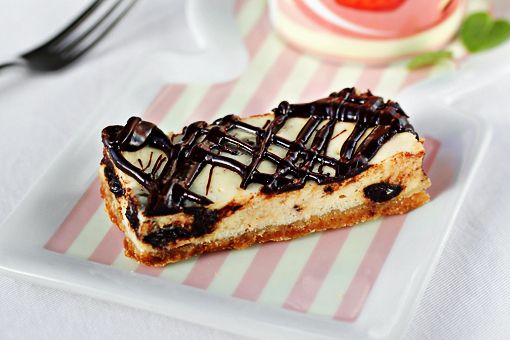
Chocolate Chunk Cheesecake Bars

chocolate chunk cheesecake bars recipe with step by step pictures

Are you one of those people who, like me, had thought that cheesecake and chocolate are not possible together?

Well, then I have something to tell you.

Something very important.

Something enlightening!

Dear friends, cheesecake and chocolate ARE possible to exist together.

SO possible.

Beyond possible!

Finger-licking possible!

Let me show you…

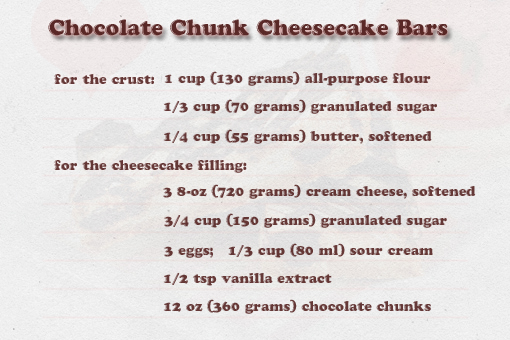
chocolate chunk cheesecake bars recipe with step by step pictures

These are our lovely ingredients.
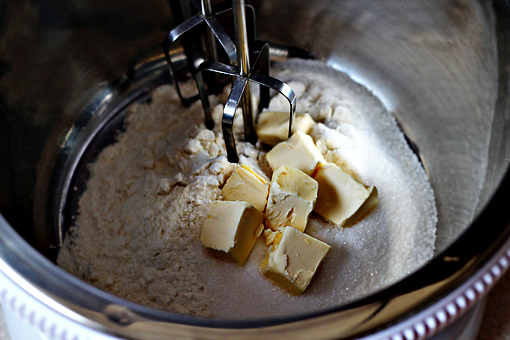
chocolate chunk cheesecake bars recipe with step by step pictures

1. First, place the first three ingredients in the bowl of your electric mixer…

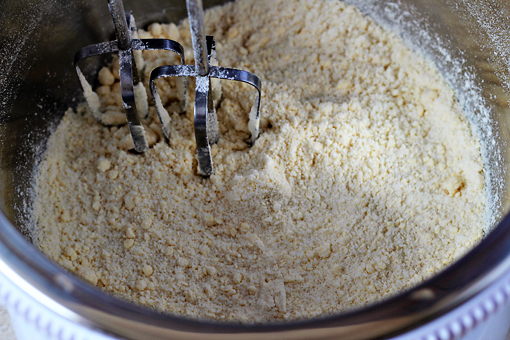
chocolate chunk cheesecake bars recipe with step by step pictures

2. …and beat them at medium-low speed until combined.

Then increase the speed to medium, and beat until well blended and crumbly.

chocolate chunk cheesecake bars recipe with step by step pictures

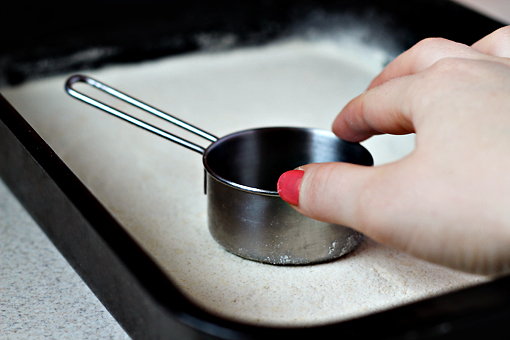
3. Pat the mixture into a lightly greased 13 x 9-inch (33 x 22 cm) pan.

A good trick is to use the bottom part of a measuring cup or a glass to do that.

chocolate chunk cheesecake bars recipe with step by step pictures

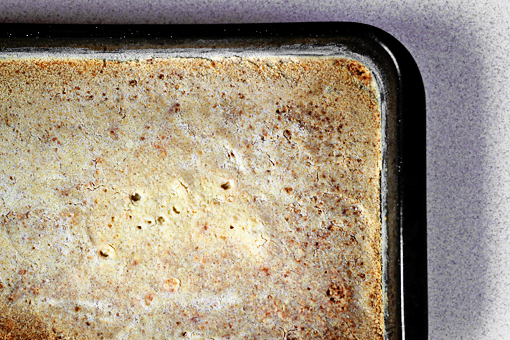
4. Preheat your oven to 350 °F (175 °C) and bake for 13-15 minutes or until lightly browned.

This is a lovely, delicious and easy substitute for crushed wafers that are often used in cheesecake recipes.

Cool, huh?

chocolate chunk cheesecake bars recipe with step by step pictures, cheesecake filling

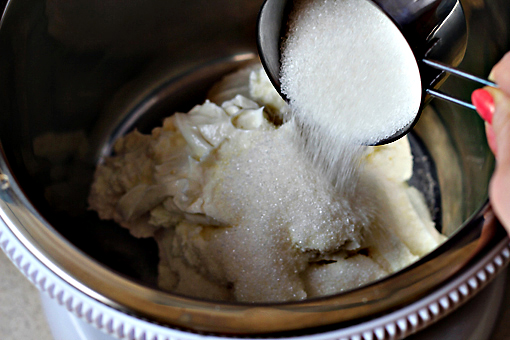
5. Now, let’s make the cheesecake filling.

Place the cream cheese and sugar in the bowl of your electric mixer and beat at medium speed until creamy.

chocolate chunk cheesecake bars recipe with step by step pictures, add the eggs

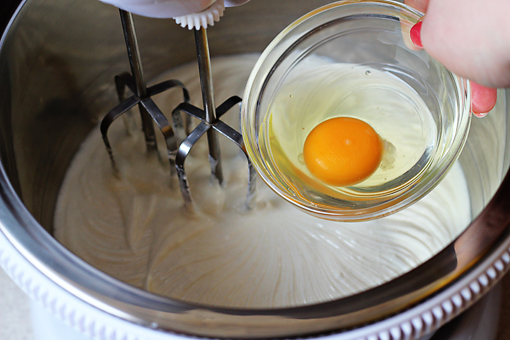
6. Add the eggs, one at a time, beating at low speed just until blended after each addition.

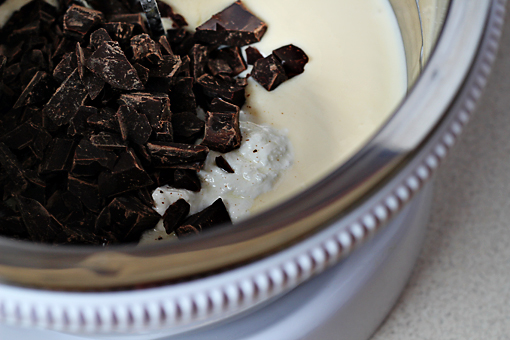
7. Finally, add the sour cream, vanilla, and one cup of the chocolate chunks.

Beat just until blended.

Of course, you can use chocolate chips instead of the chunks.

chocolate chunk cheesecake bars recipe with step by step pictures, pour the cheesecake mixture over the baked crust

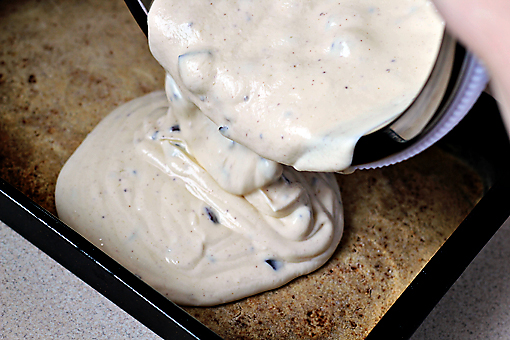
8. Pour the cheesecake mixture over the baked crust.

chocolate chunk cheesecake bars recipe with step by step pictures, using a spoon or an offset spatula, even out the surface

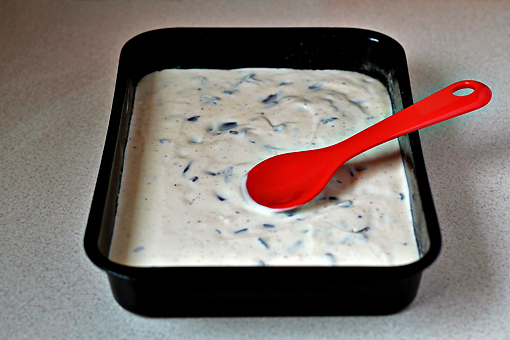
9. And using a spoon or an offset spatula, even out the surface.

chocolate chunk cheesecake bars recipe with step by step pictures, bake

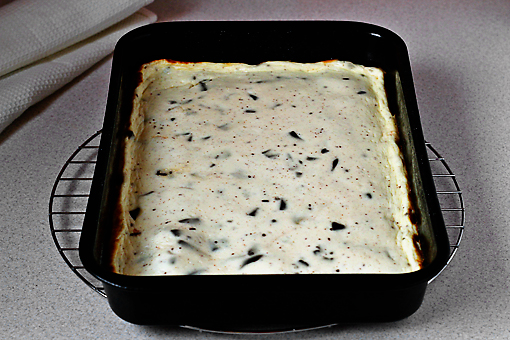
10. Bake at 350 °F (175 °C) for about 25 minutes or until set.


11. Remove from the oven and let cool completely on a wire rack.

chocolate chunk cheesecake bars recipe with step by step pictures, melt the rest of your chocolate chunks

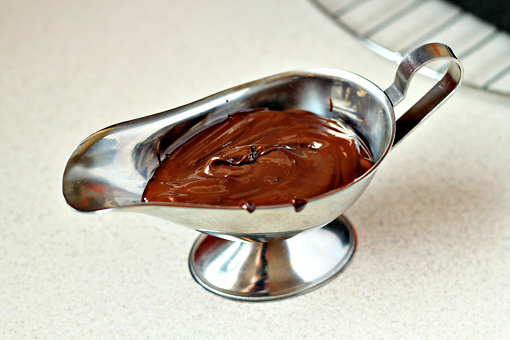
12. Then melt the rest of your chocolate chunks.

Microwave oven will work just fine.

(Oh, and use microwave friendly dishes, please. The one in the picture hadn’t gone to the microwave oven. If it had, things would have gotten sparkly… I guess. Don’t ask me how I know. Please.)

chocolate chunk cheesecake bars recipe with step by step pictures, stir the melted chocolate until smooth, then drizzle the chocolate over the cheesecake

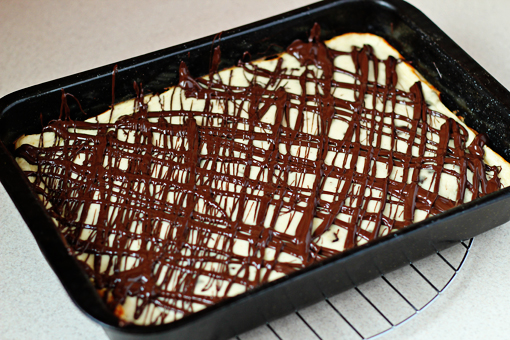
13. Stir the melted chocolate until smooth. Then drizzle the chocolate over the cheesecake.


14. Cover and chill for at least 4 hours. Then cut into bars.

Also, I’ve found out that it’s fine to reheat the bars in the microwave oven for a little while before serving. That way the chocolate will melt slightly making the whole eating experience even more divine.

chocolate chunk cheesecake bars recipe with step by step pictures

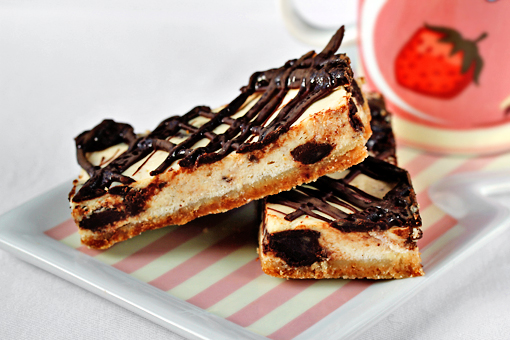
Enjoy, dear friends.


(This lovely recipe was adapted from here. The recipe makes about 14 3×1.5-inch (8 x 4 cm) bars. The recipe takes about 1 hour to prepare and about 4 hours to chill. And the whole thing takes about 10 minutes to eat. Funny but true.)

Send this to a friend