Chocolate Chunk Cheesecake Bars

chocolate chunk cheesecake bars recipe with step by step pictures

Are you one of those people who, like me, had thought that cheesecake and chocolate are not possible together?

Well, then I have something to tell you.

Something very important.

Something enlightening!

Dear friends, cheesecake and chocolate ARE possible to exist together.

SO possible.

Beyond possible!

Finger-licking possible!

Let me show you…
chocolate chunk cheesecake bars recipe with step by step pictures

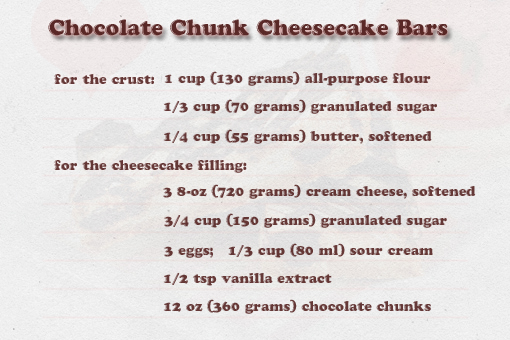
These are our lovely ingredients.
chocolate chunk cheesecake bars recipe with step by step pictures

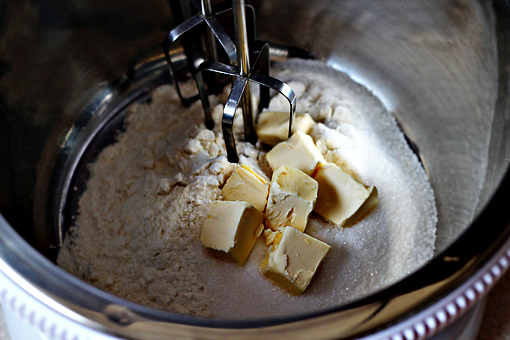
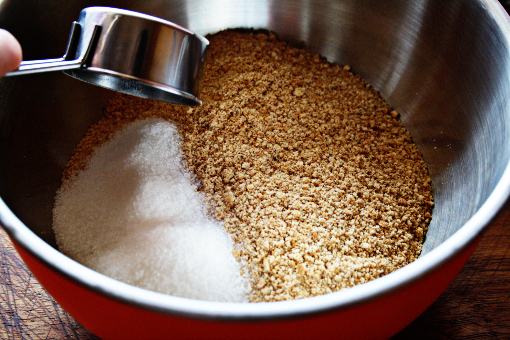
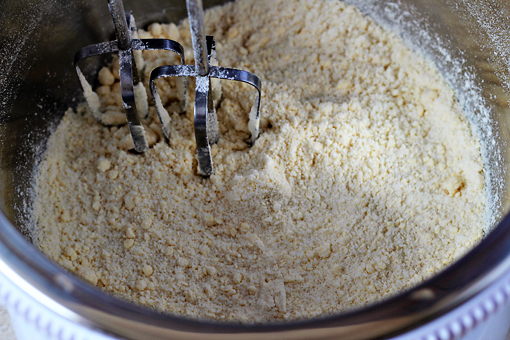
1. First, place the first three ingredients in the bowl of your electric mixer…
chocolate chunk cheesecake bars recipe with step by step pictures

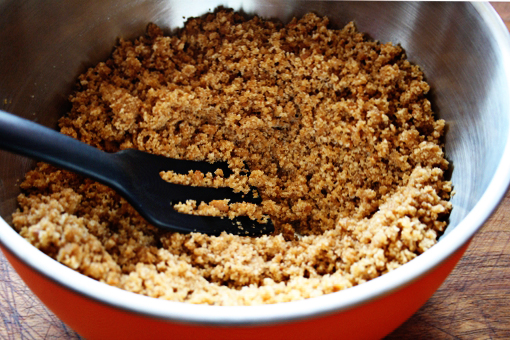
2. …and beat them at medium-low speed until combined.

Then increase the speed to medium, and beat until well blended and crumbly.
chocolate chunk cheesecake bars recipe with step by step pictures

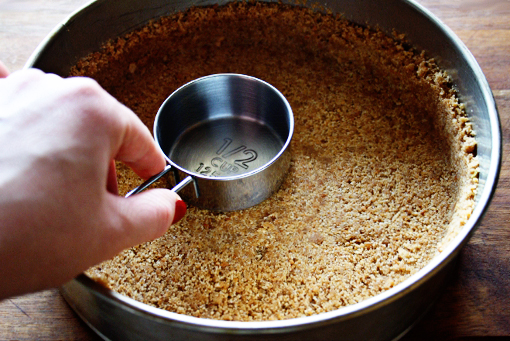
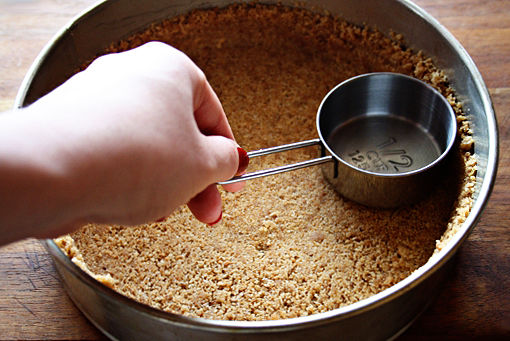
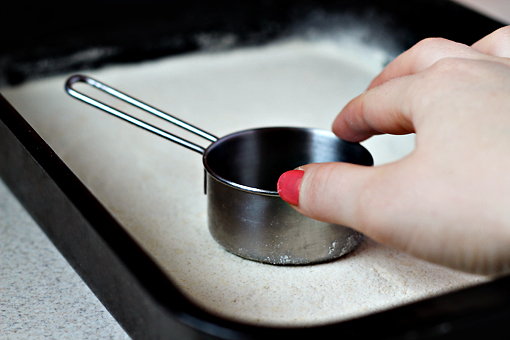
3. Pat the mixture into a lightly greased 13 x 9-inch (33 x 22 cm) pan.

A good trick is to use the bottom part of a measuring cup or a glass to do that.
chocolate chunk cheesecake bars recipe with step by step pictures

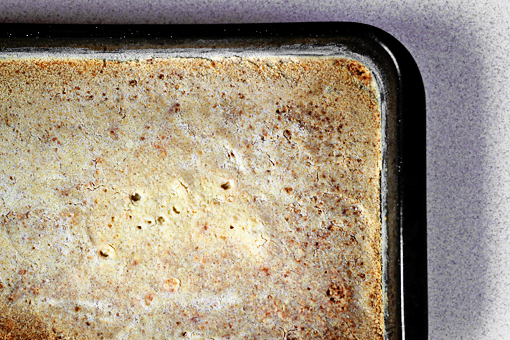
4. Preheat your oven to 350 °F (175 °C) and bake for 13-15 minutes or until lightly browned.

This is a lovely, delicious and easy substitute for crushed wafers that are often used in cheesecake recipes.

Cool, huh?
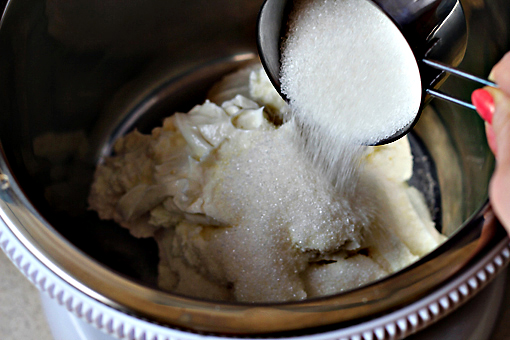
chocolate chunk cheesecake bars recipe with step by step pictures, cheesecake filling

5. Now, let’s make the cheesecake filling.

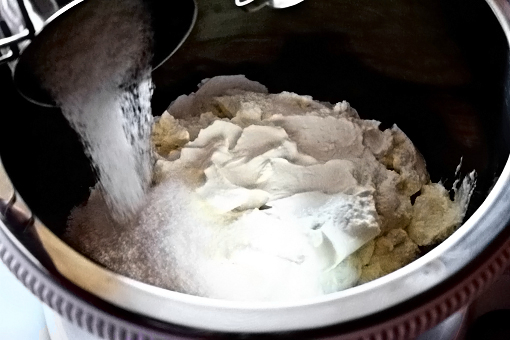
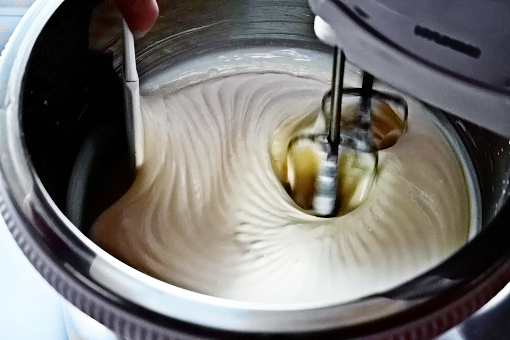
Place the cream cheese and sugar in the bowl of your electric mixer and beat at medium speed until creamy.
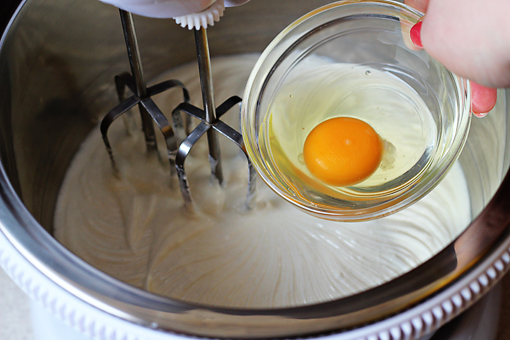
chocolate chunk cheesecake bars recipe with step by step pictures, add the eggs

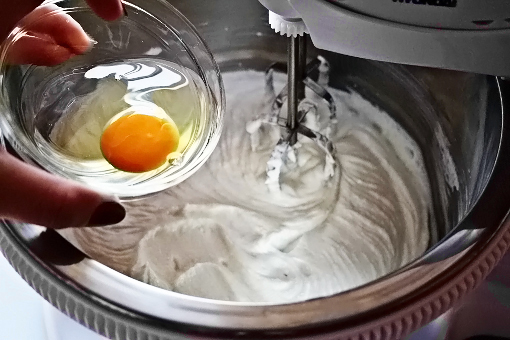
6. Add the eggs, one at a time, beating at low speed just until blended after each addition.
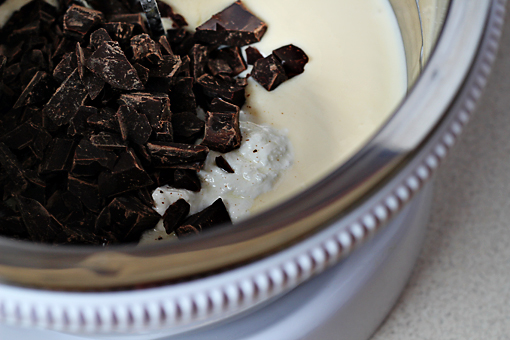
7. Finally, add the sour cream, vanilla, and one cup of the chocolate chunks.

Beat just until blended.

Of course, you can use chocolate chips instead of the chunks.
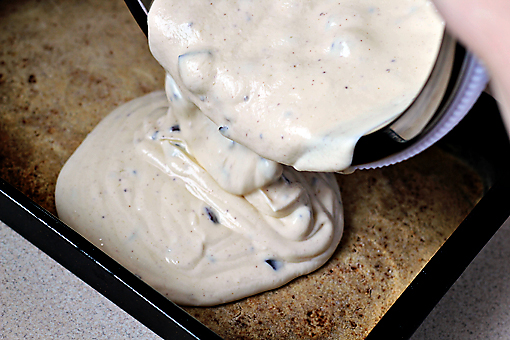
chocolate chunk cheesecake bars recipe with step by step pictures, pour the cheesecake mixture over the baked crust

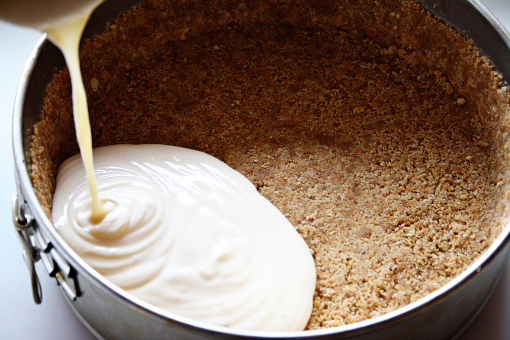
8. Pour the cheesecake mixture over the baked crust.
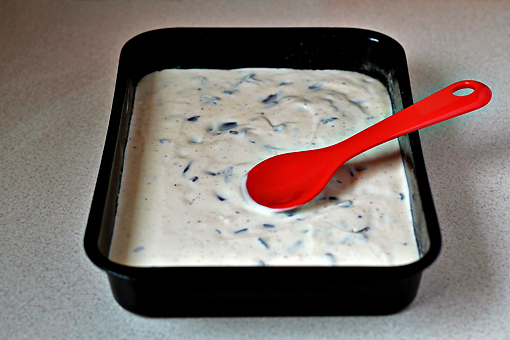
chocolate chunk cheesecake bars recipe with step by step pictures, using a spoon or an offset spatula, even out the surface

9. And using a spoon or an offset spatula, even out the surface.
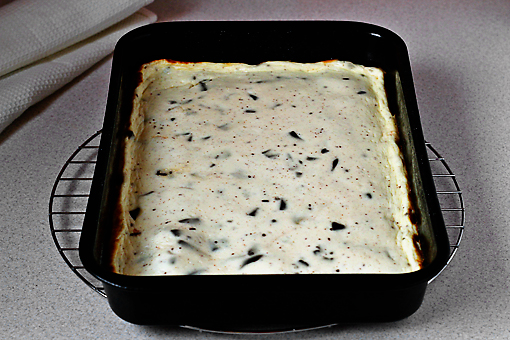
chocolate chunk cheesecake bars recipe with step by step pictures, bake

10. Bake at 350 °F (175 °C) for about 25 minutes or until set.


11. Remove from the oven and let cool completely on a wire rack.
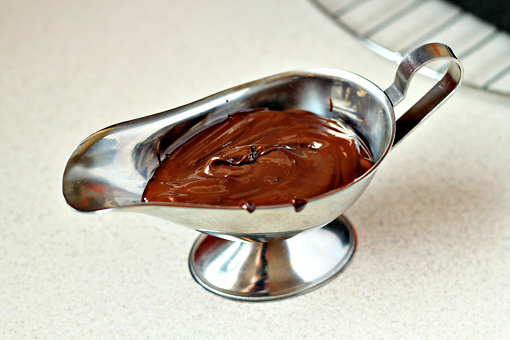
chocolate chunk cheesecake bars recipe with step by step pictures, melt the rest of your chocolate chunks

12. Then melt the rest of your chocolate chunks.

Microwave oven will work just fine.

(Oh, and use microwave friendly dishes, please. The one in the picture hadn’t gone to the microwave oven. If it had, things would have gotten sparkly… I guess. Don’t ask me how I know. Please.)
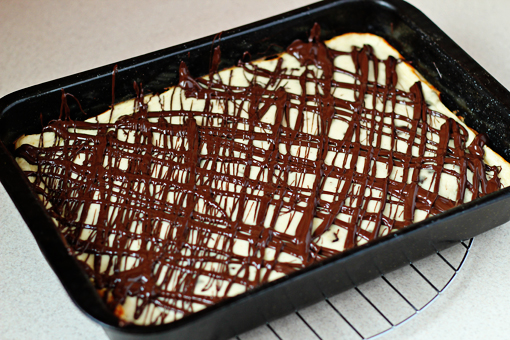
chocolate chunk cheesecake bars recipe with step by step pictures, stir the melted chocolate until smooth, then drizzle the chocolate over the cheesecake

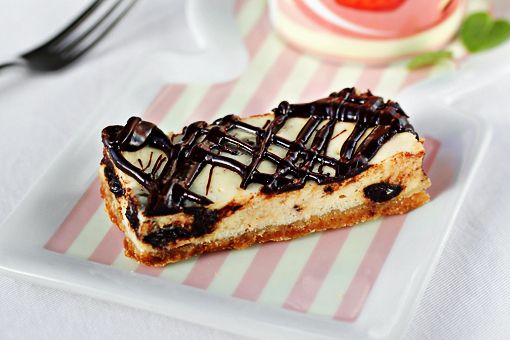
13. Stir the melted chocolate until smooth. Then drizzle the chocolate over the cheesecake.


14. Cover and chill for at least 4 hours. Then cut into bars.

Also, I’ve found out that it’s fine to reheat the bars in the microwave oven for a little while before serving. That way the chocolate will melt slightly making the whole eating experience even more divine.
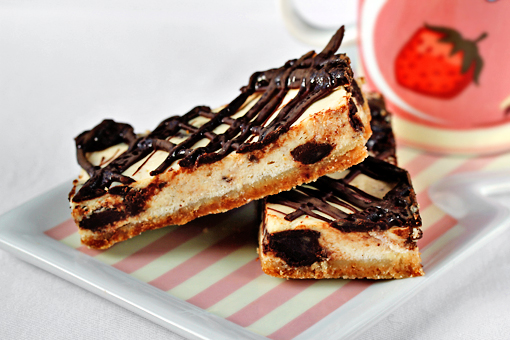
chocolate chunk cheesecake bars recipe with step by step pictures

Enjoy, dear friends.


(This lovely recipe was adapted from here. The recipe makes about 14 3×1.5-inch (8 x 4 cm) bars. The recipe takes about 1 hour to prepare and about 4 hours to chill. And the whole thing takes about 10 minutes to eat. Funny but true.)

New York Cheesecake

I love cheesecake.

I know, I know, I love too many things but it just happens to be so…

Yogurt, milk-shakes, cheesecakes – that all makes my world go round.

A few months ago I prepared this delicious Grated Cheesecake and I received some very positive feedback. So I think it’s the highest time to add a new piece into the cheesecake collection.

New York Cheesecake – I’d never had that one before.

After I tasted it, I have this to say:

If New York had nothing else to offer but this cheesecake it would be worth visiting for this piece of sweet pleasure alone.

And you know what?

Let’s prepare it at home – that will be fun!

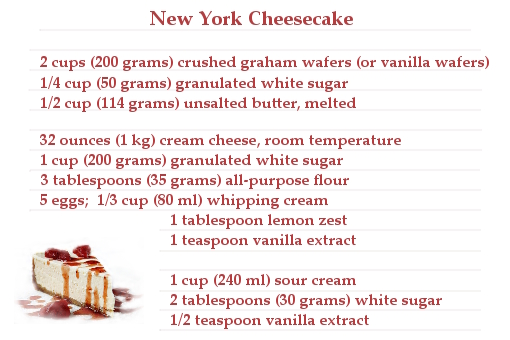
These are our ingredients.

(Do you like the recipe card? I hope you do – then the four zillion hours I spent making it hasn’t been lost.)

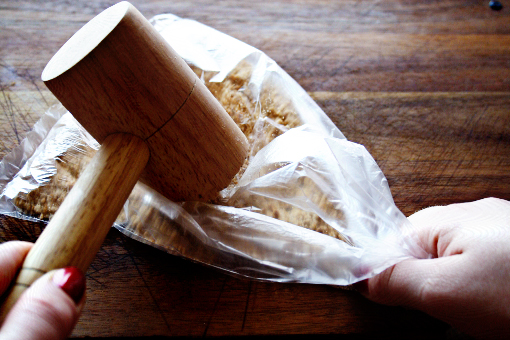
1. In a food processor process whole cookies (waffles) until they are crumbs.

Yes, that is my food processor you are looking at right now – I’m very much into the prehistorical style of cooking.

2. Pour the crumbs into a medium bowl.

3. Add the sugar (1/4 cup – 50 grams).

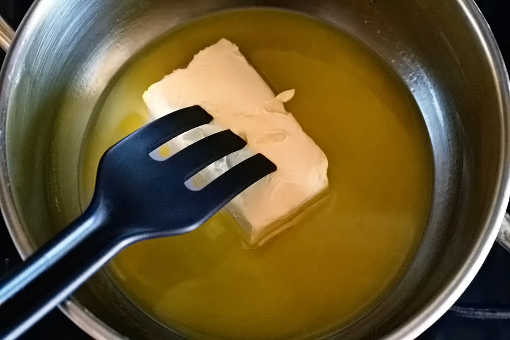
4. In a small pot, melt the butter over medium-low heat.

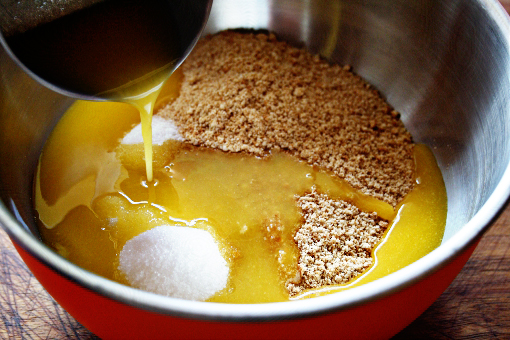
5. Pour the butter into the bowl …

6. … and combine all the ingredients.

7. Now grease or spray a 9 inch (23 cm) springform pan.

8. Fill the pan with the crumbly mixture.

9. Using a measuring cup press the mixture over the bottom …

… and about 1 inch (2.5 cm) up the sides of the springform pan.

10. Cover and refrigerate while you make the filling.

11. In the bowl of your electric mixer place the cream cheese, sugar (1 cup – 200 grams) and flour.

12. Beat on medium speed until smooth (about 1 minute).

13. Add the eggs, one at a time, beating well (about 30 seconds) after each addition.

14. Scrape down the sides of the bowl as you go.

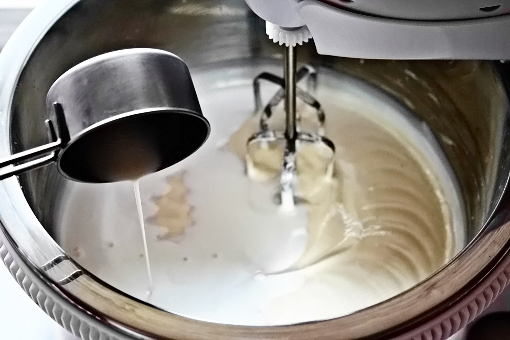
15. Add the whipping cream, lemon zest and the vanilla extract and beat until incorporated (about 1 minute).

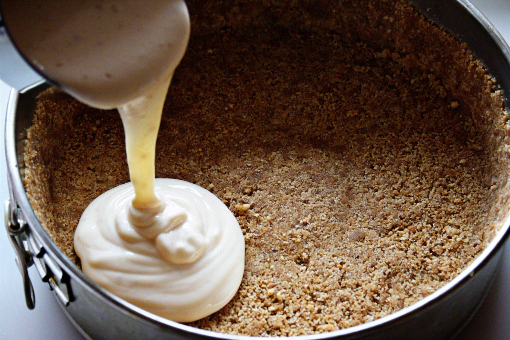
16. Remove the crust from the fridge and pour in the filling.

17. Place the cheesecake pan on a larger baking pan and place in the oven.

18. Bake at 350 F (177 C) for 15 minutes. Then reduce the oven temperature to 250 degrees F (120 degrees C) and continue to bake for about another 1 1/2 hours or until firm and only the center of the cheesecake looks a little wet and wobbly.

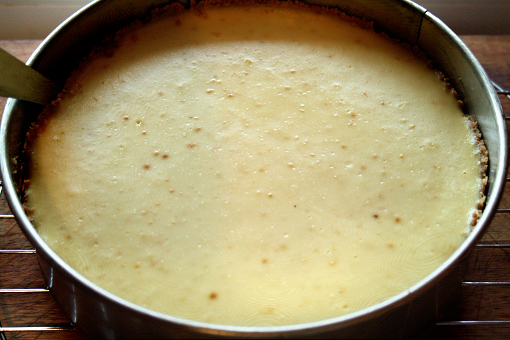
19. Remove from the oven and place on a wire rack.

(There was a storm going on behind the window as I was taking this picture – so I was struggling, struggling with the light.)

20. I also ran a knife around the inside edge of the pan to loosen the cheesecake (this procedure helps prevent the surface from cracking as it cools).

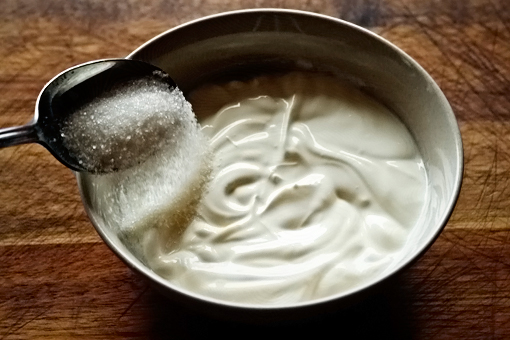
21. In a medium bowl mix the sour cream, sugar (2 tablespoons – 30 grams) and the vanilla.

22. Spread the topping over the warm cheesecake and return to oven to bake for 15 more minutes.

23. Remove from the oven and let cool (this cheesecake tastes best after being refrigerated for about 12 hours).

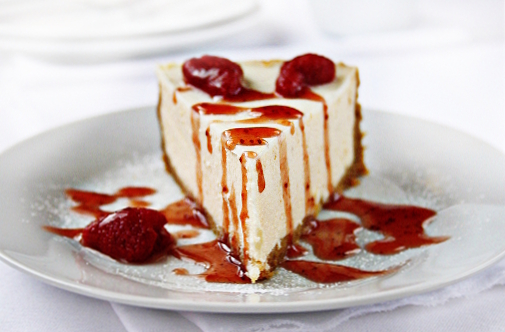
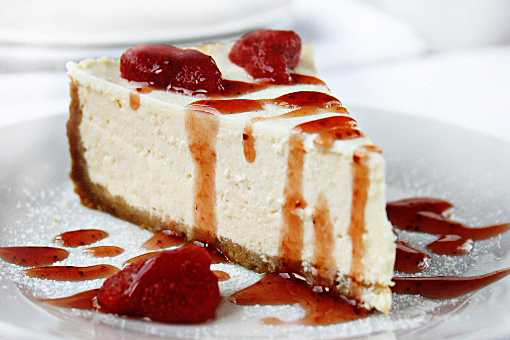
I garnished the top of the cake with some canned strawberries and strawberry sauce and ate it in about three microseconds.

Enjoy, dear friends, it’s a very nice experience.

(This lovely recipe was adapted from Joyofbaking.com.)

Send this to a friend