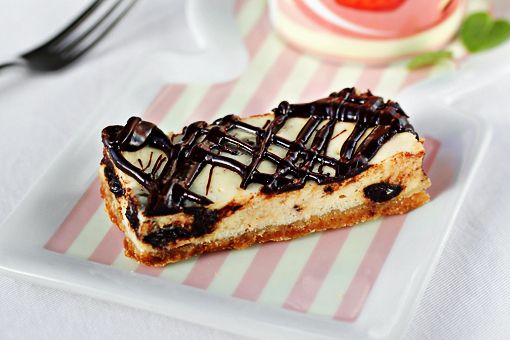
Chocolate Chunk Cheesecake Bars

chocolate chunk cheesecake bars recipe with step by step pictures

Are you one of those people who, like me, had thought that cheesecake and chocolate are not possible together?

Well, then I have something to tell you.

Something very important.

Something enlightening!

Dear friends, cheesecake and chocolate ARE possible to exist together.

SO possible.

Beyond possible!

Finger-licking possible!

Let me show you…
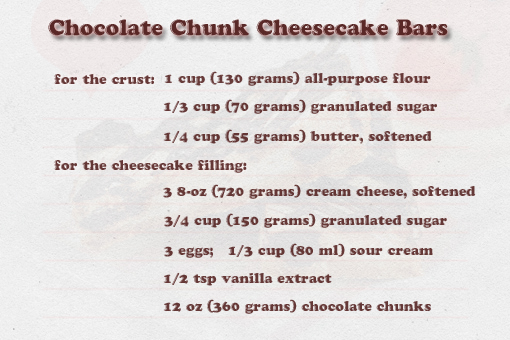
chocolate chunk cheesecake bars recipe with step by step pictures

These are our lovely ingredients.
chocolate chunk cheesecake bars recipe with step by step pictures

1. First, place the first three ingredients in the bowl of your electric mixer…
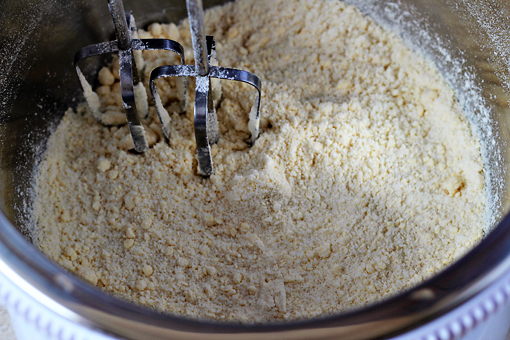
chocolate chunk cheesecake bars recipe with step by step pictures

2. …and beat them at medium-low speed until combined.

Then increase the speed to medium, and beat until well blended and crumbly.
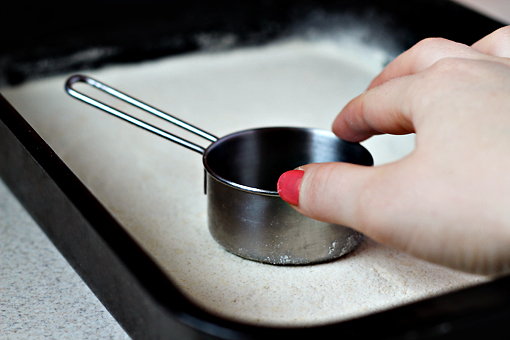
chocolate chunk cheesecake bars recipe with step by step pictures

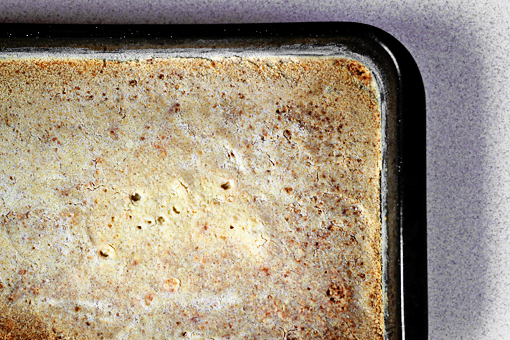
3. Pat the mixture into a lightly greased 13 x 9-inch (33 x 22 cm) pan.

A good trick is to use the bottom part of a measuring cup or a glass to do that.
chocolate chunk cheesecake bars recipe with step by step pictures

4. Preheat your oven to 350 °F (175 °C) and bake for 13-15 minutes or until lightly browned.

This is a lovely, delicious and easy substitute for crushed wafers that are often used in cheesecake recipes.

Cool, huh?
chocolate chunk cheesecake bars recipe with step by step pictures, cheesecake filling

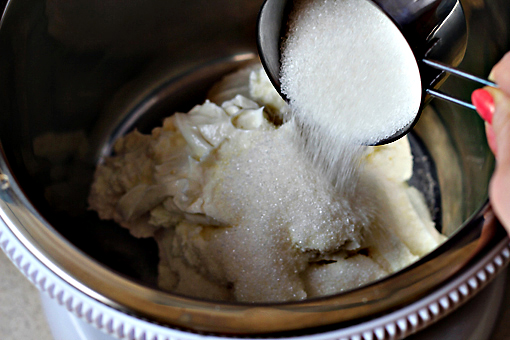
5. Now, let’s make the cheesecake filling.

Place the cream cheese and sugar in the bowl of your electric mixer and beat at medium speed until creamy.
chocolate chunk cheesecake bars recipe with step by step pictures, add the eggs

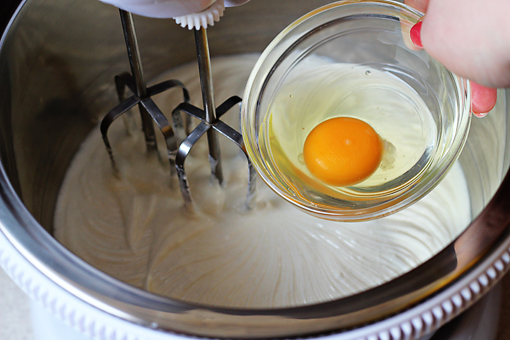
6. Add the eggs, one at a time, beating at low speed just until blended after each addition.
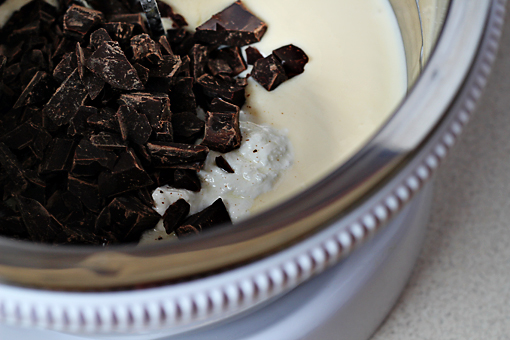
7. Finally, add the sour cream, vanilla, and one cup of the chocolate chunks.

Beat just until blended.

Of course, you can use chocolate chips instead of the chunks.
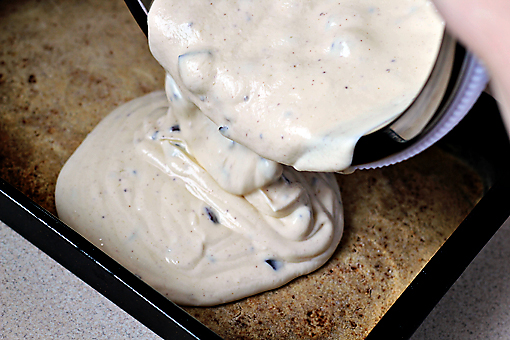
chocolate chunk cheesecake bars recipe with step by step pictures, pour the cheesecake mixture over the baked crust

8. Pour the cheesecake mixture over the baked crust.
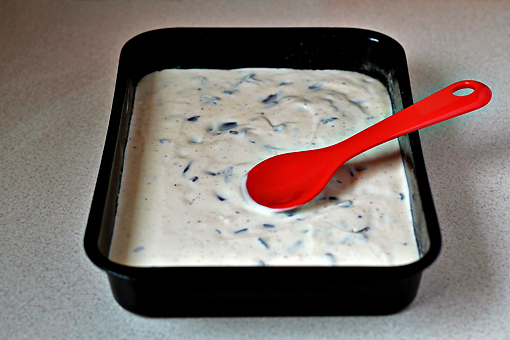
chocolate chunk cheesecake bars recipe with step by step pictures, using a spoon or an offset spatula, even out the surface

9. And using a spoon or an offset spatula, even out the surface.
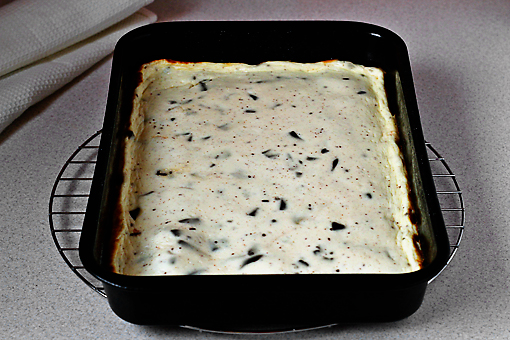
chocolate chunk cheesecake bars recipe with step by step pictures, bake

10. Bake at 350 °F (175 °C) for about 25 minutes or until set.


11. Remove from the oven and let cool completely on a wire rack.
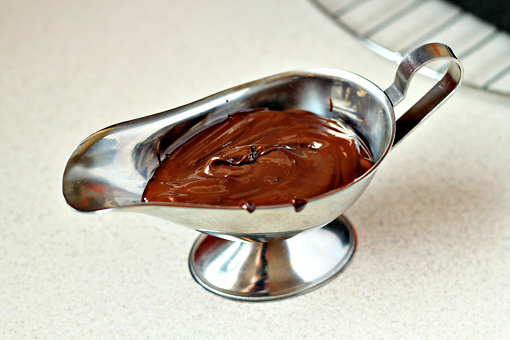
chocolate chunk cheesecake bars recipe with step by step pictures, melt the rest of your chocolate chunks

12. Then melt the rest of your chocolate chunks.

Microwave oven will work just fine.

(Oh, and use microwave friendly dishes, please. The one in the picture hadn’t gone to the microwave oven. If it had, things would have gotten sparkly… I guess. Don’t ask me how I know. Please.)
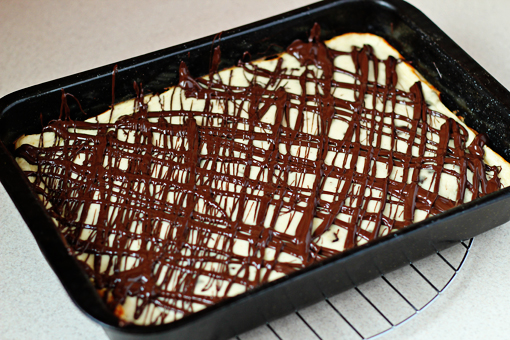
chocolate chunk cheesecake bars recipe with step by step pictures, stir the melted chocolate until smooth, then drizzle the chocolate over the cheesecake

13. Stir the melted chocolate until smooth. Then drizzle the chocolate over the cheesecake.


14. Cover and chill for at least 4 hours. Then cut into bars.

Also, I’ve found out that it’s fine to reheat the bars in the microwave oven for a little while before serving. That way the chocolate will melt slightly making the whole eating experience even more divine.
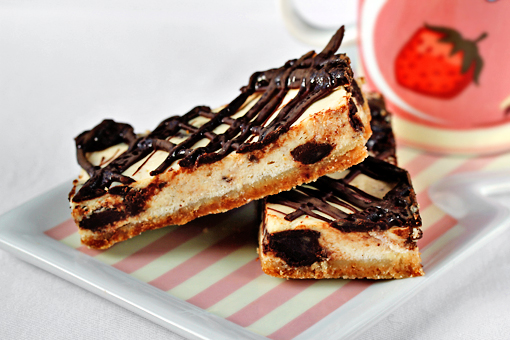
chocolate chunk cheesecake bars recipe with step by step pictures

Enjoy, dear friends.


(This lovely recipe was adapted from here. The recipe makes about 14 3×1.5-inch (8 x 4 cm) bars. The recipe takes about 1 hour to prepare and about 4 hours to chill. And the whole thing takes about 10 minutes to eat. Funny but true.)

Soft Garlic Knots

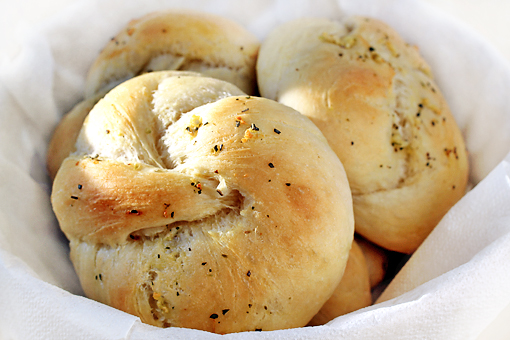
soft garlic knots recipe with step by step pictures, soft buns, homemade buns

I’ve been craving nice homemade rolls for quite some time.

The instant I saw the recipe for these heavenly Soft Garlic Knots over at AnniesEats I knew my fate was sealed.

With the recipe as flawless as this one, everything went perfectly.

Oh, and yes, there’s yeast. Please, don’t let that fact scare you off. The yeast in this recipe is nothing more than one of a few ingredients that creates the dough and that’s it. The magic will happen by itself, dear friends, there are no special tricks of trade involved.

This is a simple recipe which yields amazing results.

oft garlic knots recipe with step by step pictures, soft buns, homemade buns, ingredients

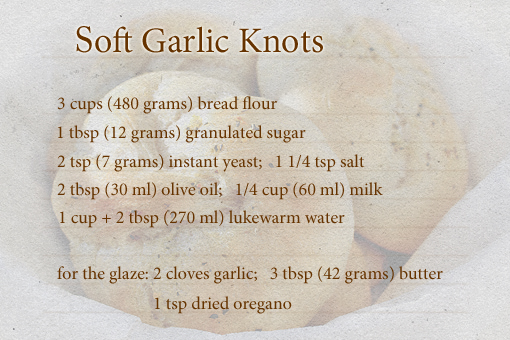
In case you really need to have these knots too, of which I am just sure, here are the ingredients.


oft garlic knots recipe with step by step pictures, soft buns, homemade buns, place the dry ingredients into a bowl and stir them to combine

These knots can be kneaded in an electric mixer or simply just by hand. That really depends on your decision.

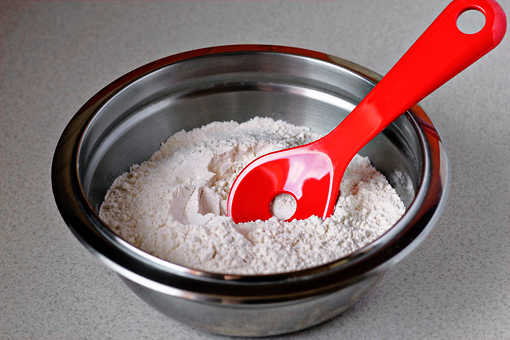
1. To start, place the dry ingredients (flour, sugar, yeast and salt) into a bowl and stir them to combine.

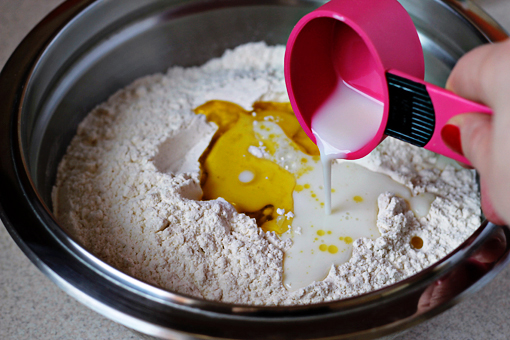
2. Then add the wet ingredients (olive oil, milk and water) and stir again just to combine.

oft garlic knots recipe with step by step pictures, soft buns, homemade buns, using the dough attachment of your electric mixer, mix the dough for about 8 minutes

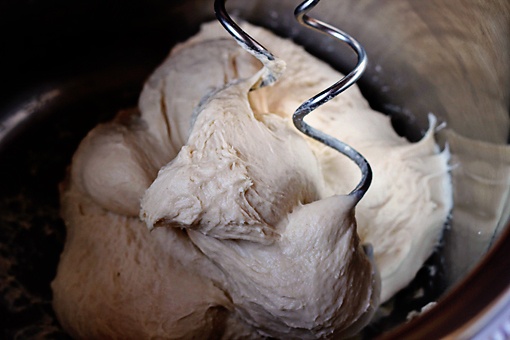
3. Now, using the dough attachment of your electric mixer, mix the dough for about 8 minutes.

If you want to do this by hand, the process will last a little longer.

What we are going for here is a smooth and elastic dough.

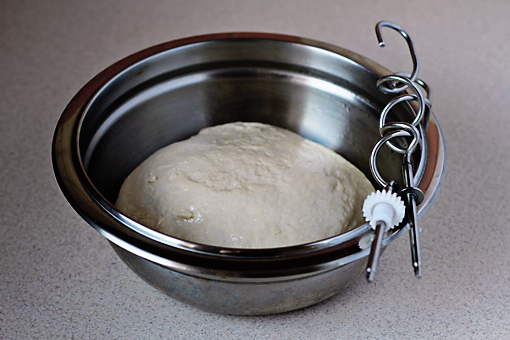
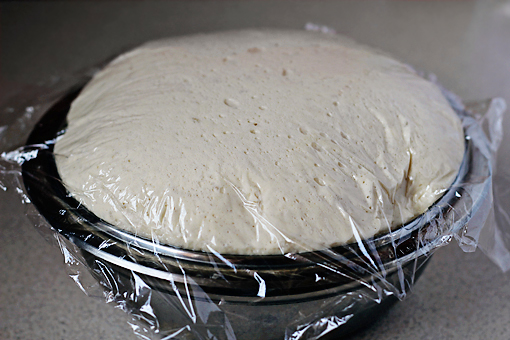
4. Transfer the dough to a lightly oiled bowl, turn once to coat…

oft garlic knots recipe with step by step pictures, soft buns, homemade buns, cover with plastic wrap

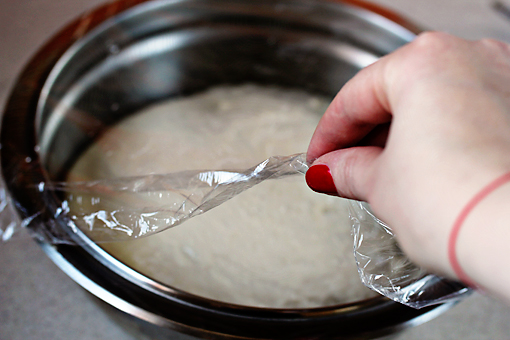
…and cover with a plastic wrap.

5. Allow to rise for about 1 hour, or until doubled in bulk.

oft garlic knots recipe with step by step pictures, soft buns, homemade buns, turn the dough onto a very lightly floured surface and divide the dough

6. Turn the dough onto a very lightly floured surface and divide it into 8 equal pieces.

To do that I used a knife. I first divided the dough into halves. Then I cut each half into halves again so I had 4 pieces. And finally I cut each piece into halves again which resulted in 8 equal pieces.


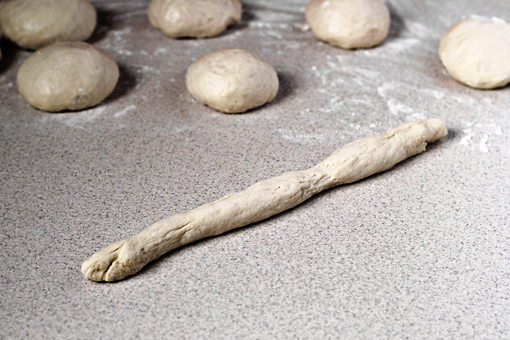
7. Use the palms of your hands to roll each ball into a 10-inch (26 cm) long rope.

If the dough is too sticky then use a little flour to dust it with. The ropes can’t be sticky because you wouldn’t be able to form the knots.

oft garlic knots recipe with step by step pictures, soft buns, homemade buns, tie the rope into a knot, let rise

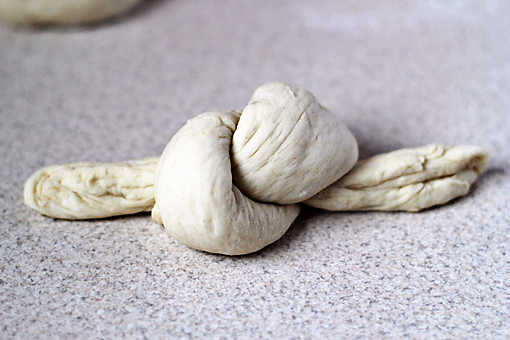
8. Now tie the rope into a knot.

oft garlic knots recipe with step by step pictures, soft buns, homemade buns

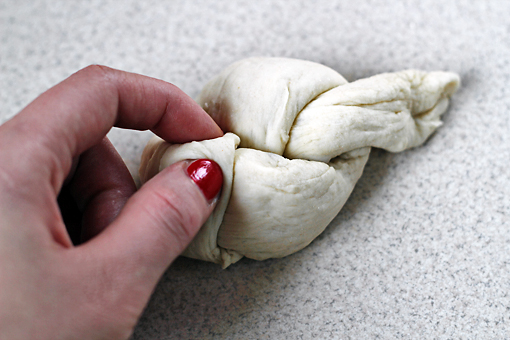
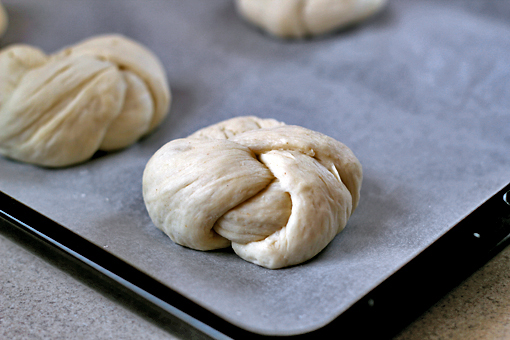
9. Take the end lying underneath the knot and bring it over the top, tucking it into the center and take the end lying over the knot and tuck it underneath and into the center.

oft garlic knots recipe with step by step pictures, soft buns, homemade buns, transfer the knots on a baking sheet lined with parchment paper and cover with a clean kitchen towel

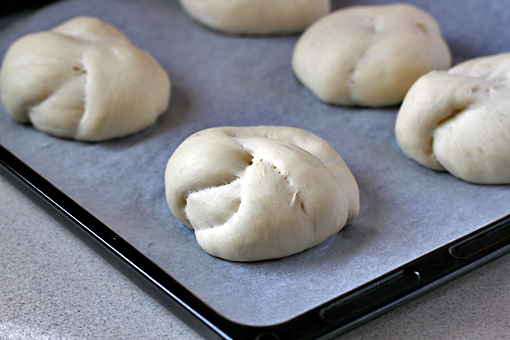
10. Transfer the knots on a baking sheet lined with parchment paper and cover with a clean kitchen towel.


11. Let the knots rise for another 45 minutes.

oft garlic knots recipe with step by step pictures, soft buns, homemade buns, prepare the glaze, melt the butter and press the garlic into it

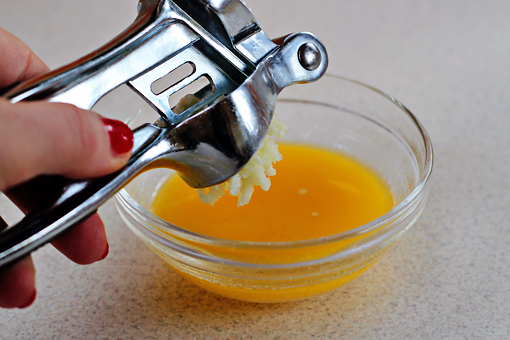
12. In the meantime you can prepare the glaze.

Melt the butter (microwave is perfectly okay) and press the garlic into it.

Instead of pressing the garlic through the press you can just mince it finely.

oft garlic knots recipe with step by step pictures, soft buns, homemade buns, glaze, add dried oregano

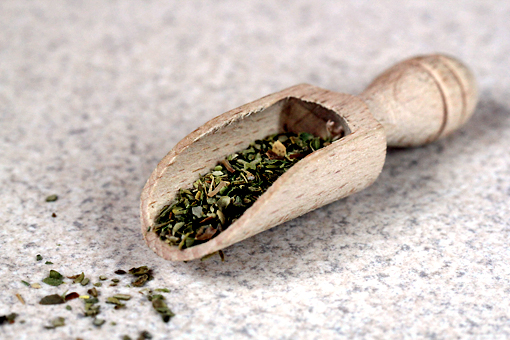
13. Add the dried oregano…

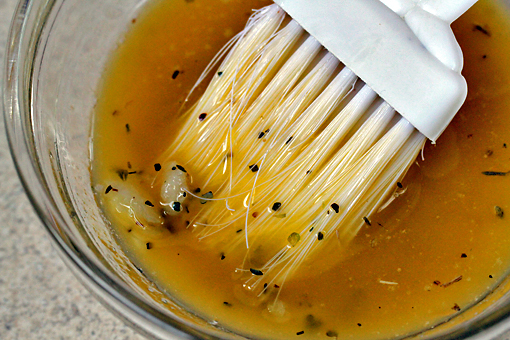
oft garlic knots recipe with step by step pictures, soft buns, homemade buns, mix the glaze

14. …and mix it all together.

oft garlic knots recipe with step by step pictures, soft buns, homemade buns

15. When your knots are nice and puffy…

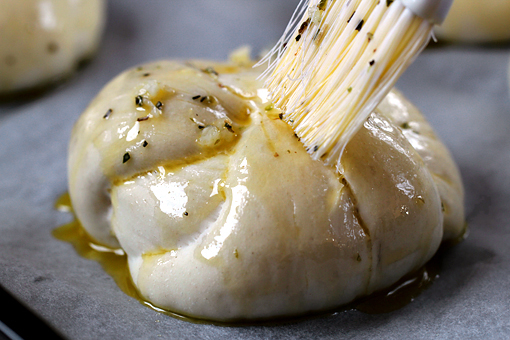
oft garlic knots recipe with step by step pictures, soft buns, homemade buns, brush the glaze onto them

…brush the glaze onto them.


oft garlic knots recipe with step by step pictures, soft buns, homemade buns, bake

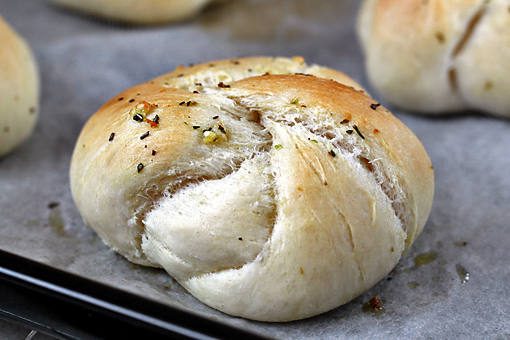
16. Place the knots into a preheated oven (350 °F – 175 °C) and bake for about 15-18 minutes.

This will smell like heaven, I’m telling you.

It’s amazing!

Your neighbors will come knocking on your door begging for the recipe.

oft garlic knots recipe with step by step pictures, soft buns, homemade buns

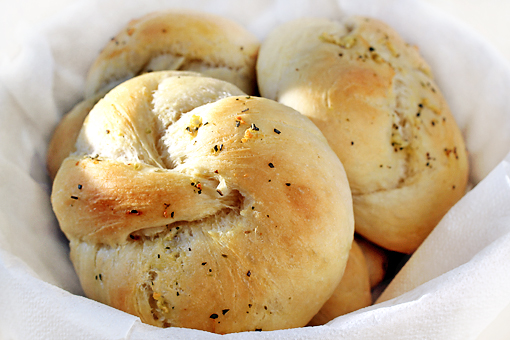
These cuties taste best when still a little warm.

They perfectly accompany a delicious soup, or, when I think about it, they perfectly accompany just anything.

Enjoy, dear friends!

Send this to a friend