Photography ~ More Contrast, Please!

how-to-increase-contrast-in-photoshop-before-and-after

If you’ve known me for awhile, then you surely know how much I like photography.

It’s the air I breath.

And if you know me even more, then you might have noticed I am a total and complete freak for contrast in my pictures.

In the past few years I have stumbled upon the most hilarious and life-changing ways how the contrast can be increased (you can find my tutorials here and here and here). Knowing that, you can surely imagine the level of my excitement when I just lately found another awesome technique from the realm of contrast enhancement.

Have I already said it is awesome?

Because it is AWESOME!

And probably the easiest method I know… here’s how it works.

Photography ~ How To Create White Vignette

how to add white misty border to a picture Photoshop tutorial

Because many of you, my dear readers, liked my last article on adding more light to your pictures during these tough months of winter, I decided to share another one of my light finding tricks with you.

I call it ‘white vignette’, despite the fact that the word vignette is usually used to describe dark blurred border around the picture.

I like adding dark vignette to my pictures. I find them cute because they nicely draw attention to the center of an image. I even wrote a tutorial about it once.  But my winter photos, oh my winter photos do not need it that much, they need more light, that’s what they need.

Long story short, one day it occurred to me that  – maybe – if I used white color instead of black one while creating the vignette, it could help my darker pictures to look better.

I liked the idea, and I loved the result.

Just have a look…


how to add white misty border to a picture Photoshop tutorial

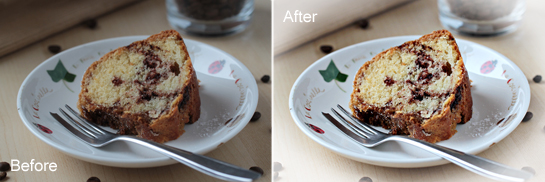
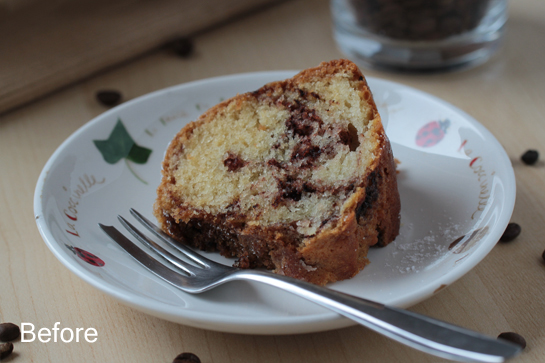
This is the before picture.

When I was taking this picture, the display of my camera was saying it looked alright and that it was properly exposed.

But I did not think so when I saw it on the screen of my laptop.


how to add white misty border to a picture Photoshop tutorial, unsharp mask to add contrast, sharpening with unsharp mask, light with levels

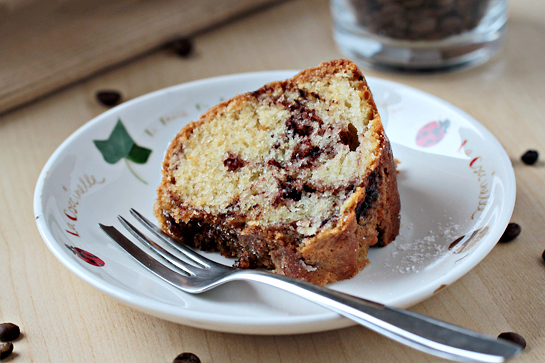
This is the same picture after a little bit of editing in Photoshop Elements 8 has been done (no vignette yet).

Much better, I think.

I corrected exposure with levels (tutorial here).

I improved contrast with unsharp mask (tutorial here).

And I sharpened the picture a little (tutorial here).


how to add white misty border to a picture Photoshop tutorial, white vignette

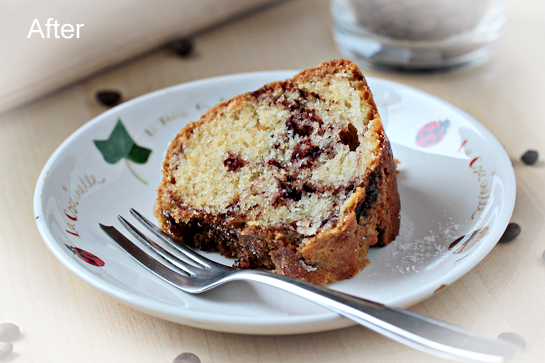
And then I added my white vignette.

I like how it creates an illusion of more light coming in.

These are the steps that I took:

Three Ways to Increase Contrast in Photography

Have you ever considered increasing contrast in your photos?

If I should speak for myself, I clearly remember the days when I was looking at the pictures I’d made and thought:‘Why, oh why does there have to be that ugly gray cast over my photos? I don’t want it to be there. I want my pictures to be vibrant and crisp!’

To solve this problem I first decided to pray and cry and scream and kick around and then cry some more (because that is the usual way how I solve my problems)…and then I remembered that times have changed and all that one needs to do to solve all the problems is to sit on her butt and start googling.

So I googled.

And did I find gorgeous things!

Basically, I came across three ways to increase contrast.

They can be used separately or all together.

Just have a look:

This is a SOOC (straight out of camera) picture that I made a couple of months ago on one of our trips.

And this is what I got after I opened my Photoshop and played for a while.

Note: I am using Photoshop Elements 8.

1. This is the first way to achieve better contrast in your pictures.

The change is rather subtle here – the final picture is a bit more defined and also slightly more vibrant.

To use the first method go to ENHANCE (situated in the tool menu on top of your screen) -> ADJUST LIGHTING -> BRIGHTNESS/CONTRAST.

A small window will pop up.

In that window, drag the Contrast slider to the right just until you like the picture.

Try to be gentle since this method is rather strong.

And here we are with a tad better contrast.

But we want more, right?

2. This is the second method I’ve found.

In this case, go to ENHANCE -> ADJUST COLOR -> ADJUST COLOR CURVES.

A big window will pop up.

In this window you’ll see four sliders. Drag them so that you achieve a slight S-shaped curve on the graph.

This method is very effective, very gentle to the picture and it also pumps up your colors a little.

You just have to love it.

But there’s something that you’ll love even more…you’ll actually love it more than anything in this world…

3. And this is it – raising contrast with UNSHARP MASK.

Yes, I hear you – you use unsharp mask to sharpen your images.

And that is precisely what its primary purpose is.

But if you happen to adjust it ‘crazily’ – you’ll witness a miracle.

Just try it for yourself…go to ENHANCE -> UNSHARP MASK.

Now you’ll see a small window with three sliders – Amount, Radius and Threshold.

We are going to work with first two only.

With the first slider (Amount) go somewhere from 10 to 25 and with the second one (Radius) go almost to the end of the line.

And get amazed!

A am not lying when I say that I nearly shed a tear when I saw the result of this method for the first time.

It’s breathtaking.

The image is so much crisper, vibrant and more real.

I just love it!

Okay, being gentle with photo processing is one thing.

And I highly recommend that.

But being so greedy that you can’t help yourself from applying all the contrast increasing ways you know to one picture is something totally different.

I think that it’s done by people who want their images to be obnoxiously soaked up with everything there is to get.

I don’t know people like that.

All I know is that the picture above has all three methods applied to it.

(Oh, and in the last picture, that ‘someone’ also freed the horses’ heads from the shadow by going to ENHANCE -> ADJUST LIGHTING -> SHADOWS/HIGHLIGHTS.)

Send this to a friend