Photography – Adding Golden Glow In Photoshop

adding golden glow in photoshop tutorial

Adding golden glow to your images is a simple yet effective editing technique that allows you to bring more warmth, glow and contrast to your images.

I remembered this simple technique while editing the pictures for my latest recipe – the langos.


adding golden glow in photoshop tutorial

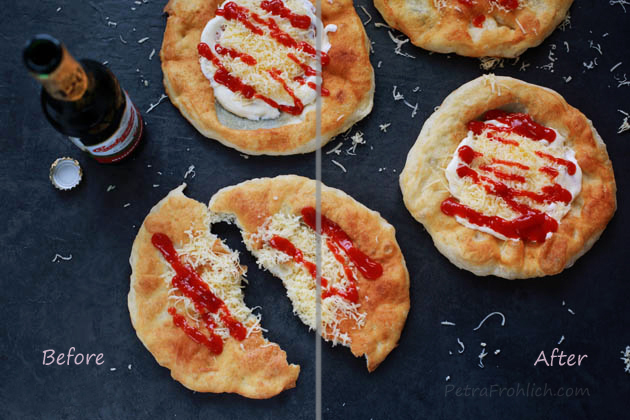
When I was looking at the pictures I took and compared them to reality, I thought that the delicious fried bread shown in my images was lacking a bit of the beautifully golden color that it actually possessed. The pictures were just not doing the real thing justice.



langos AFTER

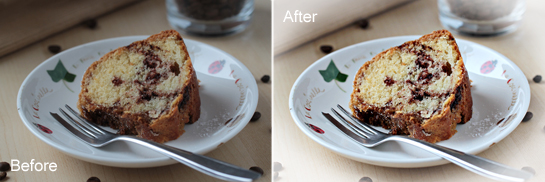
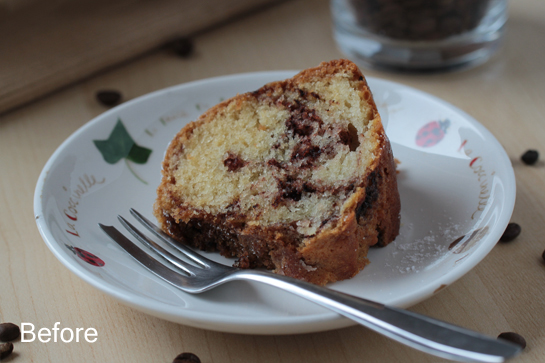
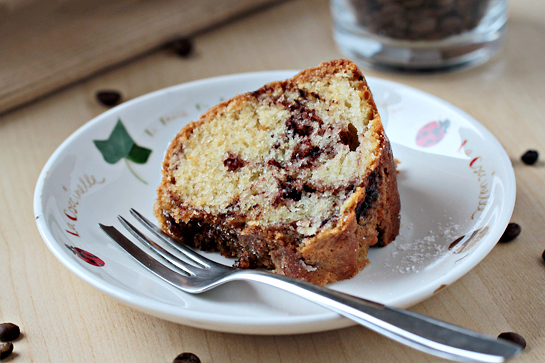
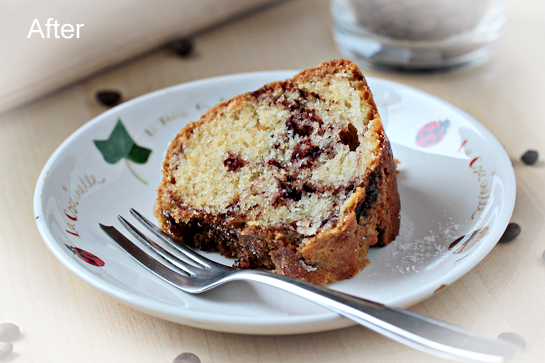
This is the image after the golden glow effect was applied.

The change is slight and rather subtle. But it did just what I was looking for – it deepened the image, added more contrast, and most importantly, it brought nice warming golden glow to my subject.


adding golden glow in photoshop tutorial

To add more glow to your pictures, just follow these simple steps.

1. Open your image in Photoshop (I am using Photoshop Elements 11 here).

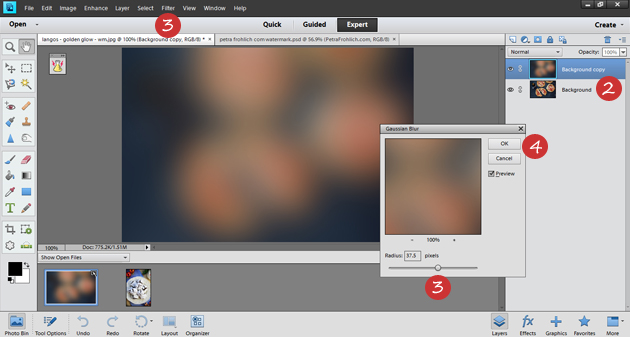
2. Duplicate the background layer (Ctrl + J for PC/Command + J for Mac).

3. In the top bar of your screen press Filter -> Blur -> Gaussian Blur and in the small window that pops up move the slider to choose the setting that blurs your image completely (I went up to 37.5 % for my image).

4. Press OK.


adding golden glow in photoshop tutorial

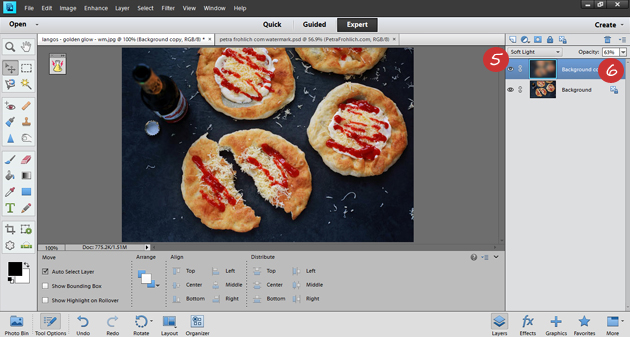
5. Change the Blending Mode to Slight Light. You can find the Blending Mode option in the upper right part of your screen, right above the open layers.

6. If you are happy with the result, just save the image. If you’d like to reduce the effect, you can use the Opacity slider to make the effect more subtle (you can find the Opacity slider in the upper right part of your screen, right above the open layers). In this particular image, I liked the result of the effect at 63 % opacity.


langos - golden glow - wm

And that’s it! Pretty easy, right?

Enjoy your editing!

Love,
Petra


Photography ~ How To Create White Vignette

how to add white misty border to a picture Photoshop tutorial

Because many of you, my dear readers, liked my last article on adding more light to your pictures during these tough months of winter, I decided to share another one of my light finding tricks with you.

I call it ‘white vignette’, despite the fact that the word vignette is usually used to describe dark blurred border around the picture.

I like adding dark vignette to my pictures. I find them cute because they nicely draw attention to the center of an image. I even wrote a tutorial about it once.  But my winter photos, oh my winter photos do not need it that much, they need more light, that’s what they need.

Long story short, one day it occurred to me that  – maybe – if I used white color instead of black one while creating the vignette, it could help my darker pictures to look better.

I liked the idea, and I loved the result.

Just have a look…


how to add white misty border to a picture Photoshop tutorial

This is the before picture.

When I was taking this picture, the display of my camera was saying it looked alright and that it was properly exposed.

But I did not think so when I saw it on the screen of my laptop.


how to add white misty border to a picture Photoshop tutorial, unsharp mask to add contrast, sharpening with unsharp mask, light with levels

This is the same picture after a little bit of editing in Photoshop Elements 8 has been done (no vignette yet).

Much better, I think.

I corrected exposure with levels (tutorial here).

I improved contrast with unsharp mask (tutorial here).

And I sharpened the picture a little (tutorial here).


how to add white misty border to a picture Photoshop tutorial, white vignette

And then I added my white vignette.

I like how it creates an illusion of more light coming in.

These are the steps that I took:

Photography ~ My Photo Editing Process

photo editing process before and after comparison, simple tutorial, photography tutorial, crop tool, resize, boost action, pioneer woman actions, histogram correcting exposure, sharpening, boosting contrast, lighten shadows

I’ve realized that although I have already posted a bunch of photo editing tutorials here before, I have never described my entire photo editing process – step by step.

And since many of you have asked about it, I’ve prepared this little post describing my usual workflow.

Some steps you may be familiar with, some steps may be new to you. Some steps might even look strange, especially if you are a trained photographer. Which I am not. But what I am offering here is the knowledge that I’ve gained during the last two years of my photography and blogging experience. So if you have anything to add, please do so in the comment section of this post.

Learning new things is good.

That is what I’ve heard some people saying so there’s probably something to it.

Photography ~ How to Copy a Color from a Picture

How to Copy a Color from a Picture Photoshop step by step picture tutorial

Have you ever heard of Pinterest?

Many of you have, I am sure.

Pinterest is basically a very magical place. You can spend hours and hours there and you will think that something like five minutes only must have gone by.

It’s especially useful when there’s a lot of house cleaning waiting to be done. That’s for sure.

To be slightly more specific, Pinterest is a visual bookmarking site. So if you find a visually attractive picture somewhere in the deep wide web and you want to save that picture for later, you just add it to one of your boards on Pinterest. And that’s it. For me, it’s so much more effective to store pictures, sites, projects, or ideas in a visual way.


How to Copy a Color from a Picture Photoshop step by step picture tutorial

Pinterest offers so many creative ideas that it is useful to keep things organized. For this reason you open specific boards. I have created one with pictures of food, there is also one on travel, and there are others on crafts, photography, fun, teddy bears, and one dedicated solely to beautiful colors.

Which brings me to the point of this post…

Send this to a friend