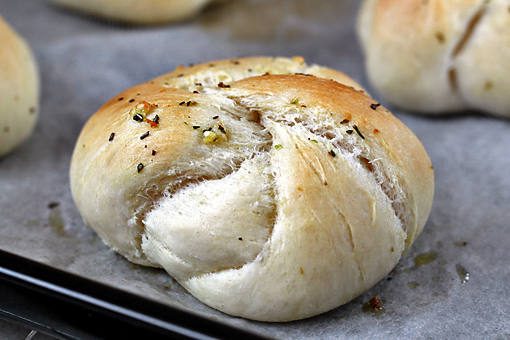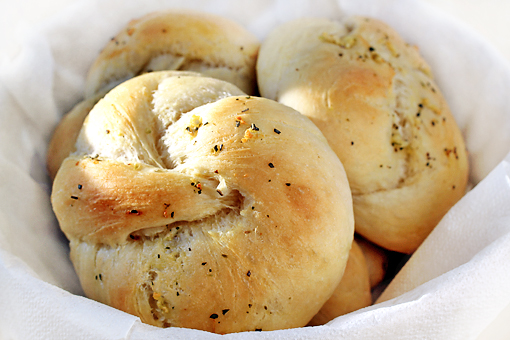
Soft Garlic Knots

soft garlic knots recipe with step by step pictures, soft buns, homemade buns

I’ve been craving nice homemade rolls for quite some time.

The instant I saw the recipe for these heavenly Soft Garlic Knots over at AnniesEats I knew my fate was sealed.

With the recipe as flawless as this one, everything went perfectly.

Oh, and yes, there’s yeast. Please, don’t let that fact scare you off. The yeast in this recipe is nothing more than one of a few ingredients that creates the dough and that’s it. The magic will happen by itself, dear friends, there are no special tricks of trade involved.

This is a simple recipe which yields amazing results.
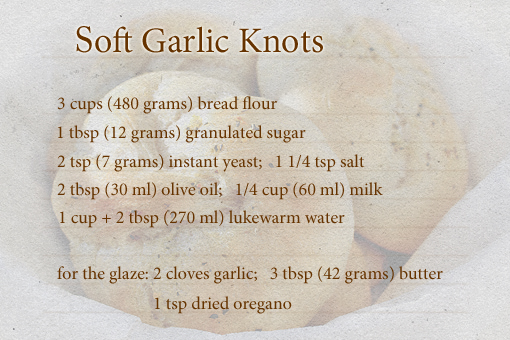
oft garlic knots recipe with step by step pictures, soft buns, homemade buns, ingredients

In case you really need to have these knots too, of which I am just sure, here are the ingredients.
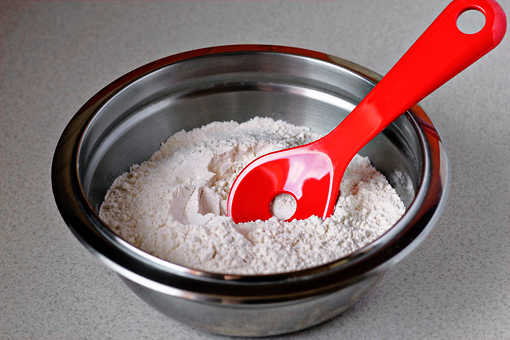


oft garlic knots recipe with step by step pictures, soft buns, homemade buns, place the dry ingredients into a bowl and stir them to combine

These knots can be kneaded in an electric mixer or simply just by hand. That really depends on your decision.

1. To start, place the dry ingredients (flour, sugar, yeast and salt) into a bowl and stir them to combine.
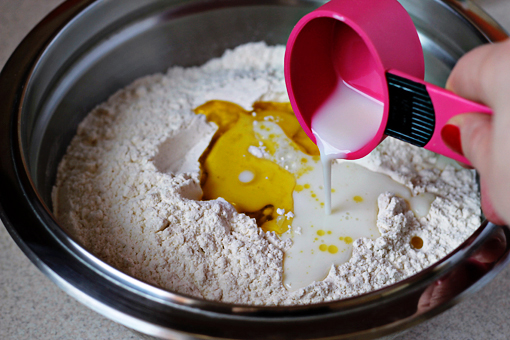
2. Then add the wet ingredients (olive oil, milk and water) and stir again just to combine.
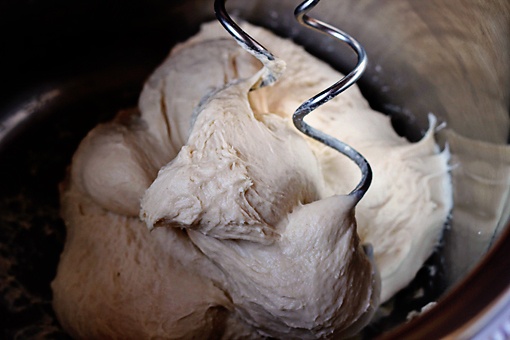
oft garlic knots recipe with step by step pictures, soft buns, homemade buns, using the dough attachment of your electric mixer, mix the dough for about 8 minutes

3. Now, using the dough attachment of your electric mixer, mix the dough for about 8 minutes.

If you want to do this by hand, the process will last a little longer.

What we are going for here is a smooth and elastic dough.
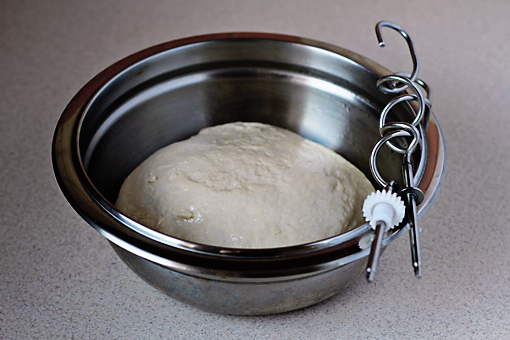
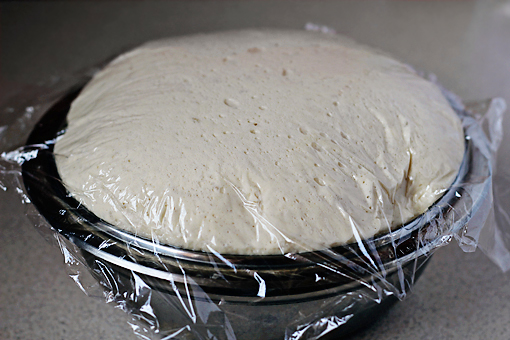
4. Transfer the dough to a lightly oiled bowl, turn once to coat…
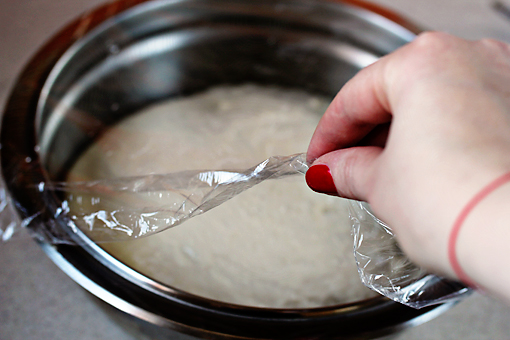
oft garlic knots recipe with step by step pictures, soft buns, homemade buns, cover with plastic wrap

…and cover with a plastic wrap.

5. Allow to rise for about 1 hour, or until doubled in bulk.
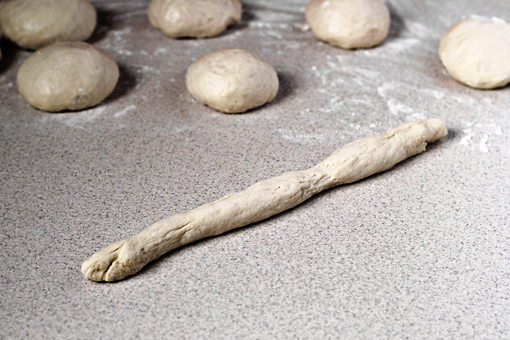
oft garlic knots recipe with step by step pictures, soft buns, homemade buns, turn the dough onto a very lightly floured surface and divide the dough

6. Turn the dough onto a very lightly floured surface and divide it into 8 equal pieces.

To do that I used a knife. I first divided the dough into halves. Then I cut each half into halves again so I had 4 pieces. And finally I cut each piece into halves again which resulted in 8 equal pieces.


7. Use the palms of your hands to roll each ball into a 10-inch (26 cm) long rope.

If the dough is too sticky then use a little flour to dust it with. The ropes can’t be sticky because you wouldn’t be able to form the knots.
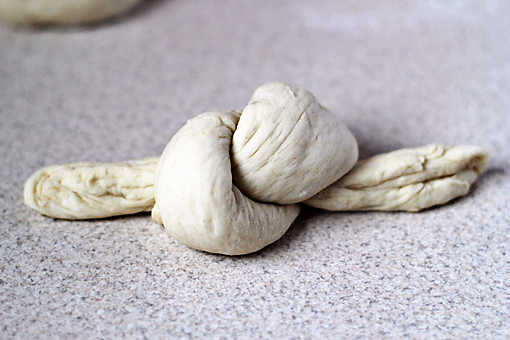
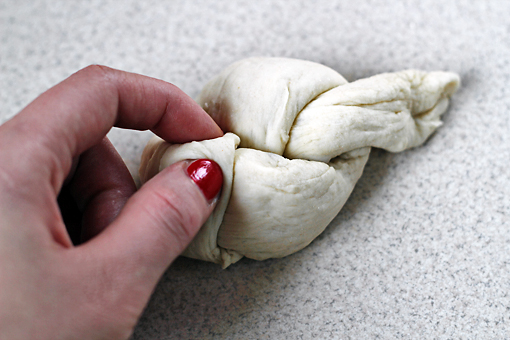
oft garlic knots recipe with step by step pictures, soft buns, homemade buns, tie the rope into a knot, let rise

8. Now tie the rope into a knot.

oft garlic knots recipe with step by step pictures, soft buns, homemade buns

9. Take the end lying underneath the knot and bring it over the top, tucking it into the center and take the end lying over the knot and tuck it underneath and into the center.
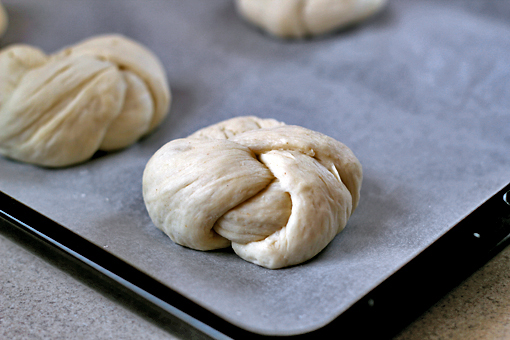
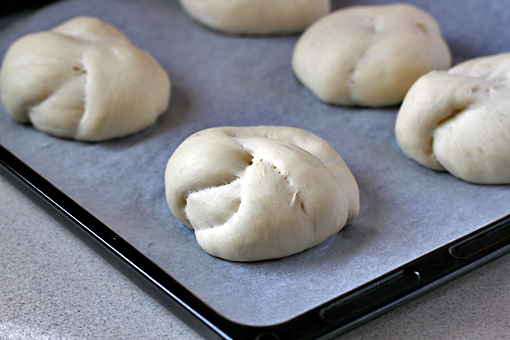
oft garlic knots recipe with step by step pictures, soft buns, homemade buns, transfer the knots on a baking sheet lined with parchment paper and cover with a clean kitchen towel

10. Transfer the knots on a baking sheet lined with parchment paper and cover with a clean kitchen towel.


11. Let the knots rise for another 45 minutes.
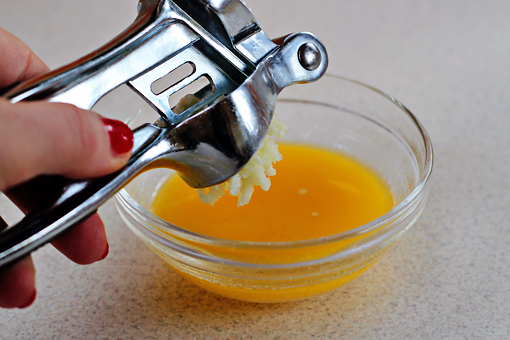
oft garlic knots recipe with step by step pictures, soft buns, homemade buns, prepare the glaze, melt the butter and press the garlic into it

12. In the meantime you can prepare the glaze.

Melt the butter (microwave is perfectly okay) and press the garlic into it.

Instead of pressing the garlic through the press you can just mince it finely.
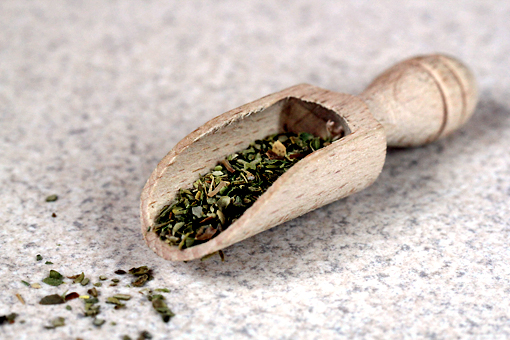
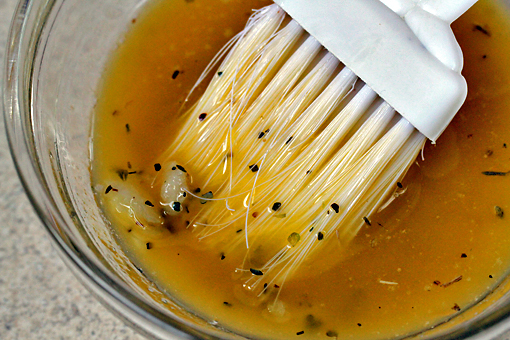
oft garlic knots recipe with step by step pictures, soft buns, homemade buns, glaze, add dried oregano

13. Add the dried oregano…

oft garlic knots recipe with step by step pictures, soft buns, homemade buns, mix the glaze

14. …and mix it all together.

oft garlic knots recipe with step by step pictures, soft buns, homemade buns

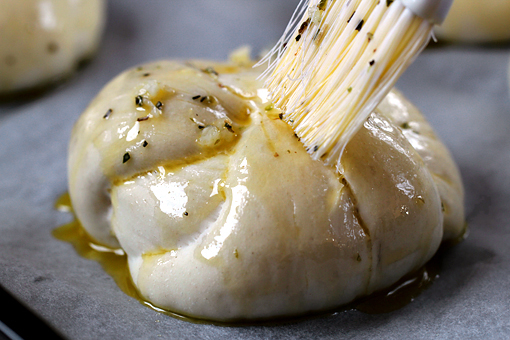
15. When your knots are nice and puffy…
oft garlic knots recipe with step by step pictures, soft buns, homemade buns, brush the glaze onto them

…brush the glaze onto them.


oft garlic knots recipe with step by step pictures, soft buns, homemade buns, bake

16. Place the knots into a preheated oven (350 °F – 175 °C) and bake for about 15-18 minutes.

This will smell like heaven, I’m telling you.

It’s amazing!

Your neighbors will come knocking on your door begging for the recipe.
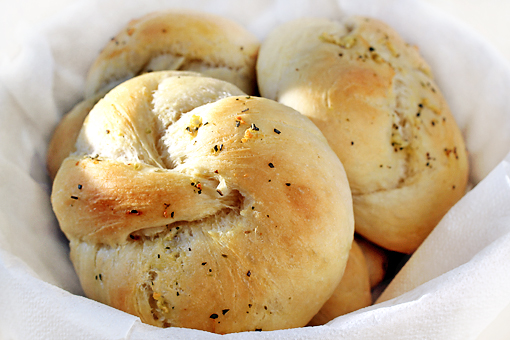
oft garlic knots recipe with step by step pictures, soft buns, homemade buns

These cuties taste best when still a little warm.

They perfectly accompany a delicious soup, or, when I think about it, they perfectly accompany just anything.

Enjoy, dear friends!

Tea Cookies

These bite-sized cookies are perfect for having with tea.

(Psst, coffee is all right too.)

They taste wonderful and are very, very simple to make.

I like to prepare them when my sugar craving strikes out of the blue. Or when friends call unexpectedly saying they will come soon.

These cookies just save lives.

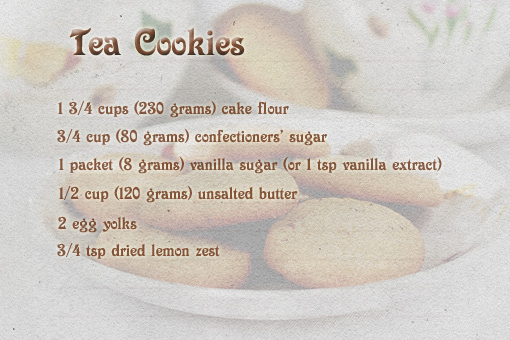
Here’s the list of ingredients.

1. To make your own Tea Cookies, first preheat the oven to 350 °F (175 °C) and line a baking sheet with parchment paper.


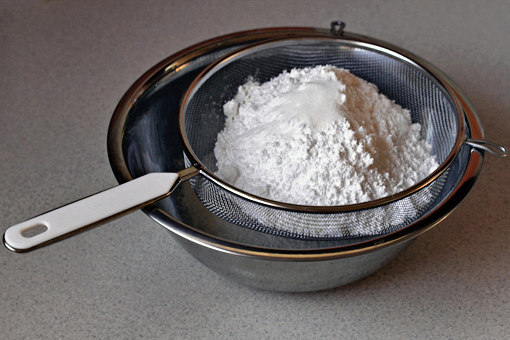
2. Sift the flour and sugars into a larger bowl.
 

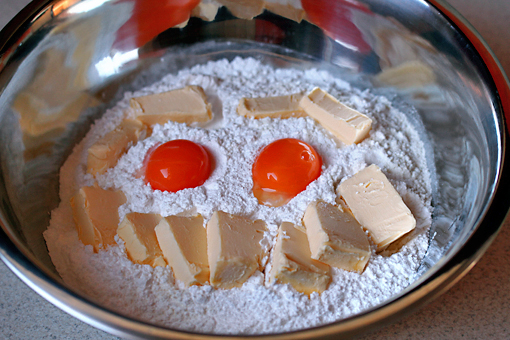
3. Add the softened butter, two egg yolks and lemon zest…
 

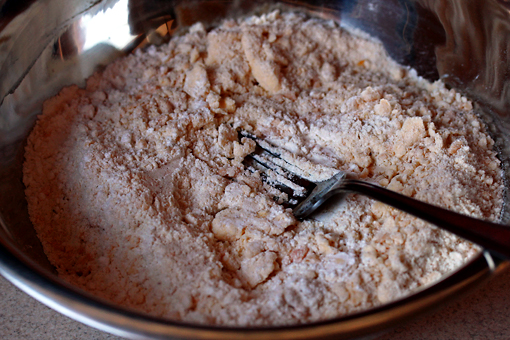
4. …and use pastry cutter or just a plain fork to turn the ingredients into a crumbly mixture.


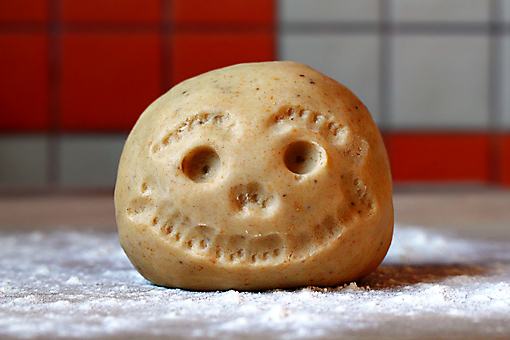
5. Then use your hands to form a ball.

Like this one.

Though creating a face is not necessary.

But it helps.

Kidding!

But it really does.

Kidding again!


Now I’d like to tell you this: Please, be patient when you find yourself in the phase in-between the crumbs and the dough ball. It only takes patience and trust that those crumbs will eventually come together. Give it five minutes or so and you’ll see success!
 

6. Place the dough ball on a very, very lightly floured surface.

This dough is almost not sticky at all so you really need very little flour, if any.

And besides that, the more flour you’d be using the firmer the cookies would get. And we don’t need that.


7. Using the palms of your hands, roll the dough until you form a log which is about 1.5 inches (3.5 cm) wide in diameter.


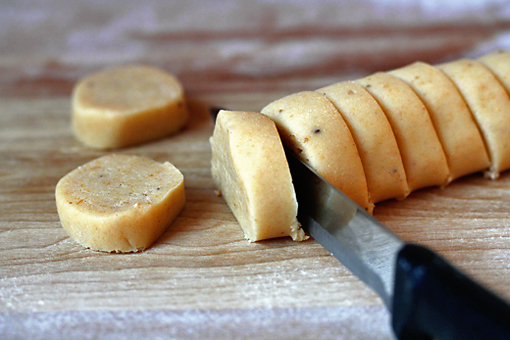
8. Then cut the log into about 1/2-inch (1 cm) thick rounds.

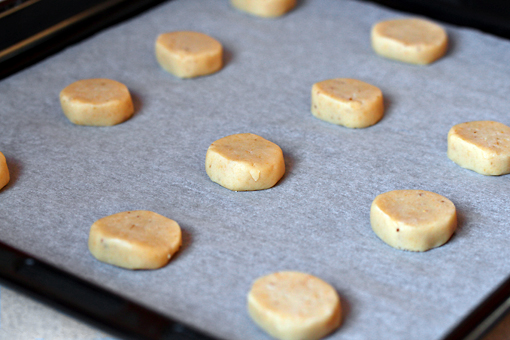
9. Place the rounds onto the sheet and bake in the preheated oven (350 °F – 175 °C) for 10 minutes.

The cookies should still be very pale in color when baked.

10. Remove from the oven and let cool completely.

Enjoy, dear friends.

(This recipe makes about 30 cookies and will take you about 40 minutes to make.)

Send this to a friend