Crochet Swirls (Tutorial)

crochet swirl free pattern by zoomyummy.com

(Update: To see more of my patterns, please visit my ONLINE SHOP!)


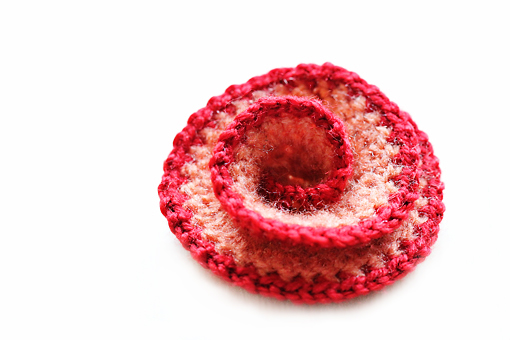
This is a little crochet swirl.

You might have seen me using it in this project.

And since I gave you a pinky swear promising I’d show you how it’s done, here it is.
But before I start, I’d just like to let you know that I am no crochet guru. Not by a long shot. I am kind of a psychotic, hysterical, constant trial and error experiencing person who, despite that all, loves her yarns and her hook.

Which in short means that I really hope the following sentences make at least some sense.
crochet swirl applique free pattern by zoomyummy.com

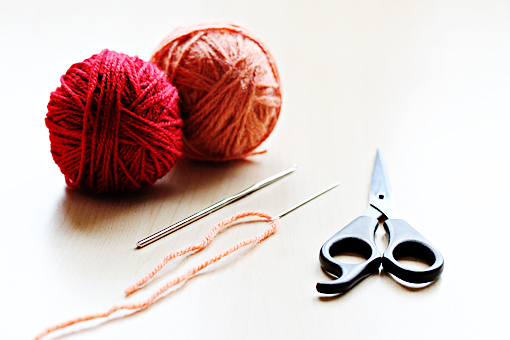
Here’s what you need.

Two yarns of different color – the bulkier the yarn the bulkier the swirl.

You also need one hook that will work well with your yarns, a needle and a pair of scissors.

Let’s pretend that is not a hair cutting scissors.

Please.
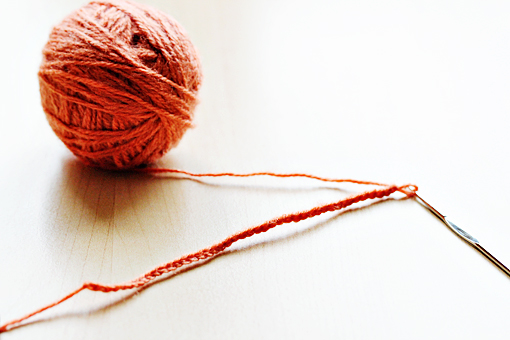
crochet swirl applique free pattern by zoomyummy.com

The whole swirl has only four rows. This is the first one:

1. Row: 43 ch (ch = chain stitch).
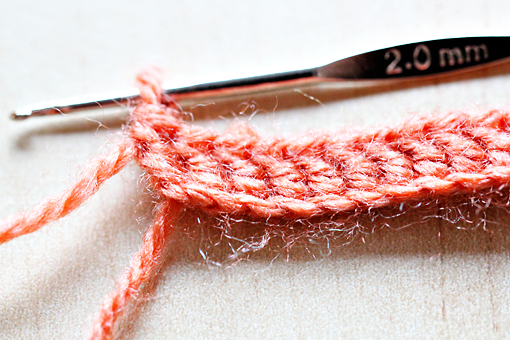
2. Row: 1 dc (dc = double crochet stitch) into the fourth chain stitch from the hook, 1 dc into each remaining chain stitch.
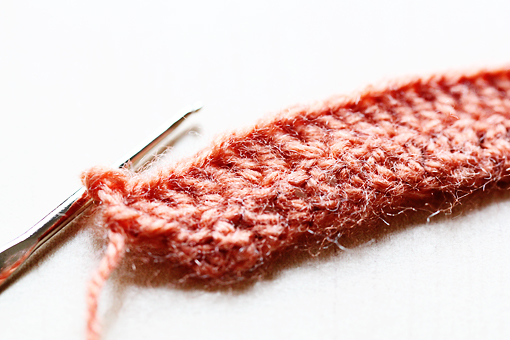
3. Row: 3 ch, 1 dc into the first stitch from the hook, 1 dc in next stitch, 2 dc into next stitch, *1 dc in next stitch, 2 dc in following stitch*, repeat *…* till the end of the row.
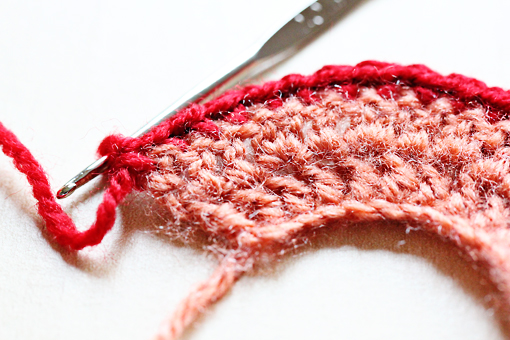
4. Row: with a changed yarn color, 2 ch, 1 sc (sc = single crochet stitch) in the first stitch, 1 ch, *1 sc in next stitch, 1 ch*, repeat *…*.

Finish off.


You have just created a funny curly strip.
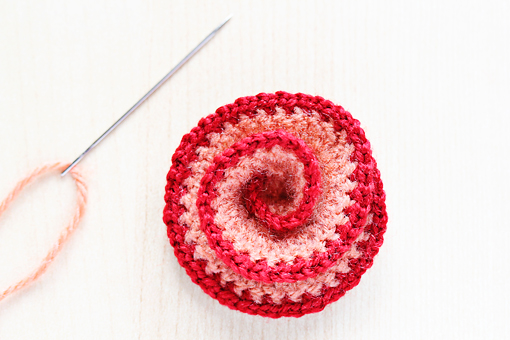
Now twist the strip into a nice shape.

Using a needle and some yarn, sew some stitches in the middle and along the edges only to fixate the whole swirl.

I made only three stitches and that was it.
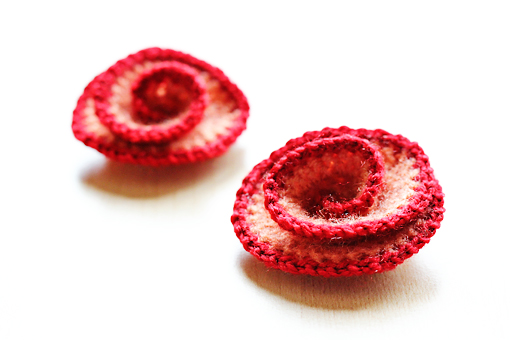
I can imagine these on scarves, slippers, headbands or as a brooch even.
Hopefully, I didn’t break your brain.

Enjoy, dear friends!

Love,
Petra

(Update: To see more of my patterns, please visit my ONLINE SHOP!)


Plum Cake

plum cake recipe with step by step picture tutorial

When I was a kid, cakes like this one were on our table very often.

My lovely Mom used to make them.

They were filled with any fruit that was in season. And during the months of winter, Mom would use just about any canned fruit she had on hand.

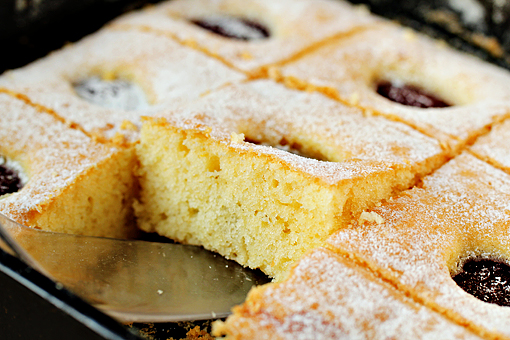
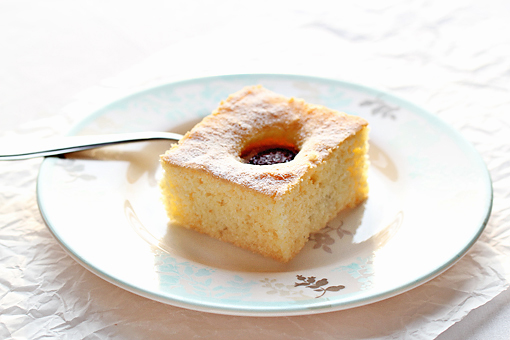
So, whether you use plums, cherries or any kind of berries to make this sponge cake with fruit, you’ll be amazed by a very nice flavor it has and how surprisingly easy it is to prepare it.


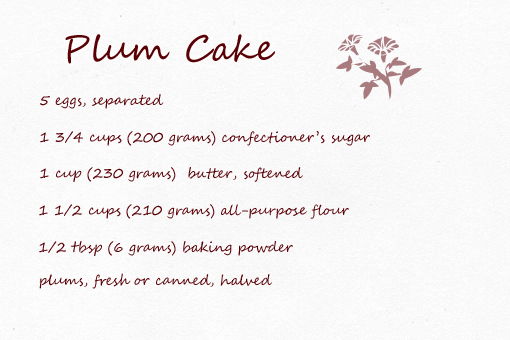
plum cake recipe with step by step picture tutorial, ingredients

Here’s what we need.


1. First, preheat the oven to 350 °F (175 °C).


2. Separate the eggs placing the yolks in one bowl and the whites in another.

Use larger bowls.


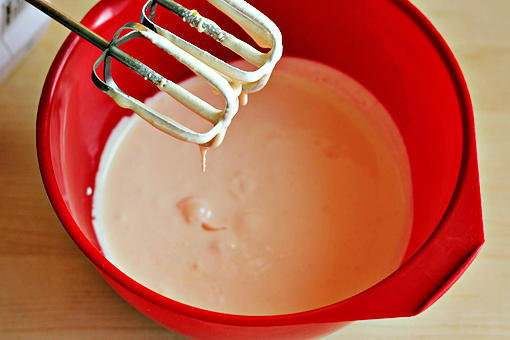
3. Pour the sugar into the egg yolks and beat until thick and pale in color.


Try your best not to eat this all.

Oh my gosh, it’s so good.

Or is it just me?


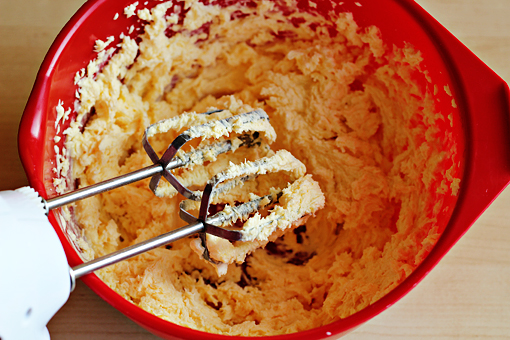
plum cake recipe with step by step picture tutorial, add the butter and mix until fluffy

4. Then add the butter and mix until fluffy.


plum cake recipe with step by step picture tutorial, in a small bowl, combine the flour and baking powder, add it to the egg-yolk mixture, mix to combine

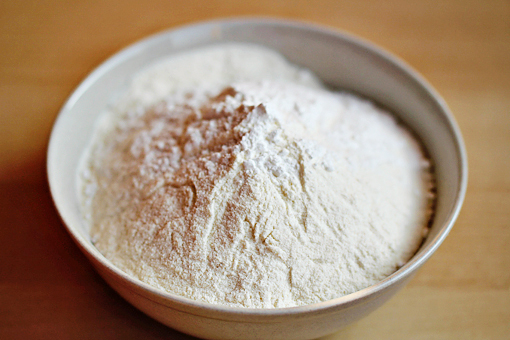
5. Next, in a small bowl, combine the flour and baking powder. Add it to the egg-yolk mixture. Mix to combine.


plum cake recipe with step by step picture tutorial, using a cleaned whisk attachment, whisk the egg whites

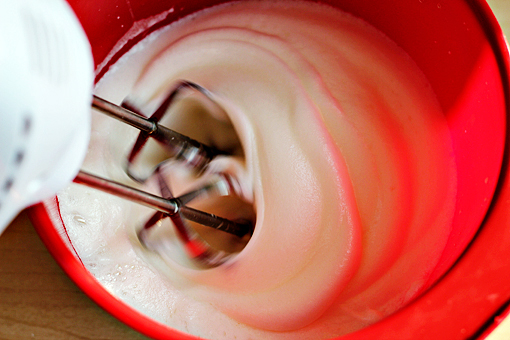
6. Then, using a cleaned whisk attachment, whisk the whites…


plum cake recipe with step by step picture tutorial, whisk the egg white until they hold stiff peaks

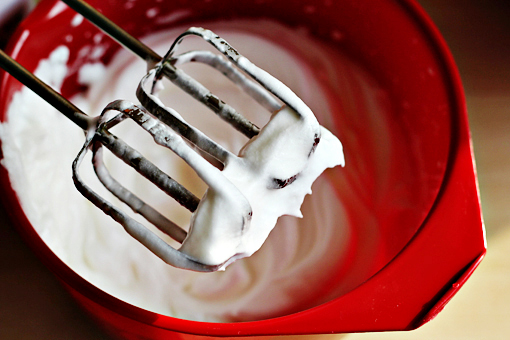
…until they hold stiff peaks.


7. Add the whites into the egg-yolk batter.

Small lumps of egg whites in the batter are okay.


plum cake recipe with step by step picture tutorial, spray a baking pan with cooking spray and dust it lightly with flour, scrape the batter into the prepared pan

8. Spray a baking pan with cooking spray and dust it lightly with flour.


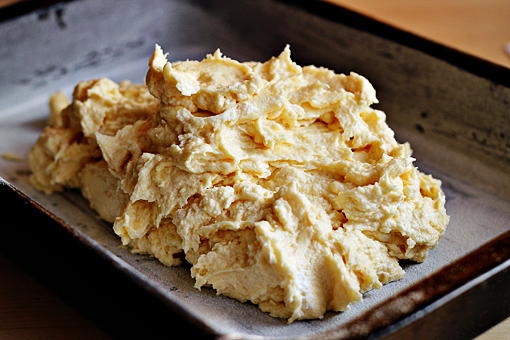
9. Scrape the batter into the prepared pan.

I used a 13 x 9-inch (33 x 22 cm) baking pan. This cake will rise a lot, so if you are going for a less tall version, use a larger baking pan.


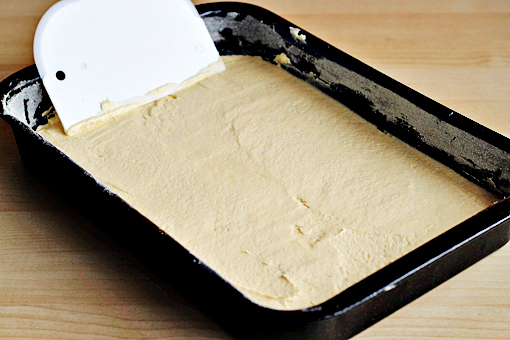
plum cake recipe with step by step picture tutorial, spread out the batter evenly

10. Spread out the batter evenly.


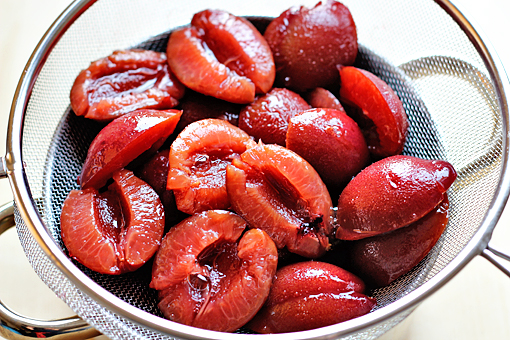
plum cake recipe with step by step picture tutorial, cut the plums into halves, or if you are using canned plum, drain them

11. Now cut the plums in, halves. Or, if you are using canned plums, drain them.


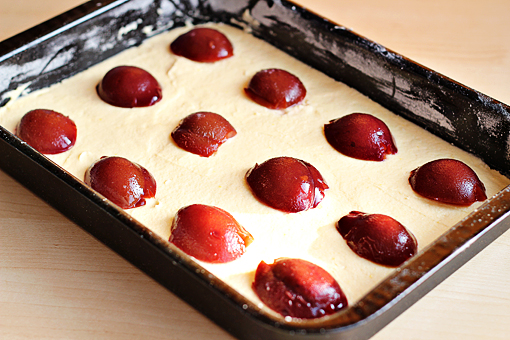
plum cake recipe with step by step picture tutorial, evenly arrange the halved plums on top of the batter

12. Evenly arrange the halved plums on top of the batter.


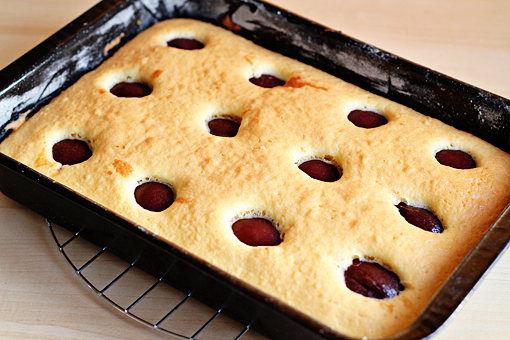
plum cake recipe with step by step picture tutorial, bake at 350 F - 175 C for about 20 minutes or until a toothpick inserted in the center of the cake comes out clean

13. Bake at 350 °F (175 °C) for about 20 minutes or until a toothpick inserted in the center of the cake comes out clean.


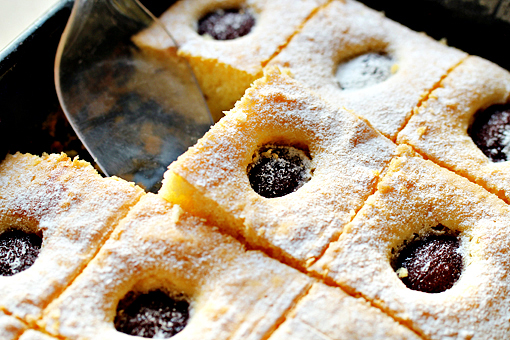
plum cake recipe with step by step picture tutorial, remove from the oven and let cool, then dust with a little confectioners' sugar and cut into squares

14. Remove from the oven and let cool.


14. Then dust with a little confectioner’s sugar and cut into squares.


plum cake recipe with step by step picture tutorial

And most importantly, enjoy, dear friends!


(This cake takes about 45 minutes to prepare.)


Send this to a friend