Pie Pops

pie pops recipe with step by step pictures

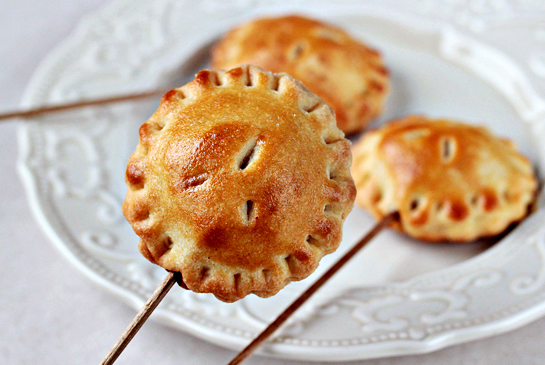
Pie pops – a whimsical twist on a regular pie.

They are tiny, they are cute, and they taste just like a bite of a nice pie.

I love desserts like these.

Inspired by a lovely lady called Bakerella, I knew I needed to get these pies into my life as soon as possible.

Some things just need to be done immediately.

To make my version of pie pops I decided to go with the recipe that I use to make my Mini Apple Pies. Only, I have made the crust a little more sweet and I finally decided to replace the apple filling with jam.

To make your own version, you can sure use any filling you really like. What I recommend is for the filling to be on the denser and sweeter side. It should be dense because it will leak less and it should be really sweet because you can only use a little for one pop.

Here’s my version of the pie pops, step-by-step-by-step-by-step… by step:
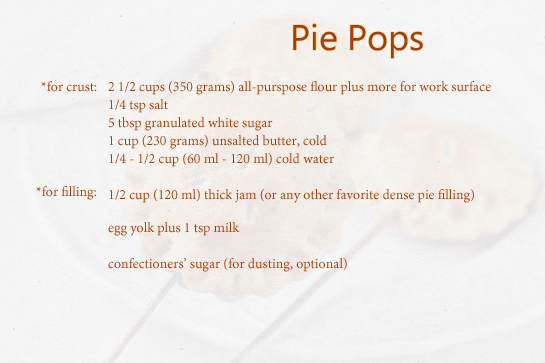
 

pie pops recipe with step by step pictures ingredients

This is what we need.


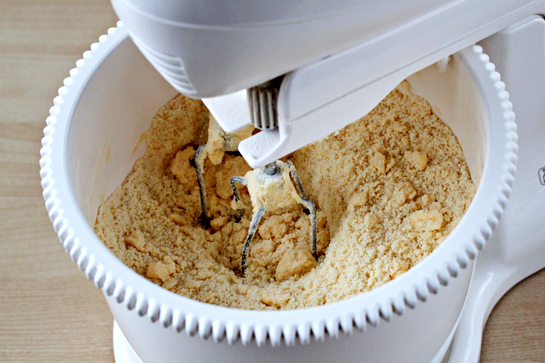
pie pops recipe with step by step pictures, preheat the oven to 350 F (175 C), place the flour, salt, and sugar (5 tablespoons) in the bowl of your electric mixer. First, stir with a spoon to combine, then  add the butter (cubed) and mix until the mixture resembles coarse meal

1. Preheat the oven to 350 F (175 C).

2. Place the flour, salt, and sugar (5 tablespoons) in the bowl of your electric mixer. First, stir with a spoon to combine, then  add the butter (cubed) and mix until the mixture resembles coarse meal.
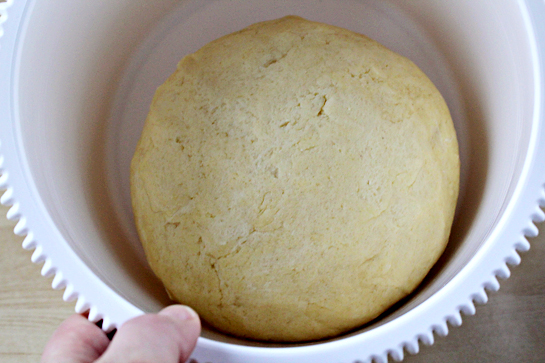


Pie pops recipe with step by step pictures. Pour in 1/4 cup (60 ml) water in a slow, steady stream until the dough holds together when pinched. If necessary, pour more water. Mix for only about 30 seconds. Cover the dough with plastic wrap and refrigerate for about twenty minutes before using.

3. Pour in 1/4 cup (60 ml) water in a slow, steady stream until the dough holds together when pinched. If necessary, pour more water.

Mix for only about 30 seconds.

4. Cover the dough with plastic wrap and refrigerate for about twenty minutes before using.

But… oh, wait… I forgot something!

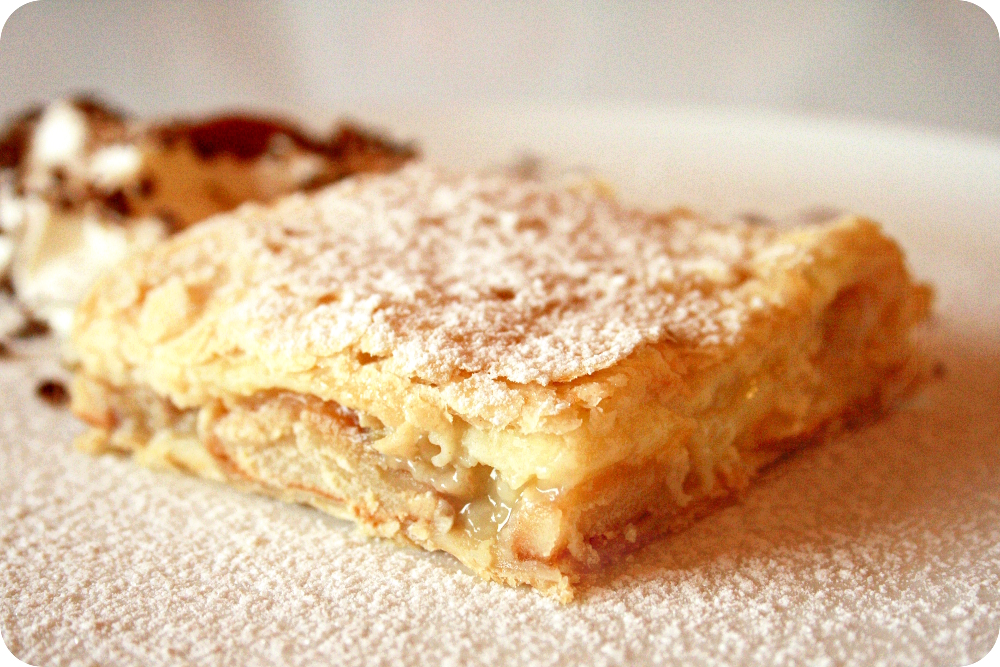
Heavenly Banana-Pudding Squares

These squares are truly heavenly.

Especially for banana and pudding lovers like me, for example.

So if you feel like something delicious like this, here is the recipe…

~~~

To prepare the Heavenly Banana-Pudding Squares you need:

1 package (400 grams) puff pastry

4 ripe bananas

1 1/2 packets (180 grams) sponge biscuit rounds (or lady fingers)

1 packet  powdered vanilla pudding (without sugar)

1 packet powdered banana pudding (without sugar)

12 tablespoons sugar (for the pudding)

4 cups (1 liter) milk (or any amount the two puddings call for in their instructions)

confectioner’s sugar to sprinkle on top

~~~

1. Let the puff pastry thaw according to the instructions on the package.

2. Preheat an oven to 350 F (175 C).

3. Roll out the dough on a floured surface to twice the size of the baking pan you are going to use (we need one layer of the puff pastry for the bottom and one for the top of the pie).

Using a knife, cut the rolled out dough into two equal parts.

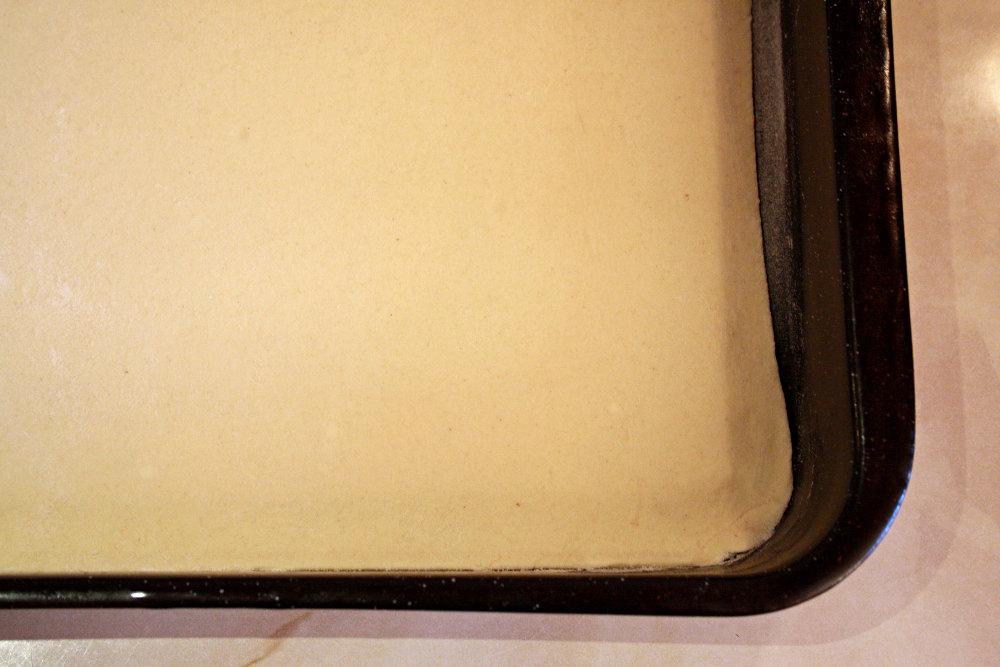
Transfer the first sheet onto the bottom of the greased pan.

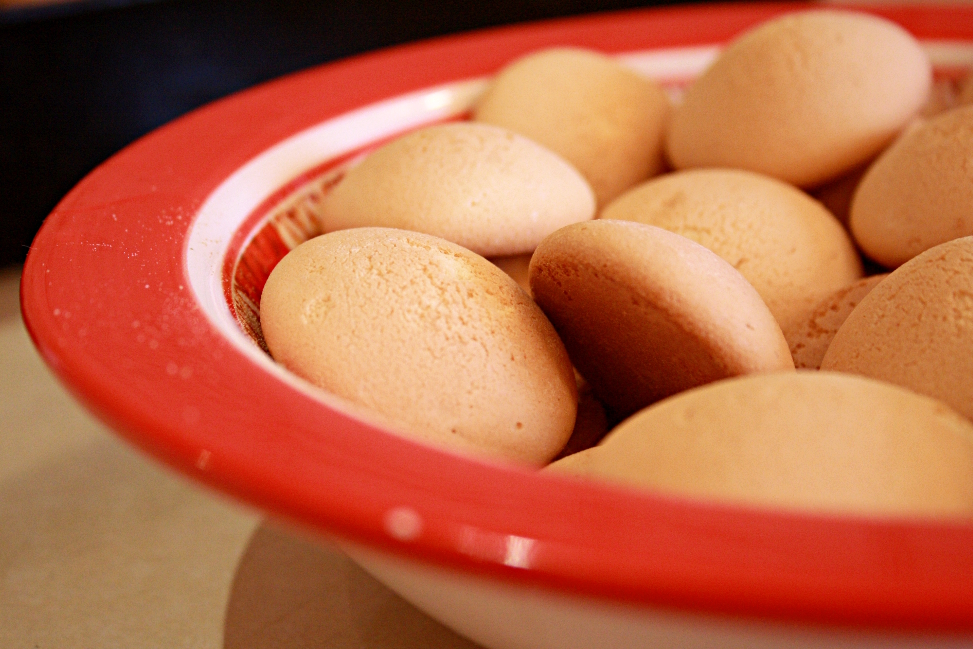
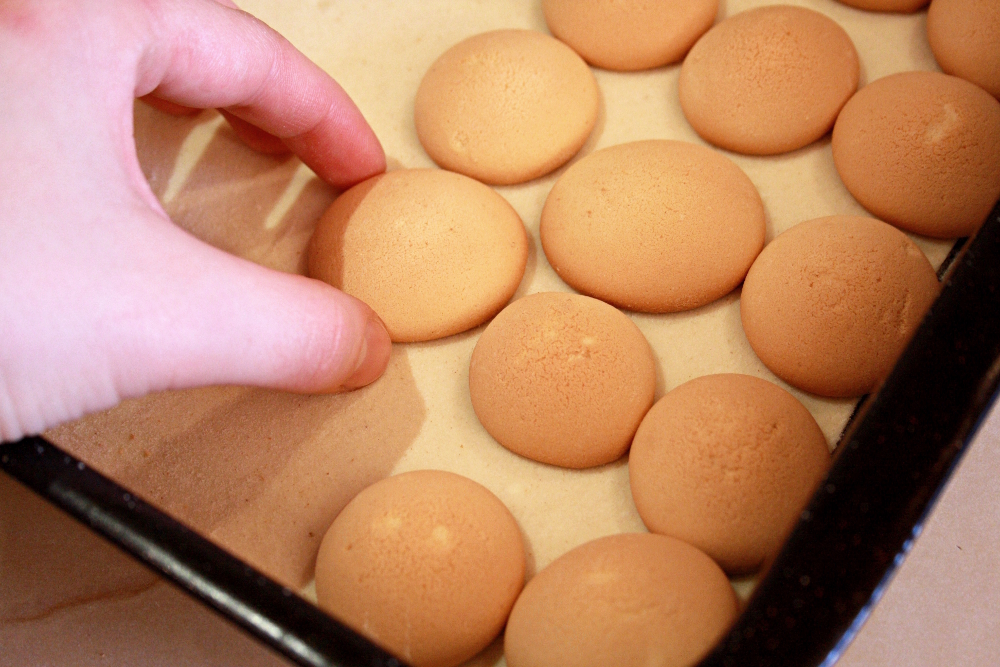
4. Now we are going to need the sponge biscuit rounds. They are soooo yummy – I grew up on them.

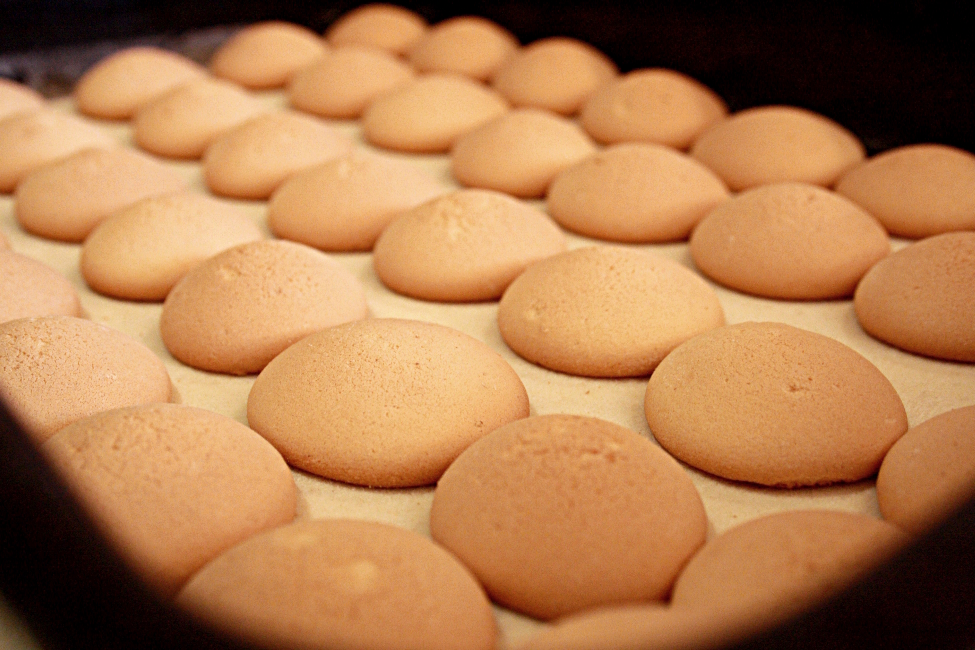
Place the biscuits over the puff pastry layer.

Nice!

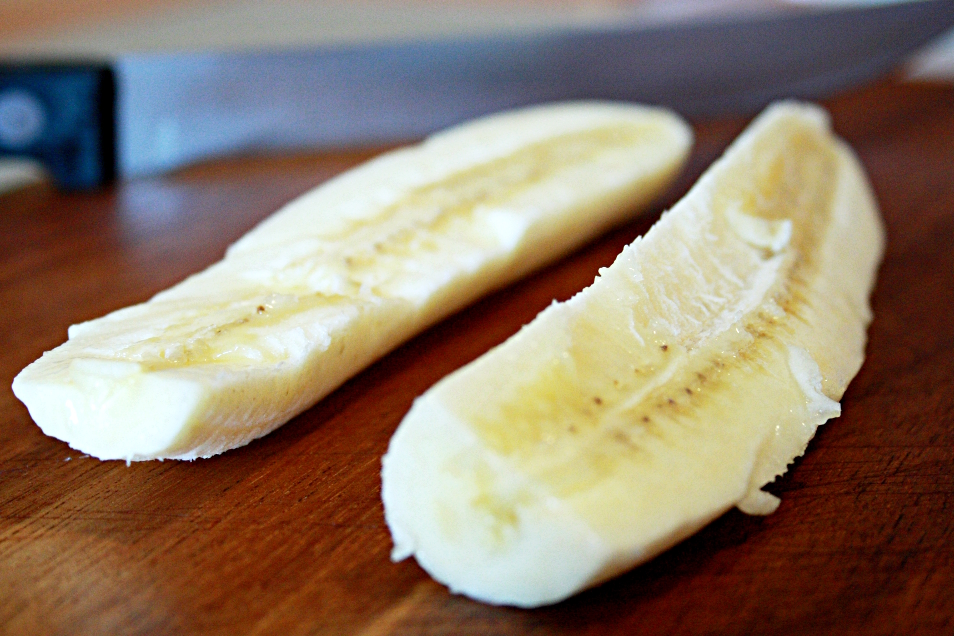
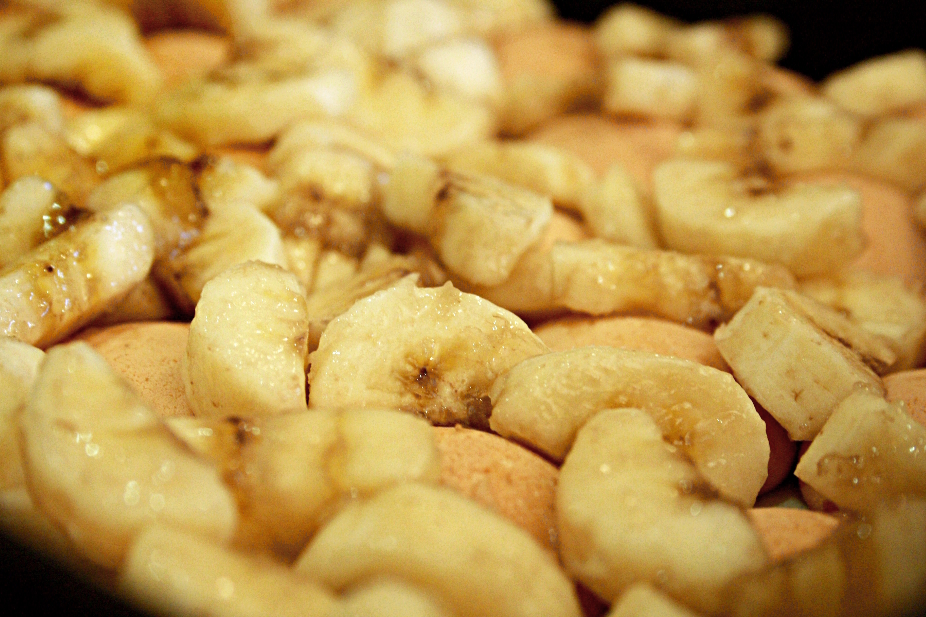
5. Take 4 sweet ripe bananas.

Cut each of them into two halves…

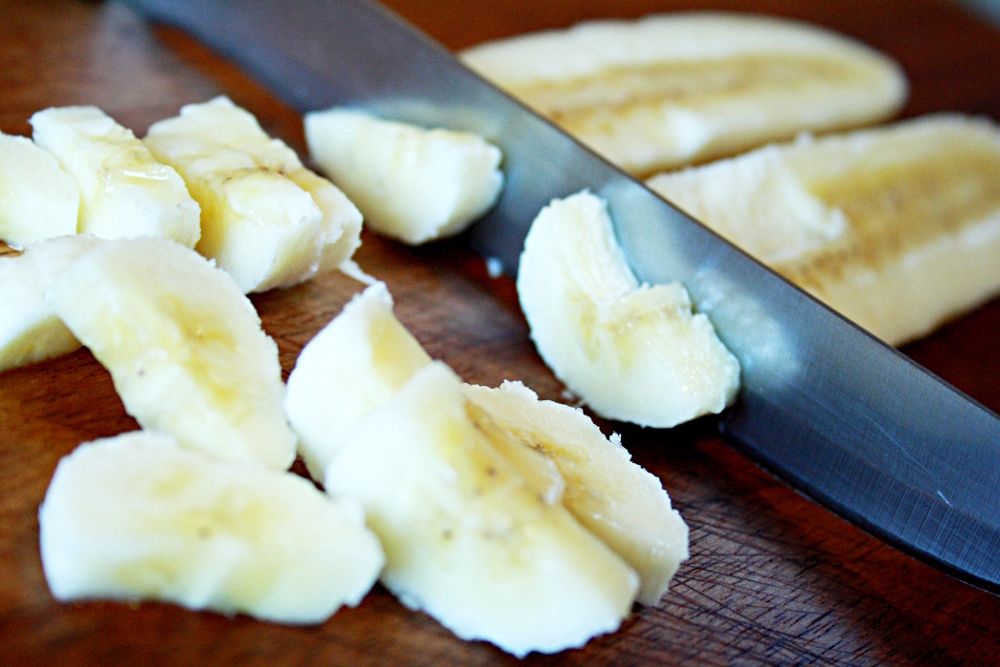
… and then into slices.

Just like this.

6. And onto the biscuits they go.

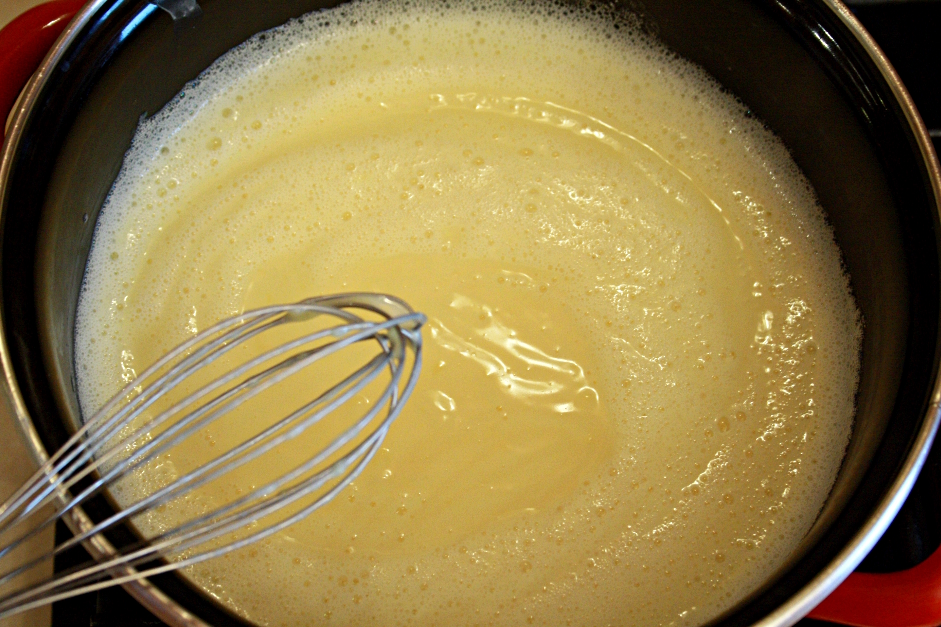
7. Now it’s the right time to prepare the pudding (follow the instructions on the packet).

Mix the vanilla pudding with the banana pudding and prepare them both together.

Mmmmm… – this already smells heavenly.

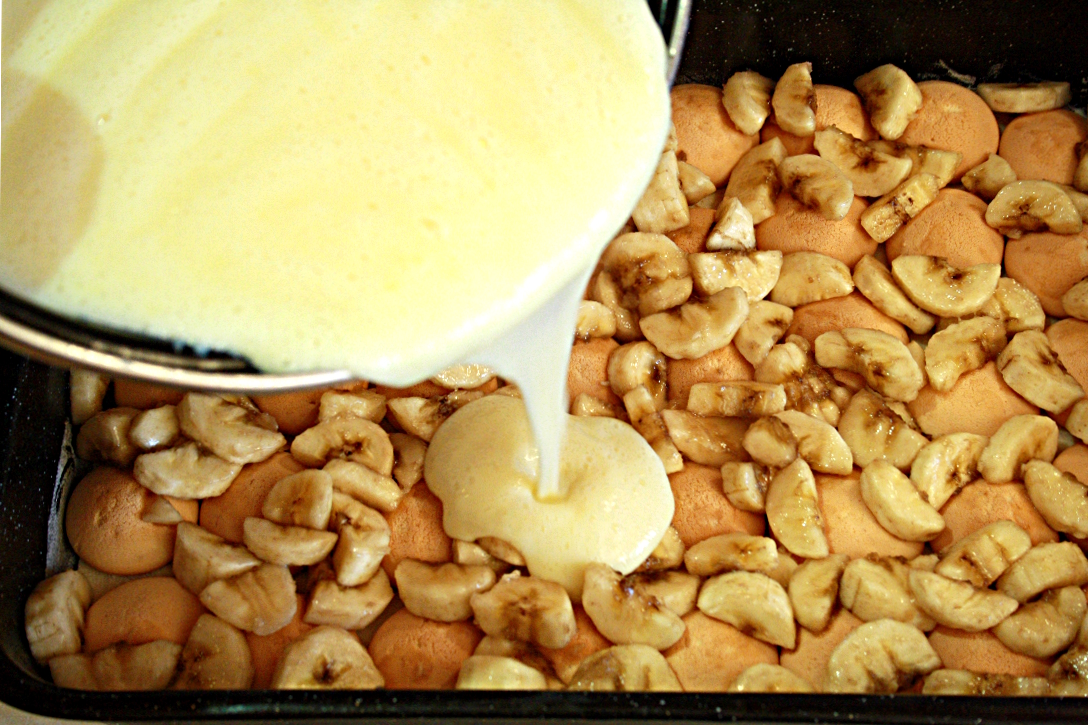
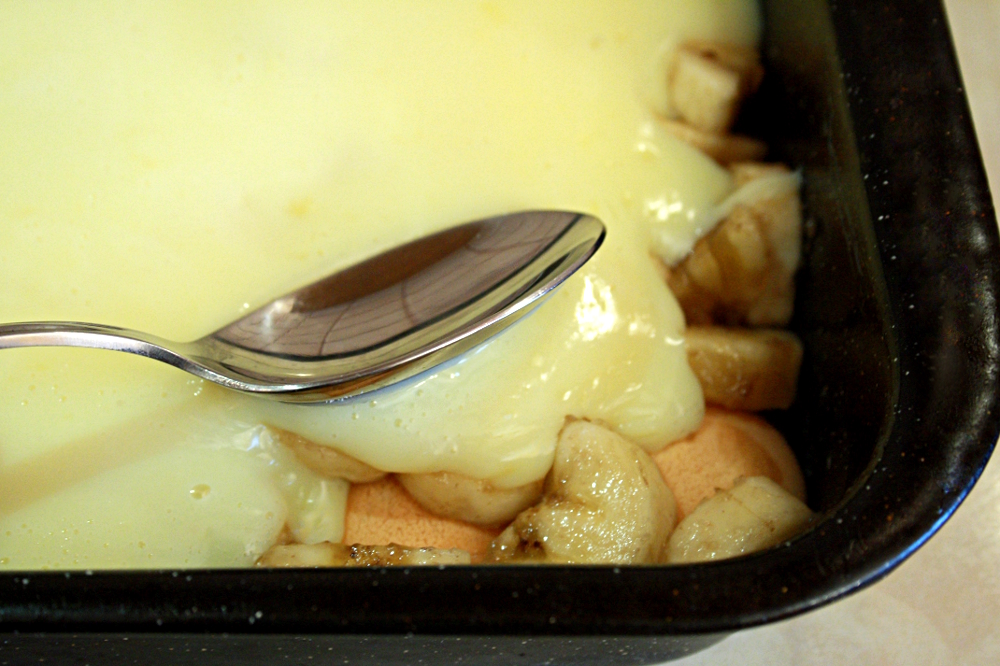
8. Pour the pudding over the biscuits and bananas…

… and spread it with a spoon until everything is nicely covered with the pudding.

9. Cover the pudding layer with the second part of the dough.

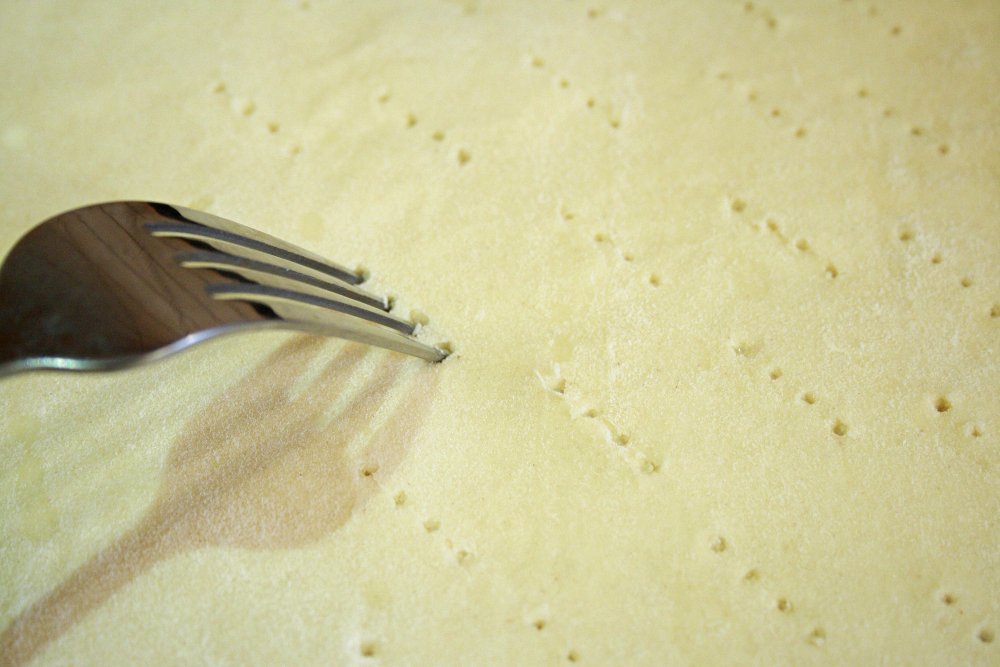
The pudding is going to release steam while baking so it’s fine to help it a bit by creating these little steam vents.

(Since the pie tends to rise while baking I recommend placing a piece of aluminium foil right underneath the baking pan – onto the bottom of the oven – just in case a few drops of pudding overflow. The aluminium foil will catch any spills and you can remove it from the oven easily.)

10. Bake for about 35-40 minutes.

Remove from the oven and let set and cool.

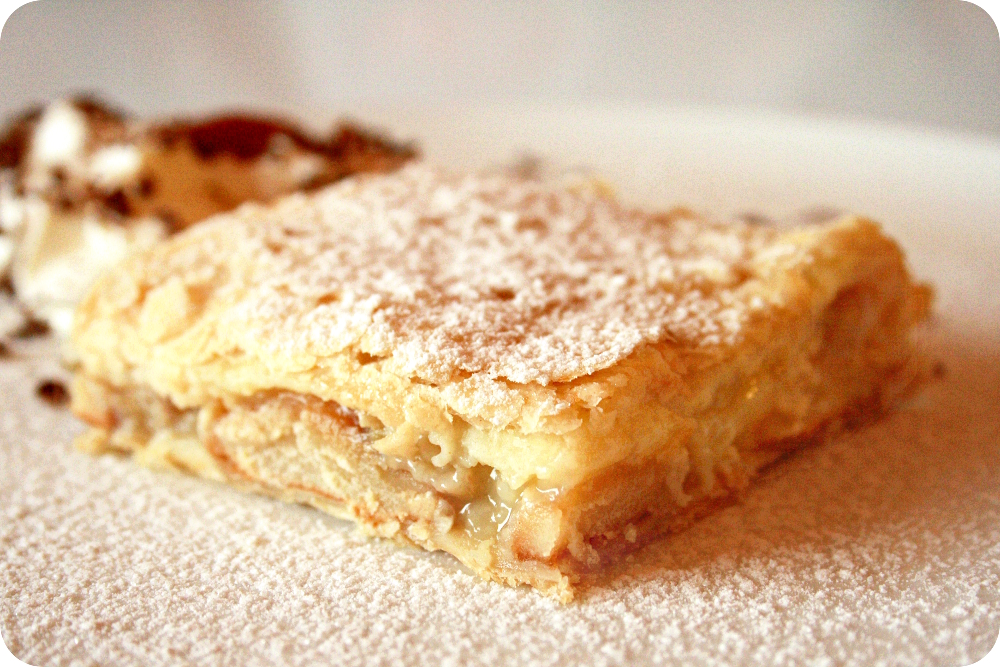
Sprinkle with some confectioner’s sugar if you feel like it.

Oh, and cut into squares of course.

Store in a refrigerator and – most importantly – ENJOY Dear Friends!

(There are many more lovely posts for you to see here.)

Send this to a friend