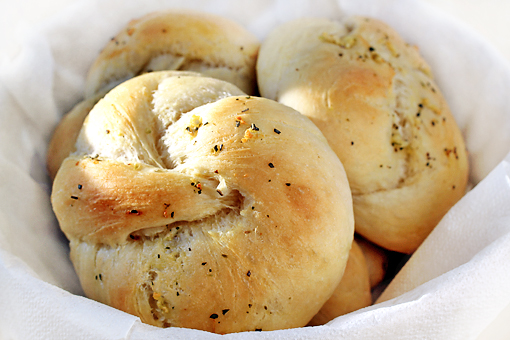
Soft Garlic Knots

soft garlic knots recipe with step by step pictures, soft buns, homemade buns

I’ve been craving nice homemade rolls for quite some time.

The instant I saw the recipe for these heavenly Soft Garlic Knots over at AnniesEats I knew my fate was sealed.

With the recipe as flawless as this one, everything went perfectly.

Oh, and yes, there’s yeast. Please, don’t let that fact scare you off. The yeast in this recipe is nothing more than one of a few ingredients that creates the dough and that’s it. The magic will happen by itself, dear friends, there are no special tricks of trade involved.

This is a simple recipe which yields amazing results.
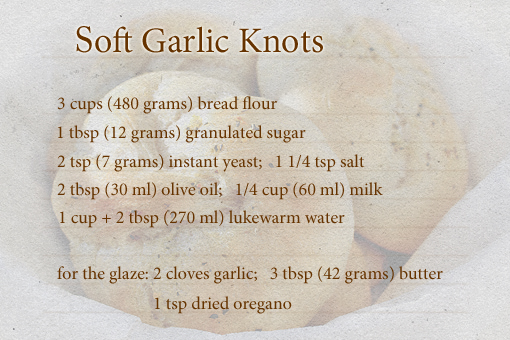
oft garlic knots recipe with step by step pictures, soft buns, homemade buns, ingredients

In case you really need to have these knots too, of which I am just sure, here are the ingredients.
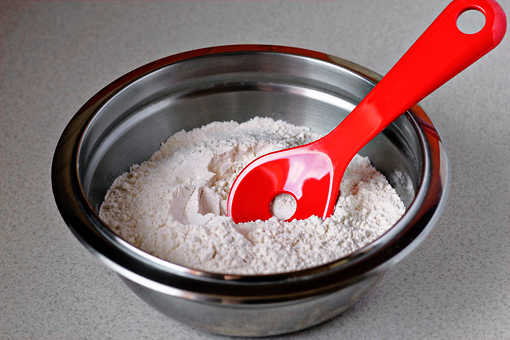


oft garlic knots recipe with step by step pictures, soft buns, homemade buns, place the dry ingredients into a bowl and stir them to combine

These knots can be kneaded in an electric mixer or simply just by hand. That really depends on your decision.

1. To start, place the dry ingredients (flour, sugar, yeast and salt) into a bowl and stir them to combine.
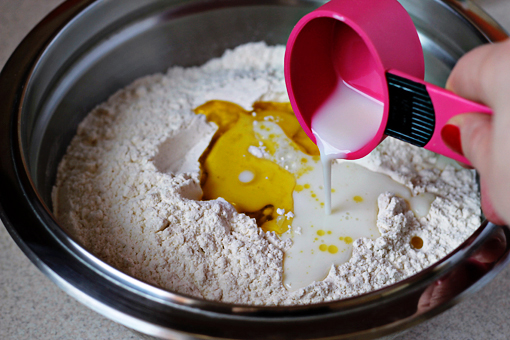
2. Then add the wet ingredients (olive oil, milk and water) and stir again just to combine.
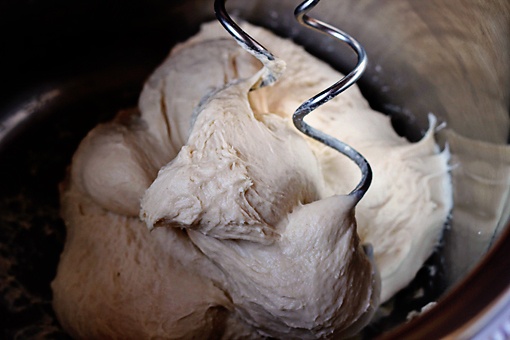
oft garlic knots recipe with step by step pictures, soft buns, homemade buns, using the dough attachment of your electric mixer, mix the dough for about 8 minutes

3. Now, using the dough attachment of your electric mixer, mix the dough for about 8 minutes.

If you want to do this by hand, the process will last a little longer.

What we are going for here is a smooth and elastic dough.
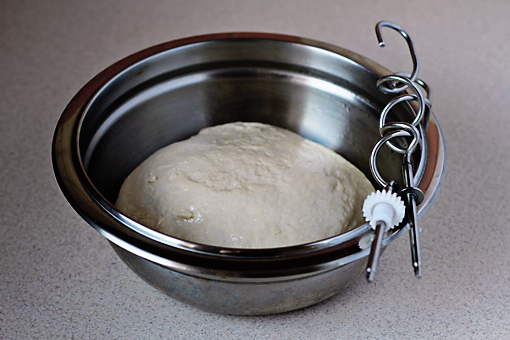
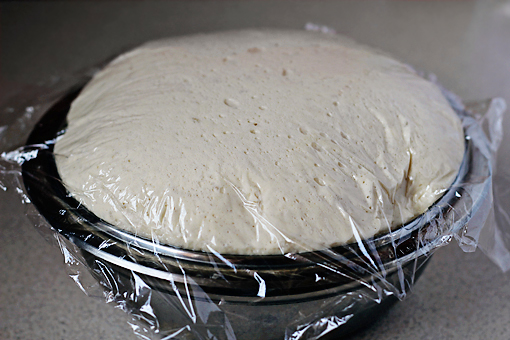
4. Transfer the dough to a lightly oiled bowl, turn once to coat…
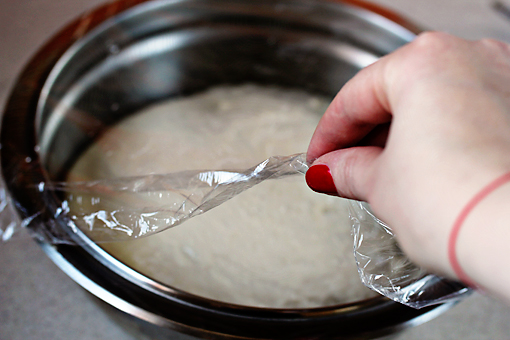
oft garlic knots recipe with step by step pictures, soft buns, homemade buns, cover with plastic wrap

…and cover with a plastic wrap.

5. Allow to rise for about 1 hour, or until doubled in bulk.
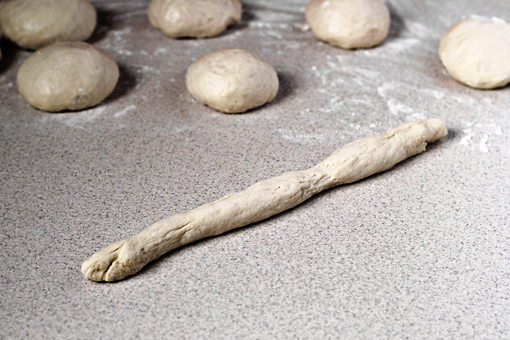
oft garlic knots recipe with step by step pictures, soft buns, homemade buns, turn the dough onto a very lightly floured surface and divide the dough

6. Turn the dough onto a very lightly floured surface and divide it into 8 equal pieces.

To do that I used a knife. I first divided the dough into halves. Then I cut each half into halves again so I had 4 pieces. And finally I cut each piece into halves again which resulted in 8 equal pieces.


7. Use the palms of your hands to roll each ball into a 10-inch (26 cm) long rope.

If the dough is too sticky then use a little flour to dust it with. The ropes can’t be sticky because you wouldn’t be able to form the knots.
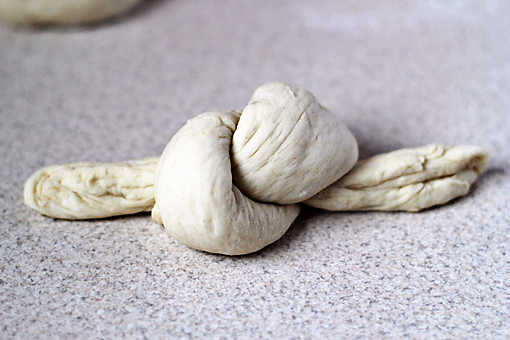
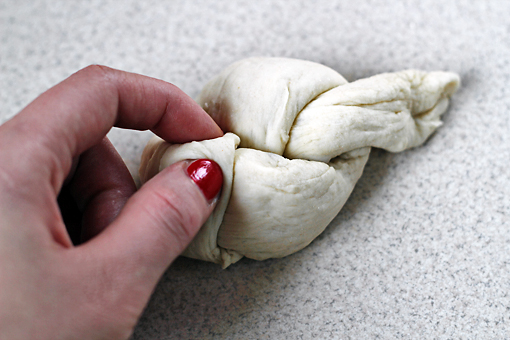
oft garlic knots recipe with step by step pictures, soft buns, homemade buns, tie the rope into a knot, let rise

8. Now tie the rope into a knot.

oft garlic knots recipe with step by step pictures, soft buns, homemade buns

9. Take the end lying underneath the knot and bring it over the top, tucking it into the center and take the end lying over the knot and tuck it underneath and into the center.
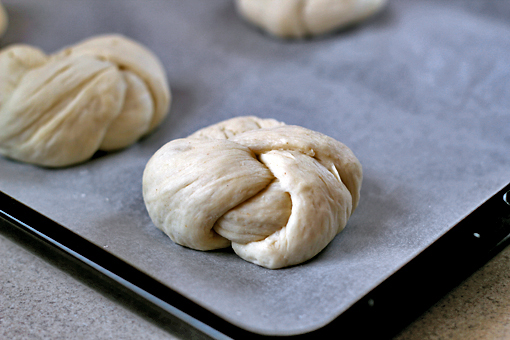
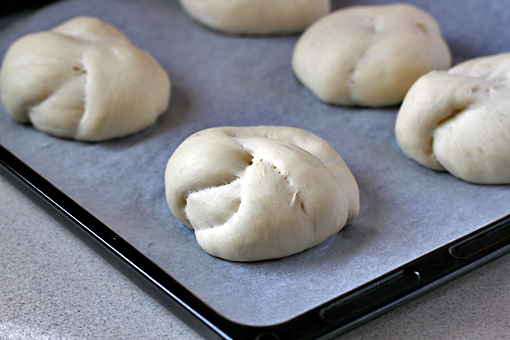
oft garlic knots recipe with step by step pictures, soft buns, homemade buns, transfer the knots on a baking sheet lined with parchment paper and cover with a clean kitchen towel

10. Transfer the knots on a baking sheet lined with parchment paper and cover with a clean kitchen towel.


11. Let the knots rise for another 45 minutes.
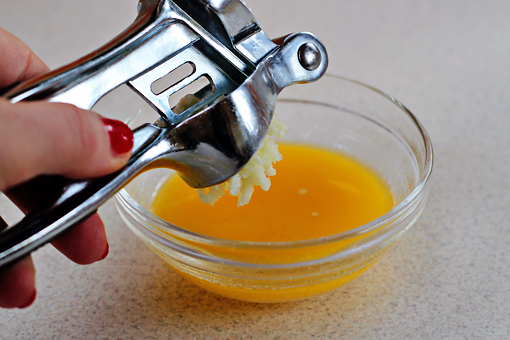
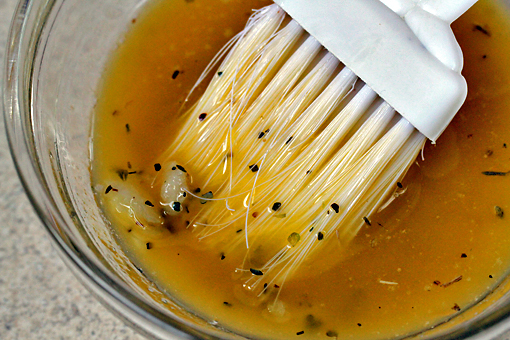
oft garlic knots recipe with step by step pictures, soft buns, homemade buns, prepare the glaze, melt the butter and press the garlic into it

12. In the meantime you can prepare the glaze.

Melt the butter (microwave is perfectly okay) and press the garlic into it.

Instead of pressing the garlic through the press you can just mince it finely.
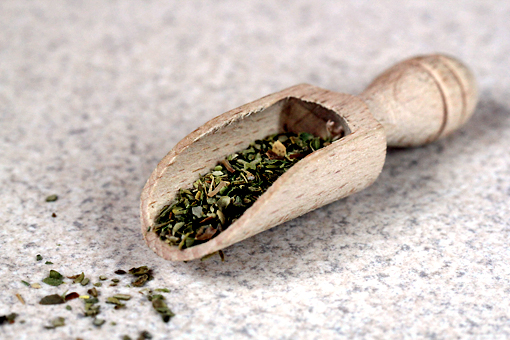
oft garlic knots recipe with step by step pictures, soft buns, homemade buns, glaze, add dried oregano

13. Add the dried oregano…

oft garlic knots recipe with step by step pictures, soft buns, homemade buns, mix the glaze

14. …and mix it all together.

oft garlic knots recipe with step by step pictures, soft buns, homemade buns

15. When your knots are nice and puffy…
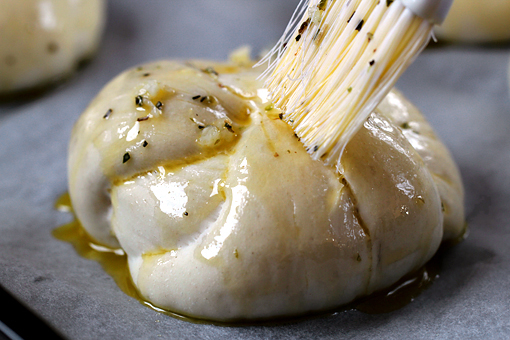
oft garlic knots recipe with step by step pictures, soft buns, homemade buns, brush the glaze onto them

…brush the glaze onto them.


oft garlic knots recipe with step by step pictures, soft buns, homemade buns, bake

16. Place the knots into a preheated oven (350 °F – 175 °C) and bake for about 15-18 minutes.

This will smell like heaven, I’m telling you.

It’s amazing!

Your neighbors will come knocking on your door begging for the recipe.
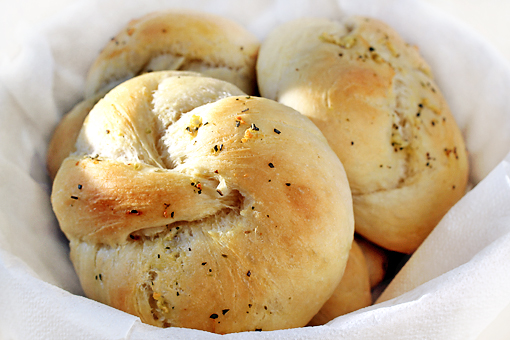
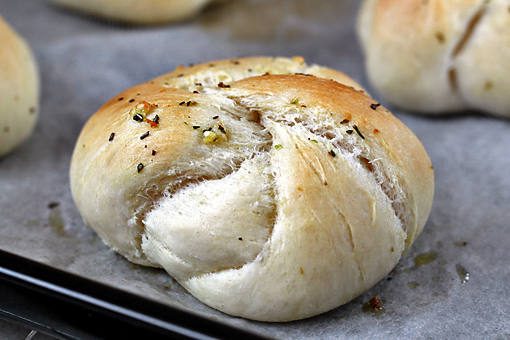
oft garlic knots recipe with step by step pictures, soft buns, homemade buns

These cuties taste best when still a little warm.

They perfectly accompany a delicious soup, or, when I think about it, they perfectly accompany just anything.

Enjoy, dear friends!

Farfalle with Tomato and Cheese Sauce

Farfalle with Tomato and Cheese Sauce

Farfalle pasta is the best!

Don’t you think?

This kind of pasta has grown closest to my heart. For some reason it even tastes better than the other kinds.

Yum!


This time I’ve decided to prepare these lovely little bow-ties with a very simple tomato sauce.

But there’s this thing I need to own up… I saw Feta cheese in the fridge and just couldn’t resist and had to add it to the sauce. The temptation was too strong. Stronger than me.

The result?

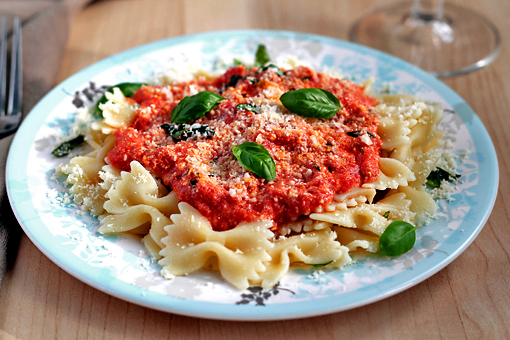
The cheese has given a unique tang to the sauce and it was all perfectly yummilicious!

Farfalle with Tomato and Cheese Sauce

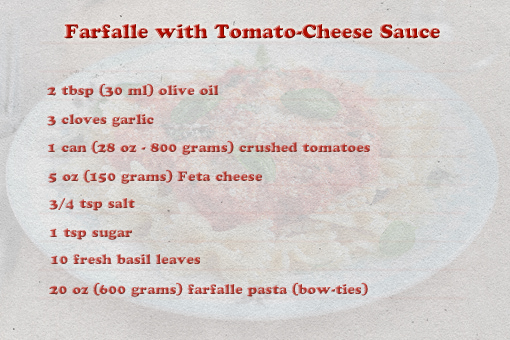
These are the ingredients that you need if you want to make your own Tomato-Feta Farfalle.

Farfalle with Tomato and Cheese Sauce

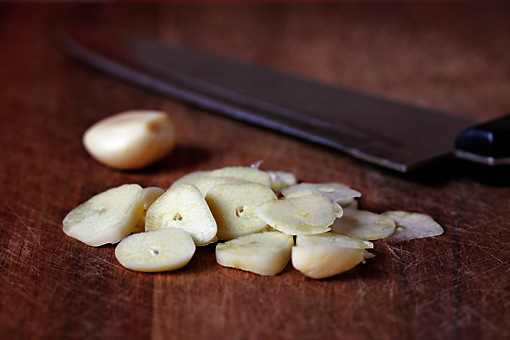
1. First, peel and slice the garlic thinly.

Farfalle with Tomato and Cheese Sauce

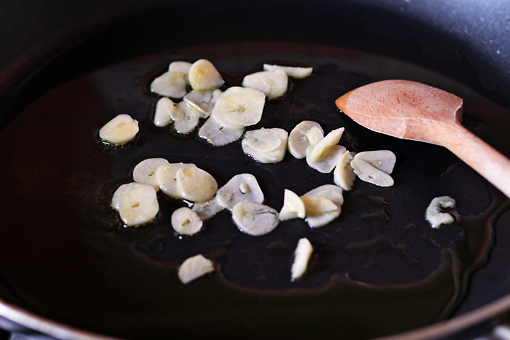
2. Then pour the olive oil into a pan and heat it up.


3. When the oil begins to sizzle add the garlic.

Cook for about 1 minute stirring constantly.

Farfalle with Tomato and Cheese Sauce

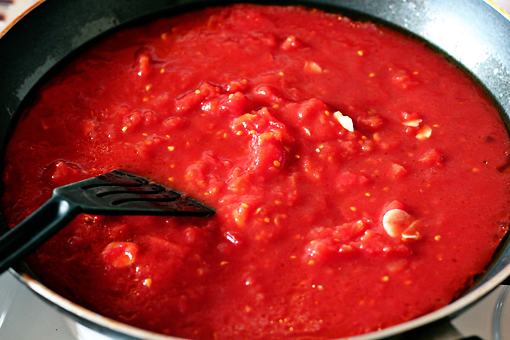
4. Add the crushed tomatoes, salt and sugar and stir again.

Farfalle with Tomato and Cheese Sauce

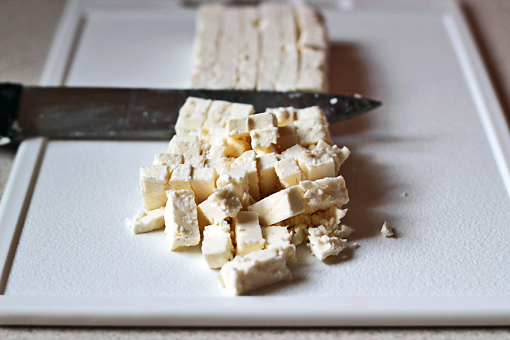
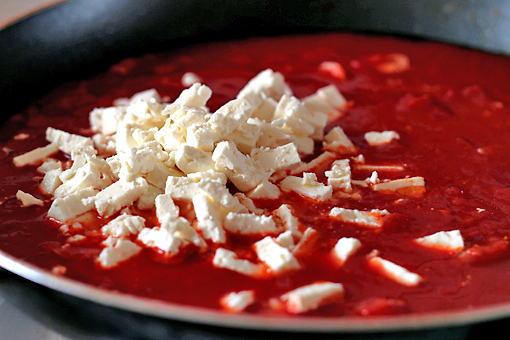
5. Now cut your Feta cheese into little cubes (or just crumble it if you feel especially mischievous)…

Farfalle with Tomato and Cheese Sauce

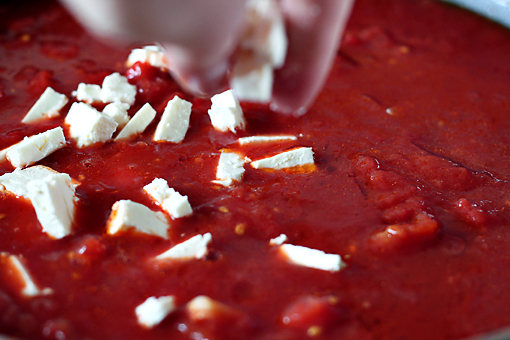
6. …and add it to the sauce.


Farfalle with Tomato and Cheese Sauce

7. Stir it all and let cook over medium-low heat for about 20 minutes. Stir every two minutes or so.


I wonder, will I ever tire of this color?

I don’t think so.

The color of tomato sauce might actually be the reason why I fell in love with food photography.


Farfalle with Tomato and Cheese Sauce

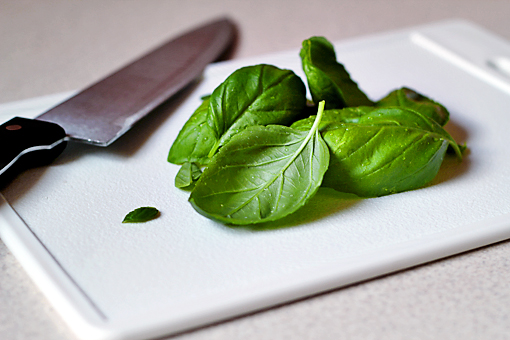
8. In the meantime, grab the basil leaves, give them a rough chop…

Farfalle with Tomato and Cheese Sauce

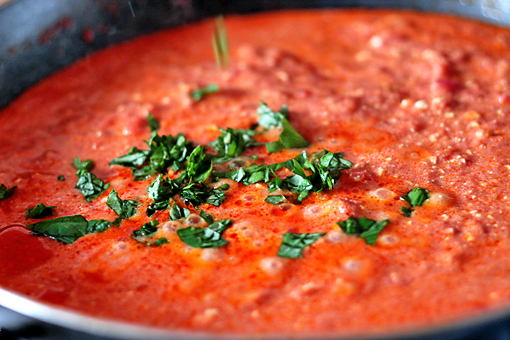
9. …and add them to the sauce about 18 minutes into the cooking process so that the basil can cook with the sauce for about two minutes.
Farfalle with Tomato and Cheese Sauce

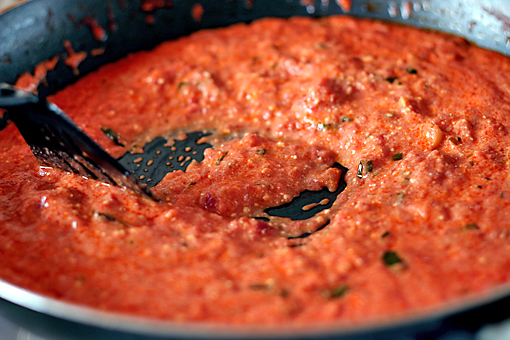
You’ll notice that the sauce has reduced in volume a little and has become more thick.

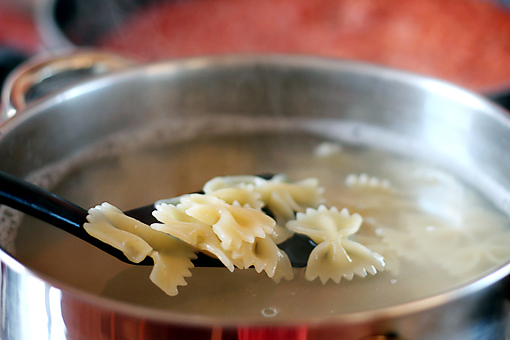
10. Cook the bow-ties according to the package instructions.

Farfalle with Tomato and Cheese Sauce

And serve.

You can even sprinkle a little Parmesan on top. That will transfer you to heaven instantly.

Enjoy, dear friends!


(This recipe makes 6 portions and will take you about 30 minutes to prepare.)

Send this to a friend