Photography – Photo Editing with RadLab

tulip - totally rad presets - before and after comparison

Lately I’ve received quite a few questions asking me what my photo editing process looks like. This got me thinking about how many stages in photo processing I have actually gone through.

A few months ago I put together this post about my favorite retouching techniques.

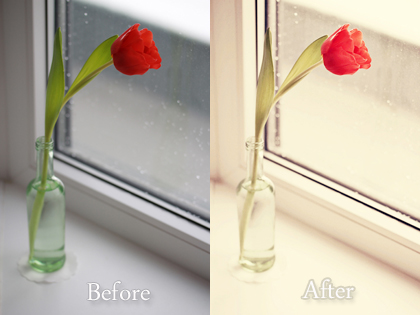
And just recently I found a real gem. It is a cute set of actions (or ‘stylets’) called RadLab. And I ADORE that thing! The actions/stylets are super-easy to use and make the whole photo editing process really quick and enjoyable.

Here are a few example for you to compare…


chocolate - rad lab presets - before and after comparison


cake - rad lab action - before and after


dogs and gardne - rad lab action - before and after


truffles - rad lab actions - before and after

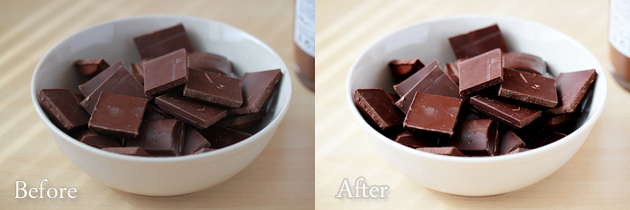
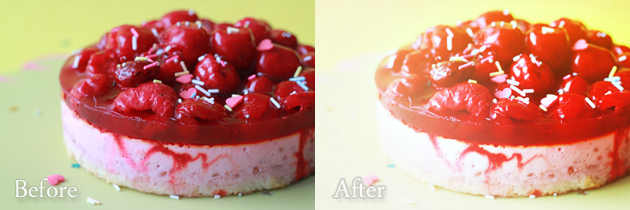
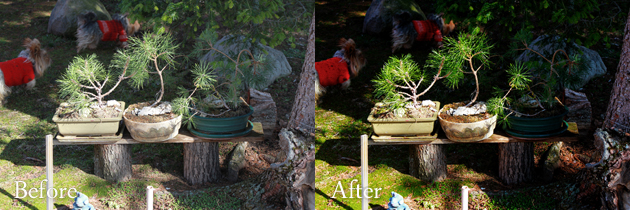
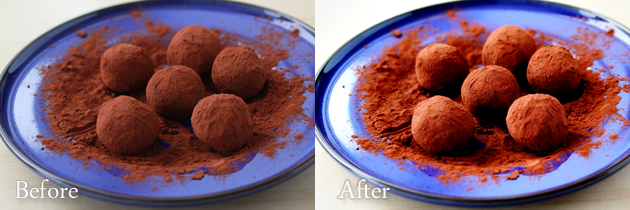
What do you think? Do you like the difference?

Love,
Petra


Photography ~ How To Create White Vignette

how to add white misty border to a picture Photoshop tutorial

Because many of you, my dear readers, liked my last article on adding more light to your pictures during these tough months of winter, I decided to share another one of my light finding tricks with you.

I call it ‘white vignette’, despite the fact that the word vignette is usually used to describe dark blurred border around the picture.

I like adding dark vignette to my pictures. I find them cute because they nicely draw attention to the center of an image. I even wrote a tutorial about it once.  But my winter photos, oh my winter photos do not need it that much, they need more light, that’s what they need.

Long story short, one day it occurred to me that  – maybe – if I used white color instead of black one while creating the vignette, it could help my darker pictures to look better.

I liked the idea, and I loved the result.

Just have a look…


how to add white misty border to a picture Photoshop tutorial

This is the before picture.

When I was taking this picture, the display of my camera was saying it looked alright and that it was properly exposed.

But I did not think so when I saw it on the screen of my laptop.


how to add white misty border to a picture Photoshop tutorial, unsharp mask to add contrast, sharpening with unsharp mask, light with levels

This is the same picture after a little bit of editing in Photoshop Elements 8 has been done (no vignette yet).

Much better, I think.

I corrected exposure with levels (tutorial here).

I improved contrast with unsharp mask (tutorial here).

And I sharpened the picture a little (tutorial here).


how to add white misty border to a picture Photoshop tutorial, white vignette

And then I added my white vignette.

I like how it creates an illusion of more light coming in.

These are the steps that I took:

Send this to a friend