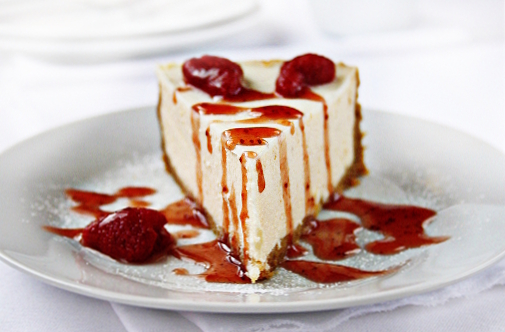
I love cheesecake.
I know, I know, I love too many things but it just happens to be so…
Yogurt, milk-shakes, cheesecakes – that all makes my world go round.
A few months ago I prepared this delicious Grated Cheesecake and I received some very positive feedback. So I think it’s the highest time to add a new piece into the cheesecake collection.
New York Cheesecake – I’d never had that one before.
After I tasted it, I have this to say:
If New York had nothing else to offer but this cheesecake it would be worth visiting for this piece of sweet pleasure alone.
And you know what?
Let’s prepare it at home – that will be fun!
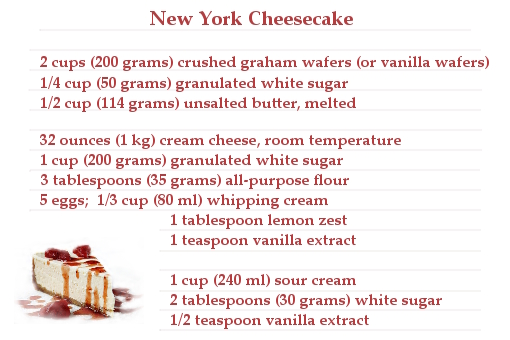
These are our ingredients.
(Do you like the recipe card? I hope you do – then the four zillion hours I spent making it hasn’t been lost.)
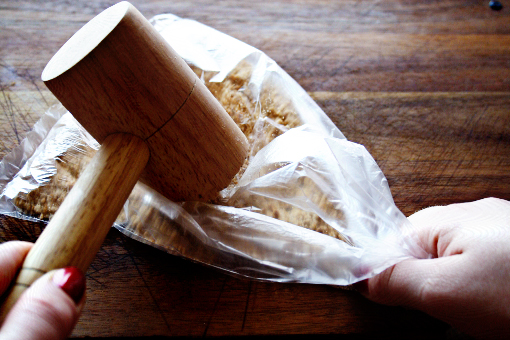
1. In a food processor process whole cookies (waffles) until they are crumbs.
Yes, that is my food processor you are looking at right now – I’m very much into the prehistorical style of cooking.
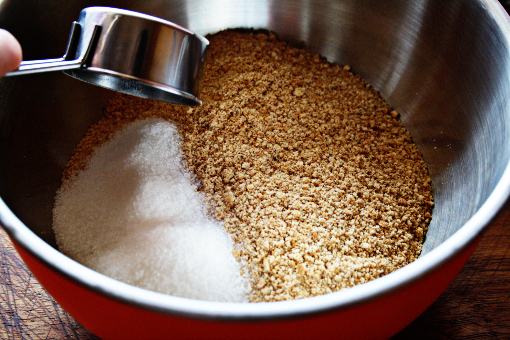
2. Pour the crumbs into a medium bowl.
3. Add the sugar (1/4 cup – 50 grams).
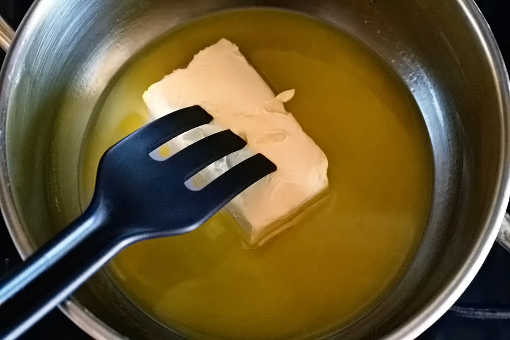
4. In a small pot, melt the butter over medium-low heat.
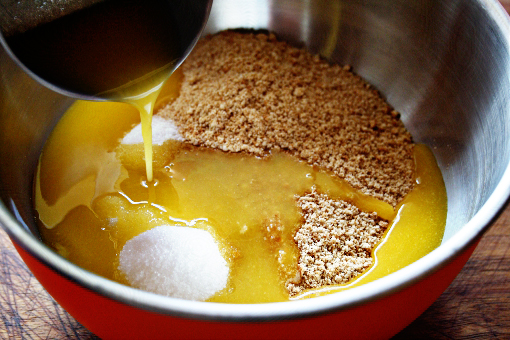
5. Pour the butter into the bowl …
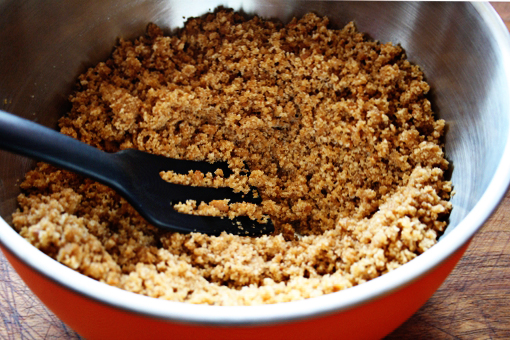
6. … and combine all the ingredients.
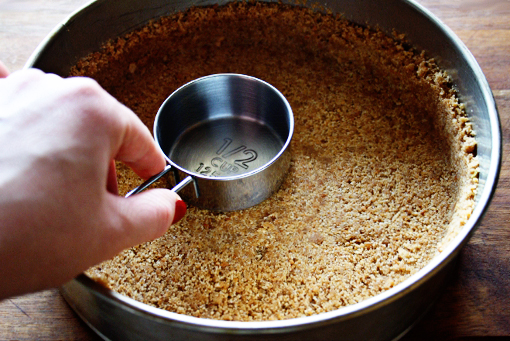
7. Now grease or spray a 9 inch (23 cm) springform pan.
8. Fill the pan with the crumbly mixture.
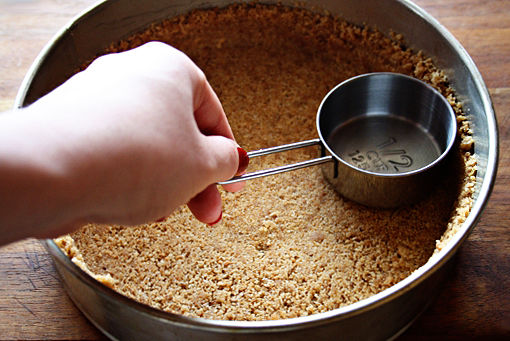
9. Using a measuring cup press the mixture over the bottom …
… and about 1 inch (2.5 cm) up the sides of the springform pan.
10. Cover and refrigerate while you make the filling.
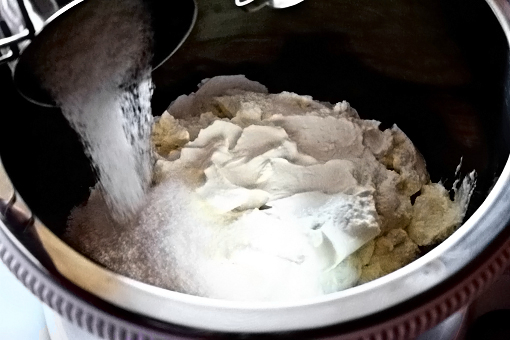
11. In the bowl of your electric mixer place the cream cheese, sugar (1 cup – 200 grams) and flour.
12. Beat on medium speed until smooth (about 1 minute).
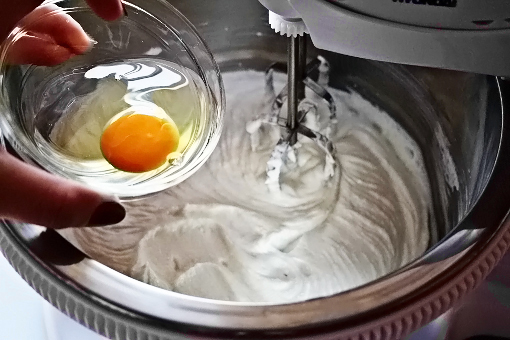
13. Add the eggs, one at a time, beating well (about 30 seconds) after each addition.
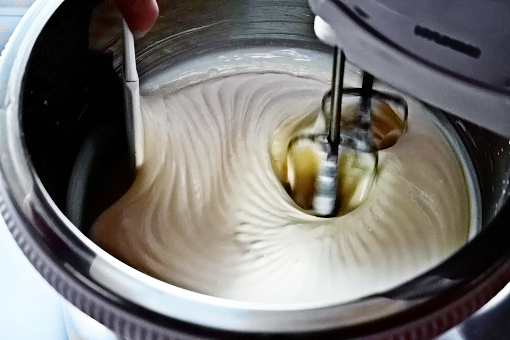
14. Scrape down the sides of the bowl as you go.
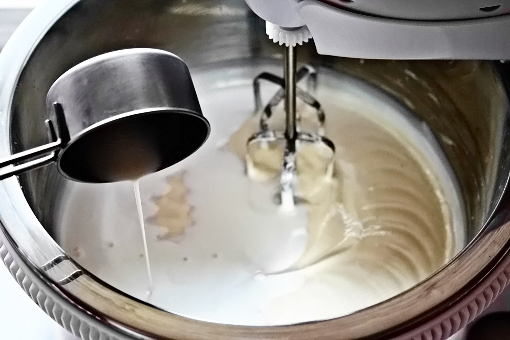
15. Add the whipping cream, lemon zest and the vanilla extract and beat until incorporated (about 1 minute).
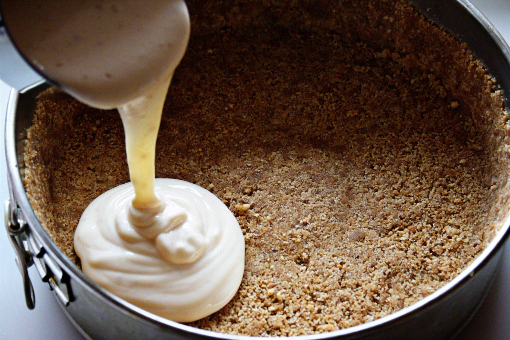
16. Remove the crust from the fridge and pour in the filling.
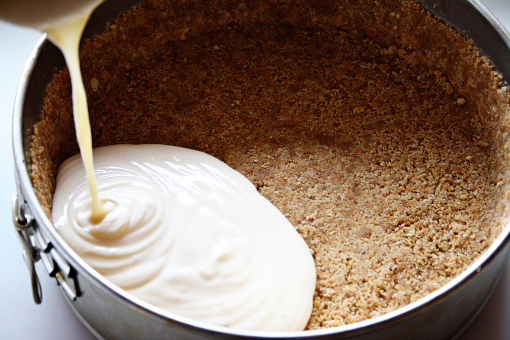
17. Place the cheesecake pan on a larger baking pan and place in the oven.
18. Bake at 350 F (177 C) for 15 minutes. Then reduce the oven temperature to 250 degrees F (120 degrees C) and continue to bake for about another 1 1/2 hours or until firm and only the center of the cheesecake looks a little wet and wobbly.
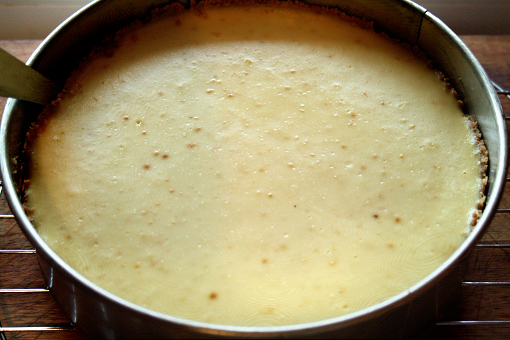
19. Remove from the oven and place on a wire rack.
(There was a storm going on behind the window as I was taking this picture – so I was struggling, struggling with the light.)
20. I also ran a knife around the inside edge of the pan to loosen the cheesecake (this procedure helps prevent the surface from cracking as it cools).
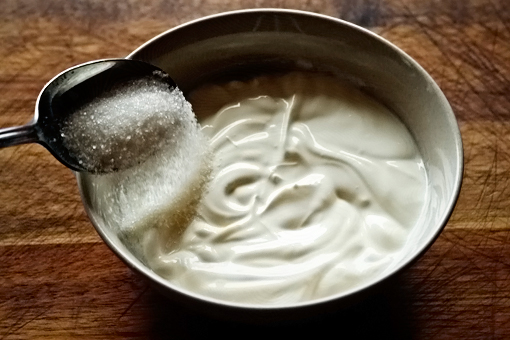
21. In a medium bowl mix the sour cream, sugar (2 tablespoons – 30 grams) and the vanilla.
22. Spread the topping over the warm cheesecake and return to oven to bake for 15 more minutes.
23. Remove from the oven and let cool (this cheesecake tastes best after being refrigerated for about 12 hours).
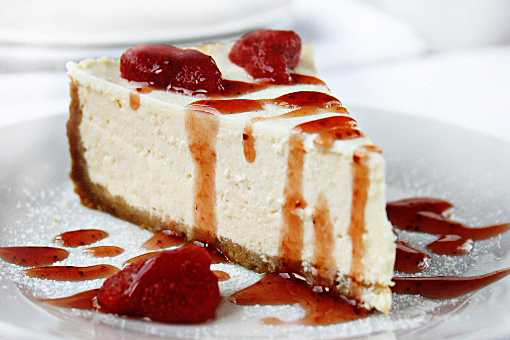
I garnished the top of the cake with some canned strawberries and strawberry sauce and ate it in about three microseconds.
Enjoy, dear friends, it’s a very nice experience.
(This lovely recipe was adapted from Joyofbaking.com.)
- Like
- Digg
- Del
- Tumblr
- VKontakte
- Buffer
- Love This
- Odnoklassniki
- Meneame
- Blogger
- Amazon
- Yahoo Mail
- Gmail
- AOL
- Newsvine
- HackerNews
- Evernote
- MySpace
- Mail.ru
- Viadeo
- Line
- Comments
- Yummly
- SMS
- Viber
- Telegram
- Subscribe
- Skype
- Facebook Messenger
- Kakao
- LiveJournal
- Yammer
- Edgar
- Fintel
- Mix
- Instapaper
- Copy Link

This looks delish! And easy to make too!
I always wonder though, do you wait for the oven to cool when you turn the temperature down before putting the cake back in? Or do you just leave the cheesecake in and turn it down?
Hi and thanks for the comment! I just turn the temperature down with leaving the cake inside. Have a nice weekend. 🙂 Petra
That is one extraordinary and beautiful dessert, you captured it wonderfully!
I made my first New York Cheesecake about a month ago and loved it! your topping looks delicious.
Gorgeous photos – this cheesecake looks marvelous! The recipe card is really cute, definitely worth the effort 🙂
I also love cheesecakes. Yours looks to die for! What a beauty.
Cheers,
Rosa
I just tried this recipe for a birthday present for a cheesecake lover… it worked great, though I had some problems at the start as mixing the cream cheese broke down the mixer I was using. I probably should have warmed the cheese more before starting. It ended up with little gooey-ness at the center of the cheesecake. I actually cut the cooking time a little short, so it didn’t surprise me.
Thanks for this article, I’m sure to be experimenting more with it in the future.
Süpersin! Çok güzel görünüyor…
Wow. These are the best process photos I’ve ever seen. They look so ethereal for some reason. I must be really craving cheesecake or something. YUM!
Thanks for the great directions! Your pictures are fabulous. I can’t wait to try this – you make it look soooo easy 😉
xxMK
Delightful Bitefuls
Oh my, this cheesecake is irresistible!
Wow, this looks seriously amazing. NY should thank you for doing it’s cheesecake so well!
ahh, amazing. I love cheesecake so much!
Your pictures are fantastic, I love the light in them!
Daaaaahling, a cake this beautiful really doesn’t need work in photo shop, but somehow you made it look even more delicious. Can I have a slice?
*kisses* HH
Oh, thank you SO dear, just stop by, the slice is waiting for you… 🙂
Que rico se mira, le haré y te cuento como me quedó. Un abrazo……..
Yum ummm! Maybe I can try it out with some other fruits? Like mangoes maybe? (Petra=strawberries, Kausambi=mangoes)
****grin****
Great idea! That has to be gorgeous and finger-licking. 🙂 Petra
THANK YOU FOR SHARING! Made this for my mommy’s birthday and she LOVED it! I followed your directions to a “T” and it came out perfectly! I’m beginning to get pretty good at making cheesecakes and I think I wanna try something with chocolate and caramel next…
Looks wonderful!
Oh… This cheesecake is irresistible!!!!
What a beauty!!!
You have a great blog with beautiful pics. Greetings from Austria.
Thank you for such a wonderful explanation and tips. My cake looks just delicious! I’m looking forward for trying another recipes
thanks for the very detailed explanation, I tried it awhile ago and it was exceptional. Im looking forward to see more of your recipes.
Wow! this just looks sinfully delicious.
my boyfriend and me just tried your cheesecake recipe and we’re so excited to see the result. we had some strawberries left, cut them in slices and put them onto the cookie bottom… let’s see 🙂 greets from cologne, germany!
Hi. Is there a way to print the recipe card? They’re so beautiful–it would be nice to be able to print and add it to a recipe box…
Hi Sabrina!
Yes, there is a way!
Just click on the green ‘Print Friendly’ button at the end of the post. Then, delete the text or pictures that you don’t want to be printed by clicking on them. Hope it works!
Enjoy!
Petra
Hi,
Do you think you could give me an idea how to adapt this recipe to a 12 ” spring form pan?
Hi Stephanie!
Just increase the amounts of all ingredients by 1/4. That should work perfectly well.
Petra 🙂
Wow!
What an awesome cheesecake. I was going to make the below version but I think I will attempt your version instead.
http://www.wascene.com/food-drink/new-york-cheesecake-recipe/
Many thanks,
Jen