Apple Crisp

apple crisp recipe with step-by-step images

The early fall is truly magical.

These days I love to revel in all the pleasant impressions that this time of year evokes in me.

I love the calm… as if everything is coming to rest after all the hard work.

I’m excited when I see first signs of the glitter party that nature is going to throw soon.

Also, I love to go for long walks and enjoy the nice and warm days.

And if I didn’t sleep so late I’d definitely enjoy the crisp and cool mornings.

Hm, you can’t have everything, I guess.


But most of all, I enjoy the fruits of this season.

Like apples, for example.

In my world, there’s nothing more wonderful than the smell of apples and cinnamon coming out of the oven.

That’s why I end up making all sorts of apple-cinnamon creations these days each year – Apple Crisp being one of my favorite.

Yum!
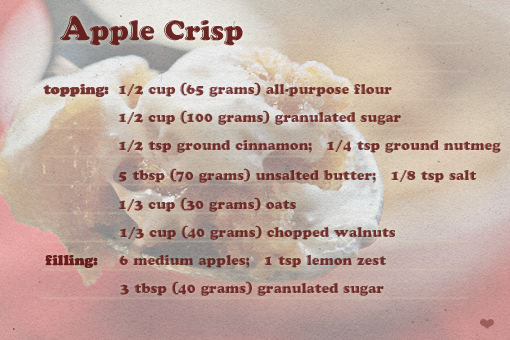
apple crisp recipe with step-by-step images

The ingredients are simple and economical.

And that’s great.


Now I invite you to have a look at what crazy stuff was going on in my kitchen…
apple crisp recipe with step-by-step images

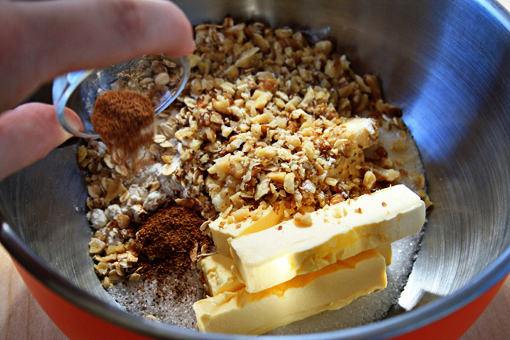
1. First, I preheated the oven to 375 degrees F (190 degrees C).

2. I placed all the ‘topping’ ingredients into one bowl – namely the flour, sugar, cinnamon, nutmeg, butter, salt, oats and walnuts.

Okay, maybe it wasn’t that crazy.
apple crisp recipe with step-by-step images

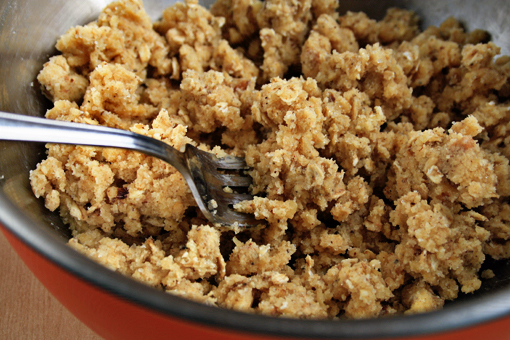
3. Using a fork, I combined them all just until this crumbly mixture had formed and no large pieces of butter were visible.

The topping is finished.

Easy!
apple crisp recipe with step-by-step images

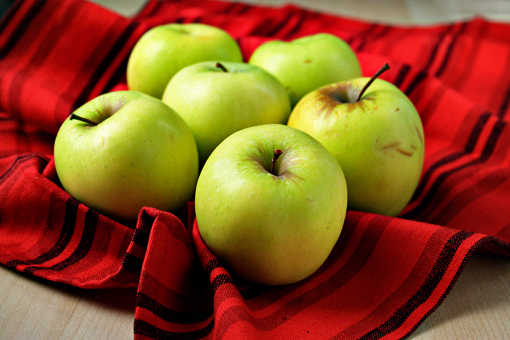
4. Then I grabbed six medium apples.

These are Golden Delicious.

Also Empire, Gala, or Braeburn are especially good in this recipe.
apple crisp recipe with step-by-step images
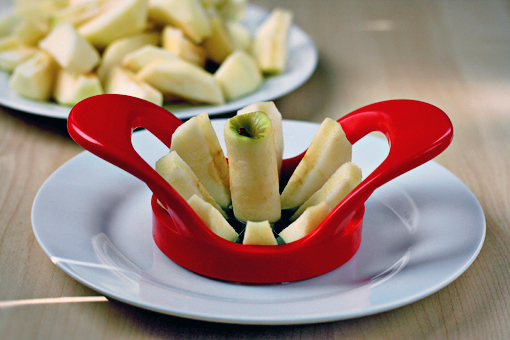
5. I peeled, washed, cored and sliced them.
apple crisp recipe with step-by-step images

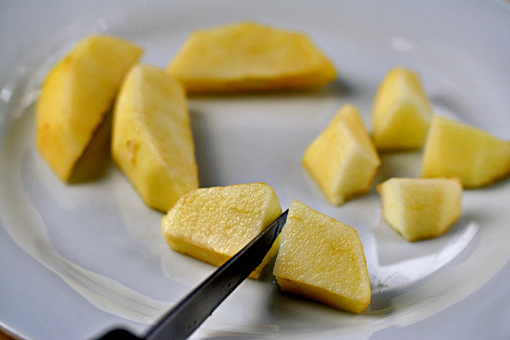
6. And then I cut the slices into 1 inch (2.5 cm) chunks.
apple crisp recipe with step-by-step images

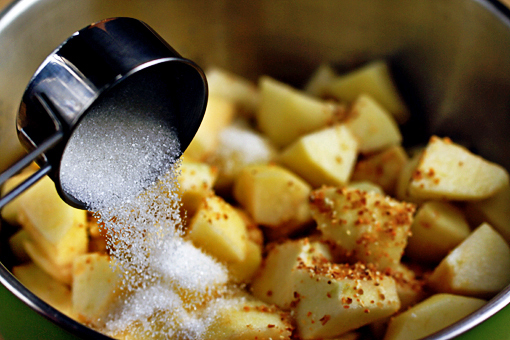
7. To make the filling, I placed the apples, the lemon zest (I used dried lemon zest) and the sugar in a larger bowl…
apple crisp recipe with step-by-step images

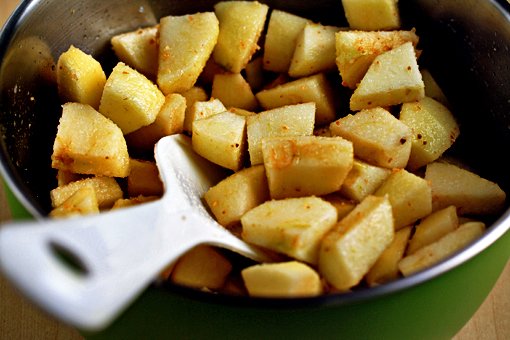
8. …and tossed it to combine.

Mmmm… can you smell that?

Instant home!
apple crisp recipe with step-by-step images

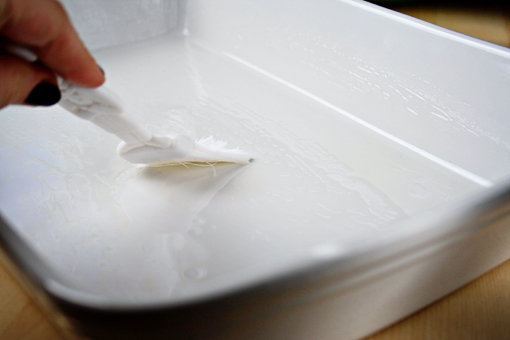
9. I am brushing a dish with vegetable oil here.

Instead, you can butter the dish or just spray it with some cooking spray.

Also, although I used a slightly larger dish, I recommend to use a 9 inch (23 cm) deep dish pie plate or an 8 x 8 x 2 inch (20 x 20 x 5 cm) baking dish.
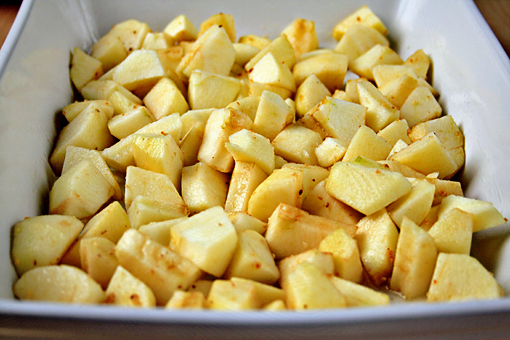
apple crisp recipe with step-by-step images

10. Fill the dish with the fragrant apple filling.
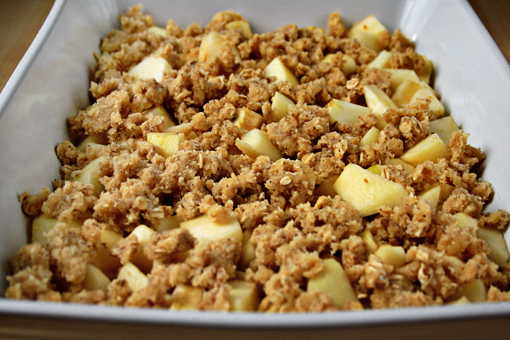
apple crisp recipe with step-by-step images

11. And, using your fingertips, spread the topping evenly over the apples.
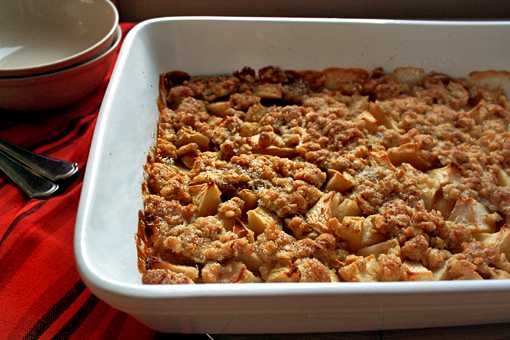
apple crisp recipe with step-by-step images

12. Pop it in the oven and bake for about 30-40 minutes, or until bubbly and the topping is golden brown.
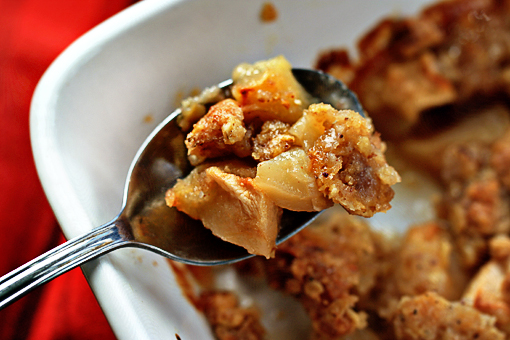
13. Remove from the oven, place on the cooling rack and let cool for about 30 minutes.

Then dig into it with a spoon and check whether everything is all right.
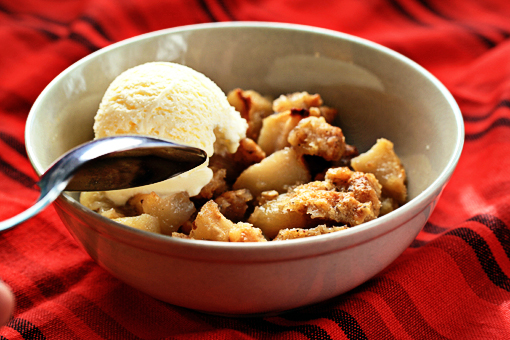
apple crisp recipe with step-by-step images

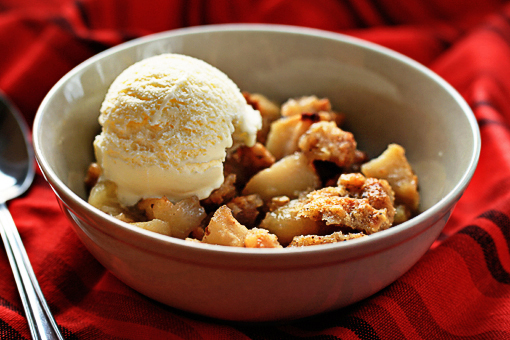
And if everything is perfectly all right, and it definitely will be, proceed to another step – fill a bowl with some more spoonfuls of this flavorful, juicy and crispy wonder.

Add a nice, fat scoop of vanilla ice-cream.

Or two.

Or four.
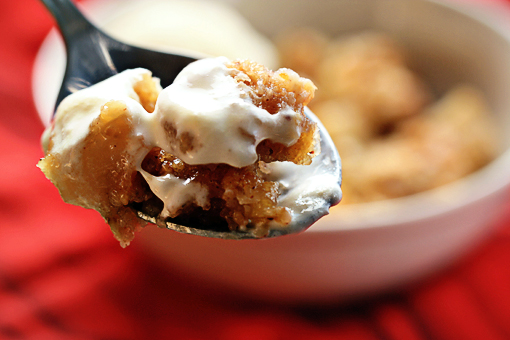
apple crisp recipe with step-by-step images

And have a great time!
If, by any chance, you end up with some leftovers, refrigerate them and reheat them before serving.
apple crisp recipe with step-by-step images

Enjoy!


Orange Granita

orange granita recipe with step-by-step images, orange slushie recipe, how to serve orange granita

Mmmm…my first encounter with granita…that was something truly amazing.

It happened during my vacation in Italy a couple of years ago.

Oh, I will never forget that moment.

Actually, I was spending the holiday with my sister and her family then. One lovely morning we decided to have a proper look at the village we were staying in…so – under the burning Italian sun – we walked every street, saw every sight and met ever person possible.

Phew!

My feet still get depressed when they remember that.

After a couple of hours, as knackered as people can get, we decided to relax in a cute café sitting on top of a hill and offering a magnificent sea view.

And GRANITA.

First of all, the cup I was given amazed me with its wonderfully colorful content.

And then…wow…that first mouthful…OH, THAT FIRST MOUTHFUL…it was the most refreshing,  invigorating and memorable dessert in my whole life.

During all the years that followed, just until recently, I hadn’t even dared to think I could prepare that delectable treat at home (you know, they make it in those big ‘freezing-and-mixing’ tanks).

But now the things have changed.

And you know what?

Granita might be the simplest and easiest dessert there is.

orange granita recipe with step-by-step images, orange slushie recipe, how to serve orange granita

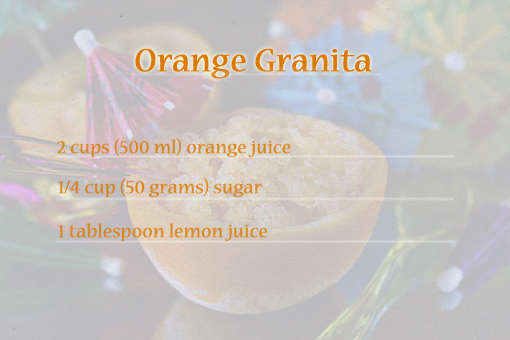
THESE are the ingredients!

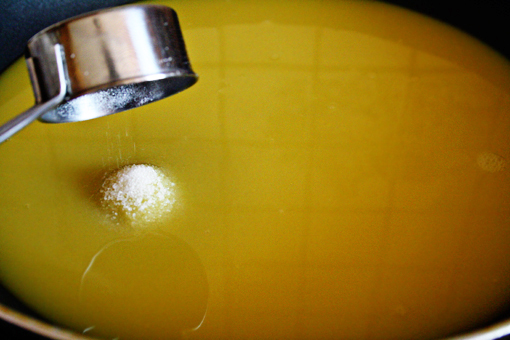
1. First, pour the juice into a saucepan and place it over medium-low heat.
2. Add the sugar and stir.

orange granita recipe with step-by-step images, orange slushie recipe, how to serve orange granita

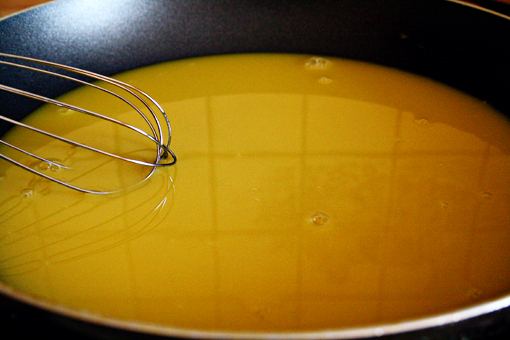
3. Add the lemon juice and continue stirring just until the sugar has dissolved.
4. Remove from heat.

orange granita recipe with step-by-step images, orange slushie recipe, how to serve orange granita

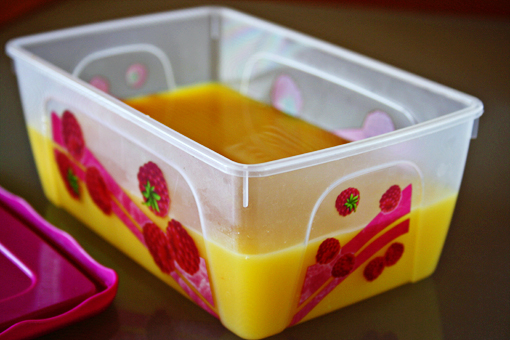
5. Then find a larger (4 cup – 1 liter) ‘freezer-friendly’ container and pour the mixture in.
6. Cover with a piece of parchment paper and put in your freezer.

orange granita recipe with step-by-step images, orange slushie recipe, how to serve orange granita

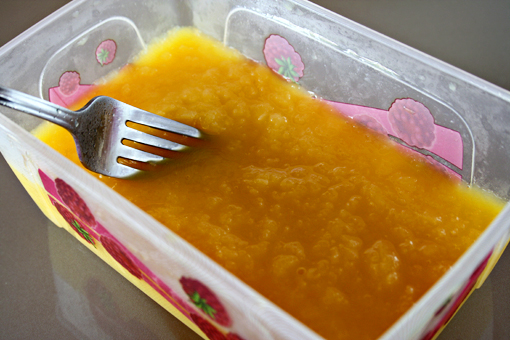
7. After about 2 hours into the freezing process, remove the container from the freezer and move the liquid around with a fork, breaking the forming crystal structure. Put back in the freezer.
8. Repeat this process about 3 more times (every 2 hours). Then let freeze for as long as you wish.

orange granita recipe with step-by-step images, orange slushie recipe, how to serve orange granita

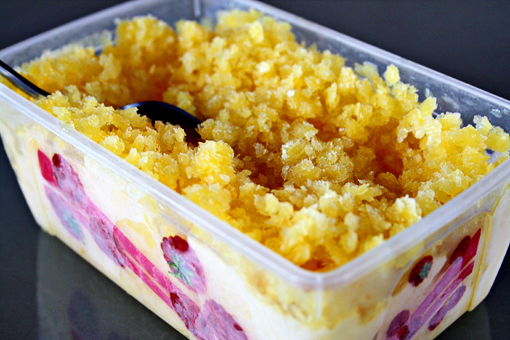
This is what I got after leaving the mixture in the freezer overnight.

Wonderful granita!

See? It’s doubled in volume.

orange granita recipe with step-by-step images, orange slushie recipe, how to serve orange granita

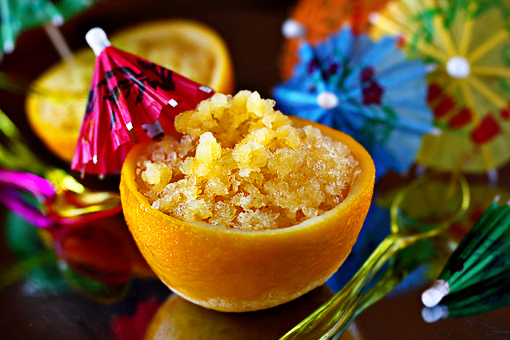
To serve the orange granita, you can use some fresh oranges. Just cut an orange in half and, using a spoon, remove its flesh. Let freeze for a couple of hours. That way you’ll get a nice, cooling and impressive bowl.

Enjoy, dear friends.

Send this to a friend