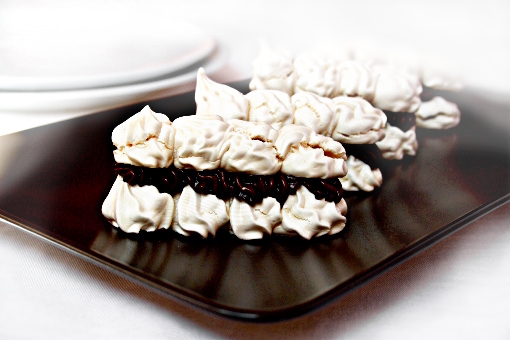
Meringues With Coffee Filling

Let me introduce my most favorite cookies to you – if these can be called cookies.

I’d rather call them ‘wondrous sensations of supernatural origin’.

Yeah!

That’s what I’d call them.

Oh, and there’s a confession I have to make regarding me and my relation to these gems.

Frankly, I have been addicted to meringues for about 29 years.

Okay, not exactly 29, I was probably fed milk for the first year of my life.

So let’s say – for 28 years.

My love for these beauties was so strong that I learned how to make them early in my life. It just became too life-threatening to rely on a store and whether they had them or not.

Well, I guess this all pretty much explains how gorgeous they are.

SO LET’S MAKE THEM!
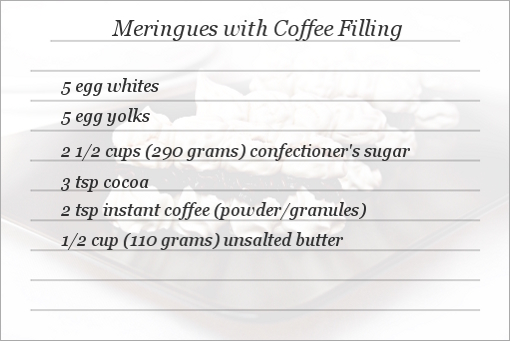
These are the ingredients.

I recommend using very fresh eggs.
1. Separate egg yolks from whites.

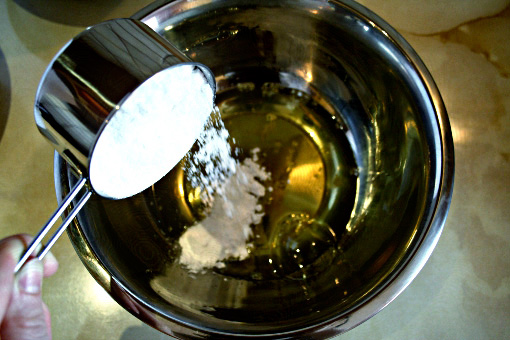
2. Pour 1 1/2 cup (170 grams) sugar into the bowl with the egg whites.
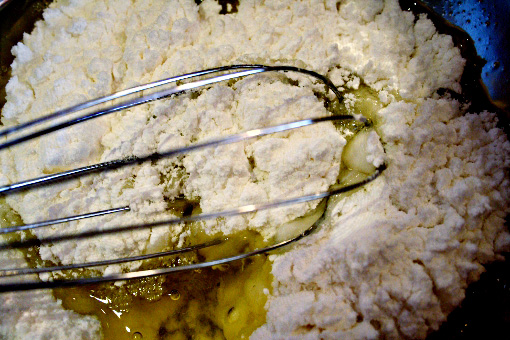
3. Mix with a whisk until incorporated.
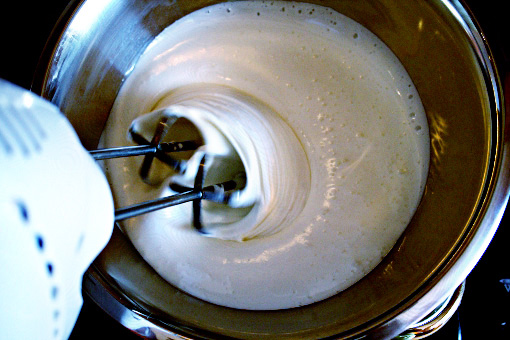
4. Then pour a little water into a medium pot.

Place the pot on a stove, heat it up and let simmer – because we need steam now.

5. Place the bowl with the egg whites over the pot with simmering water and using a hand mixer, whisk the mixture on slow speed for about 15 minutes.

(If we placed the egg whites over direct heat they would turn into scrambled egg whites… and we don’t want that to happen.)
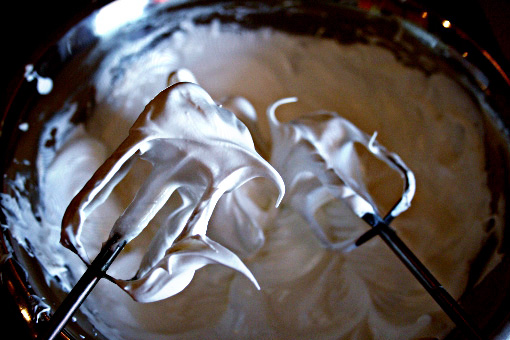
6. Remove from heat.

This is what we are going for – soft peaks.
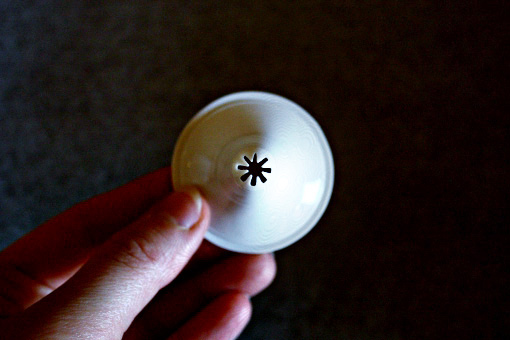
Now, try to find a piping tip that resembles this one.

7. Fill the piping bag (or whatever you use for piping) with the egg-white mixture.

8. Line a baking sheet with parchment paper.

9. And start piping. I have achieved this shape by creating 4 small heaps very close to each other – so that they are touching each other.

10. Preheat the oven to (only!) 266 F (130 C).

11. Place the sheet into the oven, bake at 266 F (130 C) for 10 minutes, then reduce the temperature to 212 F (100 C) and bake for 50 minutes.

12. Rotate the sheet halfway through the baking period.
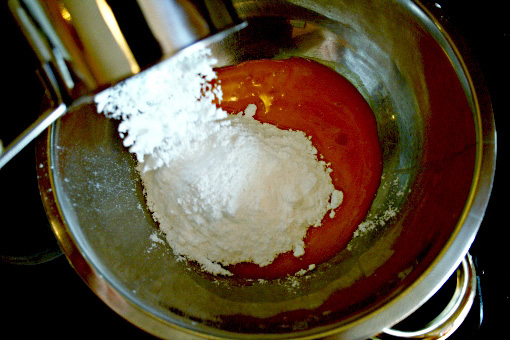
13. Meanwhile, mix the egg yolks with the rest of the sugar.
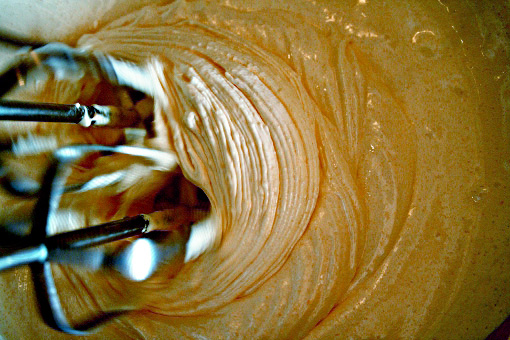
14. Using a hand mixer again, whisk them over the pot of simmering water for about 15 minutes.
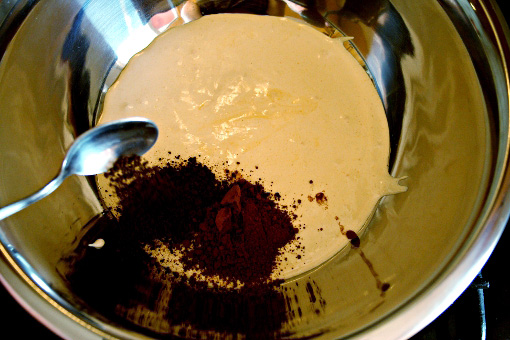
15. Remove from heat.

16. Add the cocoa and coffee and mix just until incorporated.

17. Let cool completely, then add the butter and mix again until well combined and smooth.
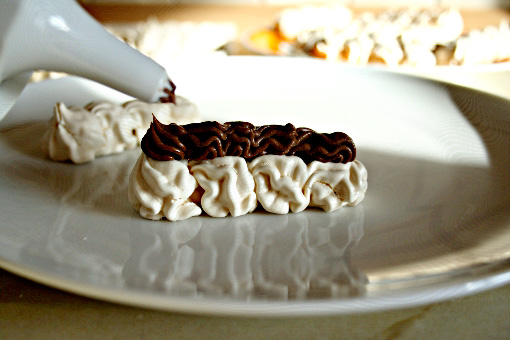
18. Remove the cookie shells from the oven and let cool.

19. Fill the piping bag with the coffee filling and – using the same piping tip as for the shells – pipe the mixture onto a shell.
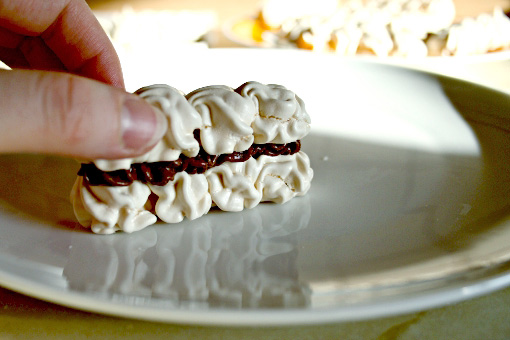
20. Now place another shell onto the filling – both shells have flat sides facing down.

And that’s it.

Easy, right?
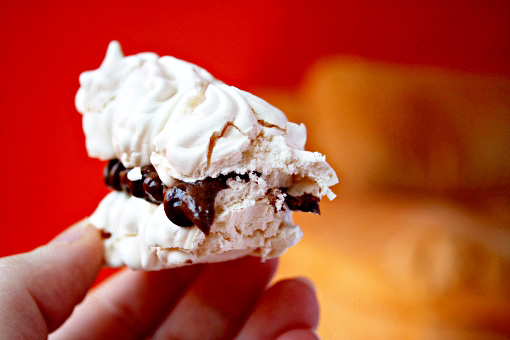
And yummy… mmmmmmmmmmm.

Enjoy, dear friends!

And now let’s all sing in unison this world-famous song:

Thank you for the music sugar, the cookies we’re eating
Thanks for all the joy they’re bringing
Who can live without it, I ask in all honesty
What would life be?
Without sugar or a cookie what are we?
So I say thank you for the sugar
for giving it to me…’

Thank you!

(This recipe makes about 16 cookies – it vastly depends on how much licking is involved in the whole process.)

Cookie Lollipops!

Would you like a cookie lollipop?

Have one, I’ve got many.

Aaaa, you want to have your own ones.

OK then…  I’ll show you how to make them…

~~~

This is what you need:

1 1/2 cups (340 grams) unsalted butter, room temperature

1 cup (200 grams) granulated sugar

2 eggs

3 teaspoons vanilla extract

1 teaspoon salt

5 cups (650 grams) all-purpose flour, plus more for work surface

food coloring, in various colors

~~~

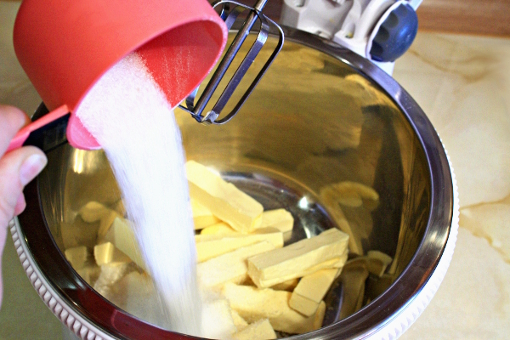
1. First we need the butter and the sugar.

Place these ingredients into the bowl of your electric mixer…

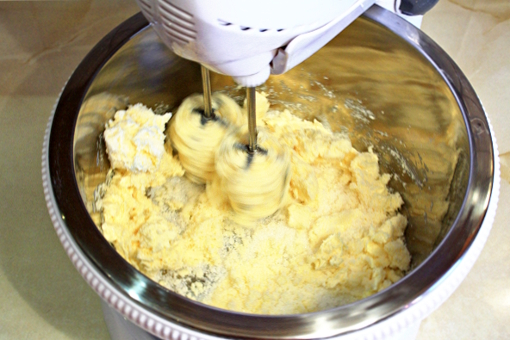
2. … and mix them together for about two minutes.

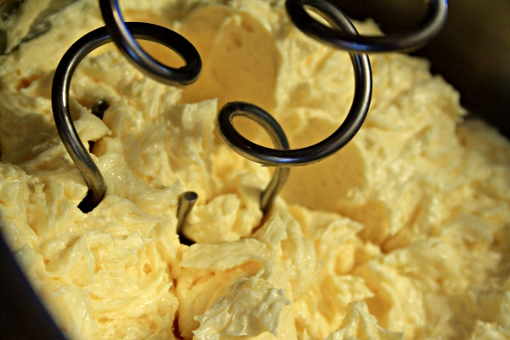
3. Now we add the eggs and the vanilla extract and beat again until it’s light and fluffy.

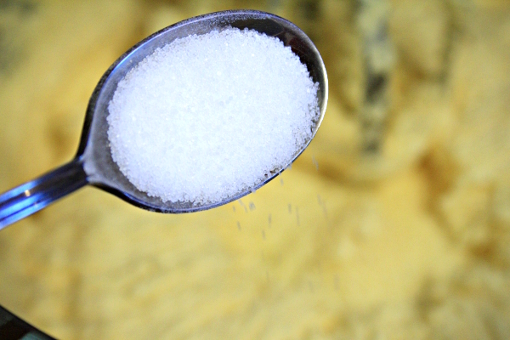
4. Add the teaspoon of salt and mix again.

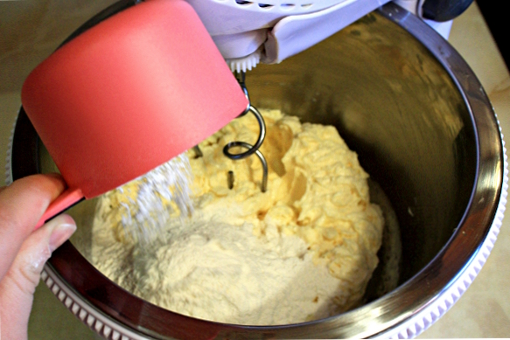
5. And then add the flour gradually. Slowly, slowly, we don’t want all kitchen covered in flour.

Mix until all of it has been incorporated.

6. Turn the dough onto your work surface and gather it into a ball.

Divide it into smaller balls – one for each color.

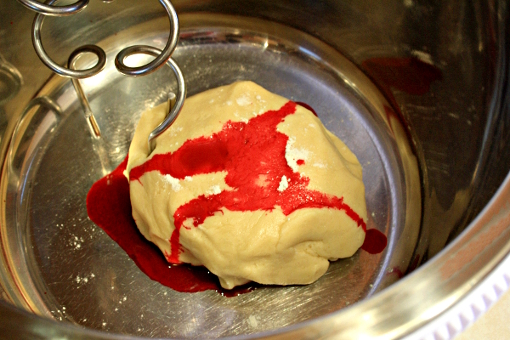
And this is how to color the dough:

7. Place the dough you want to color into the bowl of your electric mixer and pour the coloring onto it (it’s fine to follow the instructions on the food color because some may be stronger than the others).

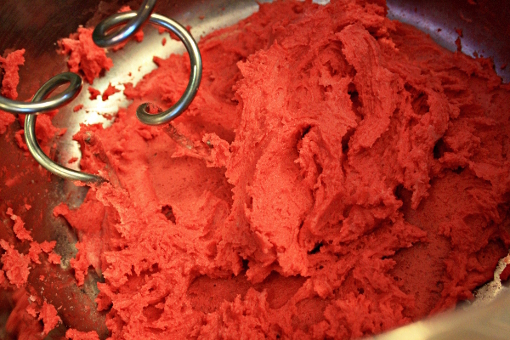
8. And mix, mix, mix just until it looks OK.

Turn the dough onto a floured surface and form a ball again.

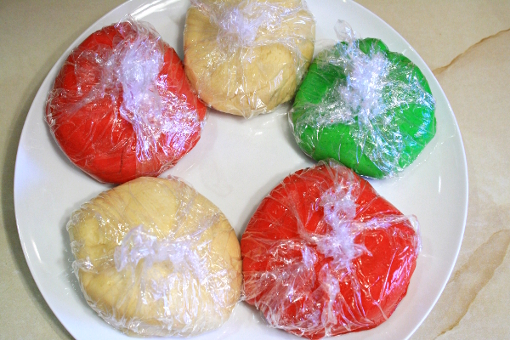
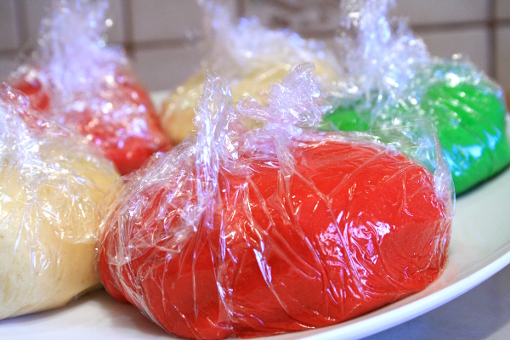
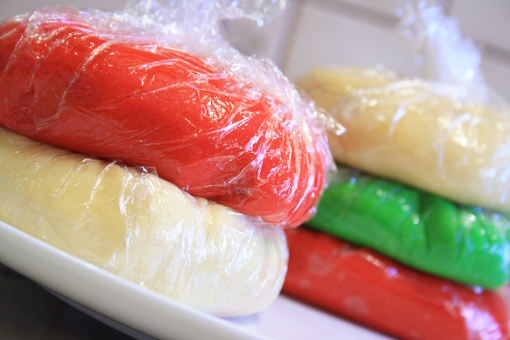
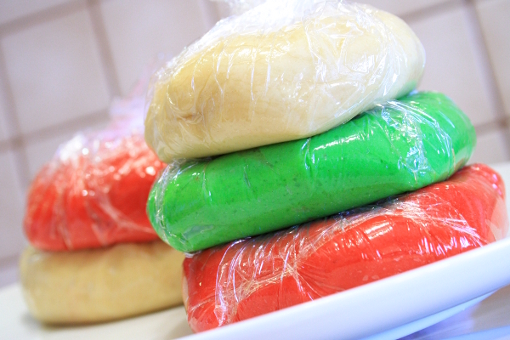
9. Wrap each ball into plastic wrap and refrigerate for about 2-3 hours.

I decided to have two bigger balls – white and red – for marble lollipops and some cookie candy canes…

… and three smaller ones – white, green and red – for lollipops with cut out shapes in them.

10. When the dough is cooled you can preheat an oven to 350 F (176 C).

11. Line a baking sheet with parchment paper.

As I’ve already mentioned, this time I used the dough to make three kinds of cookies – the marble lollipops, cookie candy canes and cookie lollipops with cut out  shapes.

And this is how I made the marble lollies:

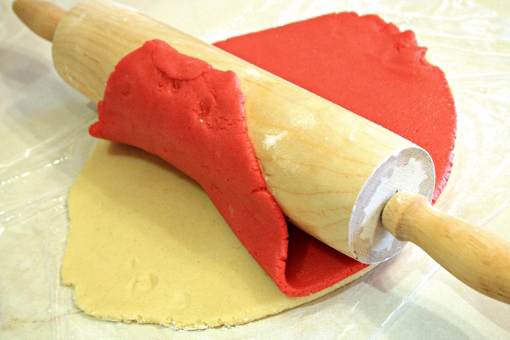
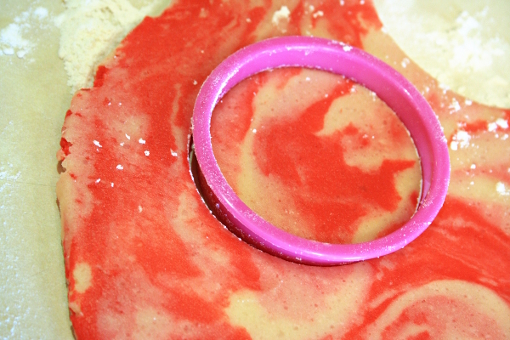
12. I rolled out the white and red dough and placed one onto the other.

Then I gently formed it into a ball again and rolled it out (into the thickness of about 1/4-inch-0,6cm).

13. And now – using a round cutter (I used 3-inch/7,5 cm cutter) – cut out round shapes.

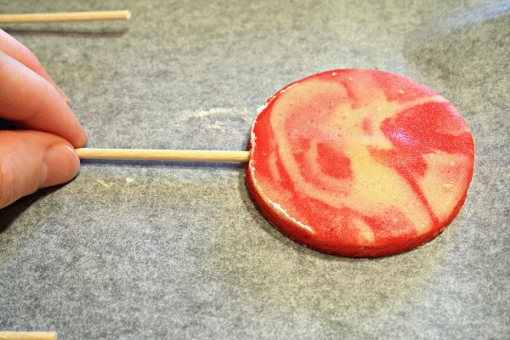
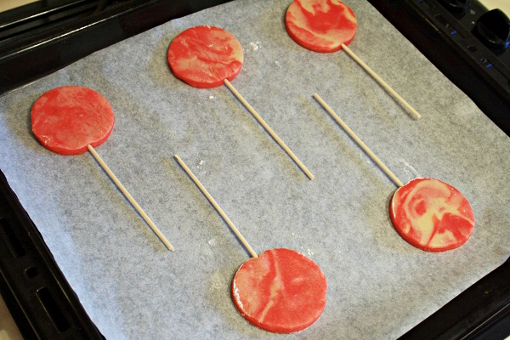
14. Transfer the cookies onto the prepared baking sheet.

Then take a stick and put it into the cookie gently – up to 2/3 of its diameter.

When the cookies bake the stick will adhere to them – isn’t that just great?

I used a 6-inch (15 cm) stick for a 3-inch (7 cm) cookie (if you have a longer stick don’t worry – they can easily be cut or broken).

These want to be baked right now.

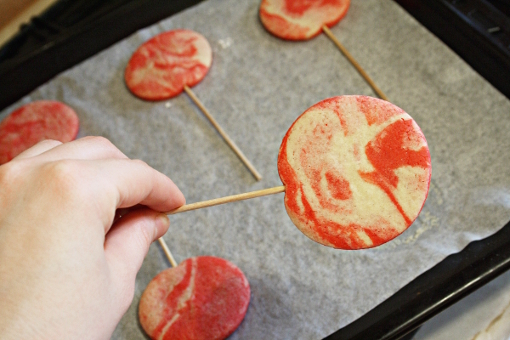
15. Bake the cookies for about 12 minutes and remove from the oven.

Let cool on the baking sheet for about 5 minutes.

And here they are, beauties, out of the oven.

Yaaay!

Mmmmm, and they smell sooooo good!

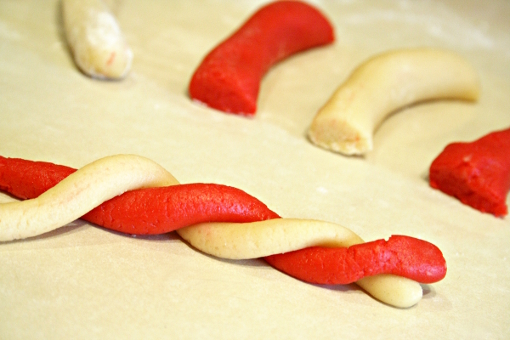
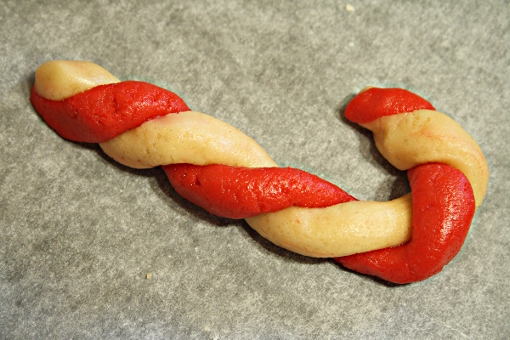
Then I made some candy cane cookies – just a few.

16. Form balls from the white and red dough.

Then make ropes out of them by rolling them back and forth on a lightly floured surface.

Place one red and one white rope side by side,  press them together lightly and twist them.

17. Place them on the cookie sheet and curve top of the cookies down to form the handle of a cane.

Bake for 12-13 minutes.

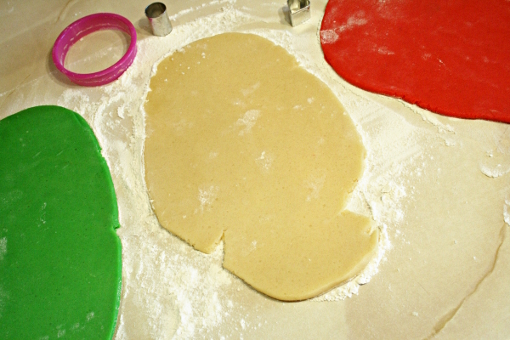
18. And the third awesome lollipop cookies are very similar to the first ones.

Roll out the balls of three different colors (to about 1/4-inch – 0,6 cm thickness) and cut out rounds shapes.

Transfer the shapes onto the baking sheet.

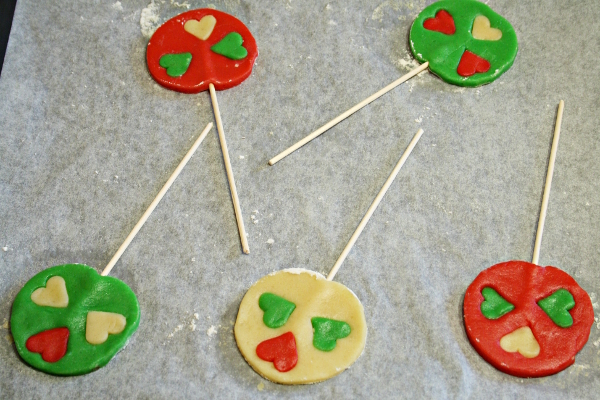
19. Oh, just look at this, isn’t it just great?

Cut out various smaller shapes from the round cookies and and insert them into the cookies of a different color.

It’s so easy yet so wonderful.

Bake for about 12 minutes.

I like them so much…

I like them all – can’t stop looking at them (and I also can’t stop eating them – so yummy they are).

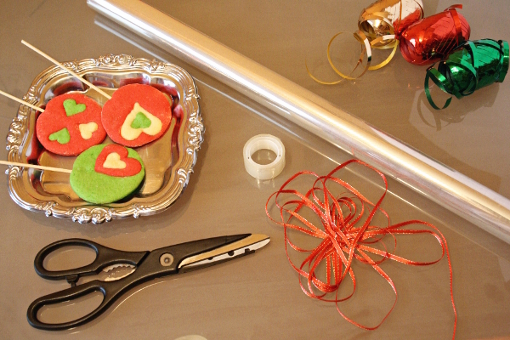
And then I went on and wrapped the lovely lollies but that’s another story for another day

Enjoy!

(This recipe makes about 35 cookies.)

Send this to a friend