These days, for some strange reason, I have been craving chocolate like never before. Maybe I am just trying to find energy in all the possible places. Maybe January does this to me. Maybe it’s just hormones that are playing games with me these days (8 months preggers, have I mentioned? Oh, yes… Sorry for being so quiet about it for so long.). 🙂 Well, who knows… Maybe it’s all combined.
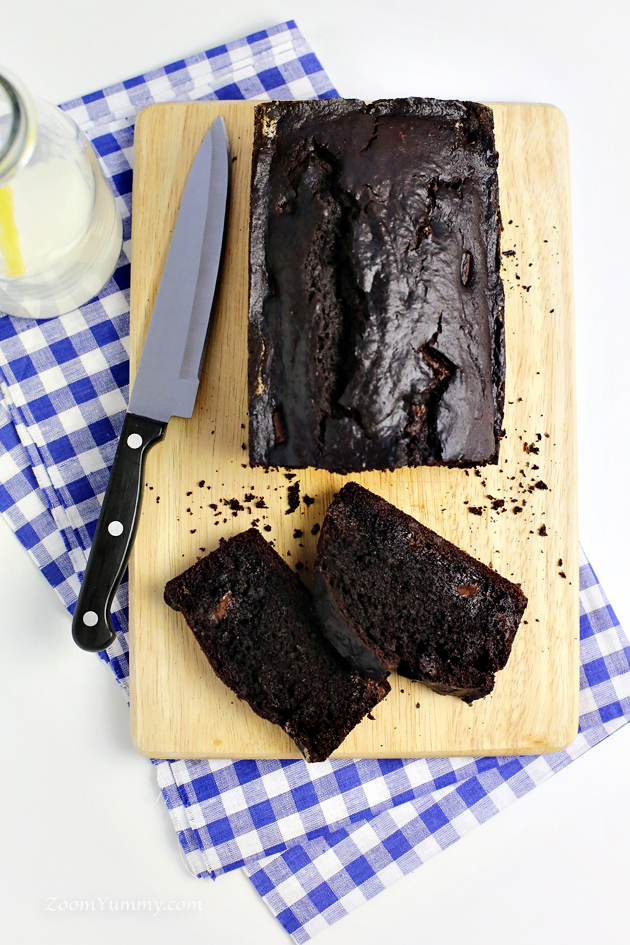
So, given the fact stated above, I knew my fate was sealed the moment I saw a recipe for Double Chocolate Banana Bread.
Double Chocolate Banana Bread?
Can a recipe possibly sound any more tempting and delicious?
Without any hesitation I gave this thing a try and what I realized was that I have never ever tasted a banana bread so good and my place has never been filled with a better scent than the one that was coming out of the oven while this chocolatey miracle was baking. Absolutely heartwarmingly amazing!
This recipe is really gorgeous and if you are into chocolate, you must, must, must give it a try…
Enjoy!
With lots of love,
Petra(This recipe was adapted from www.smittenkitchen.com.)
- 3 bananas (very ripe)
- ½ cup (115 grams) unsalted butter, melted
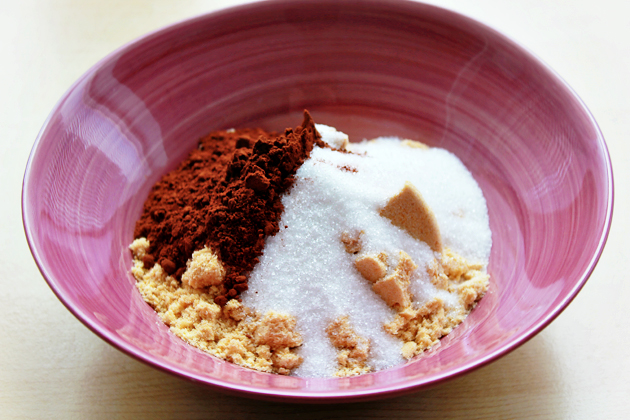
- ¾ cup (145 grams) brown sugar
- 1 egg
- 1 tsp vanilla extract
- 1 tsp baking soda
- ¼ tsp salt
- ½ tsp ground cinnamon
- 1 cup (125 grams) all-purpose flour
- ½ cup (45 grams) cocoa powder, sifted
- 1 cup (170 grams) semisweet or bittersweet chocolate chunks or chips
- Preheat the oven to 350 °F (175 °C).
- Butter a 9×5-inch (1.9 l) loaf pan or spray it with a nonstick baking spray.
- In a larger bowl, mash the bananas.
- Whisk in the melted butter, then whisk in the sugar, egg and the vanilla extract.
- Place the baking soda, salt, cinnamon, flour and cocoa powder in a sifter or fine-mesh strainer and sift over the wet ingredients.
- Stir the dry and wet ingredients until just combined.
- Stir in the chocolate chunks or chips.
- Pour into the prepared loaf pan.
- Bake for 55 to 65 minutes, until a toothpick inserted into the center of the cake comes out batter-free.
- Cool in pan for 10 to 15 minutes, then run a knife around the edge and invert it out onto a cooling rack.
- Serve warm or at room temperature.
- Enjoy!
- Like
- Digg
- Del
- Tumblr
- VKontakte
- Buffer
- Love This
- Odnoklassniki
- Meneame
- Blogger
- Amazon
- Yahoo Mail
- Gmail
- AOL
- Newsvine
- HackerNews
- Evernote
- MySpace
- Mail.ru
- Viadeo
- Line
- Comments
- Yummly
- SMS
- Viber
- Telegram
- Subscribe
- Skype
- Facebook Messenger
- Kakao
- LiveJournal
- Yammer
- Edgar
- Fintel
- Mix
- Instapaper
- Copy Link