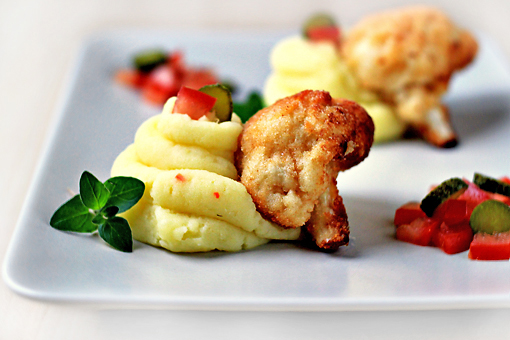
Again, my mother gets the credit for this delicious dish.
My beloved sweet Mom.
It has been a mainstay in our family ever since I can remember.
We love to eat it as a side dish but also as a light main dish served with mashed potatoes or rice.
It’s impressive how well a cauliflower can taste when nicely seasoned, breaded and fried.
This is finger-licking good, my friends!
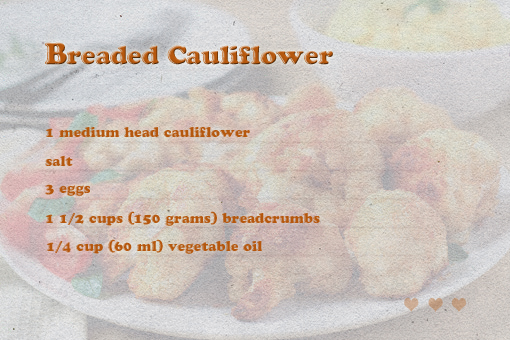
Here the list of ingredients.
Would you believe it could be so simple?
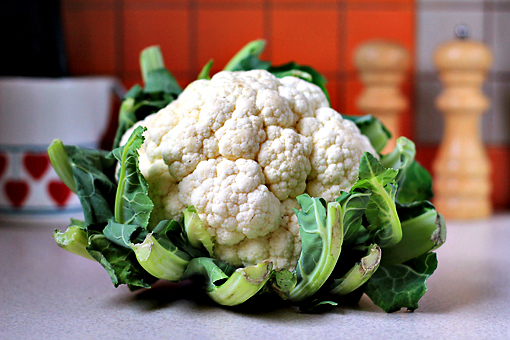
This is a cauliflower.
I am here to tell you all the important things, you know.
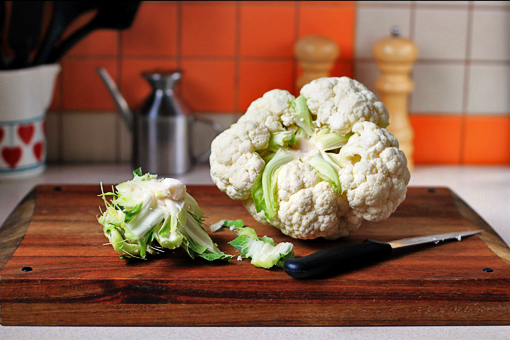
Despite their rather impenetrable-seeming appearance, cauliflowers are actually pretty easy to break down into bite-sized florets.
Here’s how I do it:
1. First, remove the green leaves and then, using a knife, remove the central stem, too.
Now your cauliflower is ready to be easily cut into individual florets.
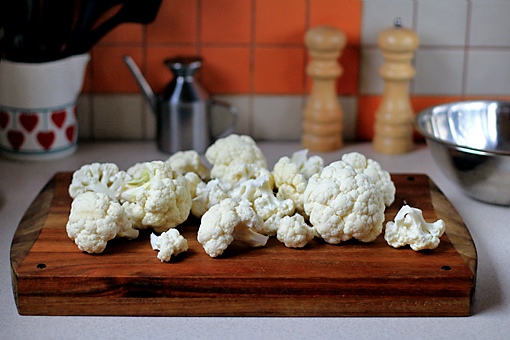
2. With your fingers, or using a knife if you want to, pull the florets apart.
In this recipe, bigger florets work better.
3. Rinse the florets under cold running water.
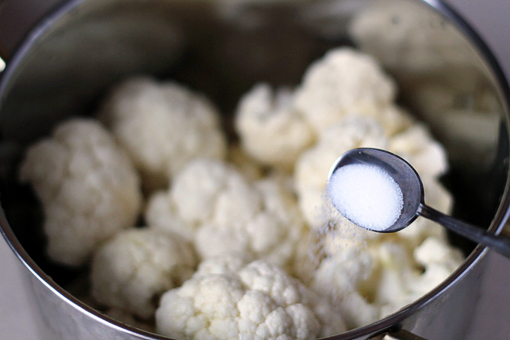
4. Then place them into a larger pot and add about 2 teaspoons of salt.
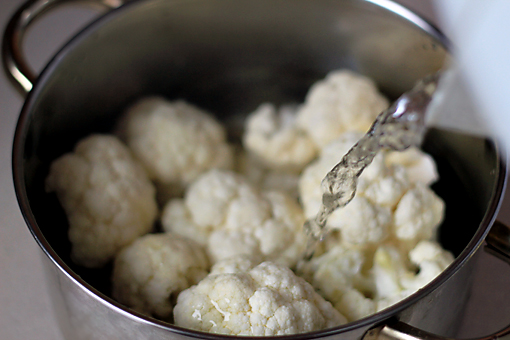
5. Pour in water – we need just enough to cover all the florets.
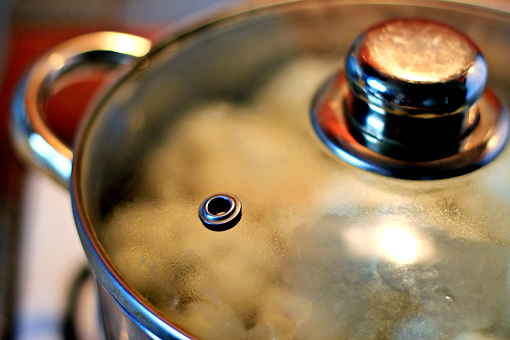
6. Cover the pot and place it over medium heat.
7. Bring to boil and let cook for about 15 minutes…
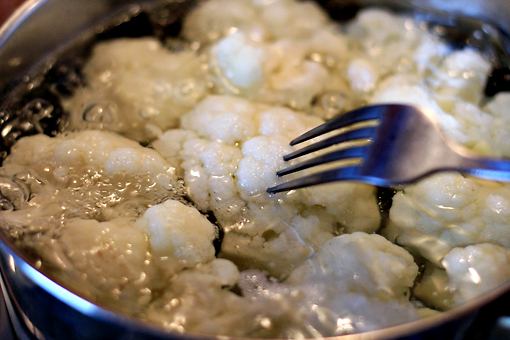
… or until tender when poked with a fork.
But not too tender. The florets should still be firm enough to hold the shape and shouldn’t fall apart. If they get too tender then it’s hard to work with them later.
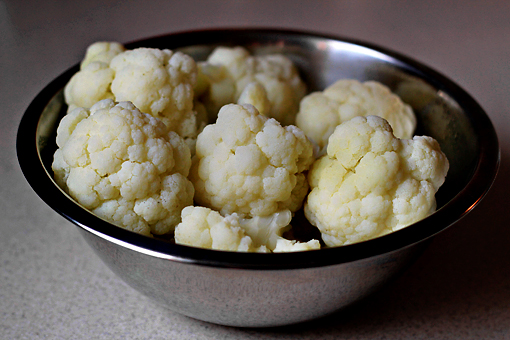
8. When the florets are cooked drain them and set aside.
9. Pour 1/4 cup (60 ml) of vegetable oil into a larger frying pan and preheat the oil over medium-low heat.
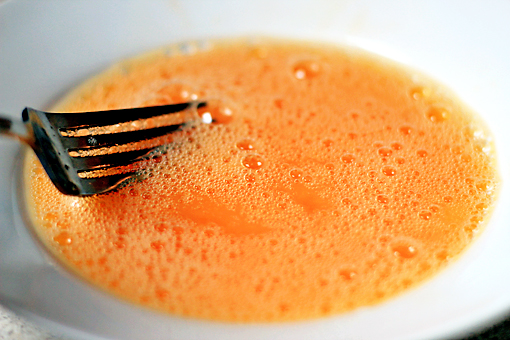
10. In a medium bowl, whisk the eggs lightly with about 1/2 teaspoon of salt.
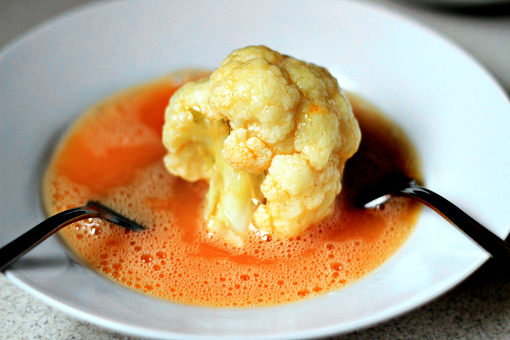
11. Working with one floret at a time, coat it with the egg.
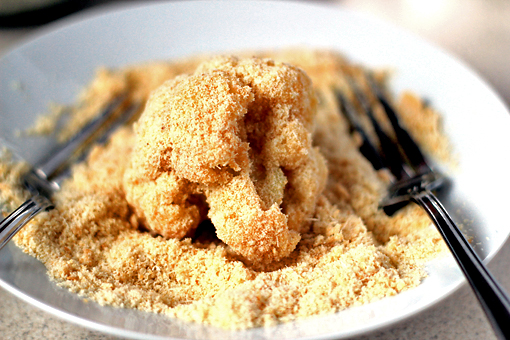
12. Then place the breadcrumbs in another bowl and roll the egg-covered floret in the breadcrumbs until nicely coated.
13. Repeat this process with all the remaining florets.
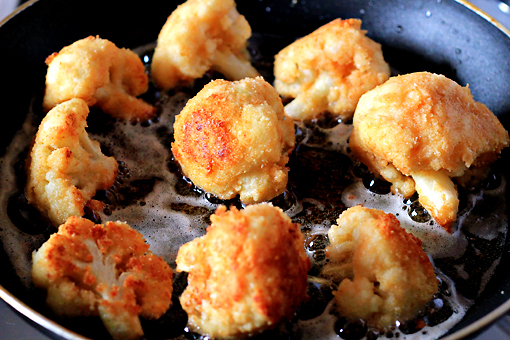
14. In batches, put the cauliflower in the preheated pan and fry it. Turn the florets so that they get golden-brown on all sides.
This process takes about 5 minutes.
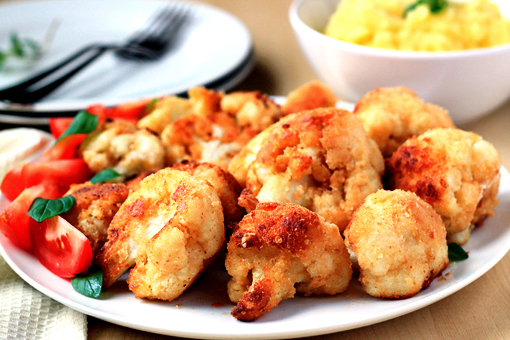
Serve as a side dish or as a main dish with mashed potatoes or rice.
Enjoy, dear friends!
This recipe yields 3-4 servings and it takes about one hour to prepare it.
- Like
- Digg
- Del
- Tumblr
- VKontakte
- Buffer
- Love This
- Odnoklassniki
- Meneame
- Blogger
- Amazon
- Yahoo Mail
- Gmail
- AOL
- Newsvine
- HackerNews
- Evernote
- MySpace
- Mail.ru
- Viadeo
- Line
- Comments
- Yummly
- SMS
- Viber
- Telegram
- Subscribe
- Skype
- Facebook Messenger
- Kakao
- LiveJournal
- Yammer
- Edgar
- Fintel
- Mix
- Instapaper
- Copy Link

These look delicious! I’m going to have to try these ASAP. 🙂
If you don’t mind asking me, where’s your mother from? :)) Some of the meals and desserts you’ve posted here are too familiar to me. 😉
Slovakia… does it ring any bell? 🙂
All my bells are ringing actually. :))) I’m from Slovakia too. 😉
Well HELLO Katarina! What a wonderful coincidence! I’m so happy to meet another Slovak over here, wow! The world is too small, isn’t it? I’d love to know more… 🙂 Petra
i love this one… always made it with all purposed flour, but next time i will try it with breadcumbs.
absolutely lovely recipe. the ease of making it tempts me to do it straight away. thanks again for the step by step pics which are so wonderful.
These look amazing. A mainstay of Northern Minnesota ‘bar food’ is the breaded deep fried cauliflower, with cheese sauce for dipping. I’ve been wanting to make it for a while but just haven’t found the time! Thanks for the inspiration!
Love your version and will try it out! I make one with cornflour, garlic and red chili flakes added.
wooow. I love your blog and especially your recipes. I thought that you have to be from that region . Because lots of the recipes remind me home…sweet home…Slovakia…Keep up the great work so I can make more delicious meals and not to worry about the ingredients.
Hi Lucia! I’m very glad you’ve found me! 😉 Petra
Looks amazing.. Will try
Oh, I love this recipe, and almost everyone from Czech republic does…:-)
I’m 54, have had this since I was a child. Mom made it all the time as part of our big Sunday meal. Also a mainstay side for any holiday meal. Mom is from Germany and now that she can no longer cook, my sisters and I have taken up this making this. So many people do not know what they are missing!
Hi Katarina .. Your recipe looks so yummy .. I always bread with egg lit’l water or milk you have not .. going to try your version .. also sometimes I used frozen broccoli instead of all that work .. that works good as well ..
Thanx for sharing … Dori
Tried these wonderful florets last night. What a treat! Thanks for sharing. Easy to make and not expensive. Also, nutritious. I love your blog!
hello is the first time I see your page and I love it I want to try everything this looks very good I will try it to do … thank you for the recipes 😀