Simple Pleasures

crochet purse

Hi friends!

I hope you are doing fine…

Here are a few things that have made me happy recently…

Like the purse above. I actually did not plan to make it, all I did was starting a color sampler for my next project (a crochet hobo bag, hopefully). But somehow, round by round, this purse was born. It turns out that I like it a lot. It could find its use as a tablet cozy. Or just a cute little purse carried on summer evenings, perhaps.


white knit cable baby blanket

I finally finished the Cable Baby Blanket. I learned how to knit cables when I was about 10 years old and it has remained my favorite knitting pattern up to this day.


white knit cable baby blanket

I am glad that the blanket ended up being a good size for a crib or a car seat.

Oh, and I am still trying to decide whether I should put together patterns for the stripey crochet purse and the blanket. I wonder whether you’d appreciate the patterns or if it’s all just too easy for most of you to figure out just by looking at those projects… hmm.


white knit cable blanket, a book, a mug with milk coffee, an apple and knitting needles on a table

This book!

I actually felt like reading a book on the history of photography for quite some time. Luckily, I happened to stumble upon it in a bookstore while I was looking for a diary last month. It looked like it was waiting there just for me – not too big, not too elaborate, just a nice relaxing evening read. I hope it brings some good knowledge and inspiration into my life. So far, I love it (… and it will probably be a quick read, having mainly pictures in it, just the kind of reading I like, haha!).


buttons

These buttons. They are HUGE! And cute too. I adooore them. They might become a part of one of my future projects. 🙂


pink heart mug

And last but not least, this mug that I ‘somehow’ managed to sneak into almost every picture of this post. It’s a new member of my beloved mug collection and I AM SMITTEN. I love me some hearts. And I love me some hearts on my mugs even more. There will never be enough mugs in my life, that’s one of very few things I am completely sure of. 🙂

Is there anything that’s made you happy recently? Please do share if you feel like it… 🙂


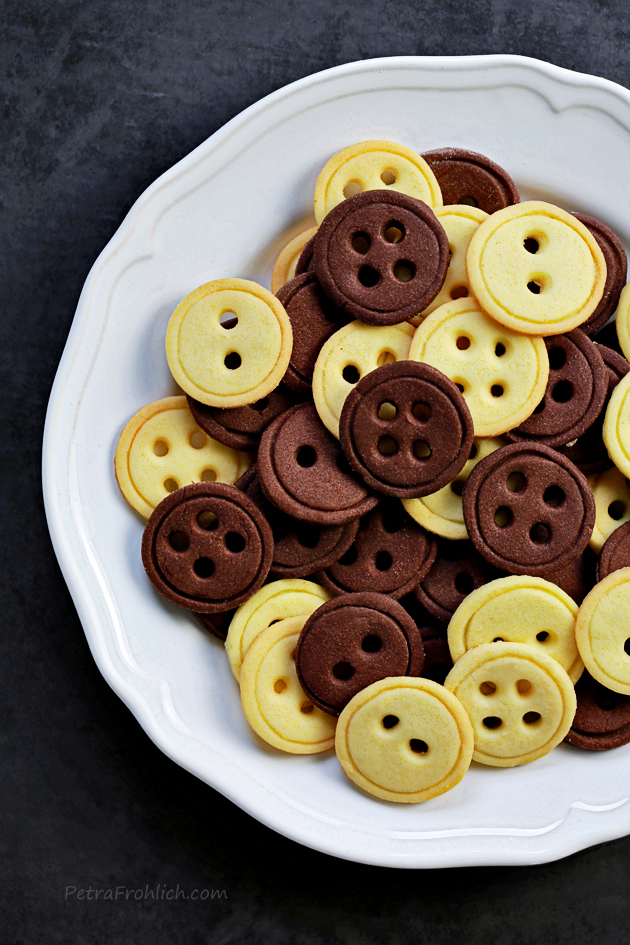
Vanilla And Chocolate Button Cookies

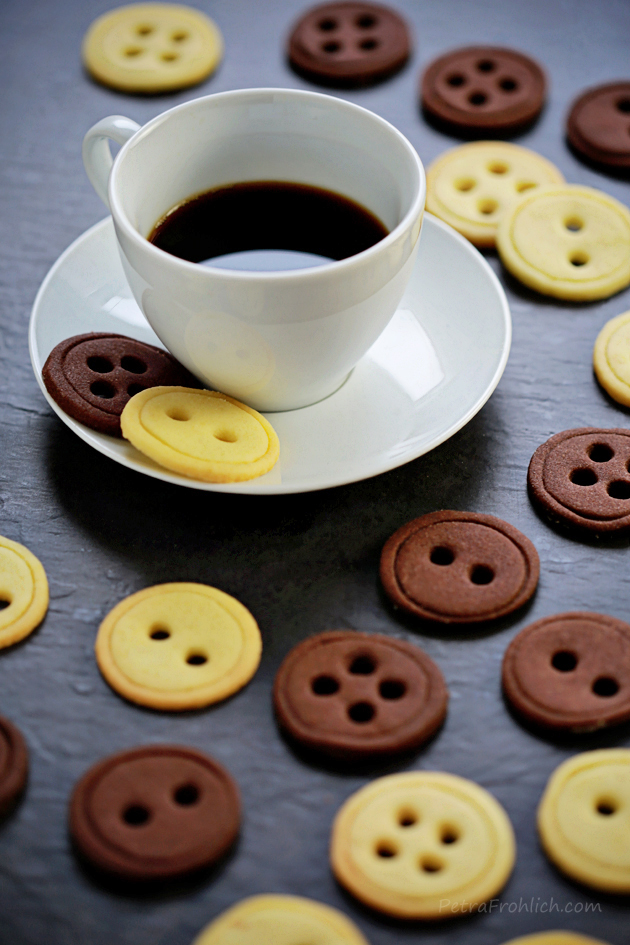
vanilla and chocolate button cookies recipe

I was carrying the idea for button cookies in my head for quite some time. The only thing that I was still searching for was the right kind of dough, one that would not change its shape while baking. And after making these Pizza Slice Cookies just recently I thought: ‘Hey, this could work for the buttons too!’


vanilla and chocolate button cookies recipe

So, the Button Cookie project could begin.

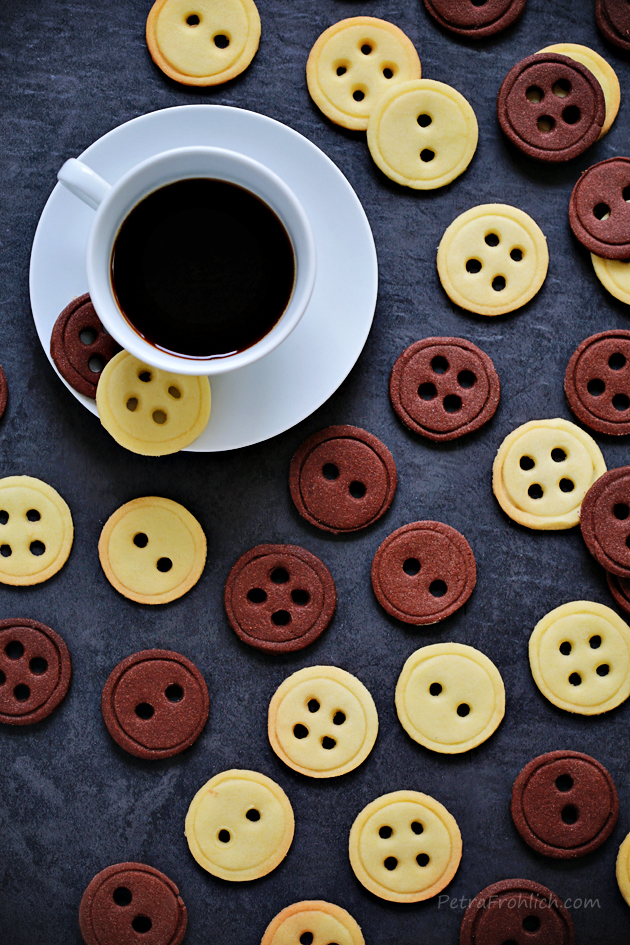
I made vanilla ones and chocolate ones as well. And let me tell you this, they both taste amazing. They are full of flavor and are addictively crispy… a little bit dangerous, I would say… just to let you know and warn you… 🙂

Here are all the details you need to bring these cuties on your table…


vanilla and chocolate button cookies - final 4 wm

1. In the bowl of your electric mixer, mix the butter and sugar until fluffy.

2. Add the flour, a few tablespoons at a time.

3. Add the vanilla extract and salt.

4. Using your hands, form a ball.

5. Cut the ball in half.

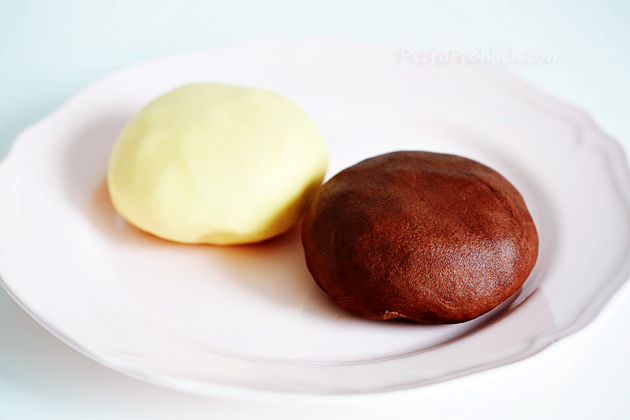
6. Add the cocoa powder to one of the halves and knead it into the dough.

7. Place both dough balls on a larger plate, cover with plastic wrap and refrigerate for about 30 minutes.


vanilla and chocolate button cookies recipe

8. Preheat the oven to 350 °F (175 °C). Line a baking sheet with parchment paper.

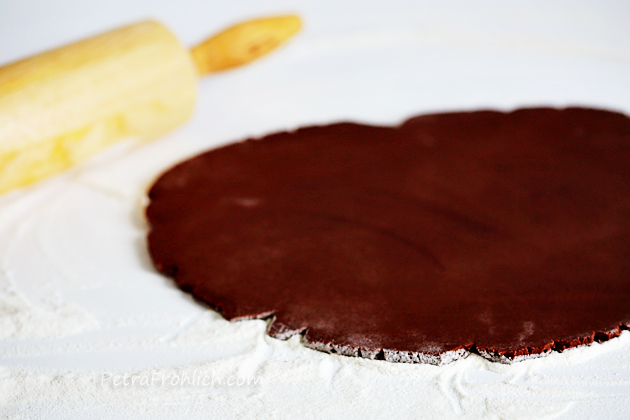
9. Place one of the dough balls on a lightly floured surface and roll it out to about â…›-inch (0.3 cm) thickness.


vanilla and chocolate button cookies recipe

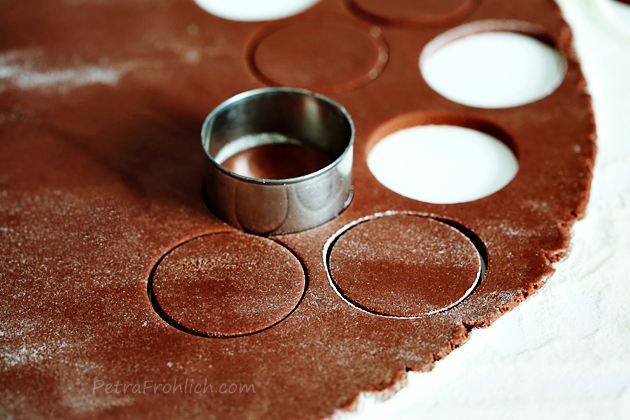
10. Use an â…•-inch (5 cm) round cutter to cut out round shapes.


vanilla and chocolate button cookies recipe

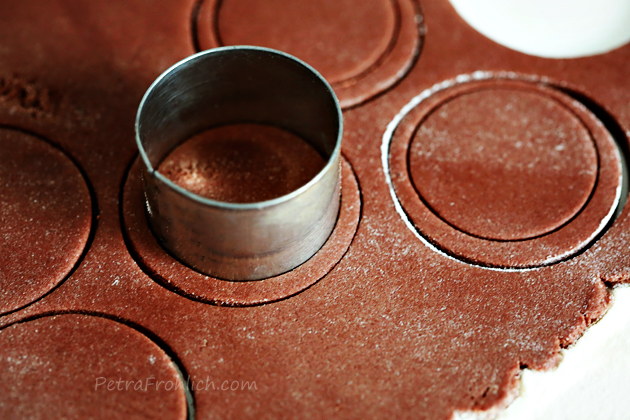
11. Use a slightly smaller cutter to press it into each cut out round. Press only about halfway through to make a decorative indentation.


vanilla and chocolate button cookies recipe

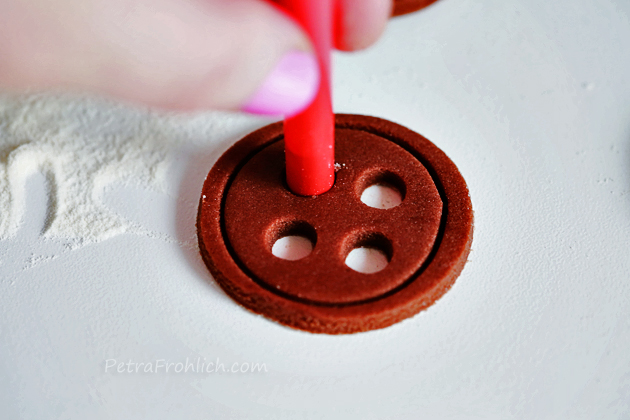
12. Using a wider straw, cut out buttonholes (use a toothpick or a wooden skewer to remove the dough from the inside of the straw).


vanilla and chocolate button cookies recipe

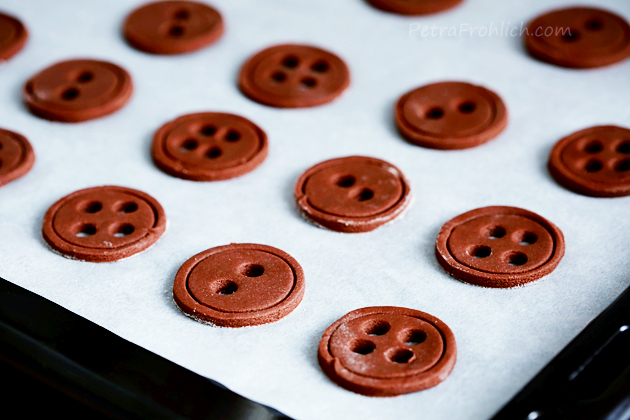
13. Transfer the rounds onto the lined baking sheet.

14. Bake at 350 °F (175 °C) for about 9-10 minutes or until the edges are lightly golden brown.

15. Repeat with all the remaining dough.

16. Re-roll any scraps and cut out more cookies.


vanilla and chocolate button cookies recipe

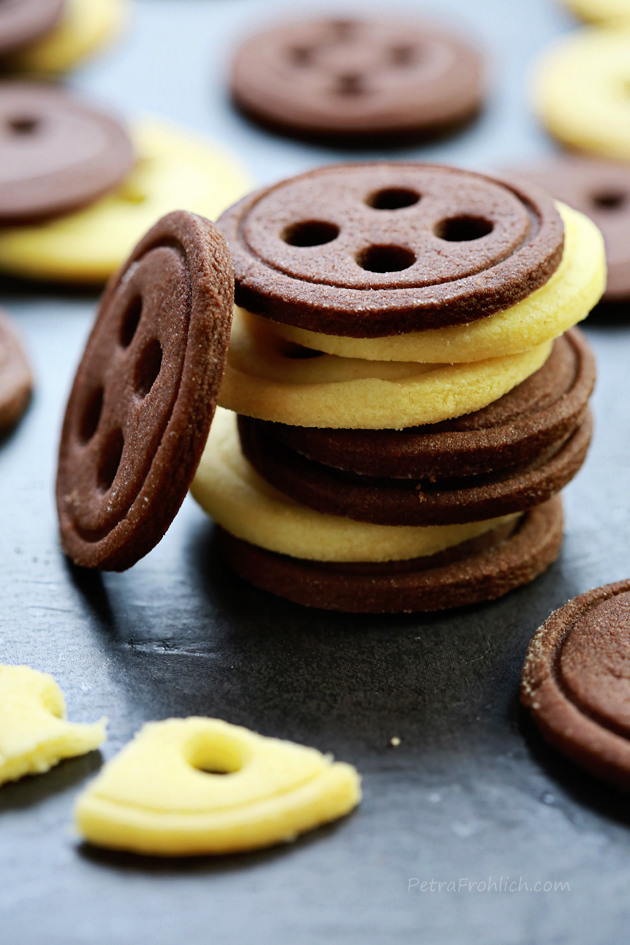
Cute as a button! 🙂


vanilla and chocolate button cookies recipe

Can you smell the vanilla? Mmm. I wish you could. It’s divine. 🙂

Enjoy!

With love,
Petra


5.0 from 1 reviews
Vanilla And Chocolate Button Cookies
Author: 
Prep time: 
Cook time: 
Total time: 
Serves: 60 cookies
 
Ingredients
  • ¾ cup + 2 tbsp (200 grams) unsalted butter, softened
  • ¾ cup + 2 tbsp (100 grams) confectioners' sugar
  • 2 cups + 2 tbsp (275 grams) all-purpose flour
  • 1 tsp vanilla extract
  • pinch of salt
  • ⅛ cup cocoa powder, sifted
Instructions
  1. In the bowl of your electric mixer, mix the butter and sugar until fluffy.
  2. Add the flour, a few tablespoons at a time.
  3. Add the vanilla extract and salt.
  4. Using your hands, form a ball.
  5. Cut the ball in half.
  6. Add the cocoa powder to one of the halves and knead it into the dough.
  7. Place both dough balls on a larger plate, cover with plastic wrap and refrigerate for about 30 minutes.
  8. Preheat the oven to 350 °F (175 °C). Line a baking sheet with parchment paper.
  9. Place one of the dough balls on a lightly floured surface and roll it out to about ⅛-inch (0.3 cm) thickness.
  10. Use an ⅕-inch (5 cm) round cutter to cut out round shapes.
  11. Use a slightly smaller cutter to press it into each cut out round. Press only about halfway through to make a decorative indentation.
  12. Using a wider straw, cut out buttonholes (use a toothpick or a wooden skewer to remove the dough from the inside of the straw).
  13. Transfer the rounds onto the lined baking sheet.
  14. Bake at 350 °F (175 °C) for about 9-10 minutes or until the edges are lightly golden brown.
  15. Repeat with all the remaining dough.
  16. Re-roll any scraps and cut out more cookies.
  17. Enjoy!


Send this to a friend