Magic Street – Before and After

photo editing process Photoshop

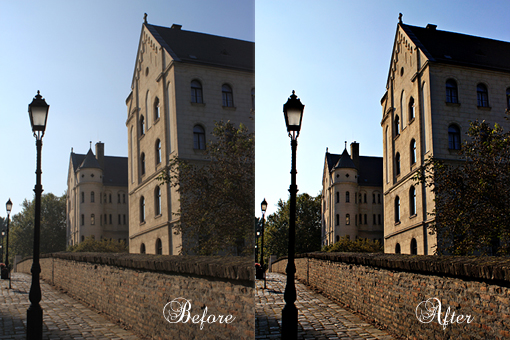
I took this picture a couple of weeks ago.

It shows a magical street of a lovely city called Gyor in Hungary.

We like going there, it’s a nice place.


Since, as you might already know, I never leave my pictures untouched (because that would cause my brain to break), I had to open it in my editing software (Photoshop Elements Eight) and play with it for awhile.

This is what I did, step-by-step…
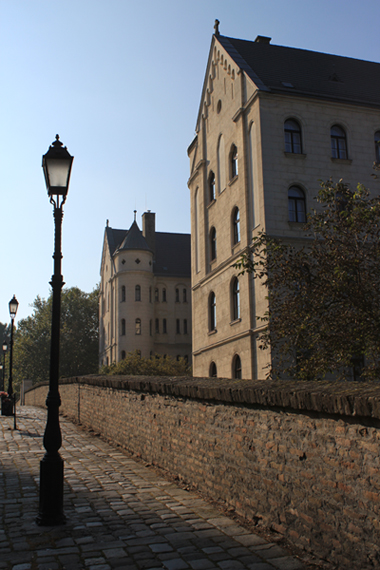
 

photo editing process Photoshop

The original picture.

No editing at all.


I like the magic of the place.

I like how the shadows and bright spots interact.

I like how the history still lives and breathes there.

Captivating.
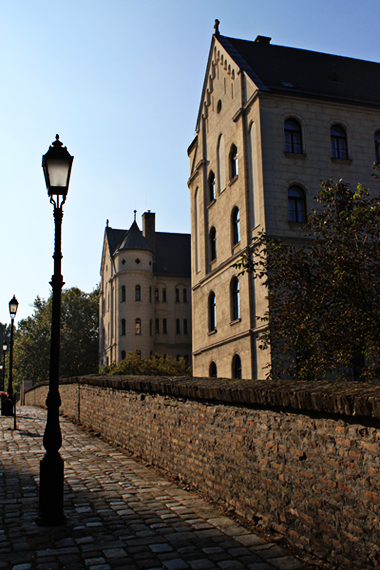
photo editing process Photoshop, the Pioneer Woman actions

1. I applied the Pioneer Woman Boost Action here.


I use that action a lot.

It’s awesome!
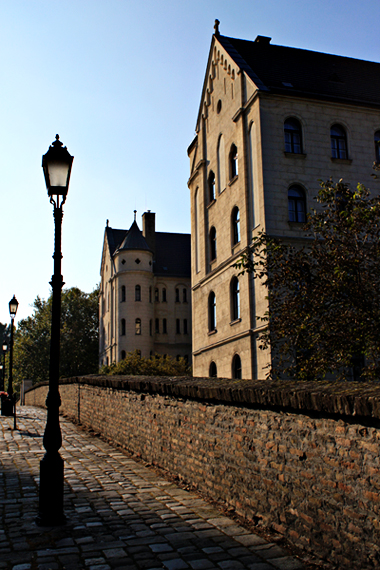
photo editing process Photoshop

2. Here I ‘burned the remaining haze’ a little using the Unsharp Mask.


That is my favorite editing technique of all times.

Actually, I once wrote a tutorial about it.
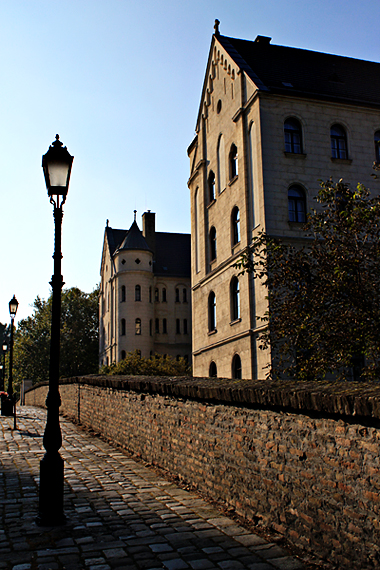
photo editing process Photoshop

3. In this step, I used the Unsharp Mask again.

Only this time to sharpen the image a little more.


I’ll soon bring a tutorial on what settings I use to sharpen my pictures.

photo editing process Photoshop

The final result.
photo editing process Photoshop

And again – before and after.


In fact, the whole transition took me no more than 5 minutes.

Just a few clicks can lead to a very different, punchy and bold result.


What do you think, dear friends?

Do you use any of the mentioned techniques?

Let me know!

Burning the Haze (My Most Favorite Photoshop Trick)

how to remove the gray film from pictures, Photoshop step-by-step tutorial

I want to share my most favorite Photoshop trick with you.

It’s easy and very rewarding.

The reason why I am sharing this technique with you is simple – I would like you to experience the same level of amazement that I go through each time I make this magic happen.

how to remove the gray film from pictures, Photoshop step-by-step tutorial

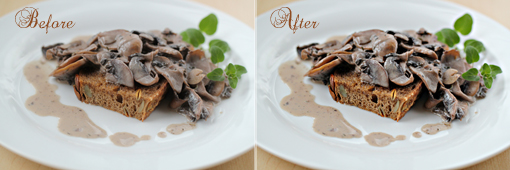
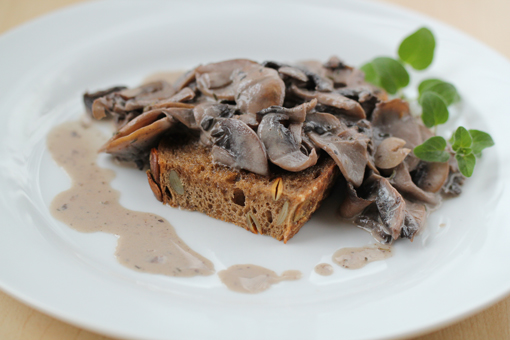
See the gray film over this original (“before”) picture?

how to remove the gray film from pictures, Photoshop step-by-step tutorial

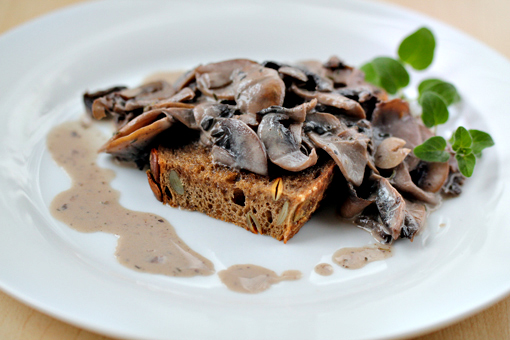
This is the “after” picture.

The gray film is gone!

The picture looks much more realistic.

I love this game!


Of course, I could continue working on that picture giving it some more light and sharpness but I am leaving that for later.

For now, let’s just get rid of that unsightly gray film.

Let’s burn the haze!


What I find most fascinating about this technique, aside from its terrific result, is how quickly and easily it’s done:
1. Open the picture in Photoshop (File -> Open).
2. In the Layers palette, click on the Background layer and then press Ctrl+J (Mac: Command+J) to create a duplicate layer. Leave this new layer selected (highlighted).
3. Click Enhance (in the upper bar) -> Unsharp.
A new window will pop up.
4. With the Amount slider go somewhere between 15 – 30. Then move the Radius slider somewhere between 17 and the end of the line. Set the Threshold slider to 0.

Play with the Amount and Radius sliders to achieve the desired effect. Then click OK.
5. Now click Layer (in the upper bar of your screen) -> Merge Visible.
6. Save the picture (File -> Save As).
And that’s it!

how to remove the gray film from pictures, Photoshop step-by-step tutorial

This is another SOOC (straight out of the camera) picture.

how to remove the gray film from pictures, Photoshop step-by-step tutorial

Haze be gone!

how to remove the gray film from pictures, Photoshop step-by-step tutorial

And another one before the treatment.
how to remove the gray film from pictures, Photoshop step-by-step tutorial

And after.


Just try this technique and let your pictures enjoy some more clarity, contrast and sharpness.

Enjoy, dear friends!


Send this to a friend