Red Velvet Cake

I’ve always loved the way this cake looks.

I guess there are many people like me – the color combination is just mesmerizing and so genial.

When you look at it, it truly seems velvety.

And abundant in flavors.

It’s like from another galaxy or something.

These days I really couldn’t help it, I simply needed it in my life.

So this is what I did, dear friends, and I ENJOYED it …

These are the ingredients.

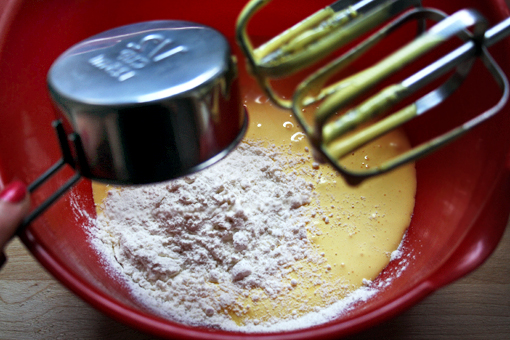
1. First I prepared this flour mixture.

It consists of the flour, salt and cocoa powder.

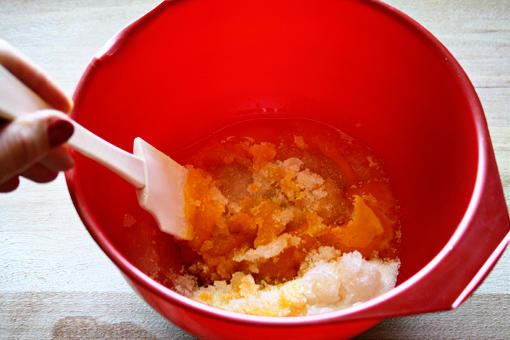
2. Then, in another bowl I mixed the buttermilk and the food coloring.

(There are many brands of food coloring – please, read the instructions on the package you’ve bought and try to give your final batter some stronger red color.)

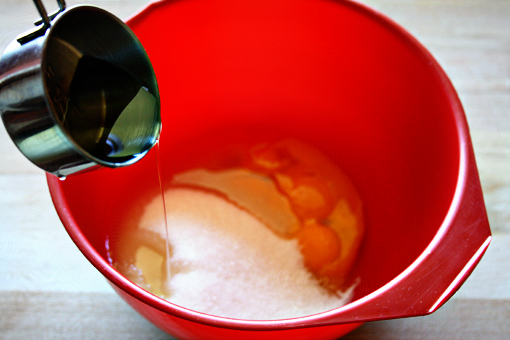
3. In the bowl of your electric mixer, mix the butter and the sugar until light and fluffy (about 2 minutes).

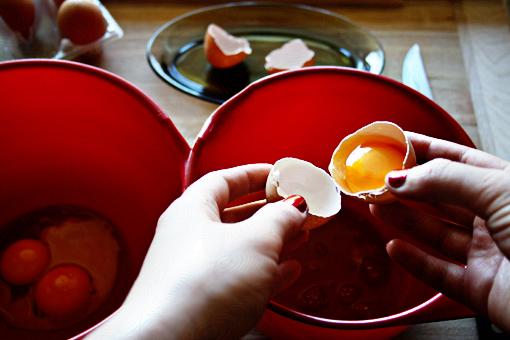
4. Then add the eggs – one at a time – beating well after each addition.

5. Add the vanilla and mix.

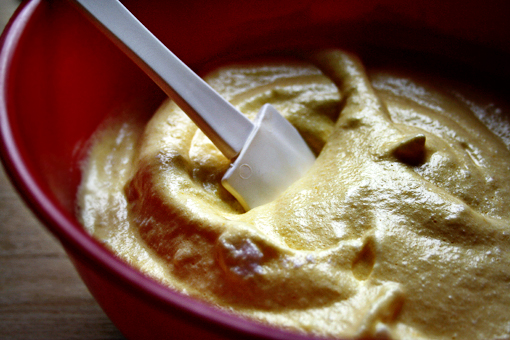
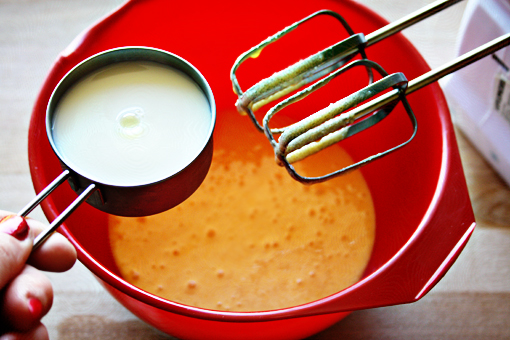
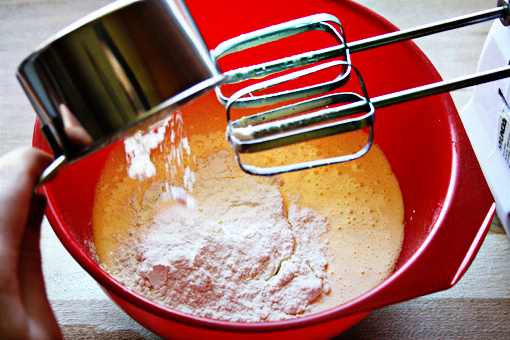
6. With the mixer on low speed, alternately add the flour mixture and the colored buttermilk, in three additions – beginning and ending with the flour mixture.

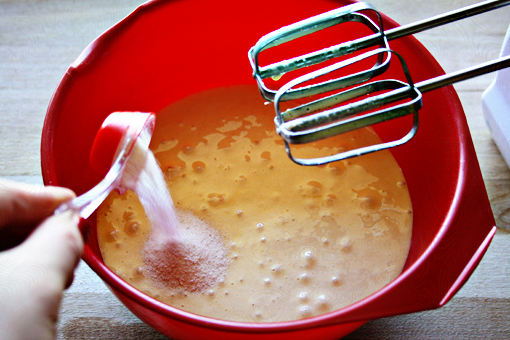
7. In a small cup combine the vinegar and baking soda.

Allow the mixture to fizz and then quickly fold into the cake batter.

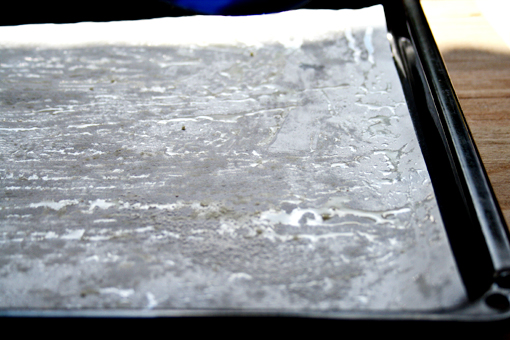
8. Butter a 9-inch (23 cm) springform pan (or two) and line the bottom of the pan with parchment paper.

9. Fill the prepared pan with about 2 cups (500 ml) of the finished batter (there should be about 8 cups of the finished batter altogether and we are going to make 4 layers).

10. Bake at 350 F (175 C) for about 25-30 minutes or until a toothpick inserted in the center of the cake comes out clean.

11. Meanwhile, we can prepare the frosting.

In the bowl of your electric mixer, process the cream cheese, vanilla and confectioners’ sugar until smooth.

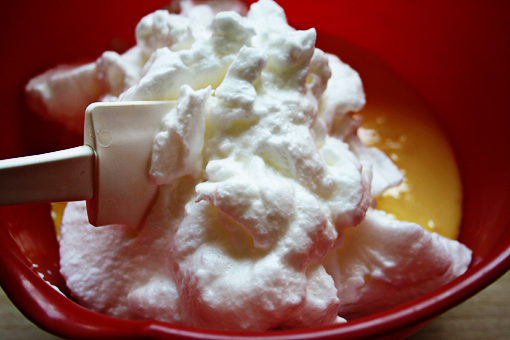
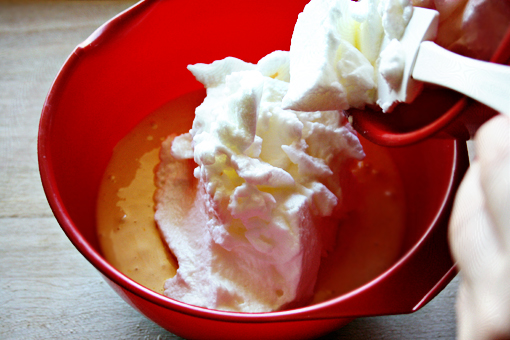
Then, in a separate bowl, with you hand mixer, whip the cream until stiff peaks form.

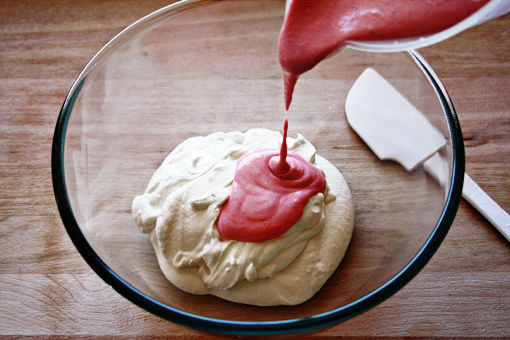
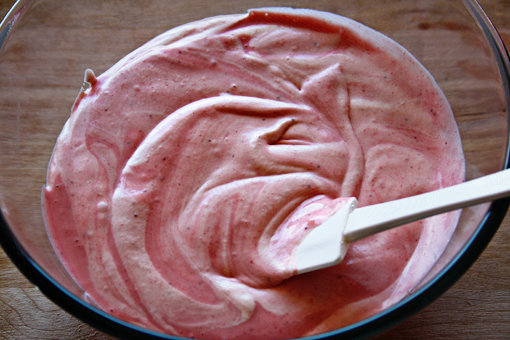
With a large spatula, gently fold these two mixtures together and place in the refrigerator for about an hour or until firm enough to spread.

12. When the first layer has baked, remove it from the oven and place it (still in the pan) on the wire rack for about 10 minutes.

Then remove the cake from the pan, transfer onto a plate and let cool completely.

13. Wash the springform pan, butter it, line the bottom with parchment paper again, fill it with another 2 cups (500 ml) of the batter and bake.

14. Repeat until you have baked all four layers.

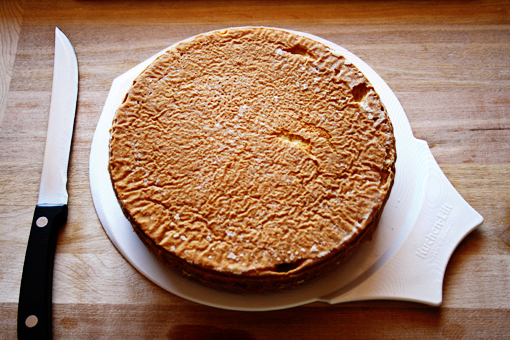
15. When your cake layers have cooled completely place one cake layer on a serving platter.

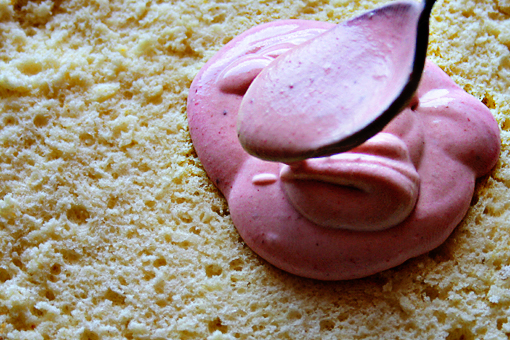
Spread the cake layer with the layer of frosting.

16. Place another cake layer on top of the frosting and…

… continue to frost and stack the cake layers.

17. Frost the top and sides of the cake.

You can also garnish your cake with sweetened or unsweetened coconut.

And most importantly – enjoy, dear friends.

Lemon Cake with Lemon Frosting

This cake is a wonderful treat to serve in the afternoon with a nice cup of tea.

Or in the morning.

Or in the evening.

Or as a midnight snack.

Simply – whenever – so good it is.

I would describe it as, hm..,  lemony – which comes from adding lemon zest and lemon juice to the cake.

And then it’s very, hm…, lemony – because there is this delicious and refreshing lemon frosting on the top.

~~~

To prepare this lovely lemony Lemon Cake with Lemon Frosting you need:

1 cup (226 grams) unsalted butter, room temperature

1 cup (200 grams) granulated white sugar

4 large eggs

1 teaspoon vanilla extract

zest of 1 large lemon

1 1/2 cups (210 grams) all-purpose flour

1/2 cup (60 grams) cornstarch (or corn flour)

2 teaspoons baking powder

1/4 teaspoon salt

1/4 cup (60 ml) lemon juice

For the Lemon Frosting you need:

1 cup (115 grams) confectioner’s sugar

2 tablespoons fresh lemon juice

~~~

1. Preheat an oven to 350 F (175 C).

2. We are going to kick it off with the butter and the sugar this time.

3. Place these heavenly ingredients into your magical mixing machine.

4. And give them a good mix – …

… (and you surely already know what’s that going to be followed by)  –   “UNTIL LIGHT ‘N FLUFFY”.

Right!

5. Add the eggs – one at a time, please (beating about one minute after each addition).

Then add the vanilla extract and the lemon zest.

6. In a separate bowl mix together the flour, cornstarch, baking powder and salt.

7. Add the flour mixture into the batter – one tablespoon at a time – and mix.

8. Finally, add the lemon juice.

Mix only until incorporated.

(Wow, have you ever seen a more beautiful batter? I felt like eating it right then – when making it.)

9. Butter or spray your spring form pan (9 inch/23 cm) with a nonstick spray and cover it with flour lightly.

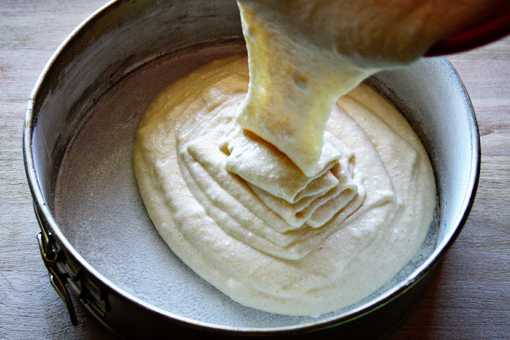
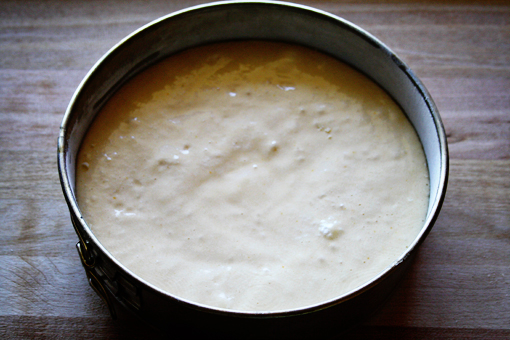
Pour the batter into the pan and smooth it out nicely.

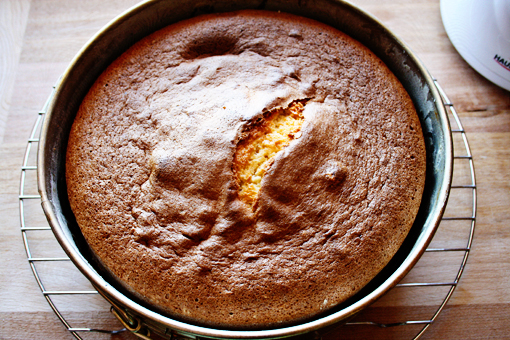
10. Bake for about 40-45 minutes or until a toothpick inserted into the center comes out clean.

Let cool and remove from the pan.

Magic Trick: If you want the top of your cake flat turn it upside down after baking.

Ta – daa!

11. Now onto the frosting.

In a small bowl mix together the confectioner’s sugar and the lemon juice until smooth.

(If you feel especially artsy today and feel the urge to create an ornament on the top of your cake – like I did – you can set aside one third of the frosting in another bowl and mix it with one teaspoon of instant coffee.)

Then pour the white frosting over the top of the cake and even it out.

12. Fill a pastry bag (or a small plastic bag with one corner cut out) with the coffee frosting.

Pipe three circles over the top of the cake.

Using a wood stick draw a line from the edge of the cake towards the center.

Yummitty Yum.

Enjoy Dear Friends!

(There are many more lovely posts for you to see here.)

St. Martin’s Cake

st-martins-cake

This is a delicious cake to welcome the winter season with!

The texture of the dough works perfectly with the freshness of the jam filling and the richness of the buttery chocolate frosting.

You will be amazed by its wonderful taste!

~~~

To make the cake you need:

2/3 cup (150 grams) unsalted butter, room temperature

6 tablespoons (85 grams) granulated white sugar

1 teaspoon vanilla extract

4 egg yolks

4 egg whites

5 ounces (150 grams) semi-sweet chocolate

1 cup (130 grams) all purpose flour

1 teaspoon baking powder

2 tablespoons cocoa

For the filling you need:

1 1/2 cups (375 grams) jam (raspberry or strawberry or forest fruit)

For the frosting you need:

6 ounces (180 grams) semi-sweet chocolate

6 tablespoons (84 grams) unsweetened butter

1 cup (115 grams) confectioner’s (or powdered) sugar, sifted

7 teaspoons milk

~~~

1. Preheat an oven to 350 F (175 C).

2. Grease and flour your 9 inch (23 cm) spring form pan.

st-martins-cake-flour-baking-powder-cocoa

3. Now we mix our dry ingredients – the flour, cocoa and baking powder.

Set the bowl aside.

st-martins-cake-whipping-sugar-and-butter

4. In the bowl of your electric mixer whisk the butter and sugar until fluffy (about 3 minutes).

5. Add the egg yolks and vanilla extract.

st-martins-cake-melting-chocolate

6. Place a small bowl over a pan with simmering water and melt the chocolate.

st-martins-cake-adding-melt-chocolate-to-batter

7. Add the melted chocolate to the batter and beat shortly.

8. Add the flour mixture and beat again.

st-martins-cake-whipped-egg-whites

9. Whip the egg whites and add them to the batter.

st-martins-cake-folding-batter-with-whipped-egg-whites

10. Add the whipped egg whites and fold until smooth.

st-martins-cake-filled-spring-form-pan

11. Fill the spring form pan with the batter and spread it evenly.

Place in the oven and bake for about 35 minutes.

st-martins-cake-cut-in-two-halves

12. When baked, remove from the oven and let cool.

When the cake’s cooled, remove it from the pan and cut into two halves.

st-martins-cake-spreading-jam

13. Spread one half of the jam over the bottom layer of the cake.

Place the second layer on top of the first and cover the whole cake with the rest of the jam.

st-martins-cake-melting-butter-and-chocolate-for-frosting

14. Now we are going to prepare the chocolate frosting.

Melt the butter and chocolate over simmering water.

st-martins-cake-adding-sugar-to-melted-butter-and-chocolate-for-frosting

15. When nicely melted, add the sifted sugar and the milk and whisk together.

16. Spread the frosting over the whole cake.

You can also sprinkle a little cocoa over the top.

Refrigerate for at least 6 hours.

Enjoy!

Grated Cheesecake

grated-cheesecake-slice-on-plate-with-fork

Yes, this cheesecake is really grated!

More specifically, the dough that makes up the top and bottom layer is grated.

It is an absolutely delicious cake.

I am sure you will love it!

~~~

To make the dough you need:

1 3/4 cups (230 grams) all-purpose flour

1/2 cup (110 grams) unsalted butter

1 teaspoon baking powder

1 tablespoon cocoa

2 tablespoons confectioner’s (or icing, powdered) sugar

2 tablespoons milk

For the filling you need:

16 ounces (500 grams) cream cheese

2 eggs

1 1/2 cups (150 grams) confectioner’s (or icing, powdered) sugar

1 tablespoon corn starch

1 tablespoon vanilla sugar (or 1 teaspoon vanilla extract)

1 tablespoon lemon zest

~~~

1. Preheat an oven to 350 F (176 C).

grated-cheesecake-springform

2. Grease and flour a springform pan.

grated-cheesecake-flour-mixture-and-butter-egg-zest-sugar

3. In a larger bowl mix the flour and the baking powder.

Then add the butter, cocoa powder, sugar and milk.

grated-cheese-dough-ball

4. Using hands form a firm ball.

Place the dough ball into a fridge for at least 1/2 hour (it gets firmer when cooled).

(Update: Though putting the dough into the fridge worked for me, I later found out that it gets so much easier if you put the dough into your freezer for an hour or two – the dough gets much firmer and easier to grate.)

grated-cheesecake-cheese-filling-before-mixing

5. Now let’s make the cream cheese filling.

In a bowl of your electric mixer place the cream cheese, sugar, egg yolks, lemon zest, vanilla sugar and the corn starch.

Beat on medium speed until smooth (about 2 minutes).

grated-cheesecake-whipped-eggwhites

6. In a separate bowl beat the egg whites until the mixture holds stiff peaks.

grated-cheesecake-mixing-filling-eggwhites

7. Mix the cream cheese mixture with the whipped egg whites gently.

grated-cheesecake-grating-dough

8. Remove the dough from the fridge.

Cut it in two halves.

Grate the first half of the dough in the pan.

grated-cheesecake-cheese-filling-in-pan-second-layer

9. Now spread the cheese filling over the dough evenly.

grated-cheesecake-bofore-baking

10. And grate the second half of the dough over the top.

grated-cheesecake-inside

11. Bake for about 45-50 minutes.

Remove from the oven and let cool.

Don’t worry if the cake still wobbles a little when shaking a pan gently. It should be that way.

For even though the center may not look fully baked, once it cools it will firm up and be the correct consistency.

The great thing about cheesecake is that is stores very well and can also be frozen for several months.

grated-cheesecake-craze

P.S.: Writing this post and going through all those pictures made me so hungry for the cake again I had to arm myself like this.

That thing on the right is vanilla custard.

What an evening!

If you’d like to see more of my posts click this.

Send this to a friend