With a coconut addict inhabiting our household (hi hubby!), I always focus my attention a bit sharper when I come across recipes including this lovely ingredient. The same happened with these No-Bake Coconut Bars. And I am so glad I made them.
The coconut bars were a big hit and they tasted just gorgeous!
However, I feel obliged to inform you that they might be little addictive too. Even me, a person who could live her life without coconut and not really regret a single day lived that way 🙂 , I found myself happily snacking on these bars and enjoying every single bite a bit too much, if enjoying something a bit too much is really a thing 🙂 . In other words, they are just moreish, making you want more after each bite. So, you’ve been informed.
Packed with coconut deliciousness, these bars are absolutely worth trying. Here are all the details…
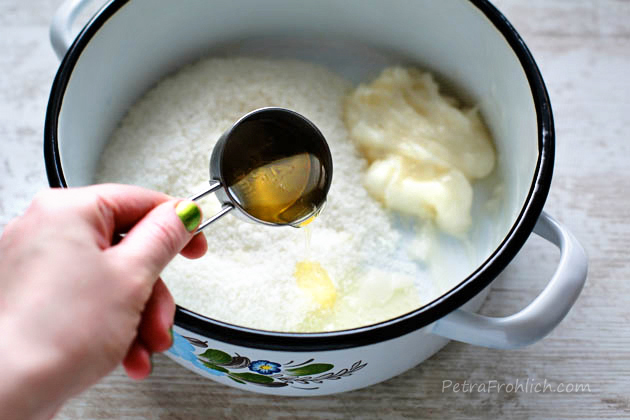
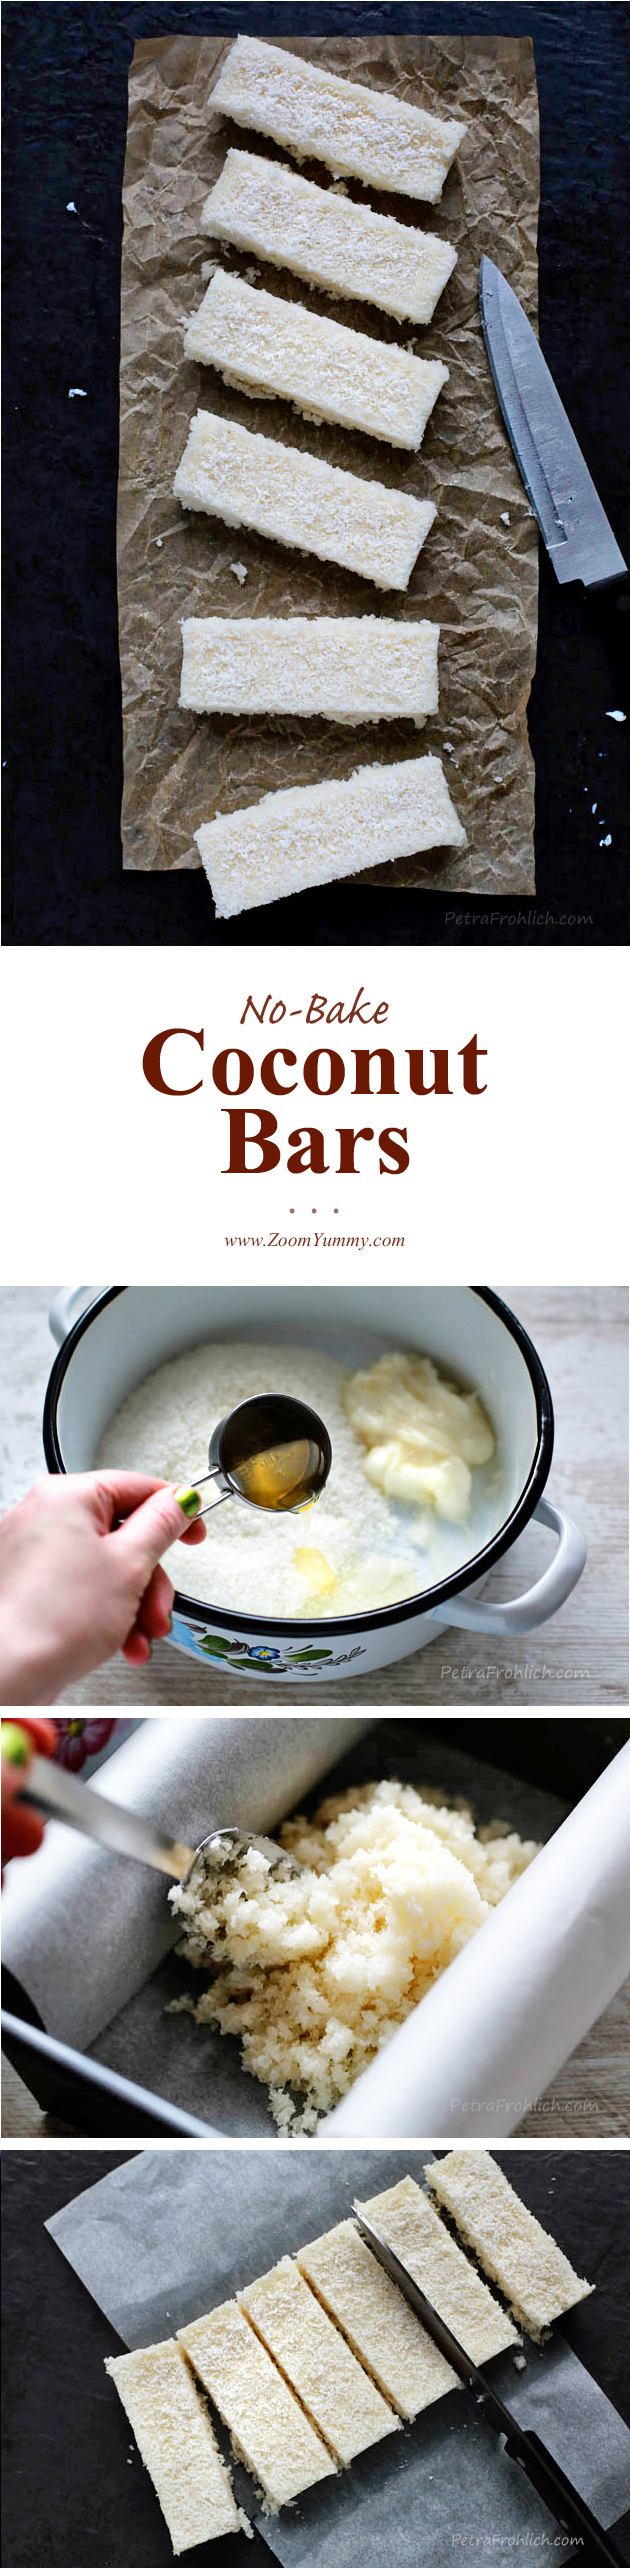
In a saucepan, pan or pot combine the coconut, coconut oil, agave (or maple) syrup, vanilla extract and salt.
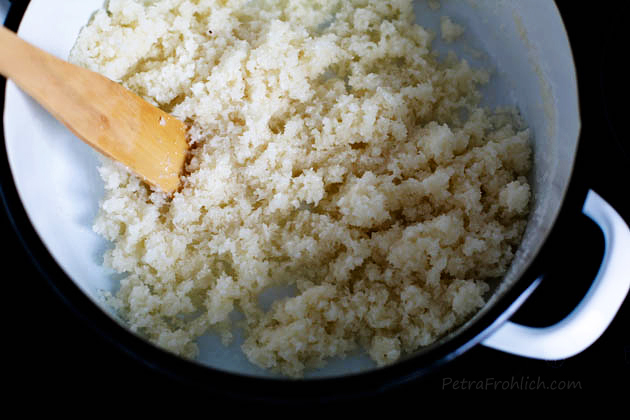
Cook over low heat, stirring frequently, about 5 minutes, until the shredded coconut has softened and absorbed some of the oil. Remove from heat.
Line a 9×5-inch (23×13 cm) loaf pan with parchment paper. Cut a length of parchment paper long enough to line the bottom of the pan with extra hanging over the sides (it will be used to remove the batter from the pan once it’s chilled).
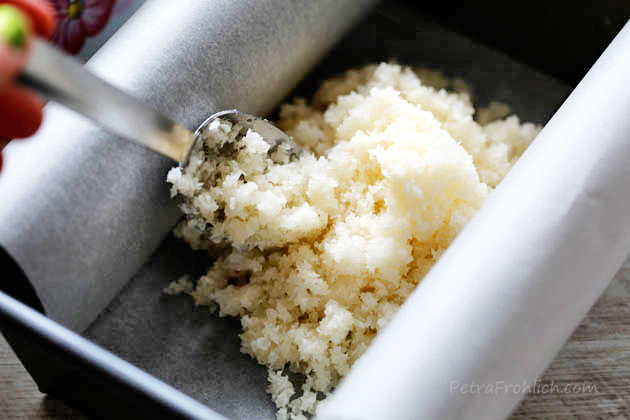
Pour the mixture into the loaf pan.
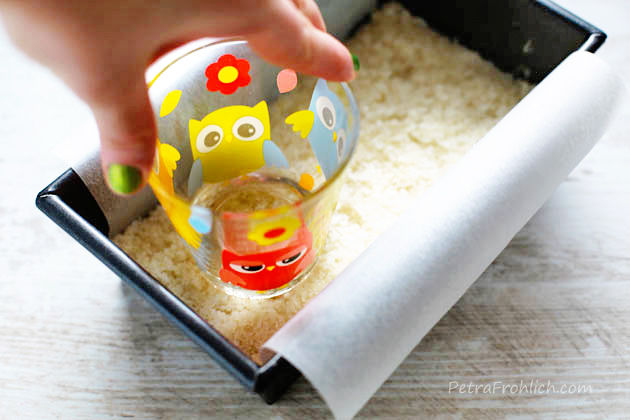
Firmly pack the mixture down and refrigerate for at least two hours.
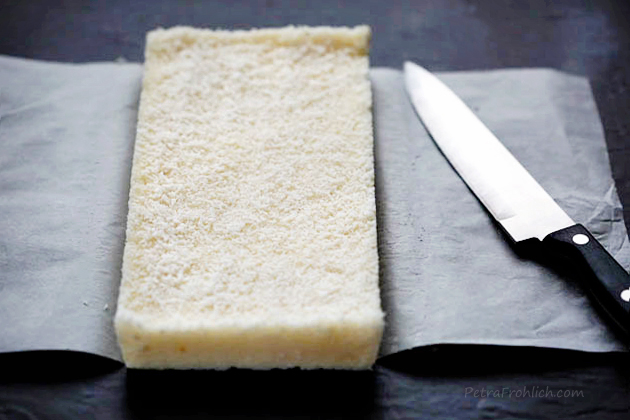
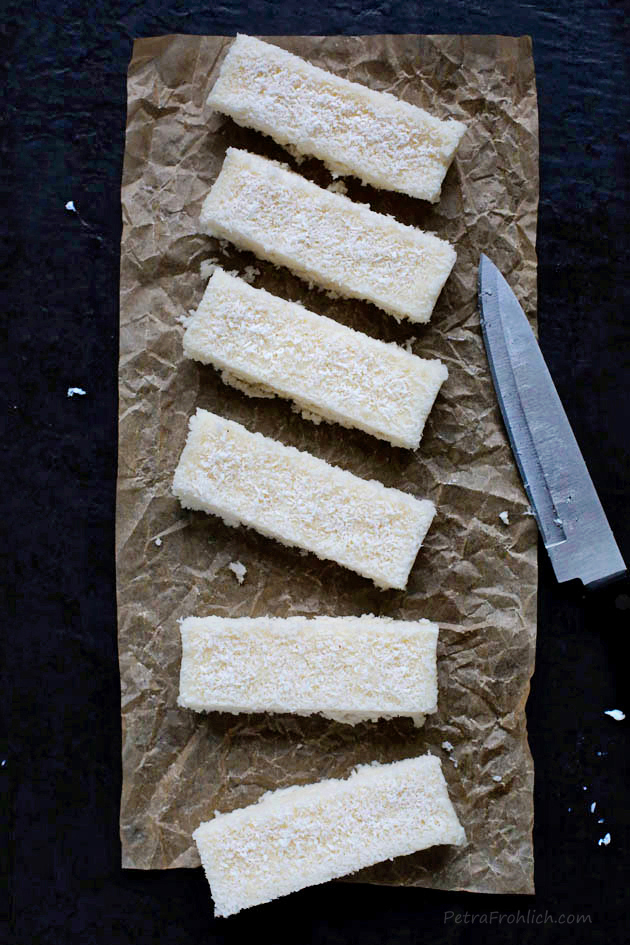
Using the parchment paper hanging, remove from the pan.
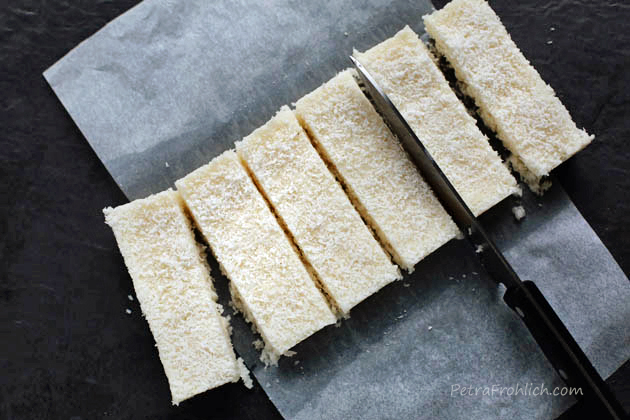
Cut into bars.
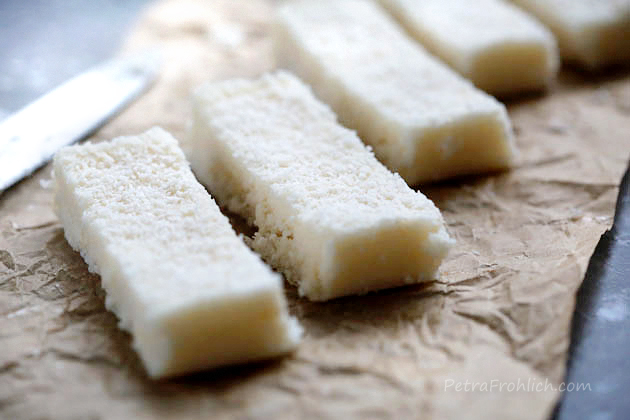
And enjoy!
Mmm, they smell really good too!
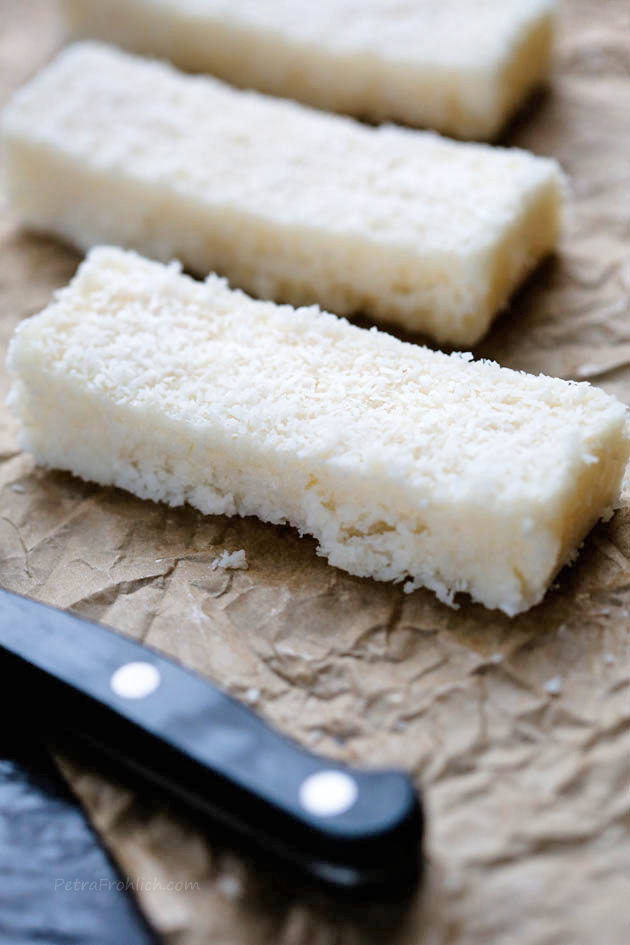
These are really good!
Love,
Petra
- 2 cups (160 grams) unsweetened shredded coconut
- 4 tbsp coconut oil
- ¼ cup (60 ml) agave syrup or maple syrup
- ½ tsp vanilla extract
- ⅛ tsp salt
- Line a 9x5-inch (23x13 cm) loaf pan with parchment paper. Cut a length of parchment paper long enough to line the bottom of the pan with extra hanging over the sides (it will be used to remove the batter from the pan once it's chilled).
- In a saucepan, pan or pot combine the coconut, coconut oil, agave (or maple) syrup, vanilla extract and salt. Cook, over low heat, stirring frequently, about 5 minutes, until the shredded coconut has softened and absorbed some of the oil.
- Remove from heat. Pour the mixture into the loaf pan.
- Firmly pack the mixture down and refrigerate for at least two hours.
- Using the parchment paper hanging, remove from the pan and cut into bars.
(These yummy coconut bars were inspired by this recipe.)
- Like
- Digg
- Del
- Tumblr
- VKontakte
- Buffer
- Love This
- Odnoklassniki
- Meneame
- Blogger
- Amazon
- Yahoo Mail
- Gmail
- AOL
- Newsvine
- HackerNews
- Evernote
- MySpace
- Mail.ru
- Viadeo
- Line
- Comments
- Yummly
- SMS
- Viber
- Telegram
- Subscribe
- Skype
- Facebook Messenger
- Kakao
- LiveJournal
- Yammer
- Edgar
- Fintel
- Mix
- Instapaper
- Copy Link