
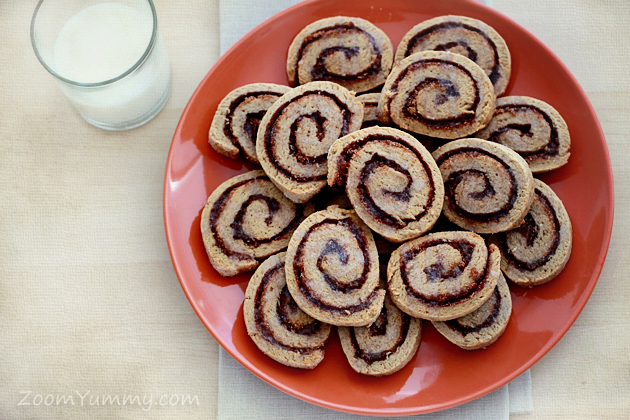
Cinnamon roll cookies are a lovely twist on the world famous doughy cinnamon rolls. Offering a crispy edge and a beautifully chewy center, I can guarantee that you will become their fan in a second.
Here’s how you can prepare your own cinnamon roll cookies too…
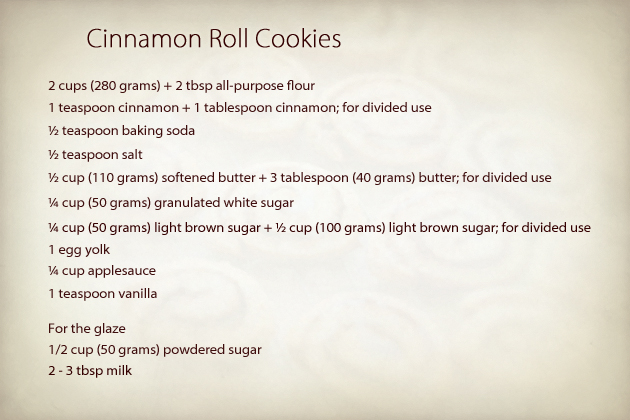
These are the ingredients that we need.
1. To begin, sift together the flour, cinnamon (1 tsp), baking soda and salt. Set aside.
2. Place 1/2 cup (110 grams) of the softened butter, white granulated sugar and 1/4 cup (50 grams) of brown sugar in a stand mixer bowl and beat until light in color. Add in egg yolk, applesauce and vanilla and beat to combine.
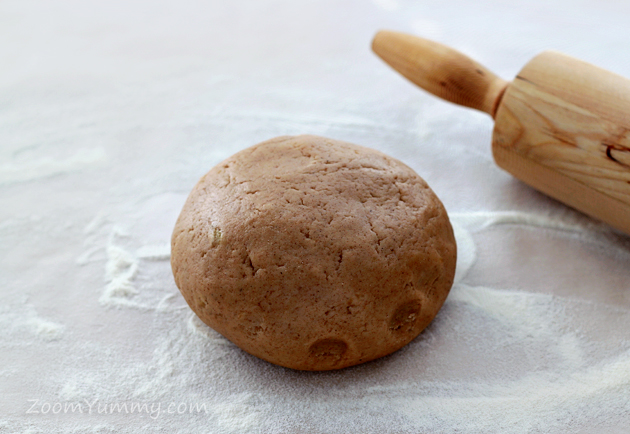
3. Using a sturdy spatula or wooden spoon, fold in the flour mixture until just combined. Using your hands, form a dough ball.
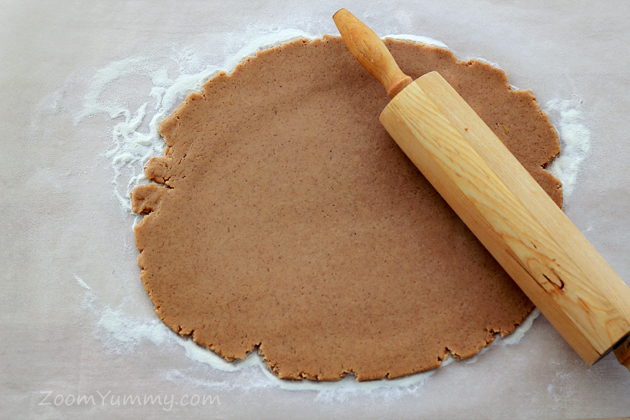
4. Place the dough ball on a lightly floured wax (or baking) paper and roll out to about 1/4 inch (0.6 cm) thickness.
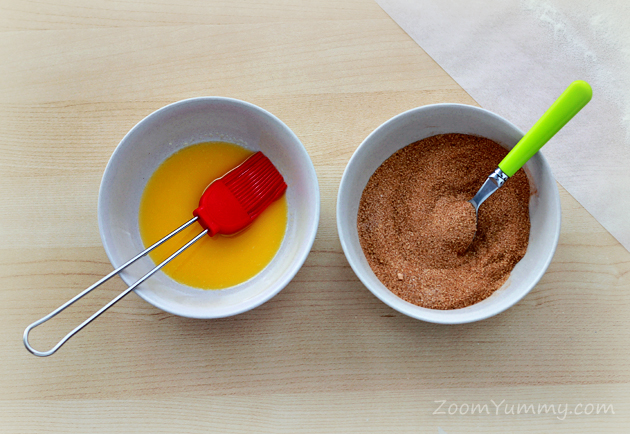
5. Melt the remaining butter (3 tbsp – 40 grams) in a pot on a stove or in a microwave oven.
6. In a small bowl, combine the remaining brown sugar (1/2 cup – 100 grams) with the remaining cinnamon (1 tablespoon).
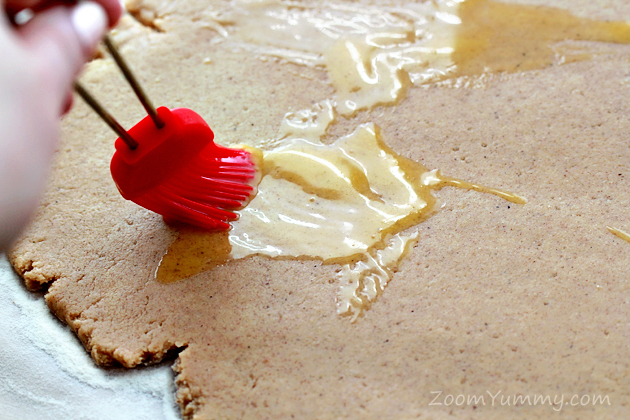
7. Using a pastry brush, spread the melted butter on the rolled-out dough.
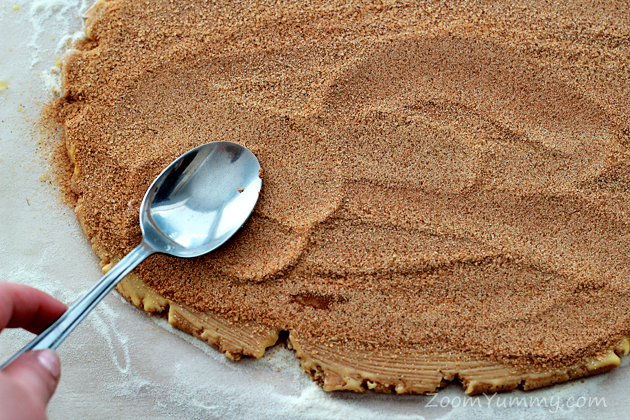
8. Then sprinkle the cinnamon and sugar mixture on top and gently press it into the dough.
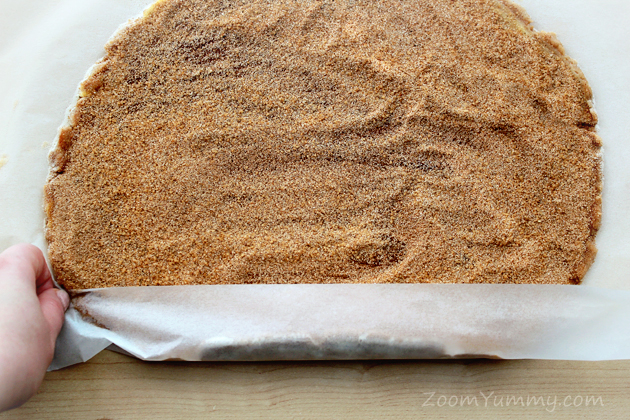
9. Roll up the dough, beginning with long side (the wax paper placed under the dough can help you here). Place the roll seam side down on plastic wrap and cover tightly. Place the rolled dough in the refrigerator for 30-45 minutes.
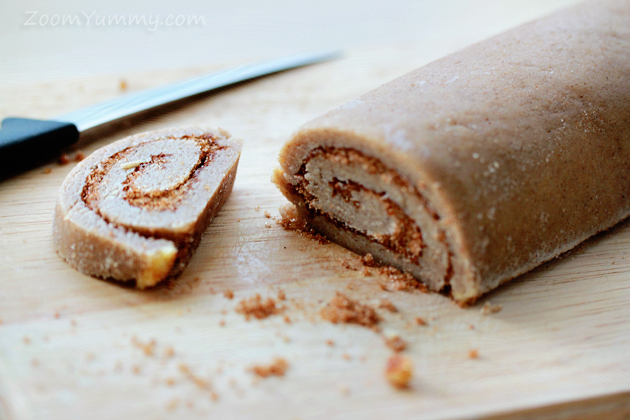
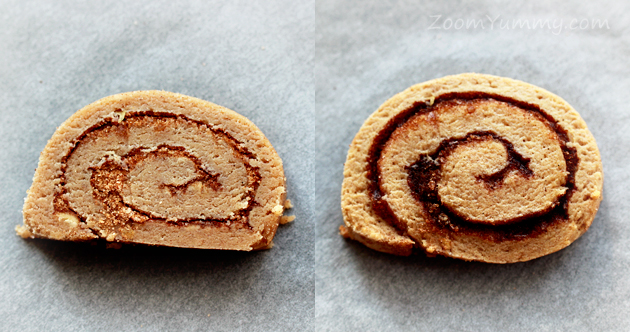
10. Remove the chilled roll and cut into 1/2 inch slices.
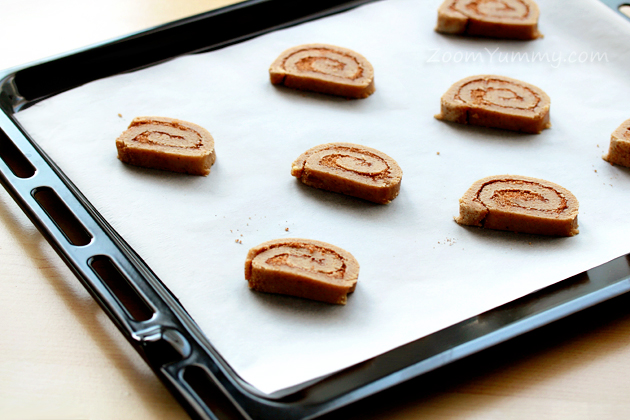
11. Working in batches, place the slices on a lined baking sheet and bake at 350 °F (175 °C) for about 10 minutes or until lightly browned.
Mmmm, they smell unbelievably good!
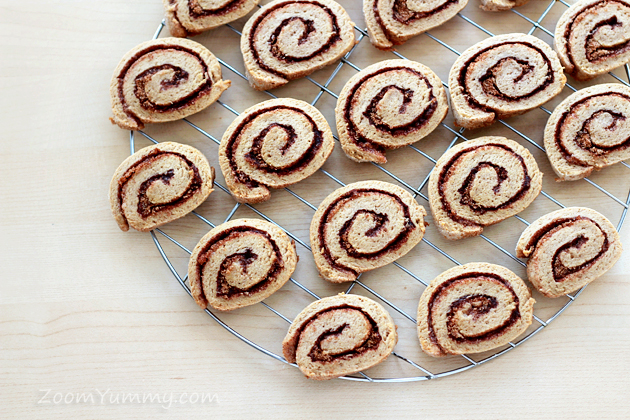
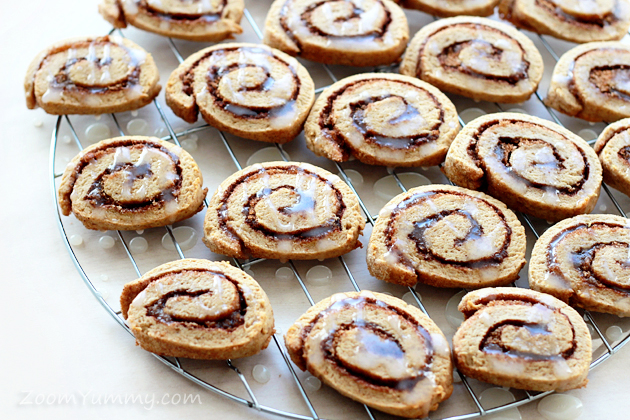
12. Let cool for 2 minutes on the baking sheet. Then remove to wire racks to cool completely.
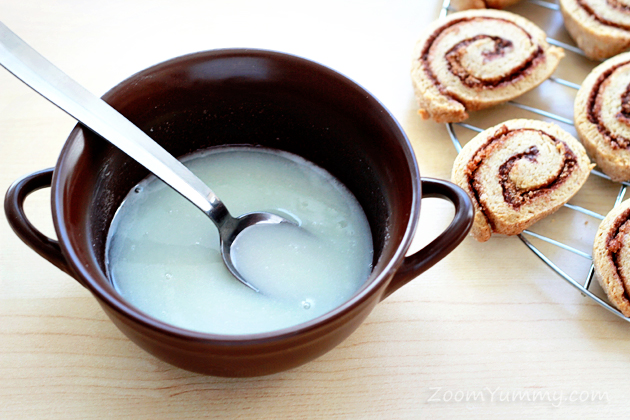
13. You can optionally drizzle tops of the cookies with glaze (to prepare the glaze, just whisk together the sifted powdered sugar and milk until drizzling consistency is achieved).
Enjoy, dear friends!
Love,
Petra(This recipe was adapted from BakersRoyale.com. Makes about 20 cookies).
- Like
- Digg
- Del
- Tumblr
- VKontakte
- Buffer
- Love This
- Odnoklassniki
- Meneame
- Blogger
- Amazon
- Yahoo Mail
- Gmail
- AOL
- Newsvine
- HackerNews
- Evernote
- MySpace
- Mail.ru
- Viadeo
- Line
- Comments
- Yummly
- SMS
- Viber
- Telegram
- Subscribe
- Skype
- Facebook Messenger
- Kakao
- LiveJournal
- Yammer
- Edgar
- Fintel
- Mix
- Instapaper
- Copy Link


