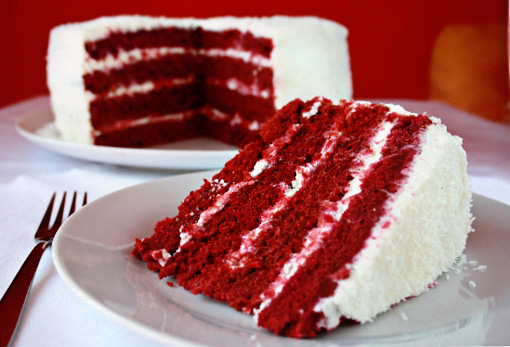
I’ve always loved the way this cake looks.
I guess there are many people like me – the color combination is just mesmerizing and so genial.
When you look at it, it truly seems velvety.
And abundant in flavors.
It’s like from another galaxy or something.
These days I really couldn’t help it, I simply needed it in my life.
So this is what I did, dear friends, and I ENJOYED it …
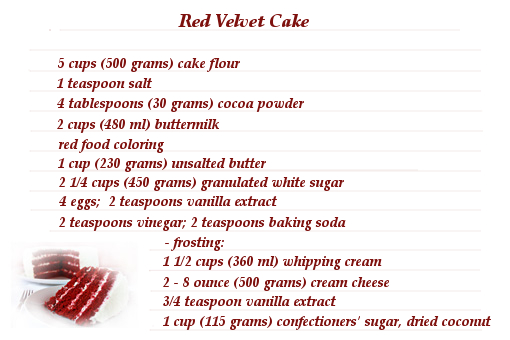
These are the ingredients.
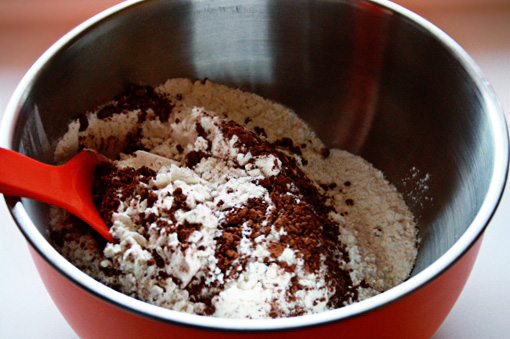
1. First I prepared this flour mixture.
It consists of the flour, salt and cocoa powder.
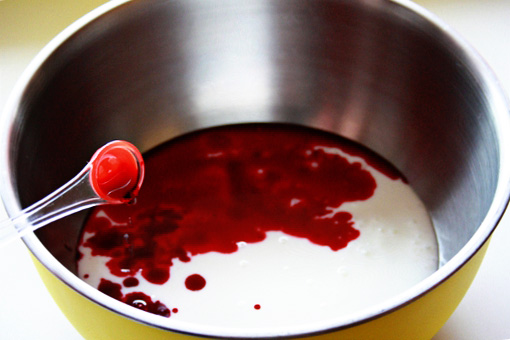
2. Then, in another bowl I mixed the buttermilk and the food coloring.
(There are many brands of food coloring – please, read the instructions on the package you’ve bought and try to give your final batter some stronger red color.)
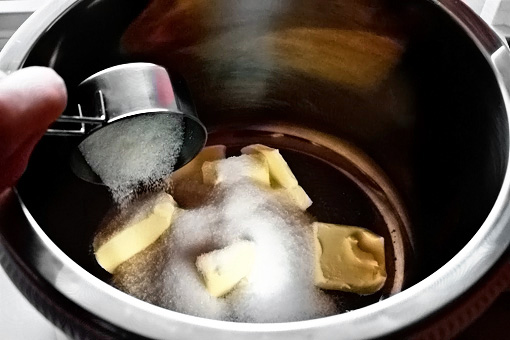
3. In the bowl of your electric mixer, mix the butter and the sugar until light and fluffy (about 2 minutes).
4. Then add the eggs – one at a time – beating well after each addition.
5. Add the vanilla and mix.
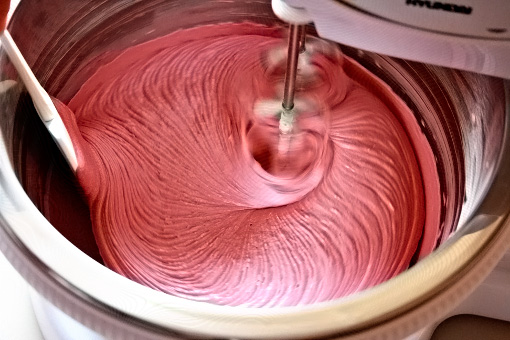
6. With the mixer on low speed, alternately add the flour mixture and the colored buttermilk, in three additions – beginning and ending with the flour mixture.
7. In a small cup combine the vinegar and baking soda.
Allow the mixture to fizz and then quickly fold into the cake batter.
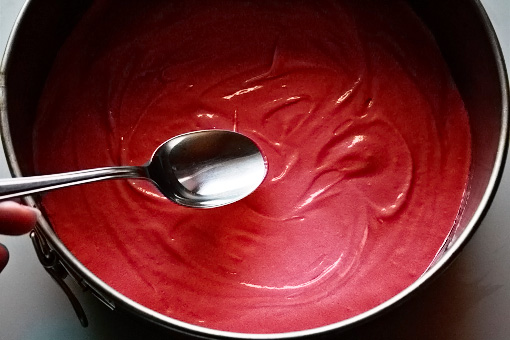
8. Butter a 9-inch (23 cm) springform pan (or two) and line the bottom of the pan with parchment paper.
9. Fill the prepared pan with about 2 cups (500 ml) of the finished batter (there should be about 8 cups of the finished batter altogether and we are going to make 4 layers).
10. Bake at 350 F (175 C) for about 25-30 minutes or until a toothpick inserted in the center of the cake comes out clean.
11. Meanwhile, we can prepare the frosting.
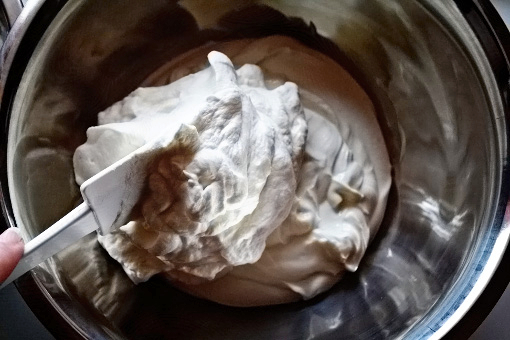
In the bowl of your electric mixer, process the cream cheese, vanilla and confectioners’ sugar until smooth.
Then, in a separate bowl, with you hand mixer, whip the cream until stiff peaks form.
With a large spatula, gently fold these two mixtures together and place in the refrigerator for about an hour or until firm enough to spread.
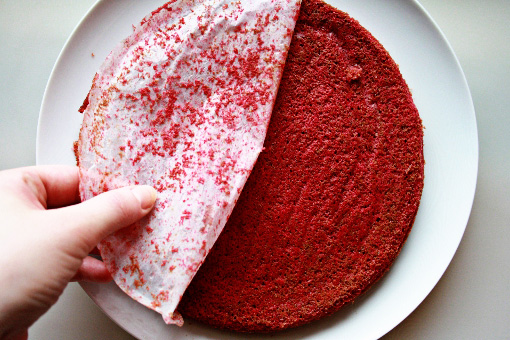
12. When the first layer has baked, remove it from the oven and place it (still in the pan) on the wire rack for about 10 minutes.
Then remove the cake from the pan, transfer onto a plate and let cool completely.
13. Wash the springform pan, butter it, line the bottom with parchment paper again, fill it with another 2 cups (500 ml) of the batter and bake.
14. Repeat until you have baked all four layers.
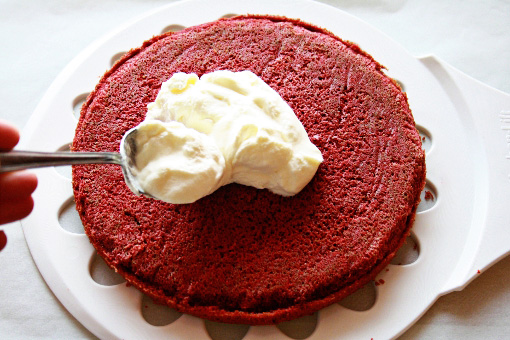
15. When your cake layers have cooled completely place one cake layer on a serving platter.
Spread the cake layer with the layer of frosting.
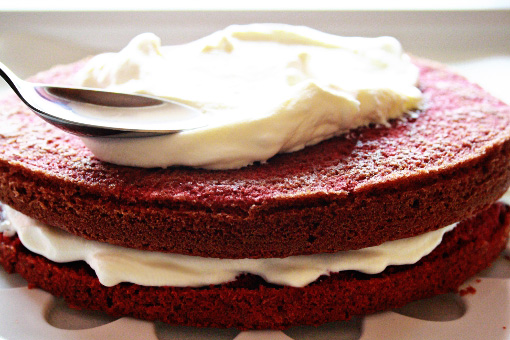
16. Place another cake layer on top of the frosting and…
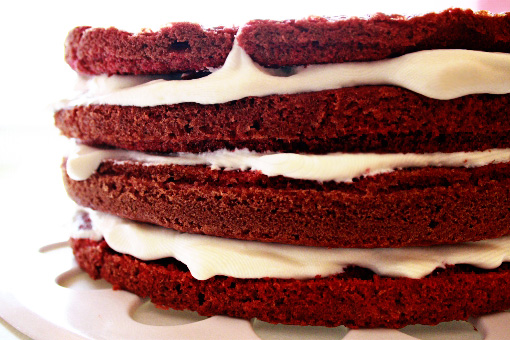
… continue to frost and stack the cake layers.

17. Frost the top and sides of the cake.
You can also garnish your cake with sweetened or unsweetened coconut.
And most importantly – enjoy, dear friends.
- Like
- Digg
- Del
- Tumblr
- VKontakte
- Buffer
- Love This
- Odnoklassniki
- Meneame
- Blogger
- Amazon
- Yahoo Mail
- Gmail
- AOL
- Newsvine
- HackerNews
- Evernote
- MySpace
- Mail.ru
- Viadeo
- Line
- Comments
- Yummly
- SMS
- Viber
- Telegram
- Subscribe
- Skype
- Facebook Messenger
- Kakao
- LiveJournal
- Yammer
- Edgar
- Fintel
- Mix
- Instapaper
- Copy Link

This is gorgeous! Have you ever done it in two layers and split the layers (not that I could do that without a huge disaster)? I’m sitting here drooling and wondering if I have the patience to sit through 4 rounds in the oven. I love the coconut plan.
Thanks to all of you! And Kelly – no, I haven’t tried it that way yet but it sounds quite reasonable. If you try it like that once, please, let me know how it turned out (yeah, but that mess, that scares me too). 🙂
Looks divine!
What a LOVELY, LOVELY cake! I always love your process photos and how it looks when you blend the batter. I also like how you made the recipe look like an old-fashioned one on a notecard. Too cute.
Absolutely gorgeous! I adore red velvet!
hi,
The cake looks wonderful (:-)
I don’t find buttermilk here. Can you please suggest a substitute?
Thanks
Hi, I’m glad you like the recipe. To make your own buttermilk try to add 1 tablespoon vinegar or lemon juice to 1 cup (240 ml) of milk. Let the mixture stand for about 10 minutes before using. It should work… Have a wonderful week. 🙂 Petra
SO yummy looking. I especially love the step-by-step photos. Wonderful photography! I can’t wait to make it soon.
WOW! That is one BEAUTIFUL cake!
xxMK
Delightful Bitefuls
Whats really stopped me from making this cake myself is the red food coloring… Ive always worried that #1 it would do what more red dyes do and stain evening from tongues to the counter. #2 that the coloring would affect the flavor and finally #3 where to find a good coloring lol
And really can it ever be TOO red?
I’ve made R.V. cake only once and wasn’t happy with the results, so I’m going to have to make your recipe to achieve this cake’s noteworthiness. Great photos as always! I don’t know how you get things so crisp. Do you give lessons? 😉
Roz
I am in love with your blog! Your pictures amaze me everytime i open a new recipe 🙂
I just placed yourself on my blogroll list! hope you dont mind 🙂
greetings from Mexico! 😀
Hi Maggie! I am glad you like this little place. Thanks for your sweet words. Greetings from Europe! 🙂 Petra
Your blog on my blogroll list* haha oops
I’ve never used buttermilk before, so when I went to buy the ingredients I noticed that there was different kinds of buttermilk! Which one do I buy? I know I might sound silly 🙁
How much food coloring did you use? Can I use gel color?
Hi,
Is it okay to keep the batter for one hour after adding the vinegar & baking soda mixture ???
What a nice cake
I’ve just made the cake, but they sponges are not red! I used more colouring than I should have. What type of colouring did you use and how much? I used 2 x 38ml bottles of liquid colouring and some gel colouring
That cake looks so moist and delicious… But why the 5 cups of cake flour? Does it make a lighter, fluffy cake? It looks real delicious.