Galette with Ricotta and Zucchini

Aren’t galettes just the cutest things ever?

That is probably the reason number one why I love making them so much.

I also adore their rustic and simple look – there’s something very romantic about it. When I make galettes I like to imagine I am going back in time and meet some of my ancestors who definitely must have made zillions of pastries like this.

In addition, galettes always amaze me by their wonderful contrasty taste and countless variations.

So far, for this site, I’ve already made two galette recipes – savory Cabbage Galettes and sweet Apple Galettes.

Both tasted heavenly.

Yum!

For some reason, up till now, I thought galettes are the perfect fall or winter treat. Well, was I surprised when I came across this wonderful recipe at Smitten Kitchen. Things clicked and from now on I am a huge ‘galette-as-a-perfect-summer-treat’ propagator.

Just imagine: chilled, tart ricotta filling infused with flavorful spices meets refreshing, slightly crunchy zucchini and that is all lovingly wrapped in irresistible, flaky, fragrant crust.

Mmmm.

Definitely worth trying.
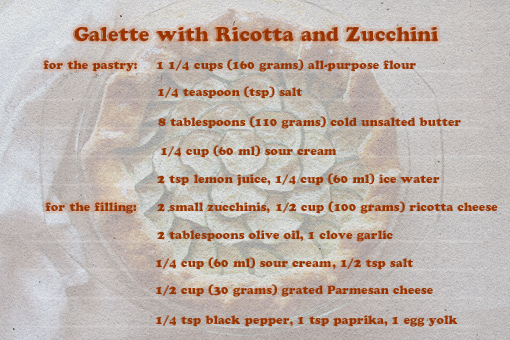
This is the yummy stuff I’ve used.
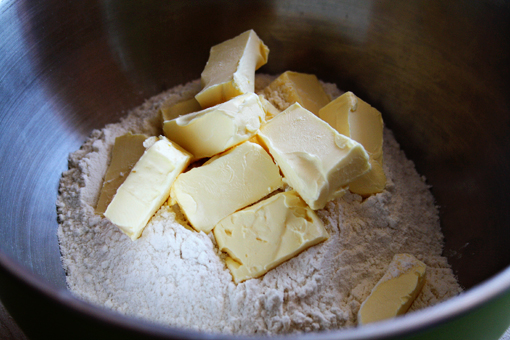
1. To make your own galette, first whisk together the flour and salt in a larger bowl.
2. Sprinkle bits of the butter over the flour mixture.
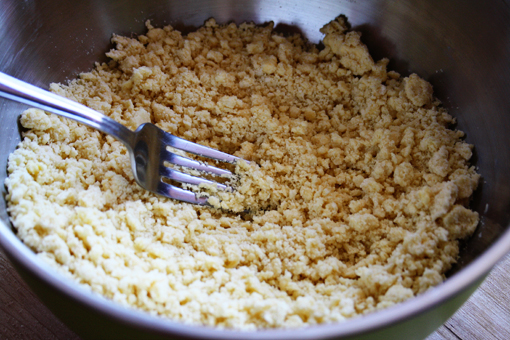
3. Using a pastry blender (or just a simple fork), cut the butter in until the mixture resembles a coarse meal.
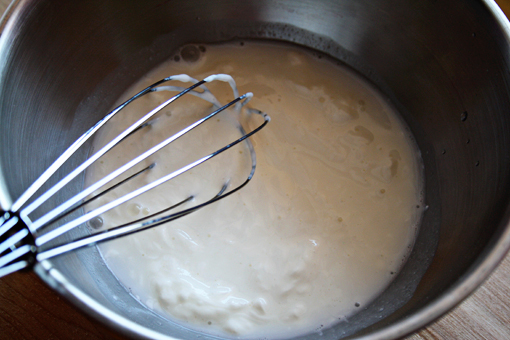
4. In a small bowl, whisk together the sour cream, lemon juice and water…
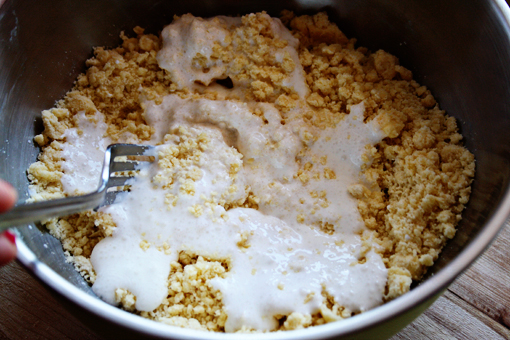
5. …and add this to the flour/butter mixture.
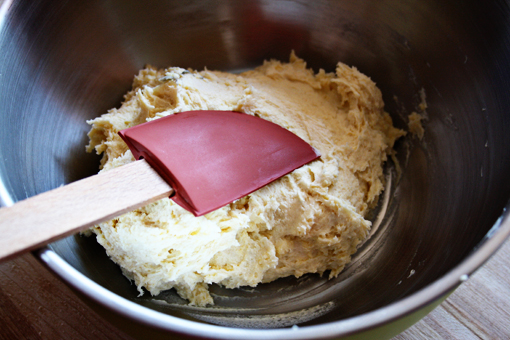
6. Now use a rubber spatula to gather and combine the mixture into a ball-like shape.
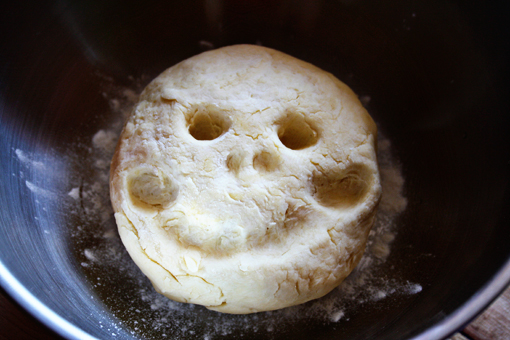
7. Then bath your hands in flour up to your shoulders (kidding! palms are enough!) and form a nice ball out of the dough.

You don’t need to knead or work too much on this dough – it’s perfect when it just holds together.
8. Refrigerate the dough for about 1 hour.
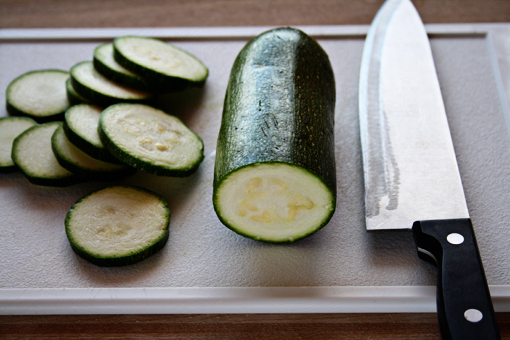
9. Meanwhile, slice the zucchinis into 1/4 inch thick rounds.
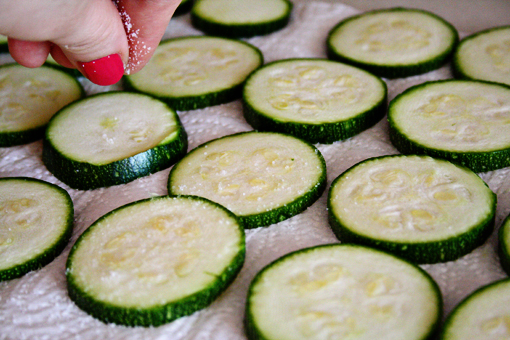
10. Spread the rounds out over two layers of paper towels.
11. Sprinkle with 1/2 teaspoon salt and let drain for 30 minutes.
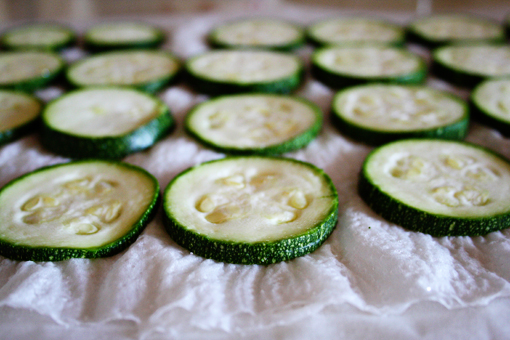
These are our lovely zucchini rounds after 30 minutes. See how the towels are all wet?
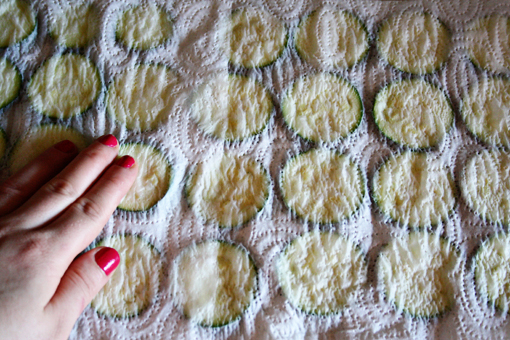
12. Blot the tops of the rounds dry with paper towels before using.
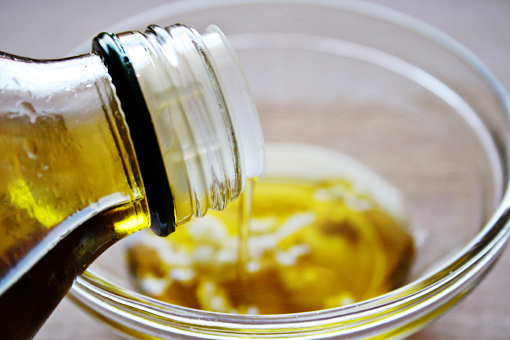
13. Now, press the garlic into a small bowl.
14. Add the olive oil and whisk together.
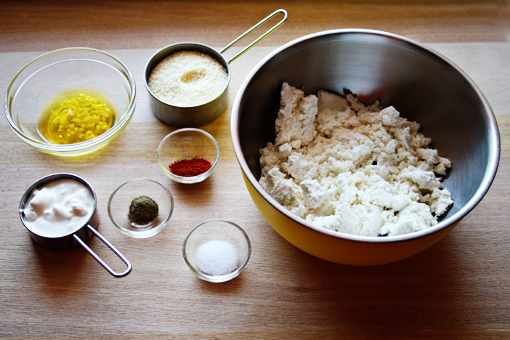
15. Here the lovely ingredients can’t wait to meet each other and coexist in a perfect harmony.

I am namely talking about the ricotta, sour cream, Parmesan cheese, olive/garlic mixture, sweet paprika powder, black pepper and salt.
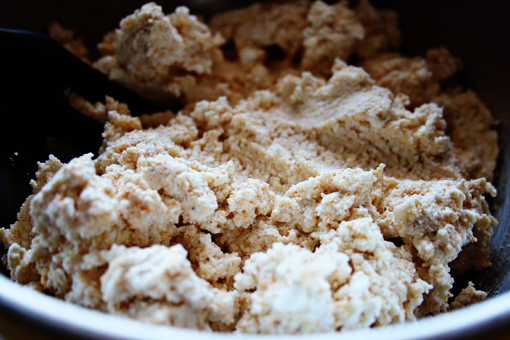
In other words, mix the filling ingredients just until combined.

Set aside some olive/garlic mixture to drizzle on top of the galette.
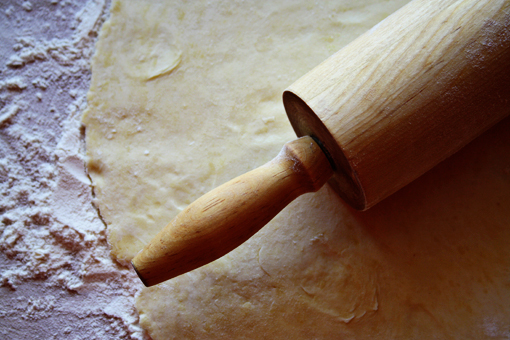
16. To assemble the galette, remove the dough from the fridge and place it on a well floured surface.
17. Roll the dough out into a 14-inch (35 cm) round.
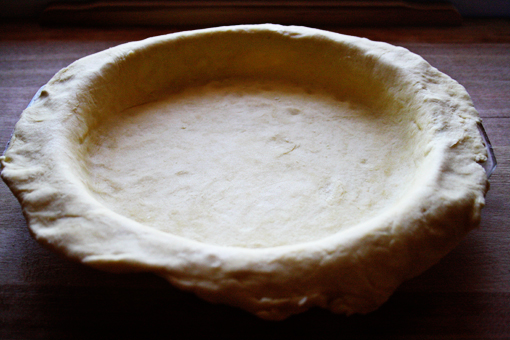
18. Transfer to an ungreased, round 6 x 2 inches (15 x 5 cm) baking dish.
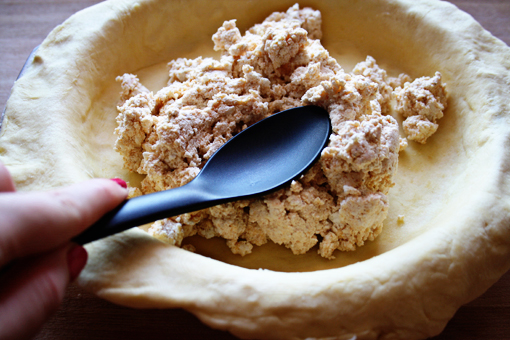
19. Spread the ricotta mixture evenly over the bottom of the galette dough,…
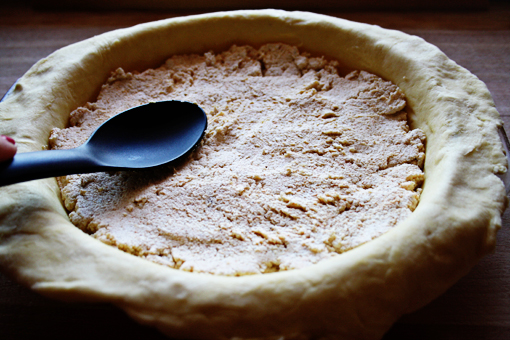
20. …leaving a 2-inch border.

I’ve used a little more ricotta than the recipe called for because, hm…, because I don’t even know why. I just probably couldn’t stop adding it in. Yeah, the control thing – I should work on that. But I’ll definitely follow the given ricotta measurement next time – now I see that the proportions are perfect.
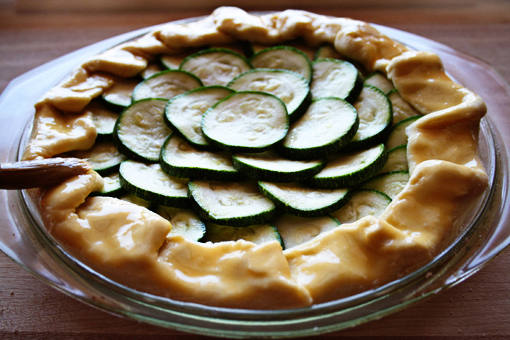
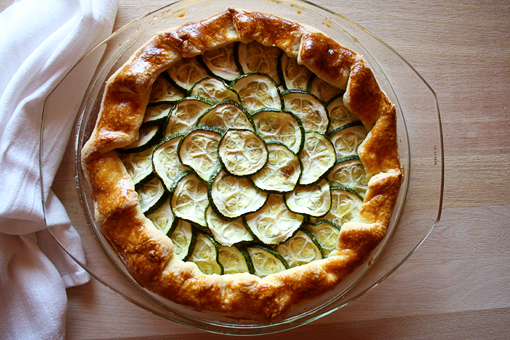
21. Shingle the zucchini attractively on top of the ricotta in concentric circles, starting at the outside edge.
22. Drizzle the remaining garlic and olive oil mixture evenly over the zucchini.
23. Fold the border over the filling, pleating the edge to make it fit (the center will be open).
24. Brush crust with egg yolk glaze.
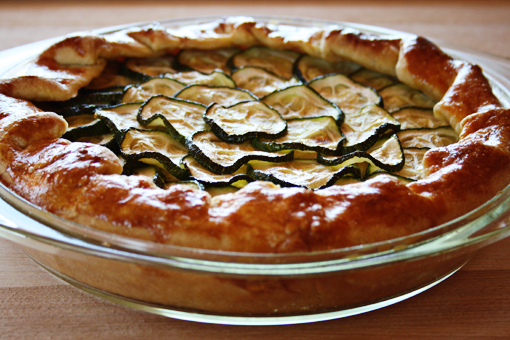
25. Bake at 375 degrees F (190 degrees C) for about 1 hour (or until the zucchini is slightly wilted and the galette is golden brown).
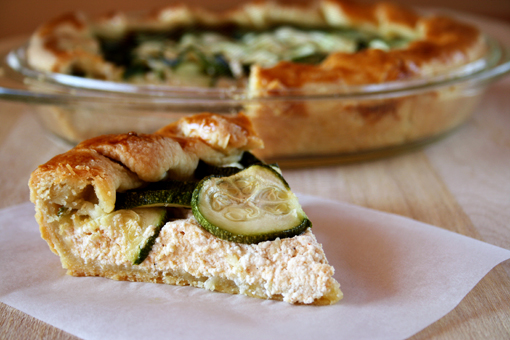
Although you can serve this wonderful galette at any temperature, I loved it best refrigerated.

Enjoy, dear friends!

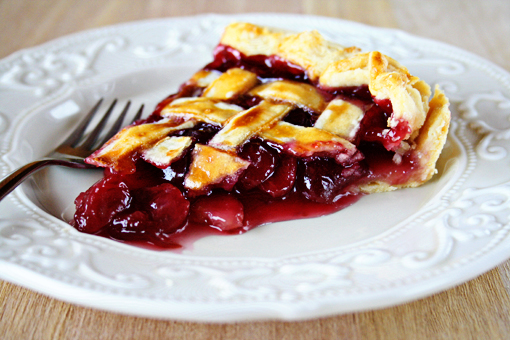
Cherry Pie …And A GIVEAWAY!

Let me introduce my new most favorite pie to you:

The cherry pie – My dear readers,

My dear readers – The cherry pie!

This might possibly be the most delicious pie on the face of the Earth.

Or, even better – in the universe.

And if there is a multiverse, then there too.

I got amazed by how scrumptiously such a simple pie can taste.

Absolutely yummy and finger-lickin’ (or in more civilized households – fork-lickin’).

But in our household it’s definitely something between finger-lickin’ and plate-lickin’.

Well, welcome to my world.

And now something about the GIVEAWAY

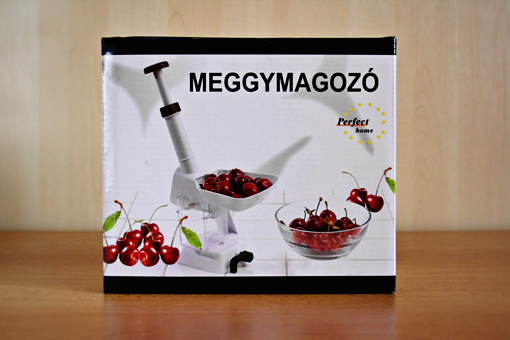
Because I think that kitchen gadgets of any kind are the next best thing (right after the cherry pie) I’ve prepared this cute giveaway for you.

It’s a CHERRY PITTER.

And it’s simply awesome.
TO ENTER (Contest closed. Thank you.)

To enter this giveaway, just answer the following question in the ‘Comments section’ of this post:

“What is you favorite dessert?”
THE RULES

  • One entry per person, please.

Additional entries:

  • Twitter (follow ZoomYummy and tweet the link of this post; leave a note about it in the comment section of this post),
  • Facebook (fan ZoomYummy and share the link of this post; leave a note about it in the comment section of this post).

(So together you can have three entries.)

Winner will be selected at random and announced on Thursday (June 10).
Good luck, everybody!

(Contest closed. Thank you.)


And now, back to the cherry pie

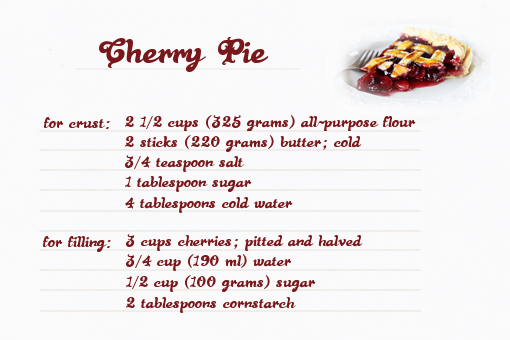
These are the ingredients.

So simple.

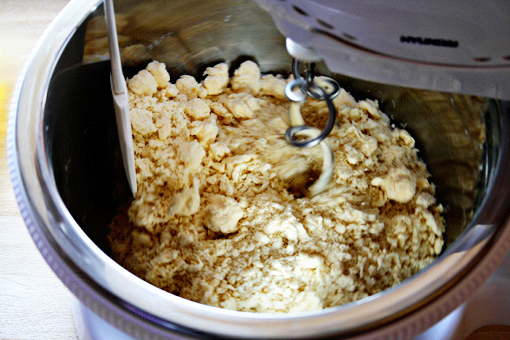
1. To make the crust, place the flour, butter, sugar, salt and water into the bowl of your electric mixer.

2. Mix until the mixture resembles coarse crumbs.

3. Then work with your hands until the dough comes together and you’ve formed a nice, compact ball.

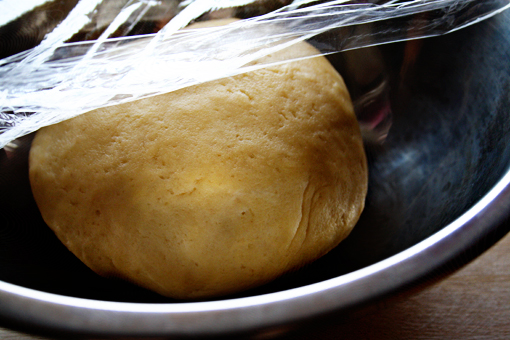
4. Place the dough into a bowl, wrap in plastic wrap and refrigerate for at least one hour.

5. Meanwhile, we can prepare the cherry filling.

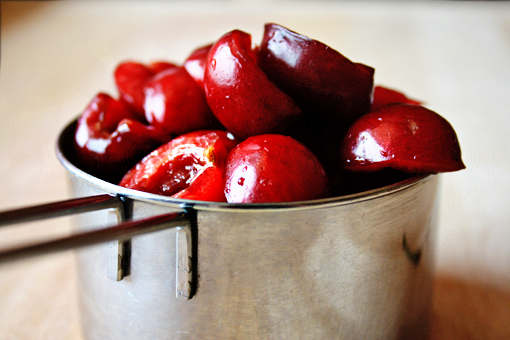
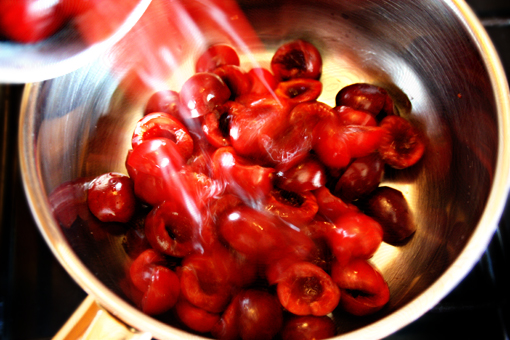
In a saucepan, cook the cherries in water for 10 minutes.

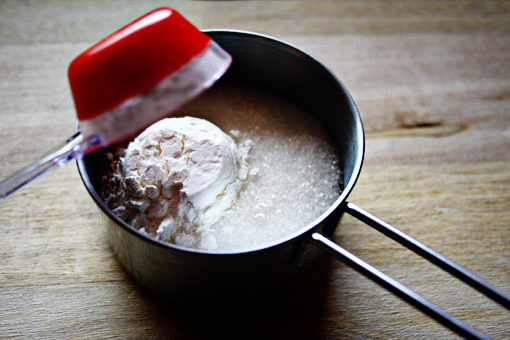
6. Mix together the sugar and cornstarch and add to cherries.

(There’s this thing you should really know about me. I have the shortest attention span of all the human beings that have ever lived on this planet. So here I go – taking a picture of one tablespoon cornstarch being added to the sugar which caused me to completely forget about the second tablespoon cornstarch that I should have used as well. The result – my pie was a little more ‘runny’ than it should have been. But don’t worry – I am okay with that.)

7. Cook the cherry mixture until it thickens – about 5 minutes.

8. Cool slightly before using to fill your pie shell.

9. Remove the dough from the fridge and place it onto a well-floured surface.

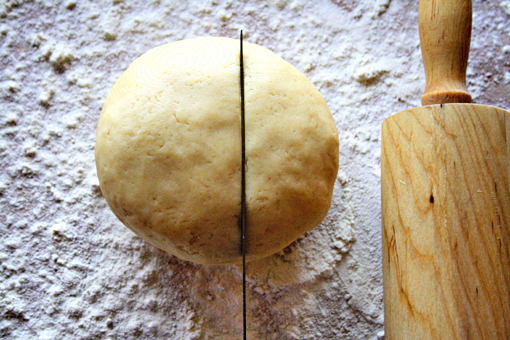
10. Cut it in about ‘2/3 : 1/3′ ratio (… or, as I so like to say – cut it into a bigger and smaller half – here, I said it. Logical nonsense yet so relieving).

11. To form the pie shell, roll out the ‘bigger half’ on a floured surface into a 14-inch (35 cm) round.

12. Wrap around your rolling pin and carefully unroll over a 9-inch (23 cm) pie plate.

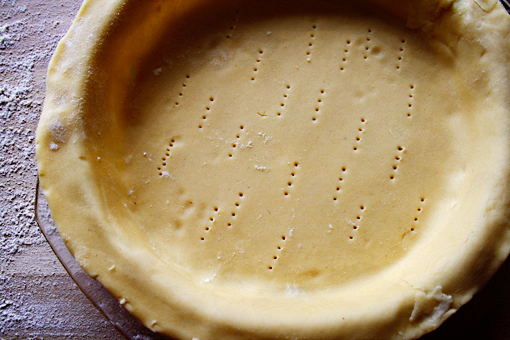
13. Fit gently into the bottom and the side of the plate. Use kitchen shears to trim the dough to a 1-inch overhang.

(I made those little holes on the bottom with a fork and I really don’t know why I made them.)

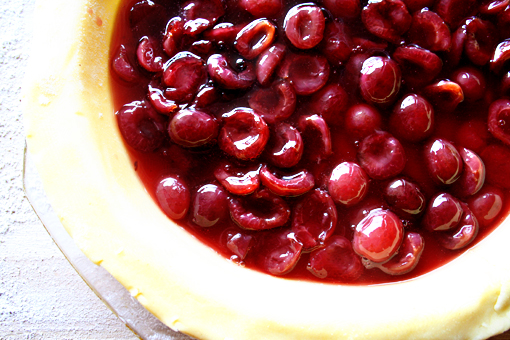
14. Then go on and fill the shell with the delicious filling.

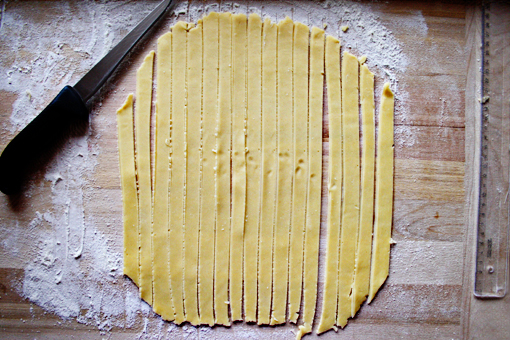
15. Then grab the ‘smaller half’ of the dough, roll it out into a 14-inch (35 cm) round as well.

16. Using a sharp knife, cut it into even strips (you can use a ruler to guide you).

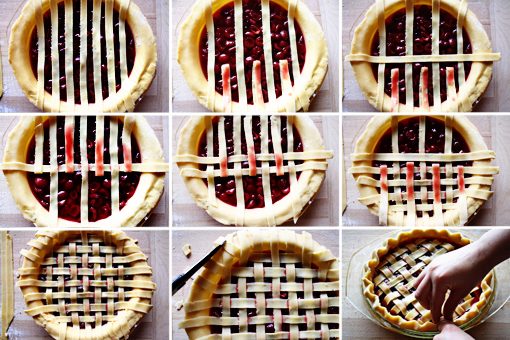
17. This is how I formed the lattice.

  • Picture 1 – To form a lattice top, lay out four to seven (seven in my case) strips on top of the filling.
  • Picture 2 – Fold back every other strip.
  • Picture 3 – Place one long strip of dough perpendicular to the parallel strips, as shown.
  • Picture 4 – Unfold the folded strips over the perpendicular strip and take the parallel strips that are running underneath (!) the perpendicular strip and fold them back over the perpendicular strip.
  • Picture 5 – Lay down a second perpendicular strip of dough next to the first strip, with some space between the strips. Unfold the folded parallel strips over the second strip. And again take the parallel strips that are running underneath the perpendicular strip and fold them back over the perpendicular strip.
  • Pictures 6 and 7 – Continue this process until the weave is complete over the top of the pie.
  • Picture 8 – Trim the parts of the strips that are longer than the dough underneath.
  • Picture 9 – Fold back the rim of the shell over the edge of the lattice strips and crimp the rim with your fingertips and knuckle.

Or you can just forget the whole lattice thing and cut out some little star shapes and place them on top of the filling.

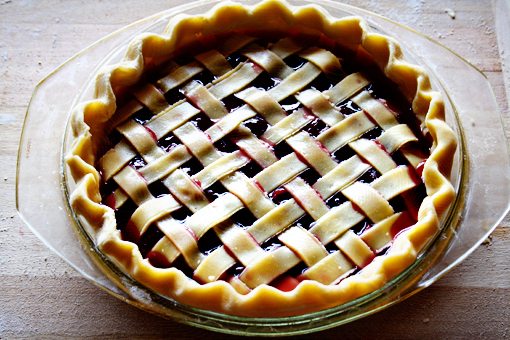
There you go.

This is the finished lattice – still, I guess it’s really worth a try.

18. Just for kicks, you can brush the top of the lattice with a lightly beaten egg yolk.

19. Bake at 350 degrees F (175 degrees C) for about 45 minutes (or until golden brown).

20. Place the baked pie on a wire rack to cool for about 2-3 hours.

And most importantly – enjoy, dear friends!

Send this to a friend