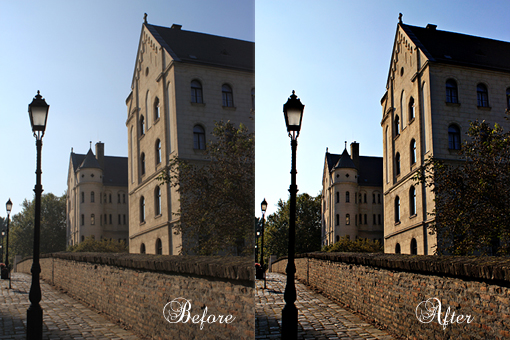
I took this picture a couple of weeks ago.
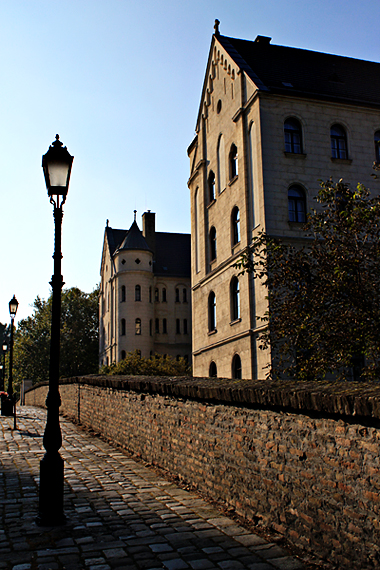
It shows a magical street of a lovely city called Gyor in Hungary.
We like going there, it’s a nice place.
Since, as you might already know, I never leave my pictures untouched (because that would cause my brain to break), I had to open it in my editing software (Photoshop Elements Eight) and play with it for awhile.
This is what I did, step-by-step…
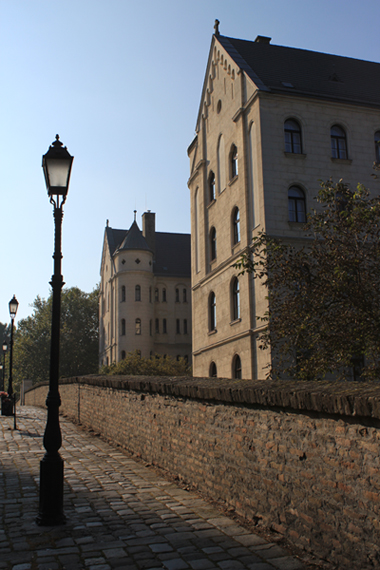
The original picture.
No editing at all.
I like the magic of the place.
I like how the shadows and bright spots interact.
I like how the history still lives and breathes there.
Captivating.
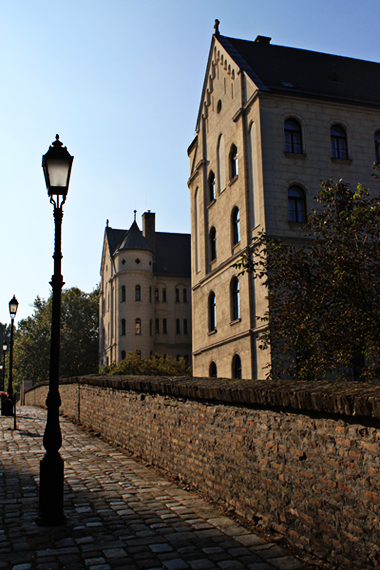
1. I applied the Pioneer Woman Boost Action here.
I use that action a lot.
It’s awesome!
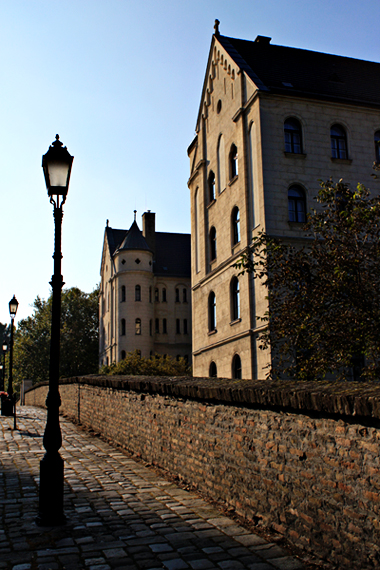
2. Here I ‘burned the remaining haze’ a little using the Unsharp Mask.
That is my favorite editing technique of all times.
Actually, I once wrote a tutorial about it.
3. In this step, I used the Unsharp Mask again.
Only this time to sharpen the image a little more.
I’ll soon bring a tutorial on what settings I use to sharpen my pictures.

The final result.

And again – before and after.
In fact, the whole transition took me no more than 5 minutes.
Just a few clicks can lead to a very different, punchy and bold result.
What do you think, dear friends?
Do you use any of the mentioned techniques?
Let me know!
- Like
- Digg
- Del
- Tumblr
- VKontakte
- Buffer
- Love This
- Odnoklassniki
- Meneame
- Blogger
- Amazon
- Yahoo Mail
- Gmail
- AOL
- Newsvine
- HackerNews
- Evernote
- MySpace
- Mail.ru
- Viadeo
- Line
- Comments
- Yummly
- SMS
- Viber
- Telegram
- Subscribe
- Skype
- Facebook Messenger
- Kakao
- LiveJournal
- Yammer
- Edgar
- Fintel
- Mix
- Instapaper
- Copy Link
