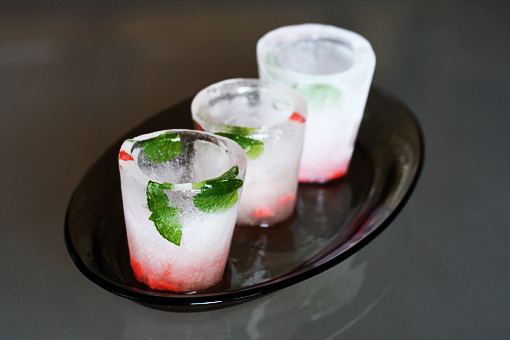
See?
I really am experimenting with ice these days.
And I love it!
My freezer is a source of fun, joy and so needed cool refreshment these days.
First I made the Colorful Ice Cubes (you can check out the lovely cuties here).
And because I usually have a hard time letting go of things, I just knew I have to give the freezer a new job of some kind.
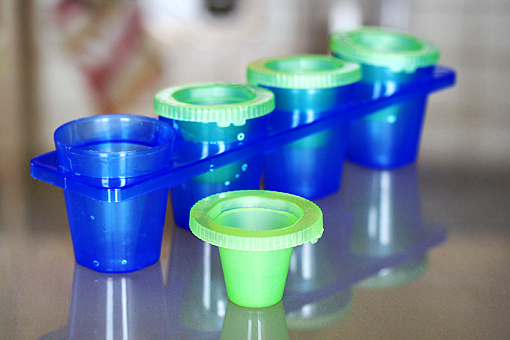
The other day I stumbled upon this strange looking thing in a shop.
After I surveyed it for awhile, I thought to myself with rising excitement:
Hm. What could this be…?
Hey!
Hey!!!
“LIKE REALLY?”
To my horror I found out I had said the last two words out loud and rather loudly.
The embarrassment!
Subsequently, I tried my best to look invisible to a couple of shoppers who were eying me up and down, threw the thing into the shopping basket and headed to the counter at sonic speed.
In spite of the embarrassment, I felt like I was the happiest person on the planet … because what I found were ICE SHOT GLASSES MOLDS!
I hadn’t even known they existed!
A very special note: If you’d like to have molds like these then check out this colorful GIVEAWAY!
Anyway, as soon as I came home a craze began.
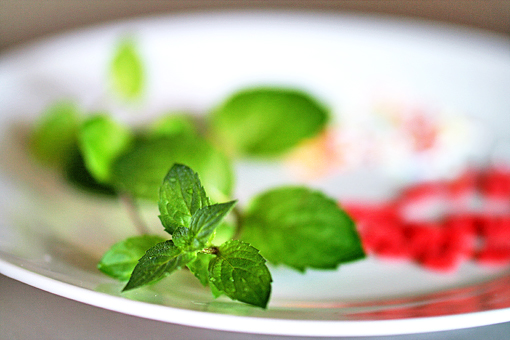
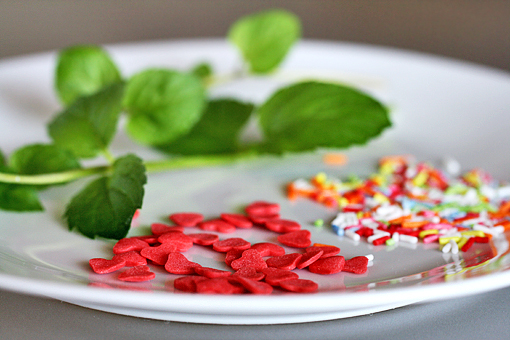
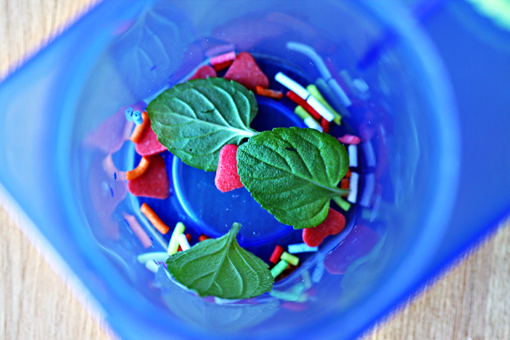
I gathered two sprigs of my beloved, new planted mint…
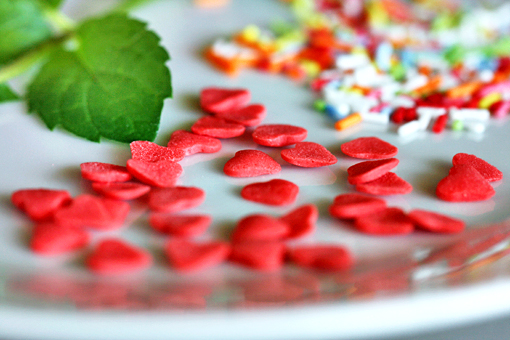
…some sugar heart decorations…
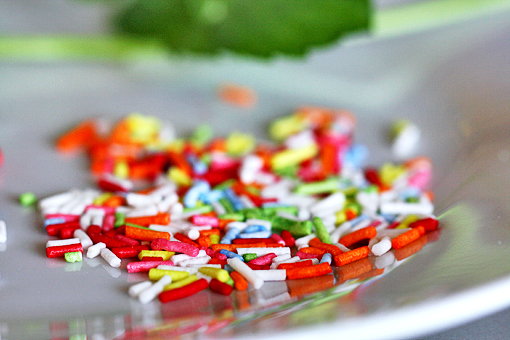
…and some sugar rice decorations too.
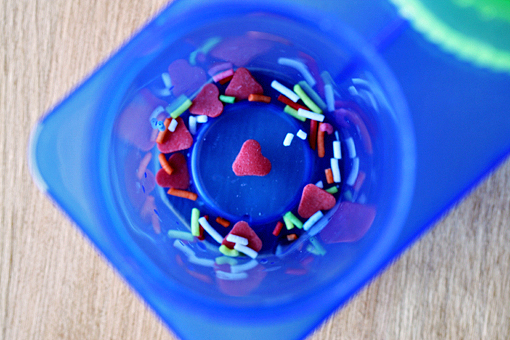
I threw all the stuff into the molds.
…
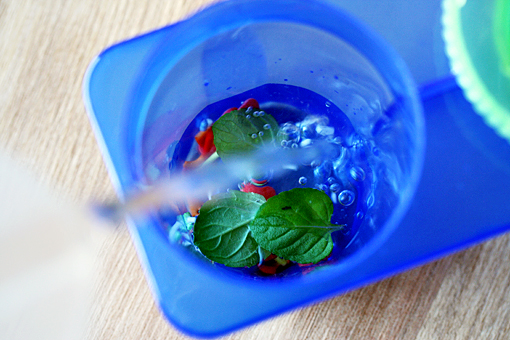
Filled the molds with water.
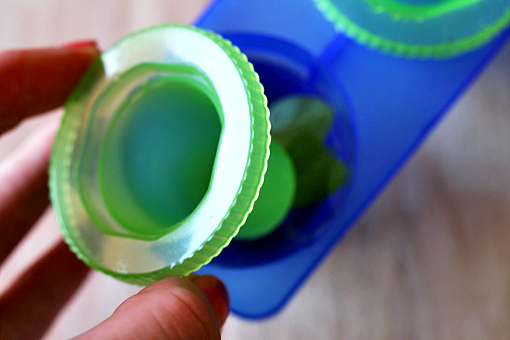
And stuck this magical, interior-creating thing in.
Then I popped the molds into the freezer.
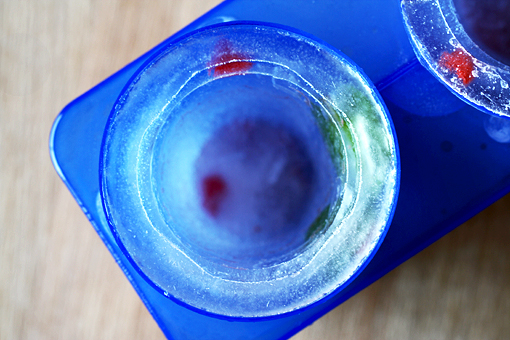
After a couple of hours I got this.

The coolest shot glasses ever.
Literally!
I got so amazed by these cuties that my fantasy started running wild:
What if I filled the molds with fruit juice?
Or jello?
Or melted chocolate?
The possibilities are endless.
I can’t wait to give all these ideas a try…
- Like
- Digg
- Del
- Tumblr
- VKontakte
- Buffer
- Love This
- Odnoklassniki
- Meneame
- Blogger
- Amazon
- Yahoo Mail
- Gmail
- AOL
- Newsvine
- HackerNews
- Evernote
- MySpace
- Mail.ru
- Viadeo
- Line
- Comments
- Yummly
- SMS
- Viber
- Telegram
- Subscribe
- Skype
- Facebook Messenger
- Kakao
- LiveJournal
- Yammer
- Edgar
- Fintel
- Mix
- Instapaper
- Copy Link

