Cream Cheese Straws

cream cheese straws recipe with step by step pictures

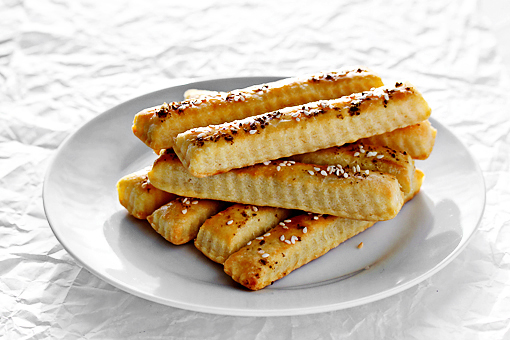
These straws are super easy to make.

And yummy!


Of course, they can be enjoyed as a nibble or finger food year-round, but I think they are especially welcome at Christmas and New Year’s parties.

Mmm. I can imagine them with drinks, salads or thick soups even.

Also, creating these savory treats makes a great project for you and your kids. Just try making them together. I am sure there will be loads and loads of fun.
 

cream cheese straws recipe with step by step pictures

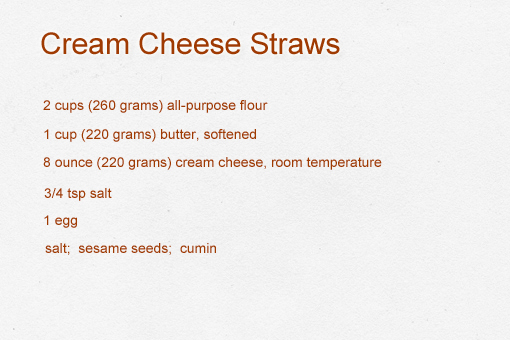
Here’s what we need.
Yes, this is one of those recipe where you only need very few ingredients.

I am a huge fan of such recipes.
 

cream cheese straws recipe with step by step pictures

1. Preheat your oven to 350 °F (175 °C) and line a baking sheet with parchment paper.


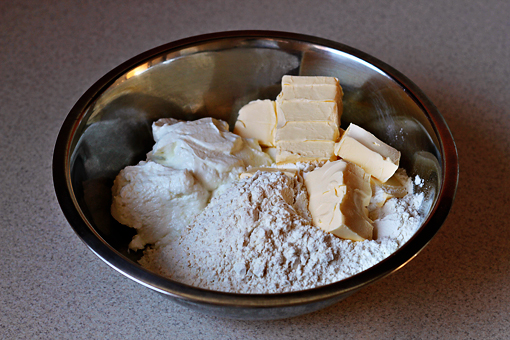
2. Place the butter, cream cheese, flour, and salt into a bowl.
 

cream cheese straws recipe with step by step pictures

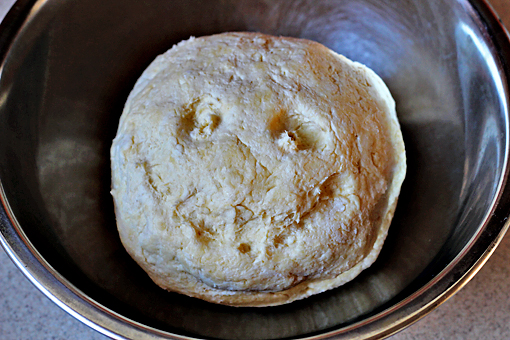
3. Combine the ingredients by hand just until a nice ball forms.
 

cream cheese straws recipe with step by step pictures

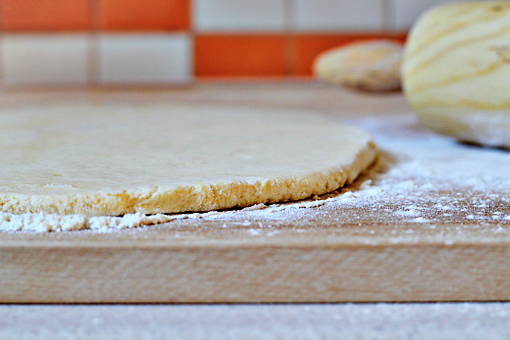
4. Place the dough onto a well floured surface.


5. Using a rolling-pin, roll out the dough into about 1/4 inch (0.6 cm) thickness.

If the dough gets too sticky during this process, just use more flour to make the work easier.
 

cream cheese straws recipe with step by step pictures

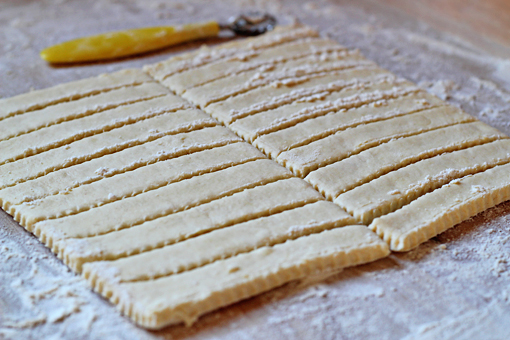
6. Now cut the dough into even strips. My ones were 3/4 inch (2 cm) wide and 4 1/2 inches (11 cm) long.


If you want them to look super fancy, use a fluted pastry wheel cutter.

Oh, and it helps a lot if you dip the cutter in flour beforehand.


7. Re-roll any scraps and cut more strips.
 

cream cheese straws recipe with step by step pictures

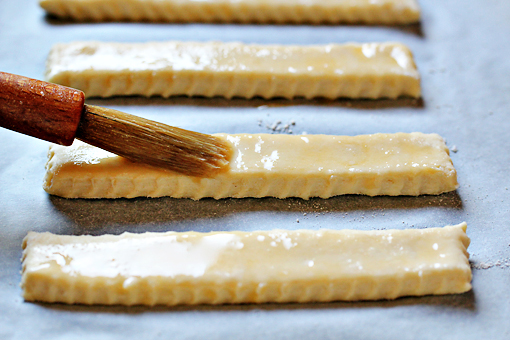
8. Lay the strips on the lined baking sheet. Brush them with a lightly beaten egg.

This will make them beautifully golden in color.
 

cream cheese straws recipe with step by step pictures

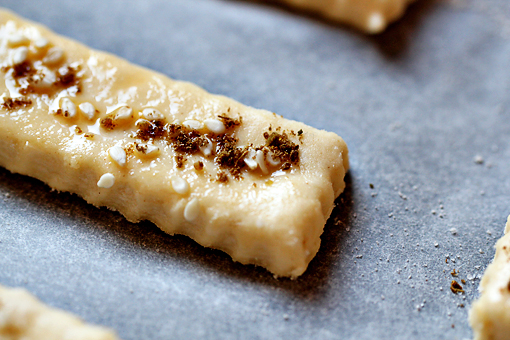
9. Lastly, sprinkle each strip with some salt, sesame seeds and cumin.

I only had ground cumin seeds on hand when I was making these cuties. I think that the whole ones would look even better.
 

cream cheese straws recipe with step by step pictures

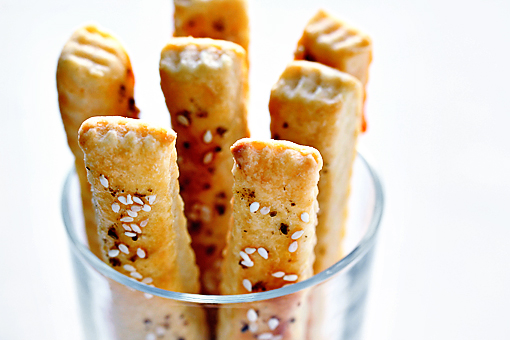
10. Bake at 350 °F (175 °C) for about 15 minutes or until golden brown.


Enjoy, dear friends!


(This recipe makes about 30 straws and takes 45 minutes to prepare.)

Burning the Haze (My Most Favorite Photoshop Trick)

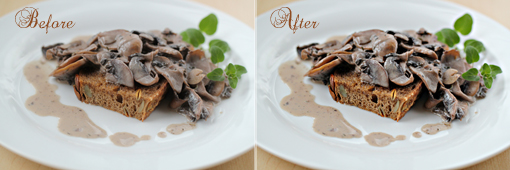
how to remove the gray film from pictures, Photoshop step-by-step tutorial

I want to share my most favorite Photoshop trick with you.

It’s easy and very rewarding.

The reason why I am sharing this technique with you is simple – I would like you to experience the same level of amazement that I go through each time I make this magic happen.

how to remove the gray film from pictures, Photoshop step-by-step tutorial

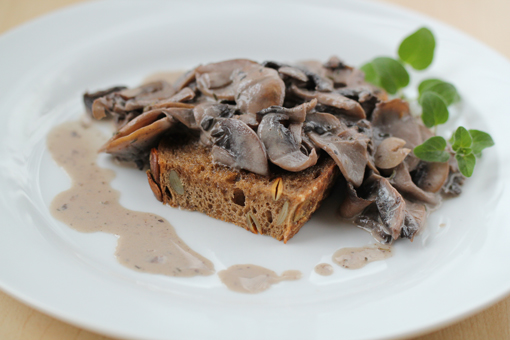
See the gray film over this original (“before”) picture?

how to remove the gray film from pictures, Photoshop step-by-step tutorial

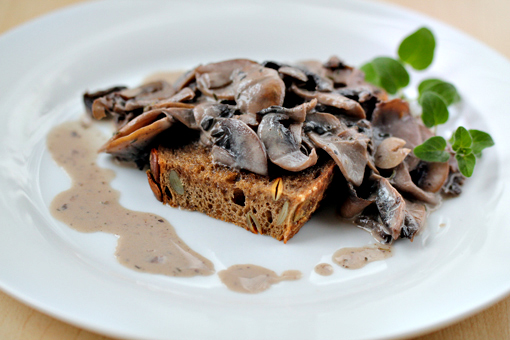
This is the “after” picture.

The gray film is gone!

The picture looks much more realistic.

I love this game!


Of course, I could continue working on that picture giving it some more light and sharpness but I am leaving that for later.

For now, let’s just get rid of that unsightly gray film.

Let’s burn the haze!


What I find most fascinating about this technique, aside from its terrific result, is how quickly and easily it’s done:
1. Open the picture in Photoshop (File -> Open).
2. In the Layers palette, click on the Background layer and then press Ctrl+J (Mac: Command+J) to create a duplicate layer. Leave this new layer selected (highlighted).
3. Click Enhance (in the upper bar) -> Unsharp.
A new window will pop up.
4. With the Amount slider go somewhere between 15 – 30. Then move the Radius slider somewhere between 17 and the end of the line. Set the Threshold slider to 0.

Play with the Amount and Radius sliders to achieve the desired effect. Then click OK.
5. Now click Layer (in the upper bar of your screen) -> Merge Visible.
6. Save the picture (File -> Save As).
And that’s it!

how to remove the gray film from pictures, Photoshop step-by-step tutorial

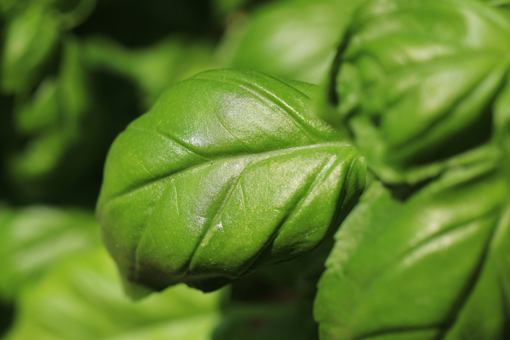
This is another SOOC (straight out of the camera) picture.

how to remove the gray film from pictures, Photoshop step-by-step tutorial

Haze be gone!

how to remove the gray film from pictures, Photoshop step-by-step tutorial

And another one before the treatment.
how to remove the gray film from pictures, Photoshop step-by-step tutorial

And after.


Just try this technique and let your pictures enjoy some more clarity, contrast and sharpness.

Enjoy, dear friends!


Send this to a friend