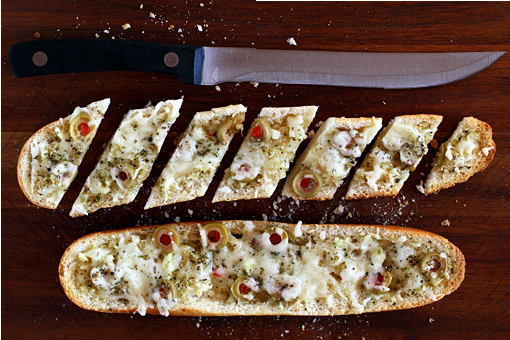
Garlic Cheese Bread with Olives

There’s been a lot of fun in my kitchen this week.

Of course, I will show you all the creations in the upcoming posts.

Among the things that I have made or plan to make this week there’s garlic bread, cauliflower casserole, orange-vanilla popsicles, strawberry cheesecake and also a special surprise that has something to do with Friday’s GIVEAWAY.

So stay tuned!

And now back to the ‘Garlic Cheese Bread’.

Have you ever tried making your own garlic cheese bread?

Well, you definitely need to give it a try.

It’s the best thing ever!

Because it’s easy.

And it has a magical ability to make your soul happy!

And because when you make it you’ll get rewarded by a wonderful crispy piece of fragrant and flavorful heaven.

Need I say anything more?

Please, have a look at how I made this finger-licking treat…
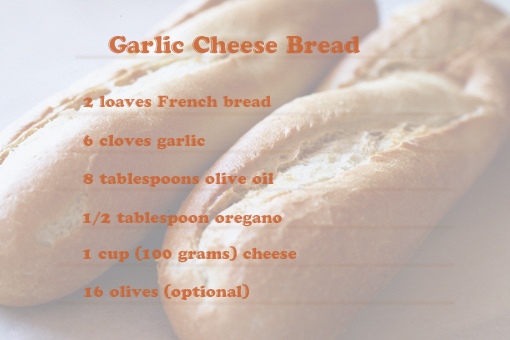
These are the ingredients I used.

The olives and oregano are optional but if you use them you’ll be glad you’ve done so.
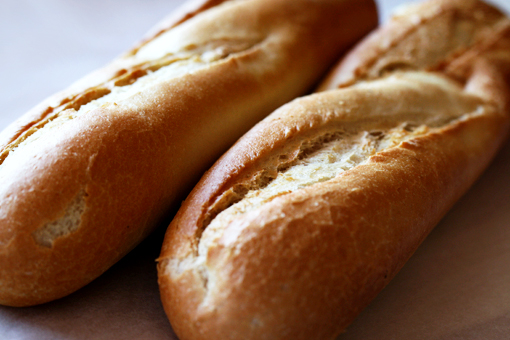
First, you need two loaves of French bread.
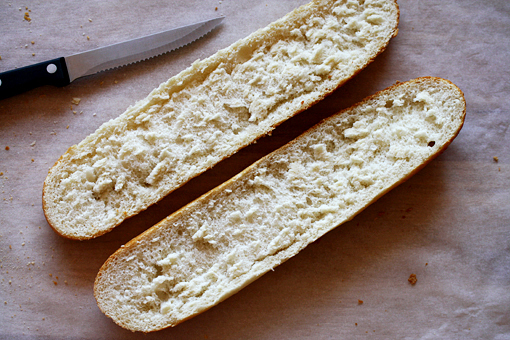
1. Preheat the oven to 350 degrees F (175 degrees C).

2. Split the loaves in half lengthwise.
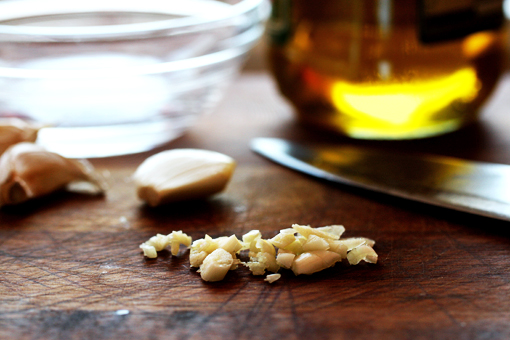
3. Now peel and chop the garlic cloves finely.
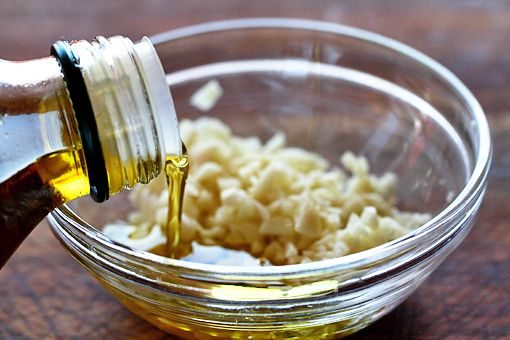
4. Place the garlic into a bowl, add the olive oil…
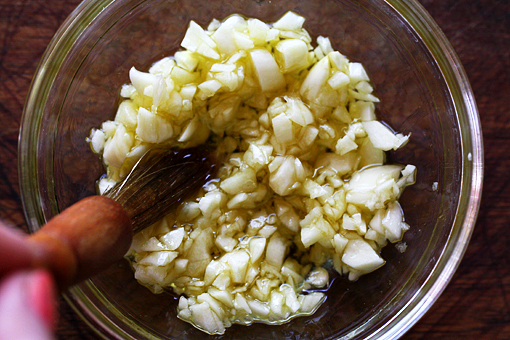
5. … and mix.

I love garlic!

Have I told you that once I almost killed my brother-in-law with the amount of garlic I’d served him for dinner?
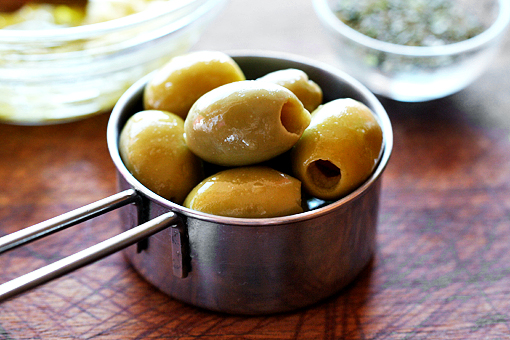
These are the olives I used.

You can use any kind of olives you like – I decided to go for the ones with sweet pepper inside.

Just because I liked the way they looked.
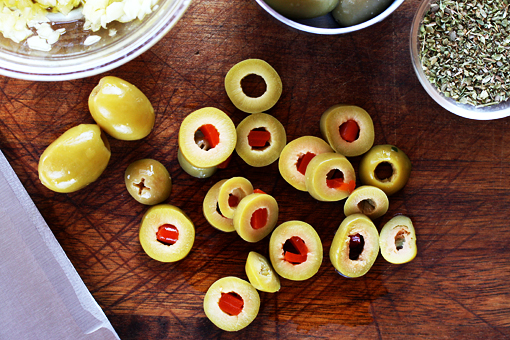
6. Slice the olives.
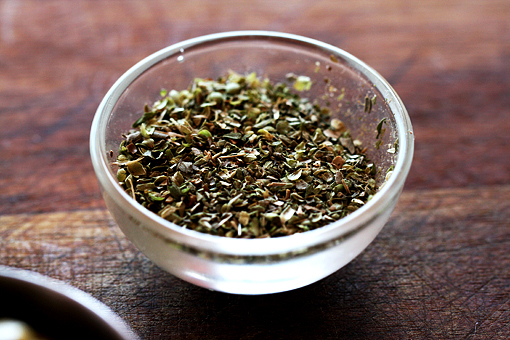
This is dried oregano trying to look its best for the picture.
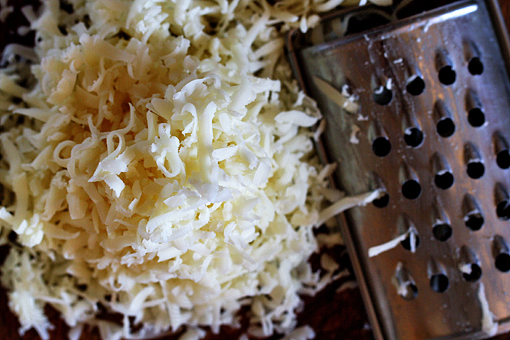
7. Grate the cheese.

Again, use any kind you like. Edam, Cheddar, Monterey Jack, Parmesan.

Or use all of them.

See? I’m so liberal when it comes to cooking – no strict rules really. To me it’s all about having fun and about the current content of the fridge. Because that’s what’s really important, right? To empty the fridge.
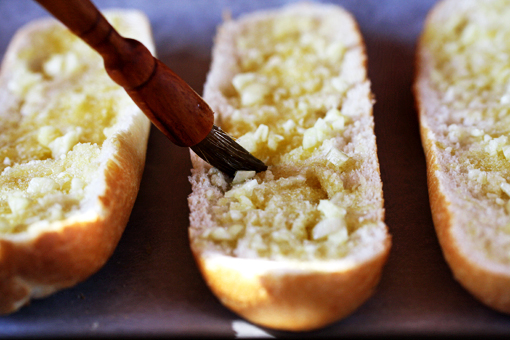
8. Now that we have prepared everything we can start taking care of the bread loaves.

Line a larger baking sheet with parchment paper and place the loaves onto it – cut side up.
9. Spread 1/4 of the garlic/oil mixture over each bread.
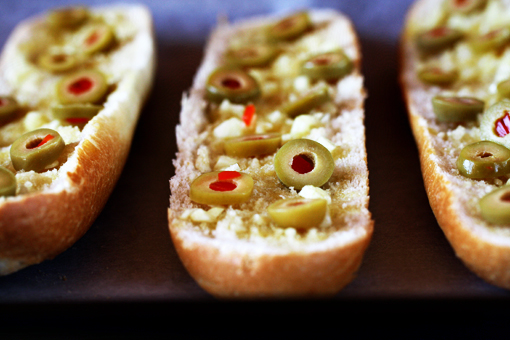
10. Scatter the olives over the top.
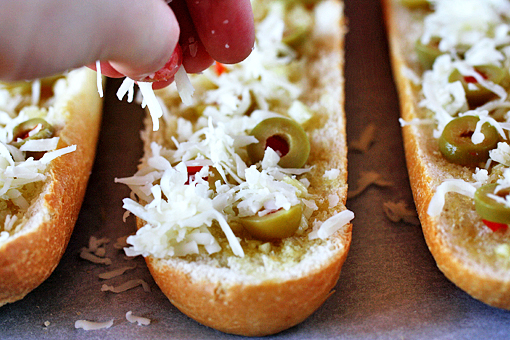
11. And sprinkle generously with the cheese and the oregano.
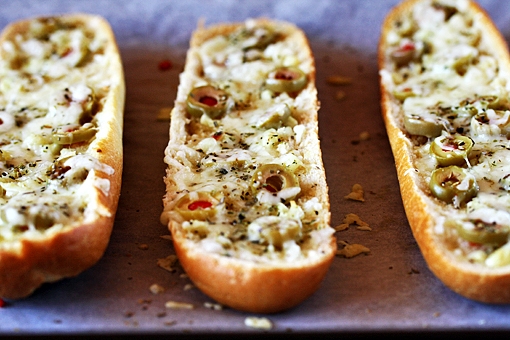
12. Then pop the baking sheet into the oven for about 10 minutes.
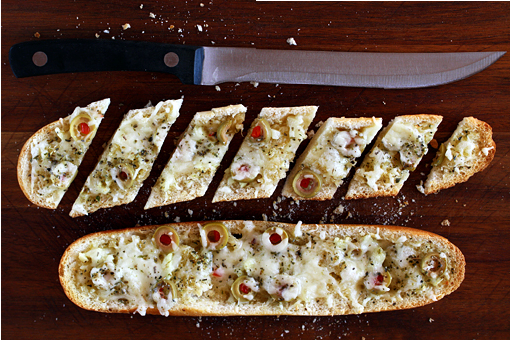
13. Remove the loaves from the oven and cut them into smaller pieces…
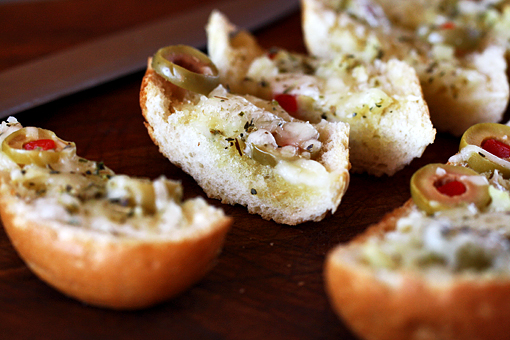
… and enjoy…
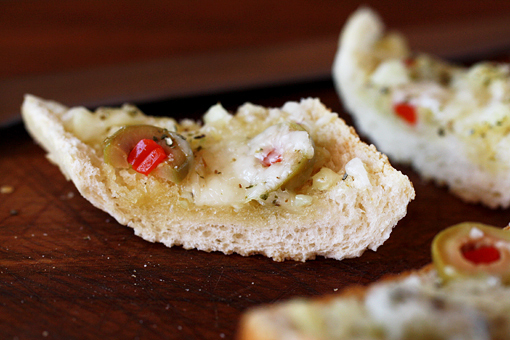

… and enjoy!

How to Kill the Shadow (… in Photography)

Me and photography – that is one romantic love story.

It all began about nine months ago when I started stealing my boyfriend’s ‘big’ camera. And let me tell you that he was all happy about it (where ‘happy’ stands for hurt, disturbed and angry). Anyhow, I kept stealing his big DSLR camera – no matter what – because that miraculous thing with a lens started to provide a great outlet for my self-expression and creativity. Oh, and my boyfriend, don’t you worry about him, he got used it (my left-hand punch is very famous; I can punch and run away very quickly… NOT!).

Of all the places that this wonderful planet offers I and my new camera decided to settle in the kitchen. And we’ve barely left that place ever since.

There’s just something truly special about the kitchen – to me it’s a place where magic happens. Whether it’s just the appearance of various kinds of food I admire or the experiments I make. Yeah, to me cooking and baking is one huge experiment. And I guess I am not the only one who feels the same way…

Taking pictures of it all even adds to that enormously enjoyable experience.

In the field of photography I’ve learned so much …and I am still learning.

For example, the shadow. I’ve learned that food, to be presented at its best, needs a sufficient amount of light. Soon I understood that it was very good to place the food that I was going to capture by the window.

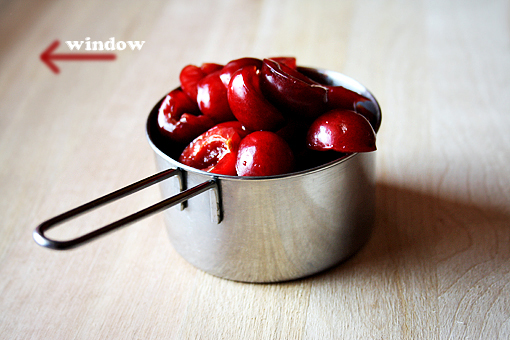
But then there was this shadow.

When I studied some photos of other photographers I wondered how they got their meals so wonderfully and evenly lit from all sides. First I thought they must have used some kind of artificial light to achieve that. Stand light or something.

Okay, my boyfriend kept uttering something about reflectors and I, in return,  kept ignoring him (because I’m just the smartest and stubbornest person in the universe and have to learn my own way).

Anyway, there came the day when I stumbled upon a ‘light reflector’ discussion on the internet. And that was a big day for me.

It allowed me to move from this…

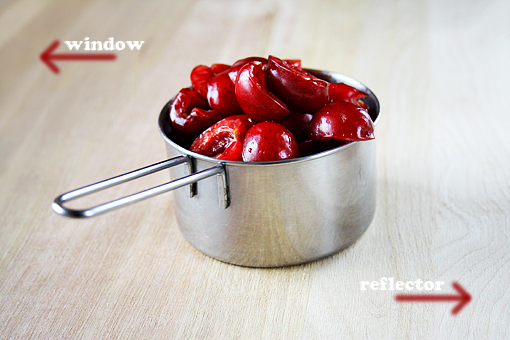
… to this.

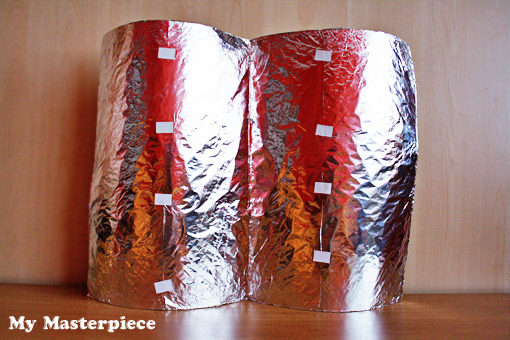
With the help of my masterpiece – ‘a homemade light reflector’.

My pride and joy.

What this thing does, basically, is that it bounces back (or reflects) the light that comes from some light source (the window, in my case).

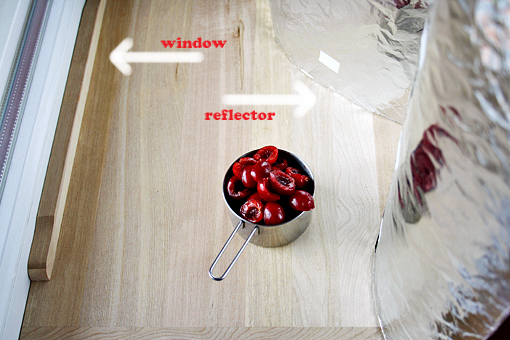
And yes, I made it myself (would you say that?). It only took some cardboard, some aluminum foil to cover the cardboard, something to tape these two things together and about 5 minutes of time.

Easy.

Please notice that I folded the aluminum-covered paper in the middle so that it stands upright.

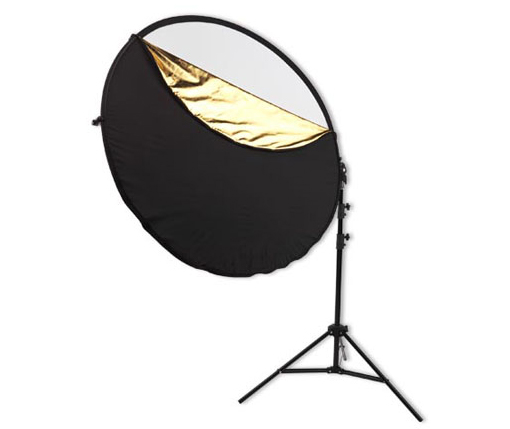
Some grown-up people use fancy looking reflectors like this one.

Since I’m not a fully grown-up person yet I had to make my own reflector.

I placed the object between the window and the reflector…

… and got this result.

No shadow!

It works!

I’m so pleased.

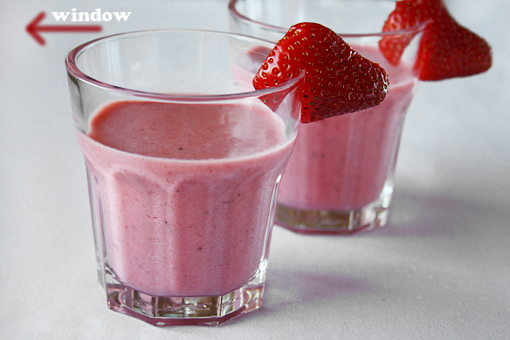
This is another example.

A picture with the window light only.

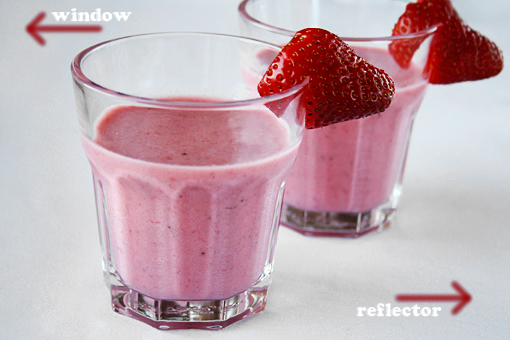
And here is one with the window light and the reflector-bounced light too.

Doesn’t the strawberry smoothie look much more appetizing this way?

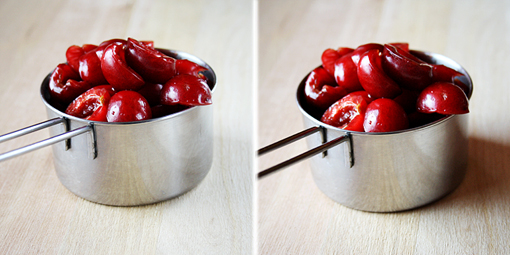
Here are the two pictures side by side for you to compare.

I hope this tip helps you in your ‘awesome-picture-making’ quest.

Now that I’ve won the fight with the shadow I can go and solve another 1200 questions I have about taking pictures.

I love that aspect of photography – there’s always something to learn and think about.

It never gets boring.

Amen.

See ya soon, dear friends.

Love,

Petra

Send this to a friend