Have you noticed?
Spring has finally arrived!
And I mean, FINALLY!!!
Actually, spring is my moooost favorite season of them all (which I always remember to note here on this little site of mine, year after year, I am sure). Enough with the winter, let’s watch the nature wake up and listen to the birds singing.
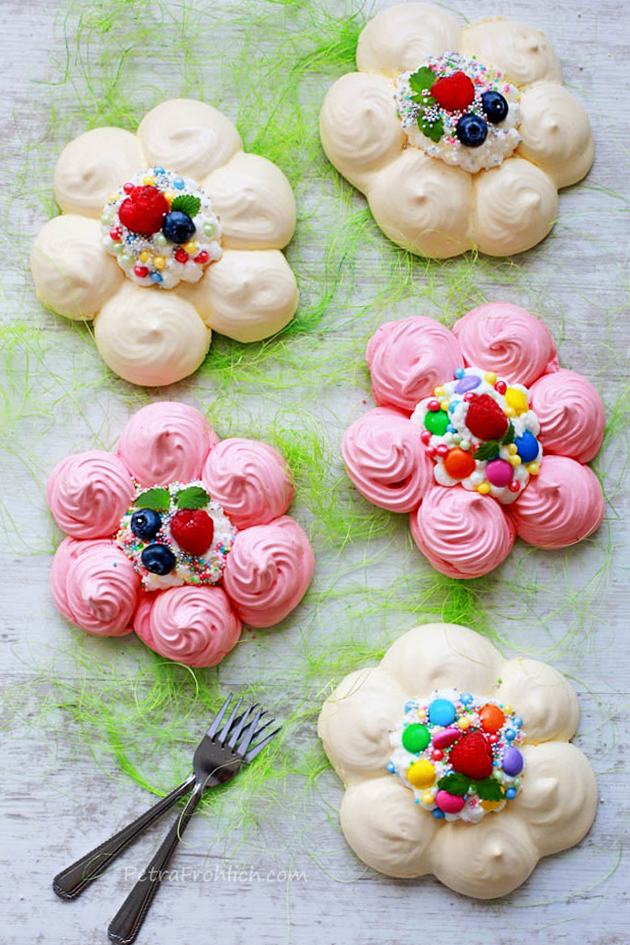
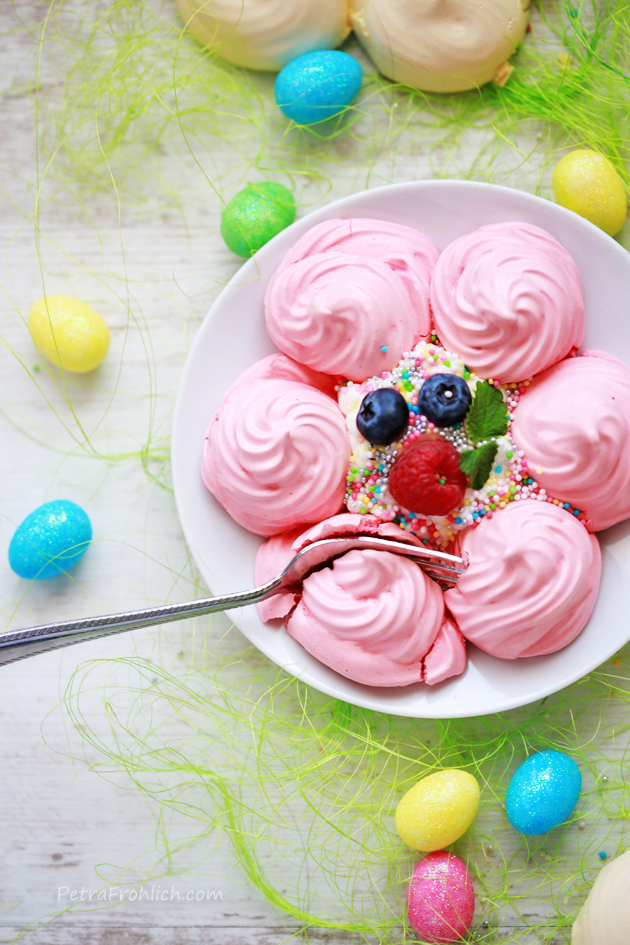
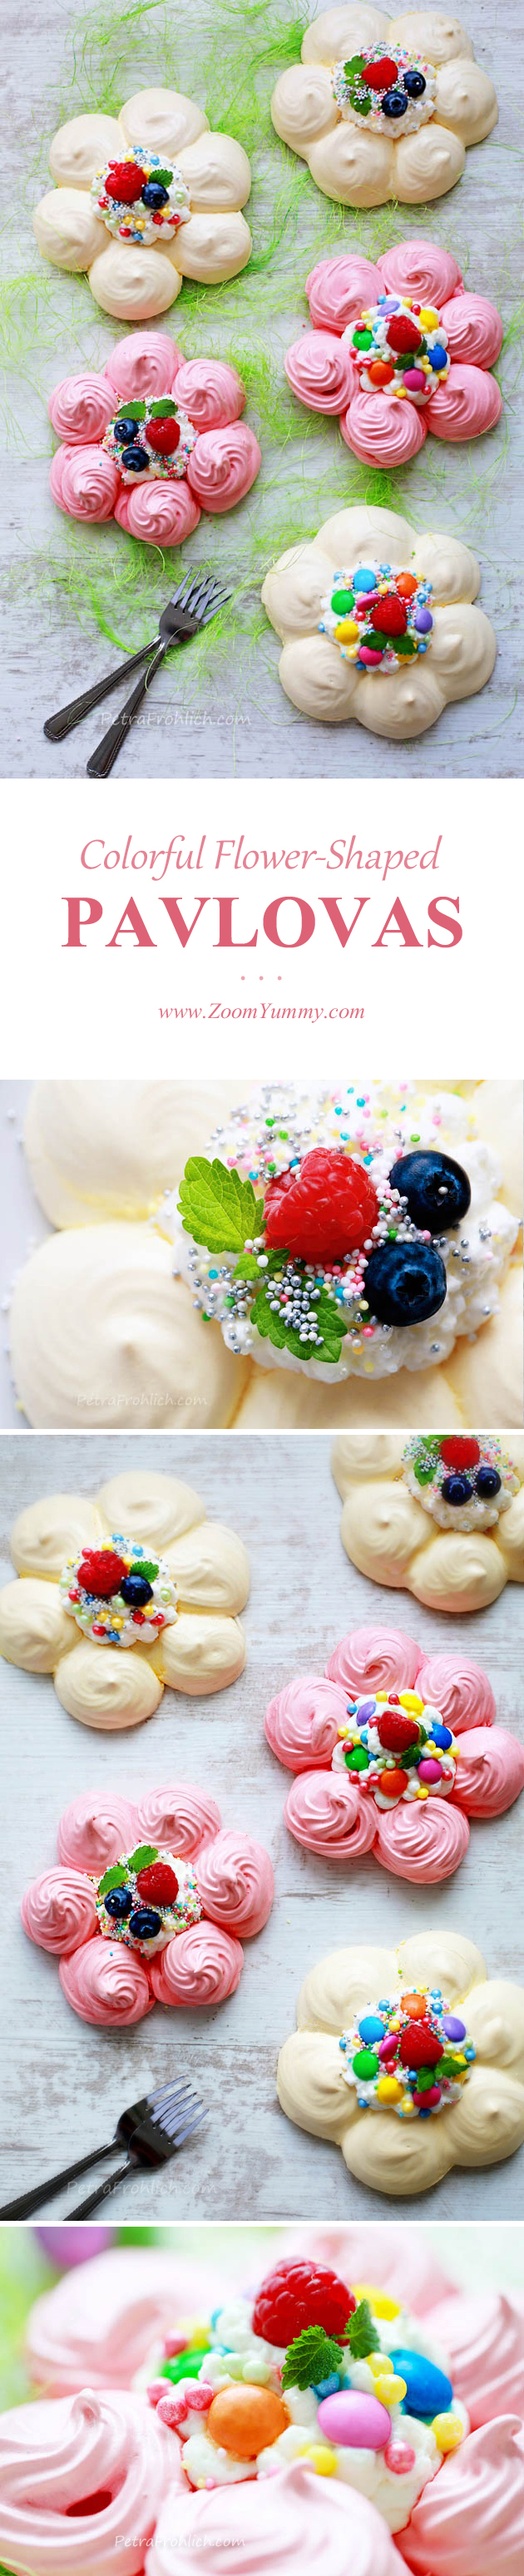
When I was thinking about what recipe to make to celebrate this amazing season, an image of flowers kept appearing in my mind. Happy flowers. Colorful flowers. MERINGUE FLOWERS!
This recipe is a fun twist on the traditional Pavlova, offering the most wonderful meringue topped with whipped cream and garnished with various pieces of fruits and candy. Truly yummy they are, these flowers.
So let the spring celebration party begin! 🙂
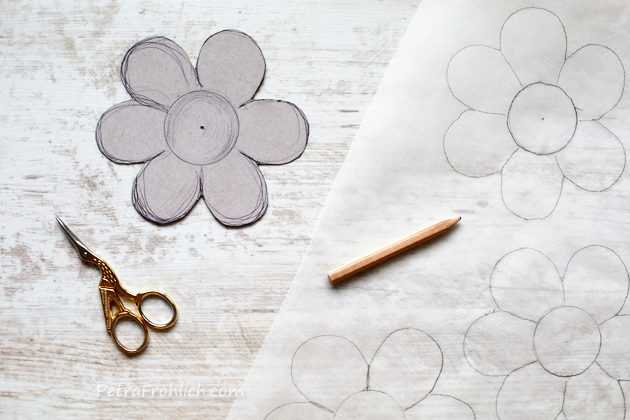
To make your flower meringues, first trace and cut out a 6-petal flower template being about 4 3/4 inches (12 cm) wide.
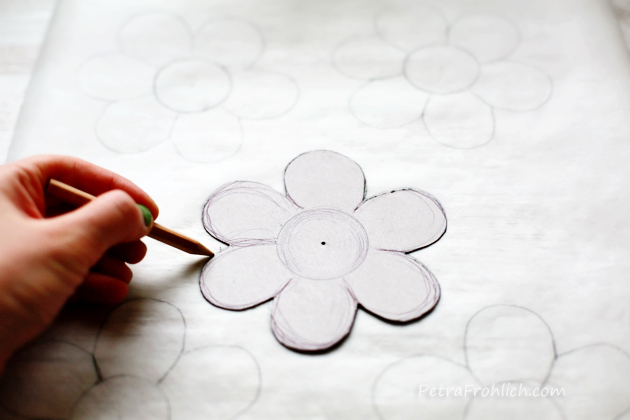
Use the template to trace the flowers on a piece of parchment paper the size of your baking sheet (leave about 1 1/2-inch – 3.5 cm space between the flowers).
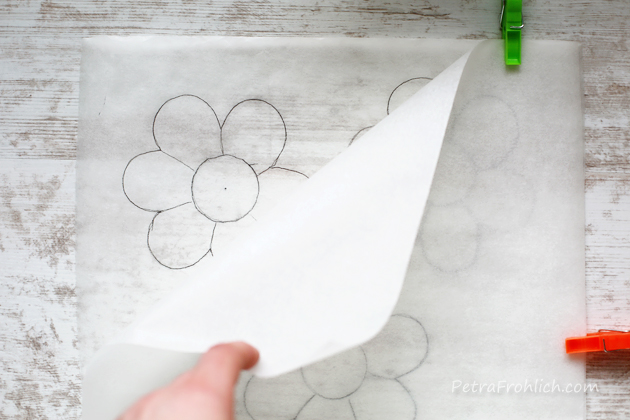
Then cover the parchment paper with another sheet of parchment of the same size – you will be able to see the flower shapes through your paper, making it easier to pipe and make even sized flowers.
Preheat the oven to 250 °F (120 °C).
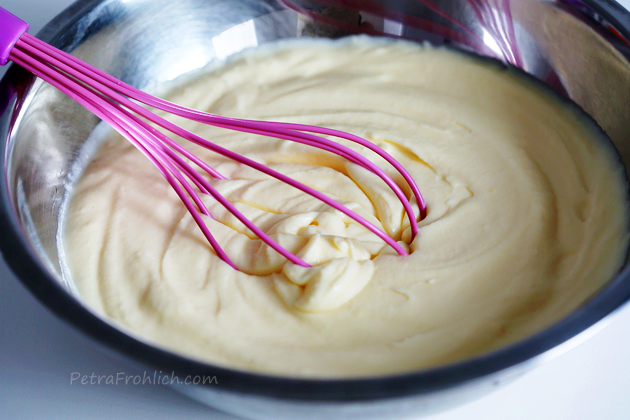
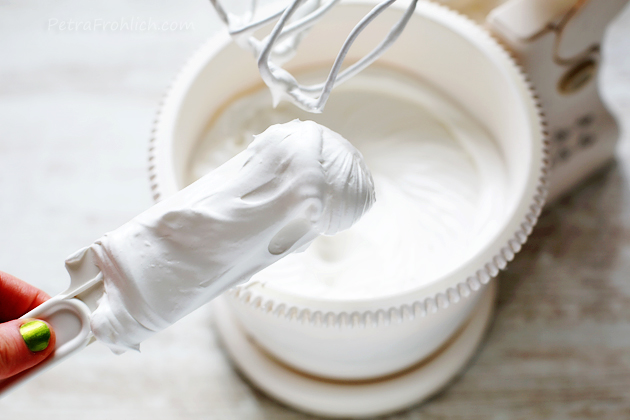
Beat the egg whites until stiff peaks form. Then add the sugar, vinegar and cornstarch and beat until stiff again.
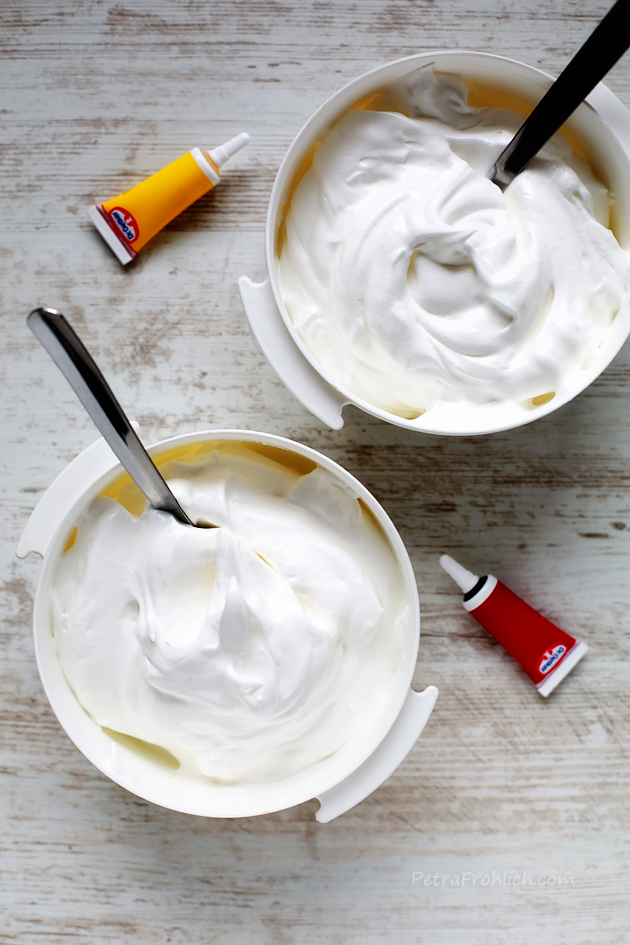
If you want to make flowers of 2 different colors just like in this recipe, then divide the egg white mixture in half.
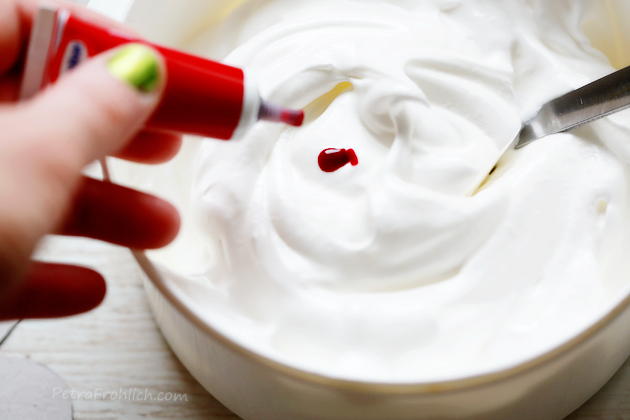
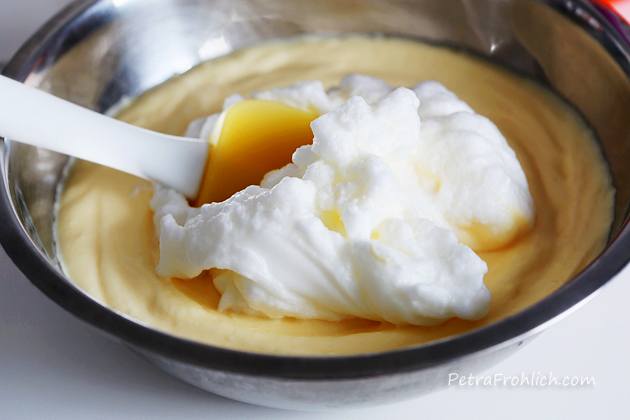
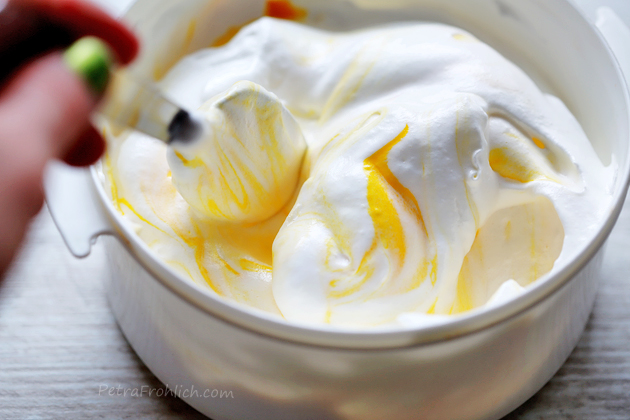
Add the desired color in each half (I used red and yellow)…
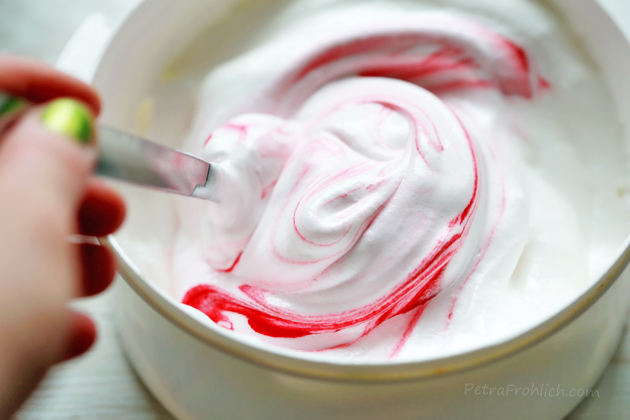
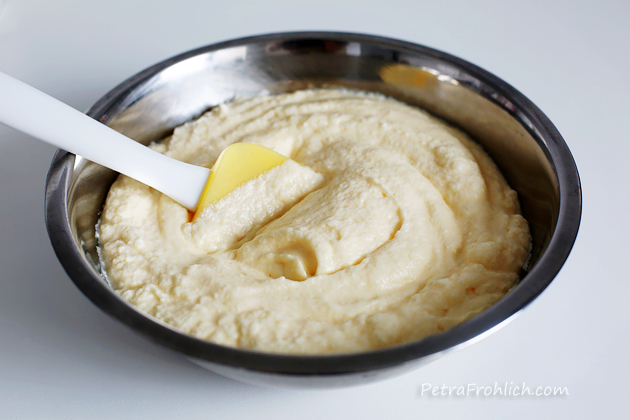
…and gently mix to combine.
Food dyes differ in their ‘strength’, so begin with a little and keep adding more until you reach the desired color shade.
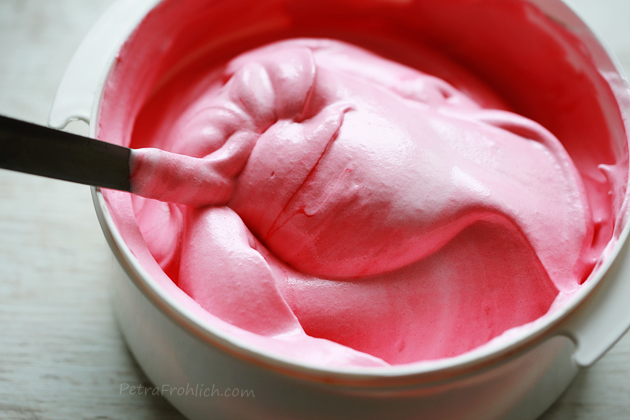
Here’s the yellow mixture in the making.
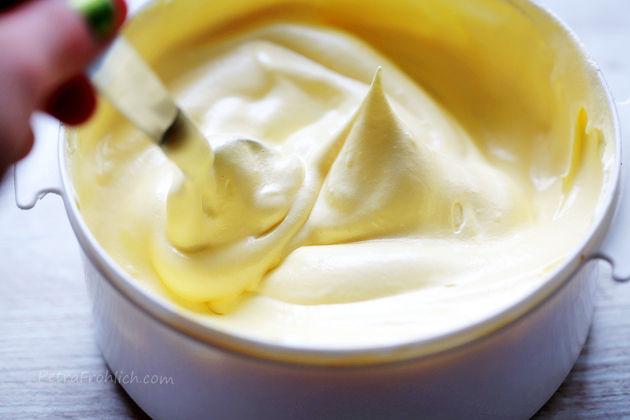
Aaaand done.
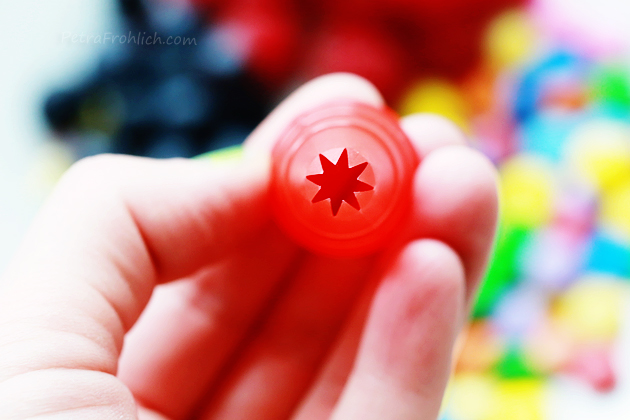
Fit a piping bag with a star-shaped tip (although a round one could work nice too).
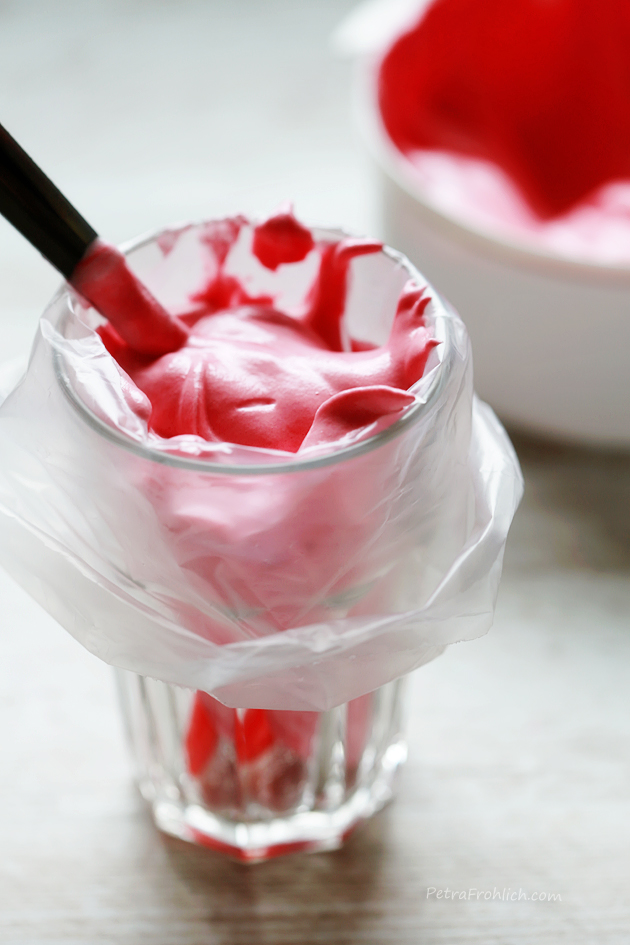
Then fill the piping bag with the mixture.

And, pipe the flowers in two layers, following the traced lines.
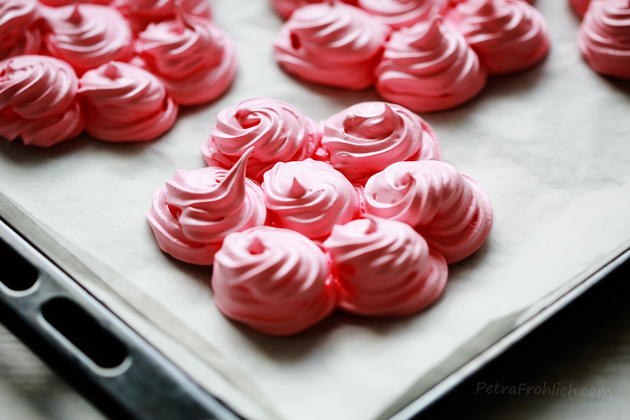
Bake at 250 °F (120 °C) for 35 minutes, then reduce the temperature to 120 °F (50 °C) and bake for 25 minutes. Turn off the oven, open the oven door slightly and leave the baking sheet in the oven for additional 15 minutes. Remove from the oven and allow to cool completely.
Some cracks might appear in the meringue, but that’s perfectly okay because that is the stage when we can start calling our flowers rustic! Haha!
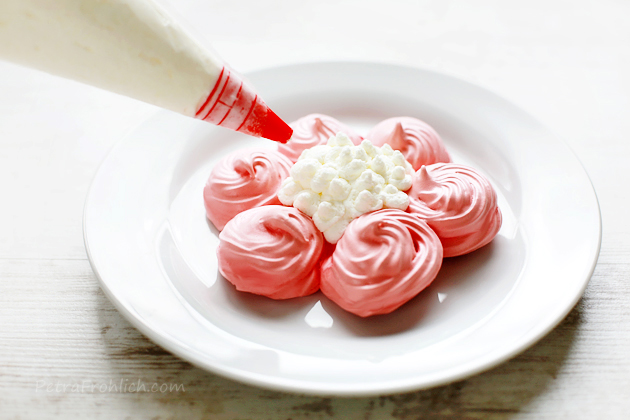
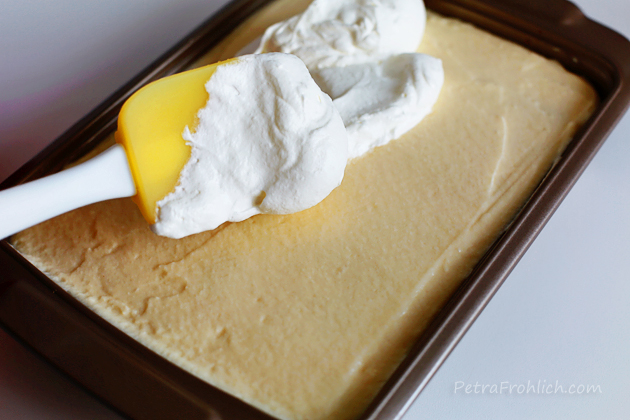
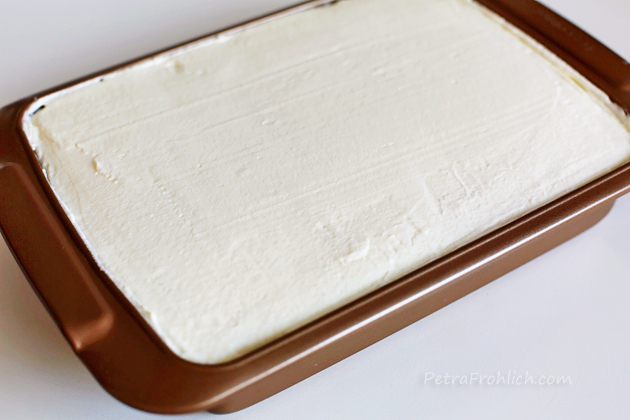
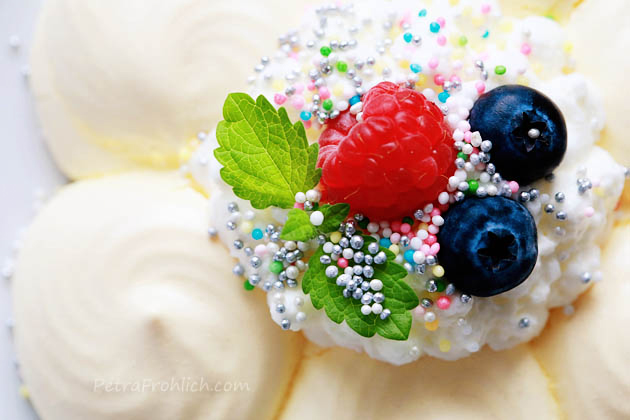
To make the flower centers, whip the cream with sugar until stiff peaks. Fit the piping bag with a round tip and pipe the whipped cream in the center of each flower (making little dots works just fine).
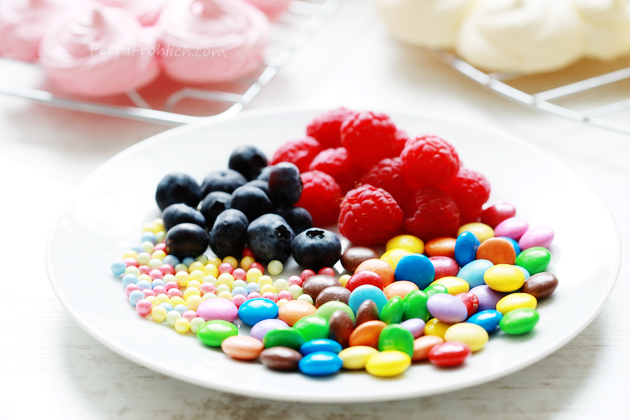
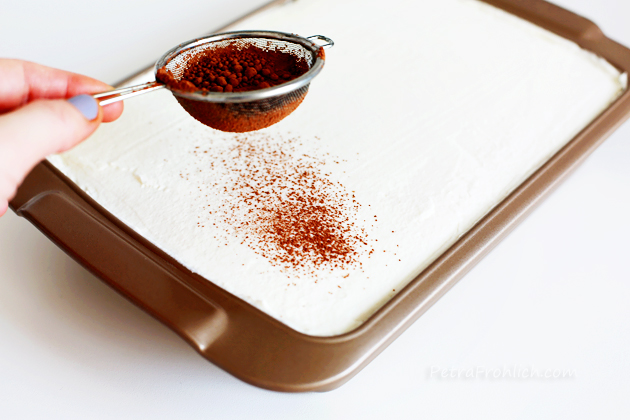
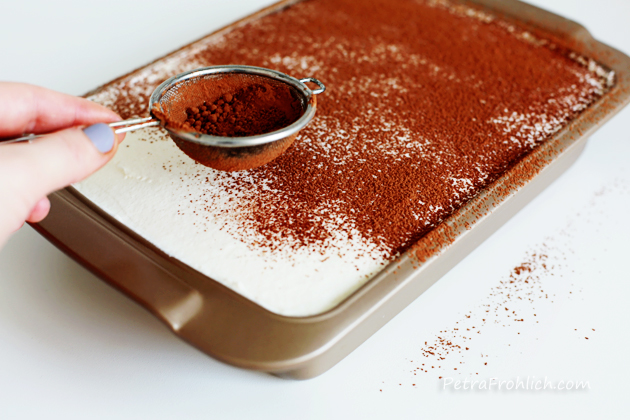
Finally, use fruit, candy, nonpareils and/or sprinkles to garnish the flower centers.
I enjoyed this part very much.
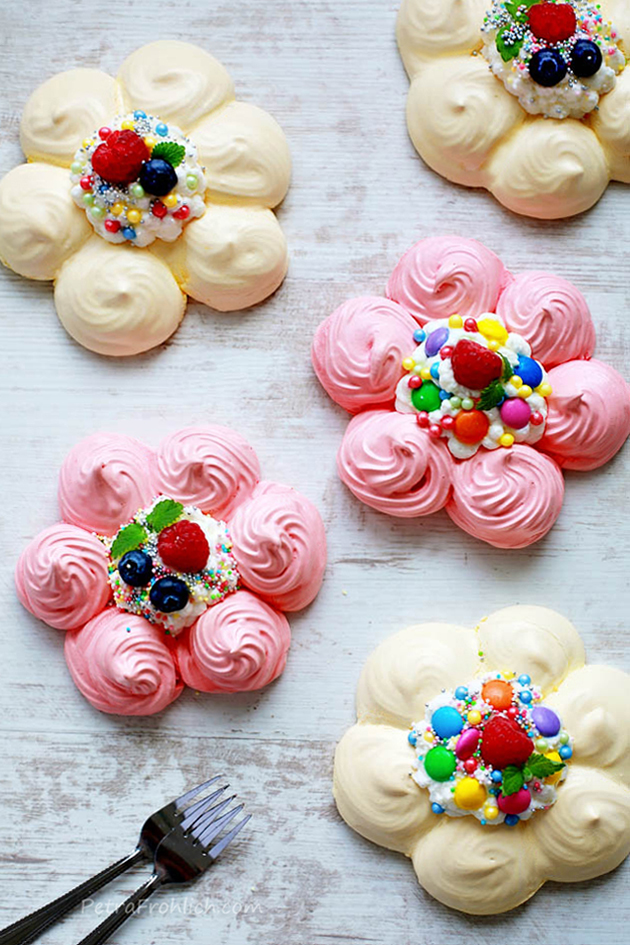
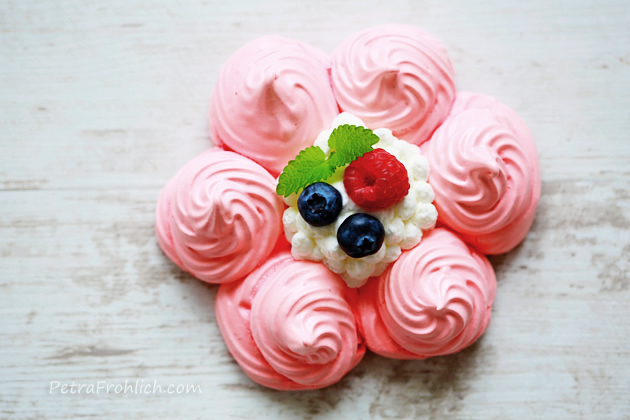
And here they are, in all their bejeweled beauty. 🙂
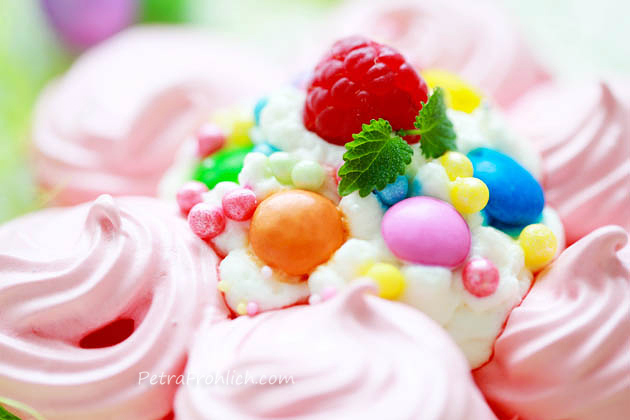
Mmm, this looks tempting, don’t you think?
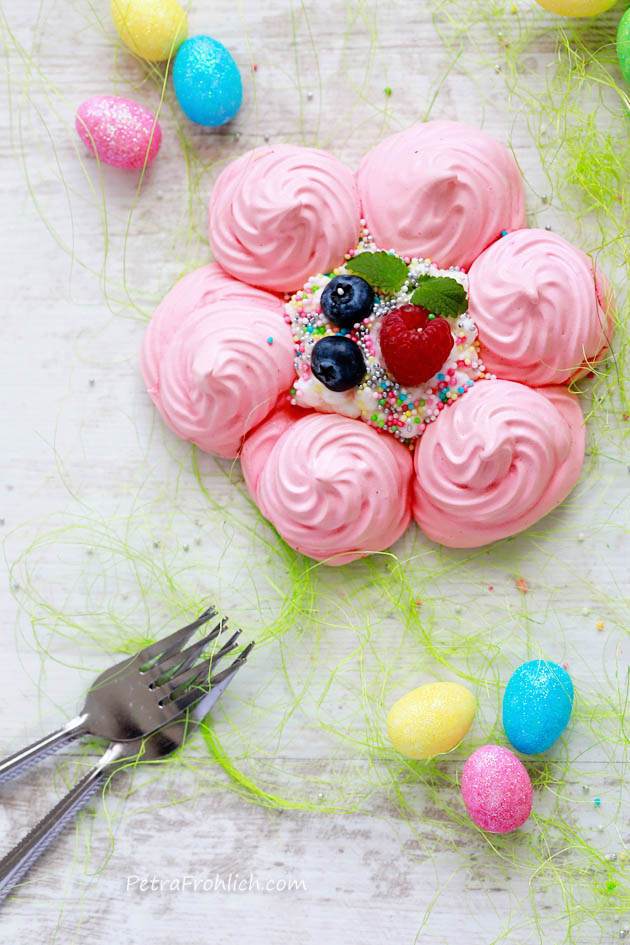
A lovely dessert to welcome the spring indeed.
Cuteness overload, if I may say so myself. 🙂
And don’t you be afraid to dig in, my friends.
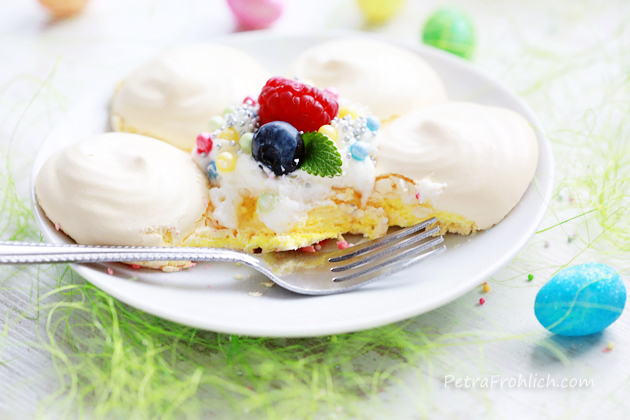
Because this dessert tastes just melt-in-your-mouth fantastic.
Enjoy!
And Happy Easter!!!
With lots of love,
Petra
- FOR MERINGUE FLOWERS:
- 6 egg whites (medium eggs)
- 3 cups (330 grams) confectioners sugar
- 1 tsp vinegar
- 3 tsp cornstarch
- food coloring (I used red and yellow)
- FOR FLOWER CENTERS:
- 1 cup (240 ml) whipping cream
- 1 tbsp confectioners sugar
- fruit and/or candy for garnish
- Trace and cut out a 6-petal flower template being about 4¾ inches (12 cm) wide. Use the template to trace the flowers on a piece of parchment paper the size of your baking sheet (leave about 1½-inch - 3.5 cm space between the flowers). Then cover the parchment paper with another sheet of parchment of the same size - you will be able to see the flower shapes through your paper, making it easier to pipe and make even sized flowers.
- Preheat the oven to 250 °F (120 °C).
- Beat the egg whites until stiff peaks form. Then add the sugar, vinegar and cornstarch and beat until stiff again.
- If you want to make flowers of 2 different colors just like in this recipe, then divide the egg white mixture in half. Add the desired color in each half (I used red and yellow) and gently mix to combine. Food colorings differ in their 'strength', so begin with a little and keep adding more until you reach the desired color shade.
- Fit a piping bag with a star-shaped tip (although a round one could work nice too). Then fill the piping bag with the egg white mixture and pipe the flowers (making two layers), following the traced lines. Keep the remaining egg white mixture in the fridge until needed.
- Bake at 250 °F (120 °C) for 35 minutes, then reduce the temperature to 120 °F (50 °C) and bake for 25 minutes. Turn off off the oven, open the oven door slightly and leave the baking sheet in the oven for additional 15 minutes. Remove from the oven and allow to cool completely.
- Whip the cream with sugar until stiff peaks. Fit the piping bag with a round tip and pipe the whipped cream in the center of each flower (making little dots works just fine). Finally garnish with fruit and/or candy.
- Repeat with the remaining egg white mixture.
- Enjoy!
(This recipe was inspired by Dr.Oetker.)
- Like
- Digg
- Del
- Tumblr
- VKontakte
- Buffer
- Love This
- Odnoklassniki
- Meneame
- Blogger
- Amazon
- Yahoo Mail
- Gmail
- AOL
- Newsvine
- HackerNews
- Evernote
- MySpace
- Mail.ru
- Viadeo
- Line
- Comments
- Yummly
- SMS
- Viber
- Telegram
- Subscribe
- Skype
- Facebook Messenger
- Kakao
- LiveJournal
- Yammer
- Edgar
- Fintel
- Mix
- Instapaper
- Copy Link