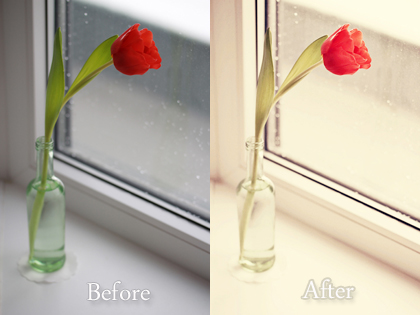
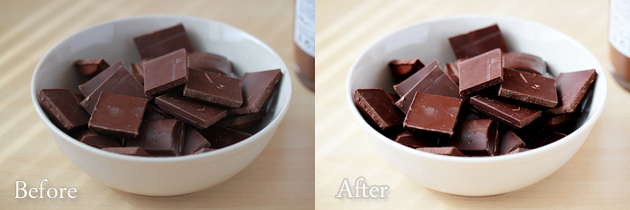
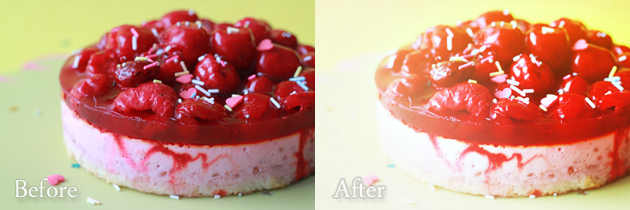
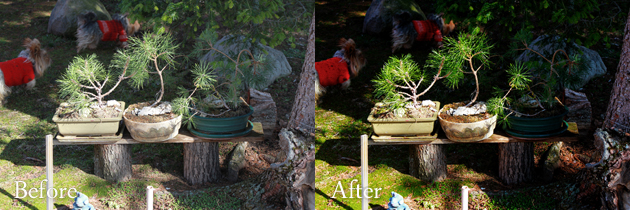
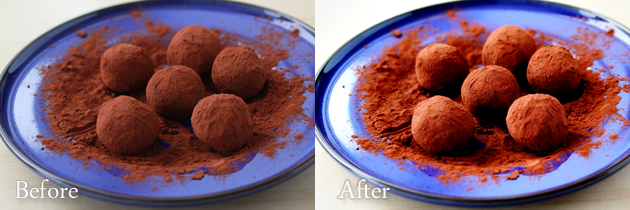
Adding golden glow to your images is a simple yet effective editing technique that allows you to bring more warmth, glow and contrast to your images.
I remembered this simple technique while editing the pictures for my latest recipe – the langos.

When I was looking at the pictures I took and compared them to reality, I thought that the delicious fried bread shown in my images was lacking a bit of the beautifully golden color that it actually possessed. The pictures were just not doing the real thing justice.
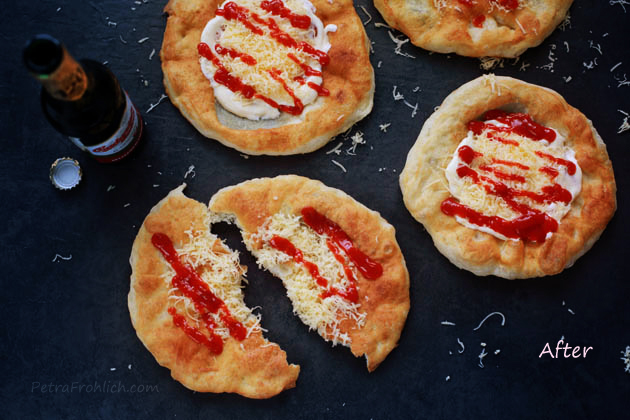
This is the image after the golden glow effect was applied.
The change is slight and rather subtle. But it did just what I was looking for – it deepened the image, added more contrast, and most importantly, it brought nice warming golden glow to my subject.
To add more glow to your pictures, just follow these simple steps.
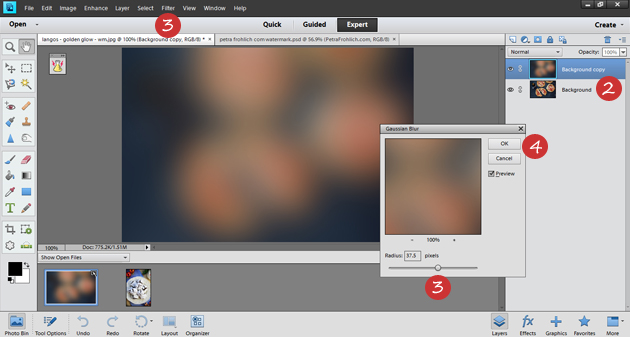
1. Open your image in Photoshop (I am using Photoshop Elements 11 here).
2. Duplicate the background layer (Ctrl + J for PC/Command + J for Mac).
3. In the top bar of your screen press Filter -> Blur -> Gaussian Blur and in the small window that pops up move the slider to choose the setting that blurs your image completely (I went up to 37.5 % for my image).
4. Press OK.
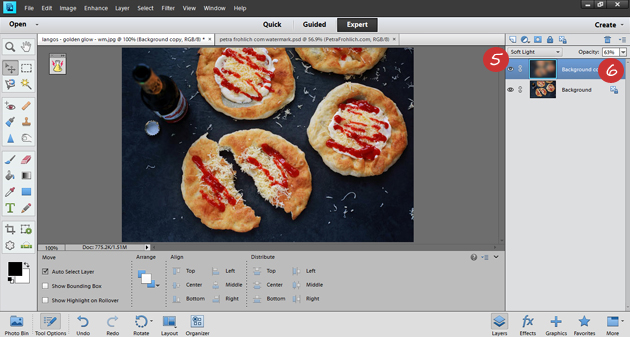
5. Change the Blending Mode to Slight Light. You can find the Blending Mode option in the upper right part of your screen, right above the open layers.
6. If you are happy with the result, just save the image. If you’d like to reduce the effect, you can use the Opacity slider to make the effect more subtle (you can find the Opacity slider in the upper right part of your screen, right above the open layers). In this particular image, I liked the result of the effect at 63 % opacity.

And that’s it! Pretty easy, right?
Enjoy your editing!
Love,
Petra
- Like
- Digg
- Del
- Tumblr
- VKontakte
- Buffer
- Love This
- Odnoklassniki
- Meneame
- Blogger
- Amazon
- Yahoo Mail
- Gmail
- AOL
- Newsvine
- HackerNews
- Evernote
- MySpace
- Mail.ru
- Viadeo
- Line
- Comments
- Yummly
- SMS
- Viber
- Telegram
- Subscribe
- Skype
- Facebook Messenger
- Kakao
- LiveJournal
- Yammer
- Edgar
- Fintel
- Mix
- Instapaper
- Copy Link