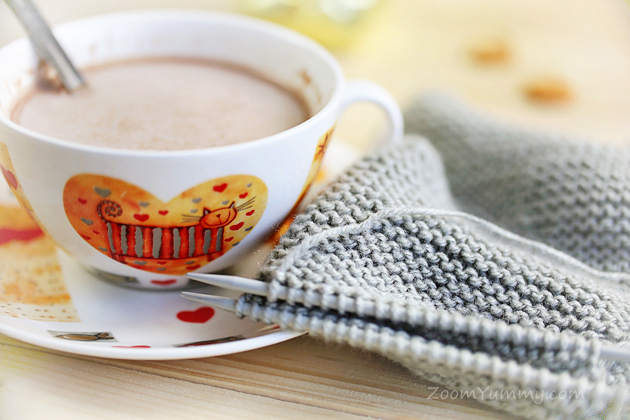
Although I show all traits of a crochet person throughout the year, I have noticed that there is a different kind of craft that allures me during the holiday season.
It’s knitting.
Sweet knitting.
I don’t really understand why this keeps happening to me, but I can see clearly that each year around Christmas I find myself working enthusiastically on a new knitting project.
Maybe it’s all about the gorgeous sound of needles at work that adds to the delightfulness of holidays and makes this time even more spectacular. Who knows…
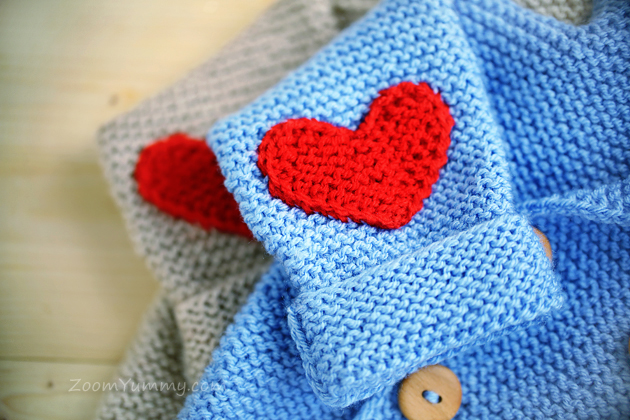
This year I am working on a special project that is making me very, very happy. I can’t wait to show you the result.
And, by the way, do you have any special craft or hobby that calls your name during the holidays? Do share!
With lots of love,
Petra
- Like
- Digg
- Del
- Tumblr
- VKontakte
- Buffer
- Love This
- Odnoklassniki
- Meneame
- Blogger
- Amazon
- Yahoo Mail
- Gmail
- AOL
- Newsvine
- HackerNews
- Evernote
- MySpace
- Mail.ru
- Viadeo
- Line
- Comments
- Yummly
- SMS
- Viber
- Telegram
- Subscribe
- Skype
- Facebook Messenger
- Kakao
- LiveJournal
- Yammer
- Edgar
- Fintel
- Mix
- Instapaper
- Copy Link