Individual desserts in a glass are my favorite go to recipes when I am looking for something quick yet impressive to serve to my guests. The possibilities are really endless here. I have personally already made cream parfaits, yogurt parfaits, individual Banoffee pies, individual peanut butter pies and some strawberry cheesecakes in a glass too. Apart from the deliciousness, I have always loved the cute factor that these little treats possess.
With that said, I just knew that my fate was sealed when I noticed a recipe for a Nutella Cheesecake in the deep waters of the internet… and here’s the rest of the story…
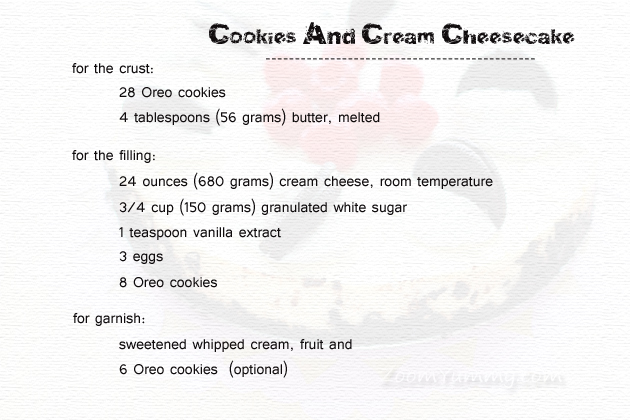
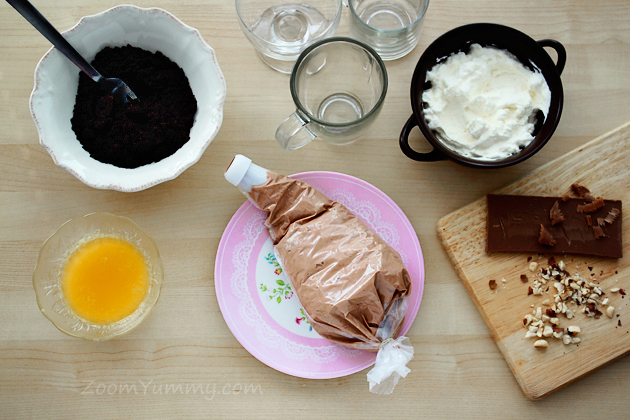
The ingredients.
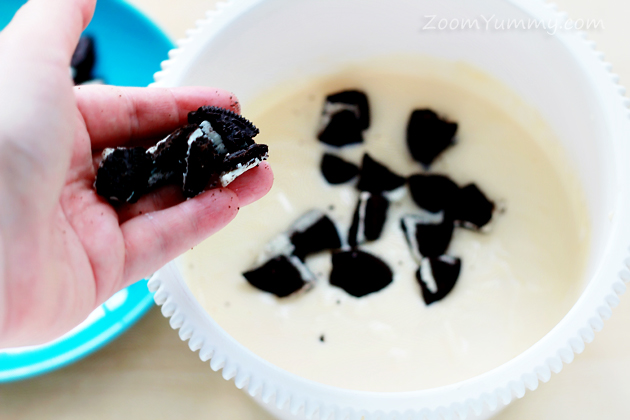
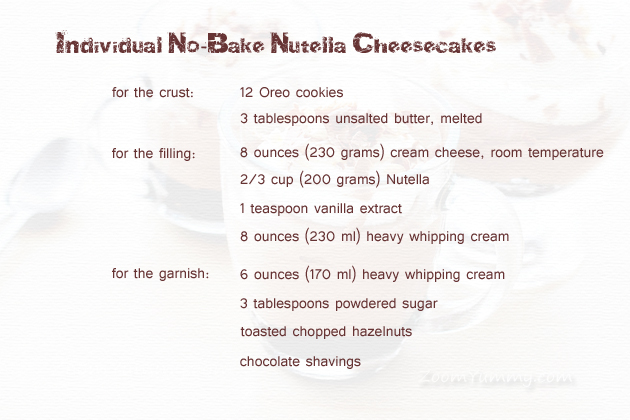
1. To make the individual Nutella cheesecakes, first use a food processor (blender or rolling pin) to crush 12 Oreo cookies into crumbs.
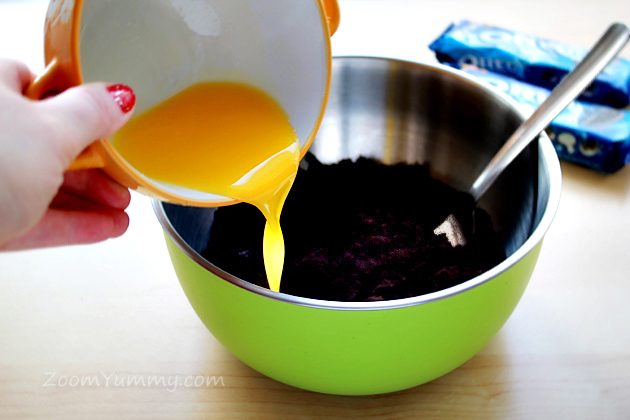
2. In a medium bowl, stir together the Oreo cookie crumbs and melted butter.
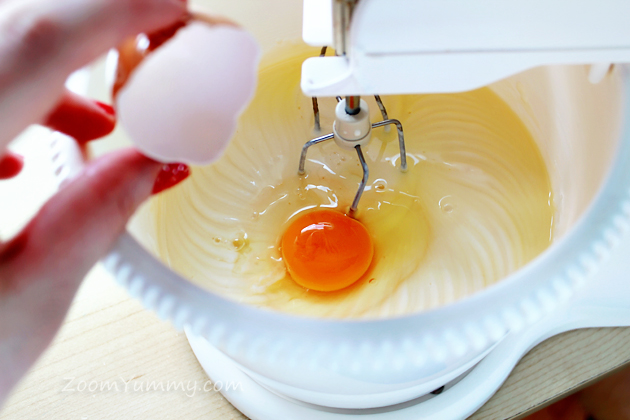
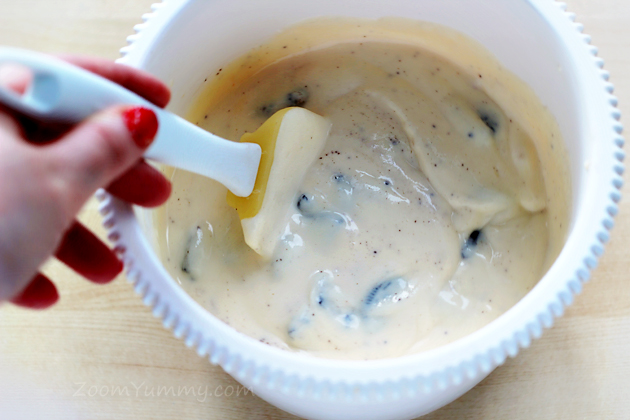
3. In a large bowl, with an electric mixer, beat the cream cheese and Nutella until smooth. Add the vanilla and mix to combine. Whip the cream (8 ounces/230 ml) and using a rubber spatula, fold the cream in the Nutella mixture until well blended and no streaks remain. Transfer the mixture to a piping bag fitted with a large round tip.
4. Whip the remaining cream with about 3 tablespoons powdered sugar to use for the garnish.
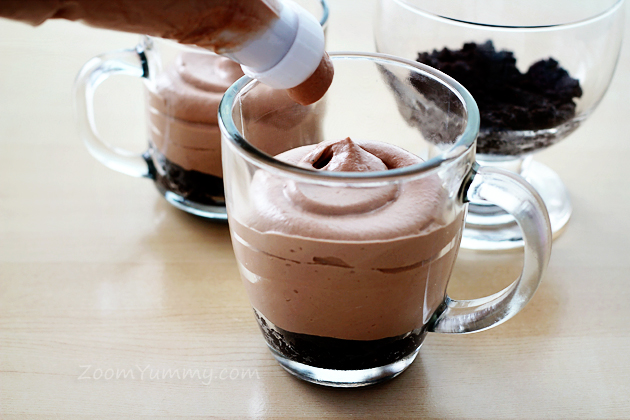
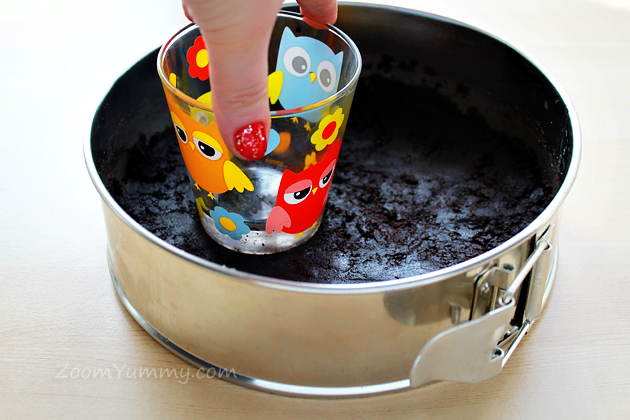
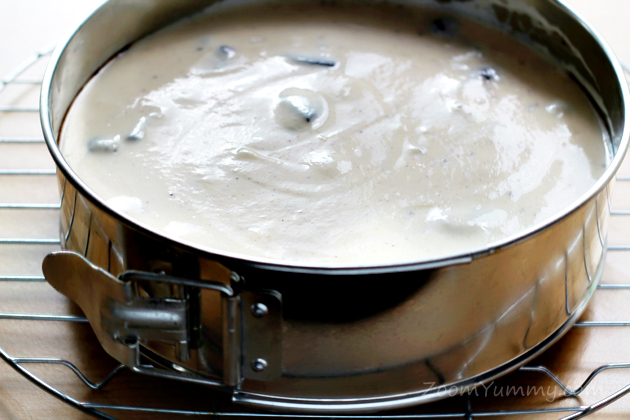
5. Evenly divide the crumbs between your individual serving dishes (I had just enough mixture for about 3 1.5-cup/300 ml glasses).
6. Evenly pipe the filling into the serving dishes.

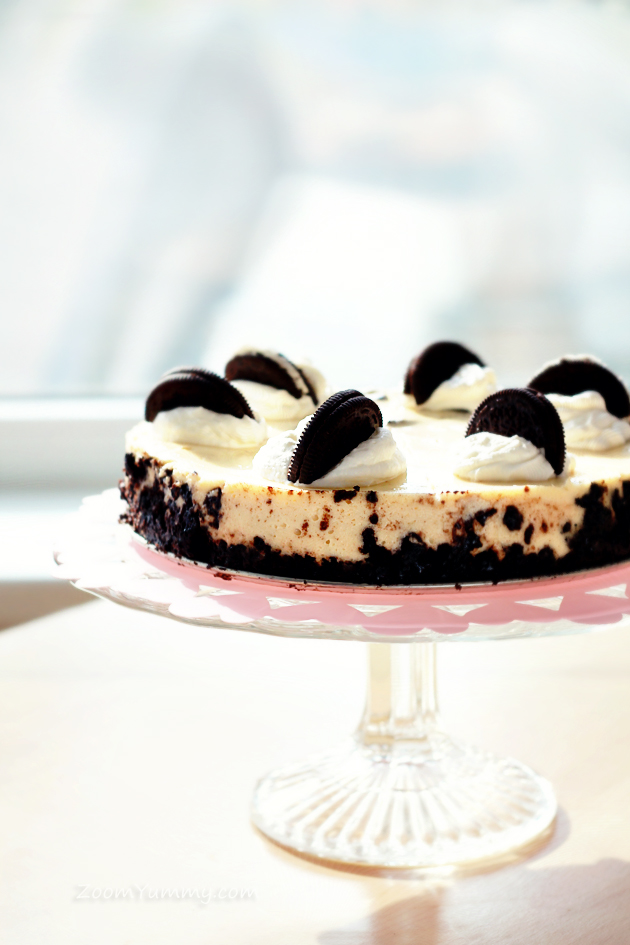
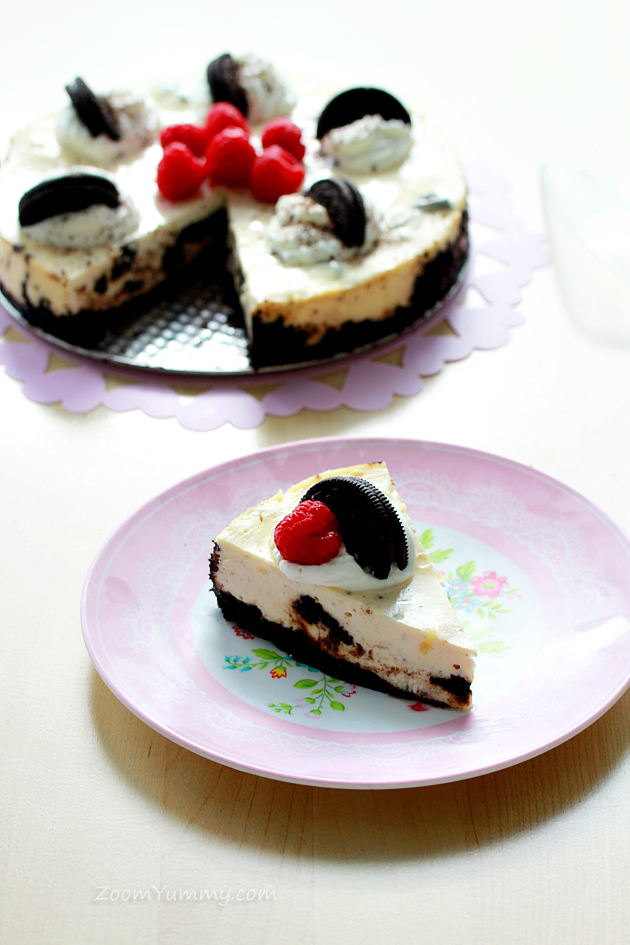
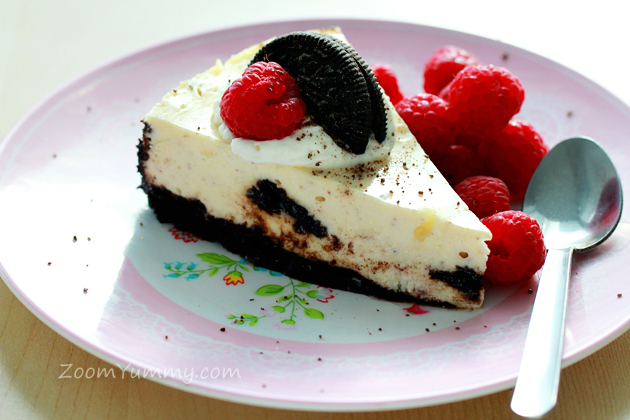
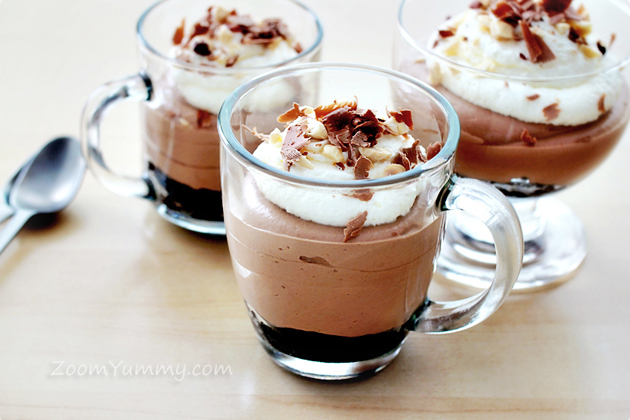
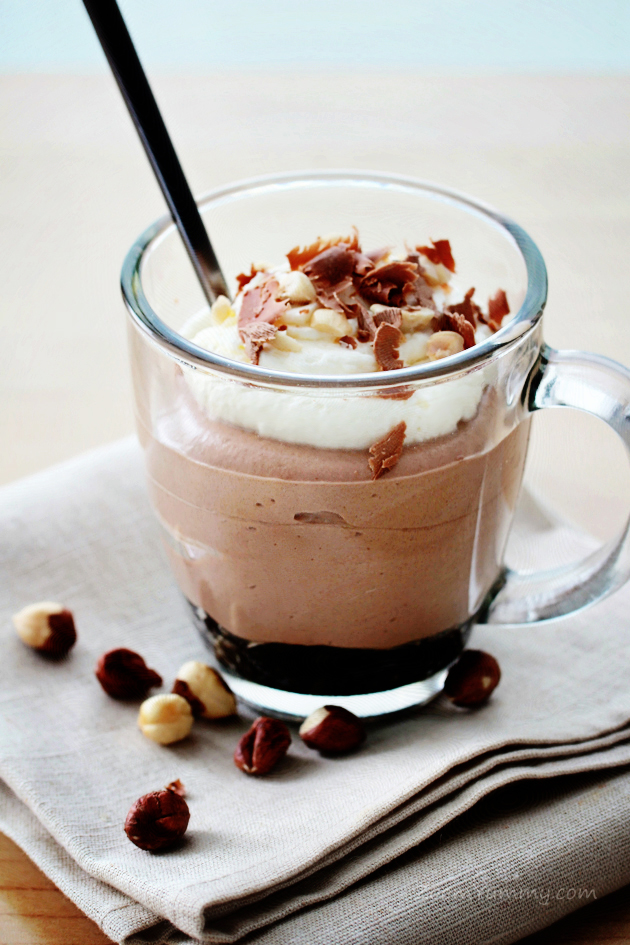
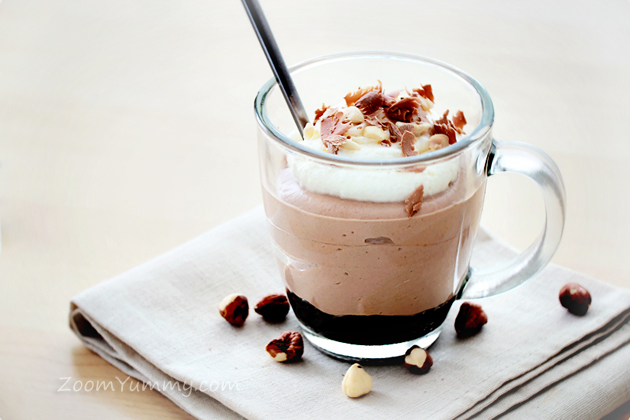
7. Garnish with with additional whipped cream, chocolate shavings and toasted, chopped hazelnuts.
8. Refrigerate for about 2 hours before serving.
And that’s it!
Mmmm!
Enjoy, dear friends!
Love,
Petra
(This lovely recipe was adapted from mybakingaddiction.com. Yield: about 3 servings.)
- Like
- Digg
- Del
- Tumblr
- VKontakte
- Buffer
- Love This
- Odnoklassniki
- Meneame
- Blogger
- Amazon
- Yahoo Mail
- Gmail
- AOL
- Newsvine
- HackerNews
- Evernote
- MySpace
- Mail.ru
- Viadeo
- Line
- Comments
- Yummly
- SMS
- Viber
- Telegram
- Subscribe
- Skype
- Facebook Messenger
- Kakao
- LiveJournal
- Yammer
- Edgar
- Fintel
- Mix
- Instapaper
- Copy Link