Breaded Cauliflower

breaded cauliflower recipe with step by step pictures

Again, my mother gets the credit for this delicious dish.

My beloved sweet Mom.

It has been a mainstay in our family ever since I can remember.

We love to eat it as a side dish but also as a light main dish served with mashed potatoes or rice.

It’s impressive how well a cauliflower can taste when nicely seasoned, breaded and fried.

This is finger-licking good, my friends!
breaded cauliflower recipe with step by step pictures

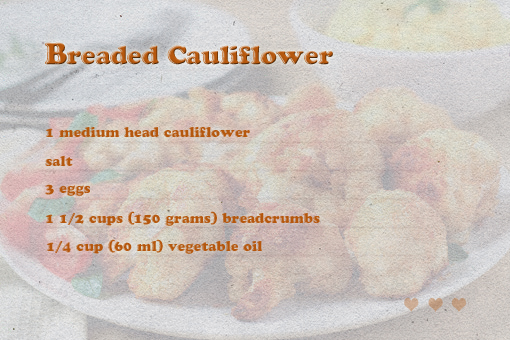
Here the list of ingredients.

Would you believe it could be so simple?
breaded cauliflower recipe with step by step pictures

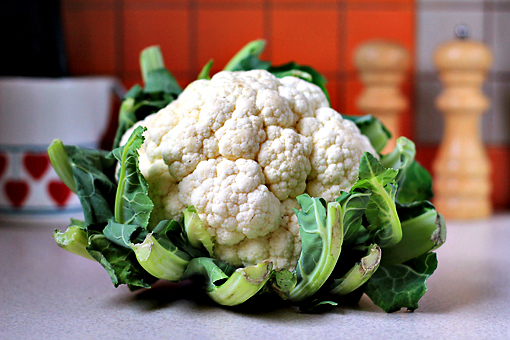
This is a cauliflower.

I am here to tell you all the important things, you know.
breaded cauliflower recipe with step by step pictures

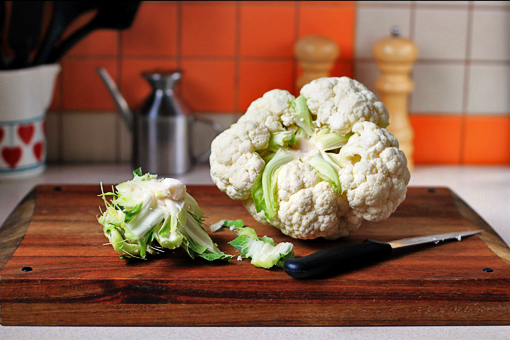
Despite their rather impenetrable-seeming appearance, cauliflowers are actually pretty easy to break down into bite-sized florets.

Here’s how I do it:

1. First, remove the green leaves and then, using a knife, remove the central stem, too.

Now your cauliflower is ready to be easily cut into individual florets.
breaded cauliflower recipe with step by step pictures

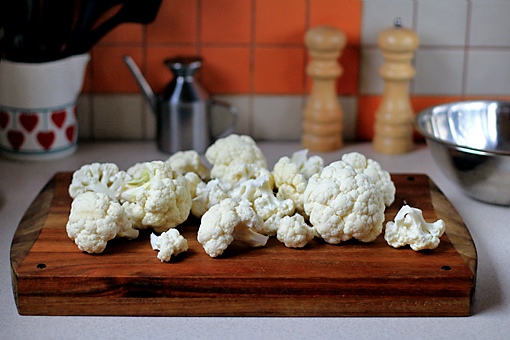
2. With your fingers, or using a knife if you want to, pull the florets apart.

In this recipe, bigger florets work better.
breaded cauliflower recipe with step by step pictures

3. Rinse the florets under cold running water.
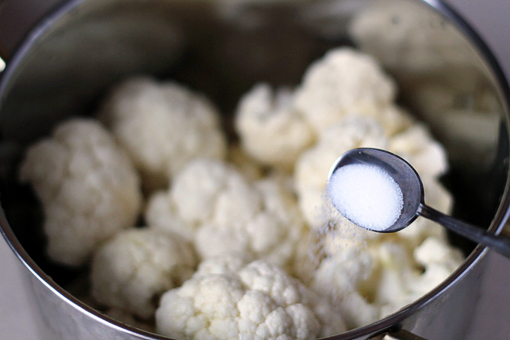
4. Then place them into a larger pot and add about 2 teaspoons of salt.
breaded cauliflower recipe with step by step pictures

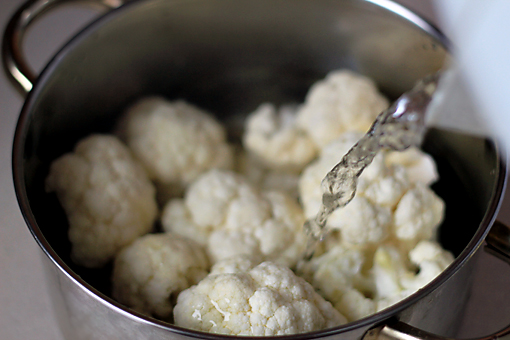
5. Pour in water – we need just enough to cover all the florets.
breaded cauliflower recipe with step by step pictures

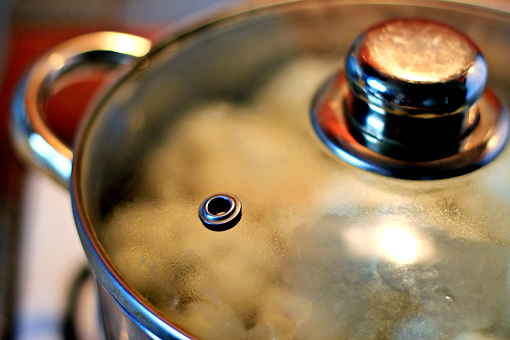
6. Cover the pot and place it over medium heat.
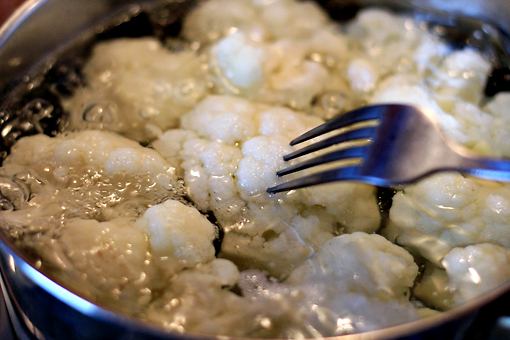
7. Bring to boil and let cook for about 15 minutes…
breaded cauliflower recipe with step by step pictures

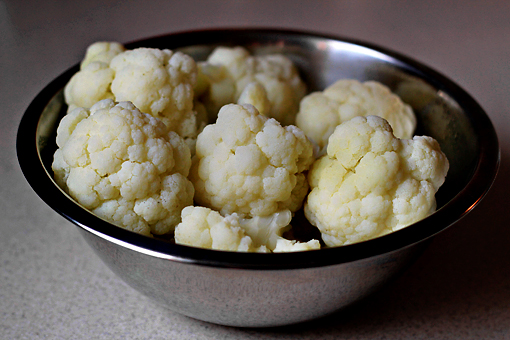
… or until tender when poked with a fork.

But not too tender. The florets should still be firm enough to hold the shape and shouldn’t fall apart. If they get too tender then it’s hard to work with them later.
breaded cauliflower recipe with step by step pictures

8. When the florets are cooked drain them and set aside.
9. Pour 1/4 cup (60 ml) of vegetable oil into a larger frying pan and preheat the oil over medium-low heat.
breaded cauliflower recipe with step by step pictures

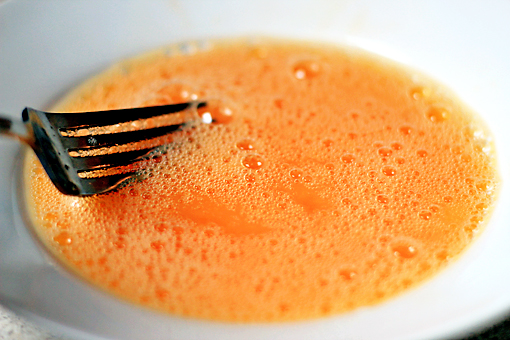
10. In a medium bowl, whisk the eggs lightly with about 1/2 teaspoon of salt.
breaded cauliflower recipe with step by step pictures

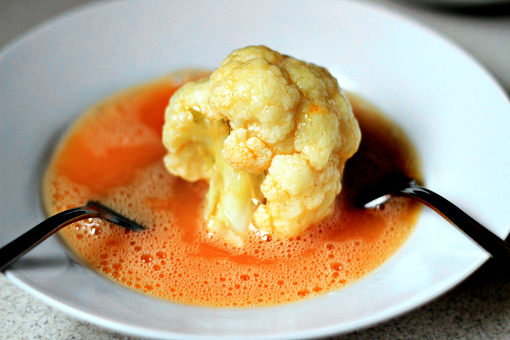
11. Working with one floret at a time, coat it with the egg.
breaded cauliflower recipe with step by step pictures

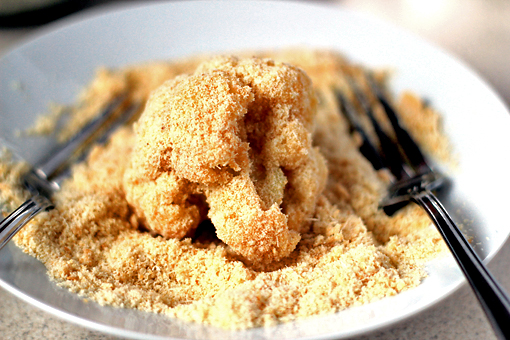
12. Then place the breadcrumbs in another bowl and roll the egg-covered floret in the breadcrumbs until nicely coated.


13. Repeat this process with all the remaining florets.
breaded cauliflower recipe with step by step pictures

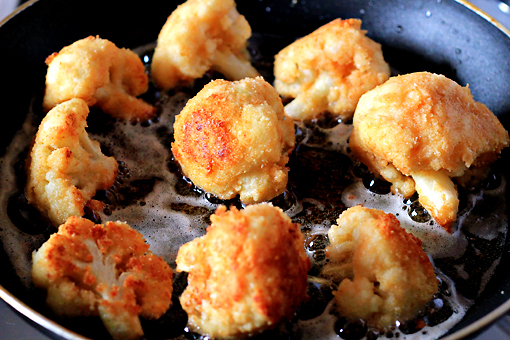
14. In batches, put the cauliflower in the preheated pan and fry it. Turn the florets so that they get golden-brown on all sides.

This process takes about 5 minutes.

breaded cauliflower recipe with step by step pictures

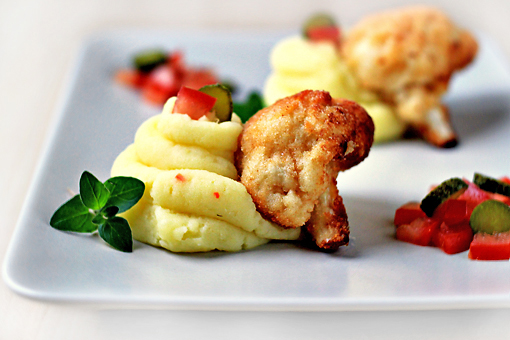
Serve as a side dish or as a main dish with mashed potatoes or rice.

Enjoy, dear friends!
This recipe yields 3-4 servings and it takes about one hour to prepare it.

Stuffed Zucchini with Vegetable Rice and Cheese

Stuffed Zucchini with Vegetable Rice and Cheese recipe with step-by-step images

Summer offers so many wonderful kinds of fruits and vegetables that I don’t even know where to look first or what to grab.

What a wonderful time of year.

I wish there was a country where they have summer all the time.

Or wait …is there a country like that?

Is there?

Then I’m moving right now!

Anyway, these days I just walk through the supermarket aisles and wait excitedly which one of the luscious beauties will speak to me first.

This time it was zucchini and – mmmm – was that a good choice. It allowed me to prepare this truly light, healthy, playful and flavorful dish.

Your body will thank you if you make it too…

Stuffed Zucchini with Vegetable Rice and Cheese recipe with step-by-step images

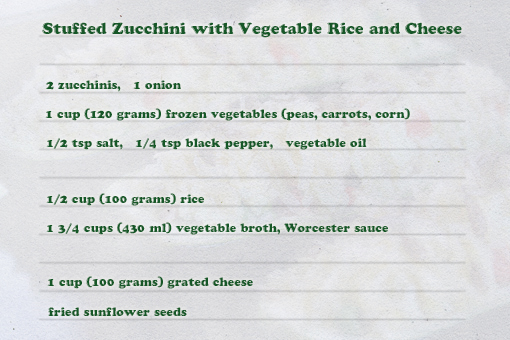
The ingredients are – as usual with me – very simple.

‘Cause I like simple…

Stuffed Zucchini with Vegetable Rice and Cheese recipe with step-by-step images

1. First, wash the zucchinis and cut them in half lengthwise.

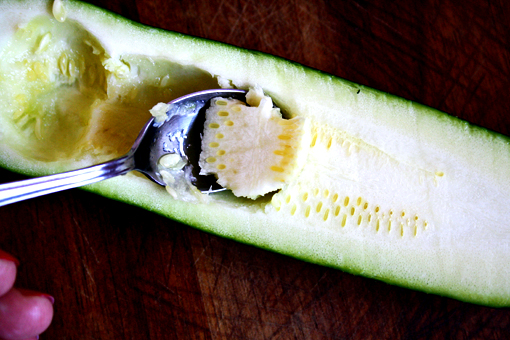
2. Then, using a spoon, scoop out the flesh and set it aside.

Stuffed Zucchini with Vegetable Rice and Cheese recipe with step-by-step images

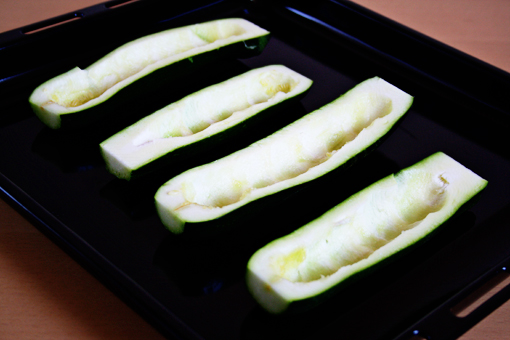
3. Place the zucchinis into a baking pan…

Stuffed Zucchini with Vegetable Rice and Cheese recipe with step-by-step images

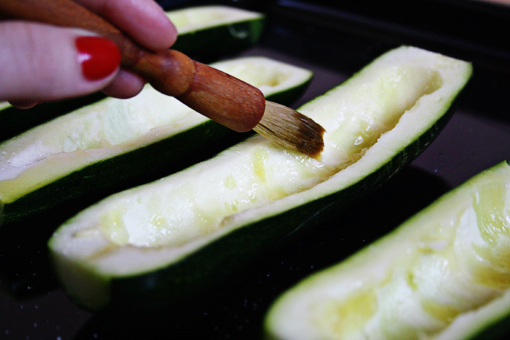
4. …sprinkle them with salt and drizzle with some vegetable oil (if you want to go super-healthy here, then use olive oil).

5. Pop the baking pan into the oven which you have preheated to 350 F (175 C) and bake for about 10 minutes only.

Stuffed Zucchini with Vegetable Rice and Cheese recipe with step-by-step images

6. In the meantime, chop the flesh you have removed from the zucchinis into little pieces.

Stuffed Zucchini with Vegetable Rice and Cheese recipe with step-by-step images

7. Peel and chop the onion.

Stuffed Zucchini with Vegetable Rice and Cheese recipe with step-by-step images

8. Drizzle a frying pan with a little oil.

9. Add the onion, the zucchini flesh, season it with 1/2 teaspoon salt and 1/4 teaspoon ground black pepper and fry, stirring constantly, for about 10 minutes.

Stuffed Zucchini with Vegetable Rice and Cheese recipe with step-by-step images

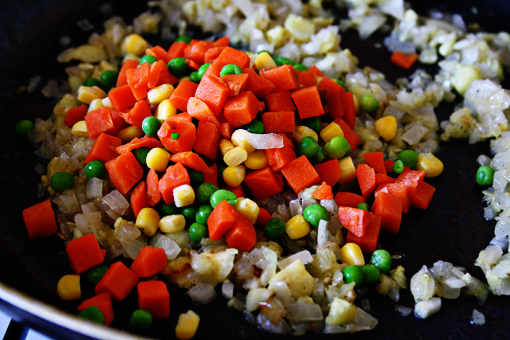
9. Then add you wonderful, colorful vegetables and fry for another 10 minutes (or until soft).

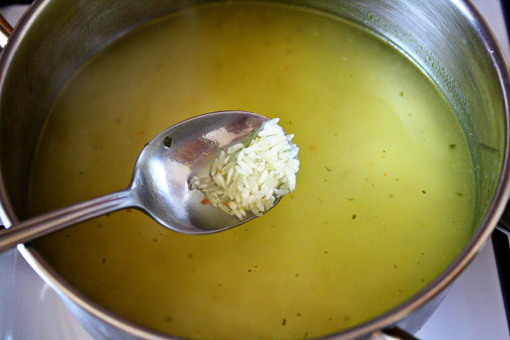
10. Cook the rice in the vegetable broth.

The picture above shows the initial stage of the rice cooking. When the rice is cooked it should have absorbed all the liquid.

Stuffed Zucchini with Vegetable Rice and Cheese recipe with step-by-step images

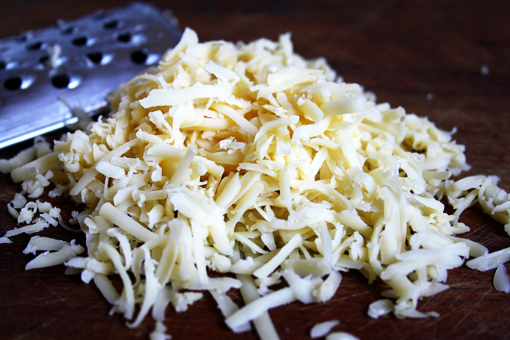
11. Grate the cheese.

I am using Edam here; you can choose any cheese that you like or have in the fridge.

Stuffed Zucchini with Vegetable Rice and Cheese recipe with step-by-step images

12. Now combine the vegetable mixture from the frying pan with the rice and 1/2 cup of the grated cheese.

You can even add a few drops of Worcester sauce – it will ‘lift’ the taste slightly and accentuate the other flavors.

Stuffed Zucchini with Vegetable Rice and Cheese recipe with step-by-step images

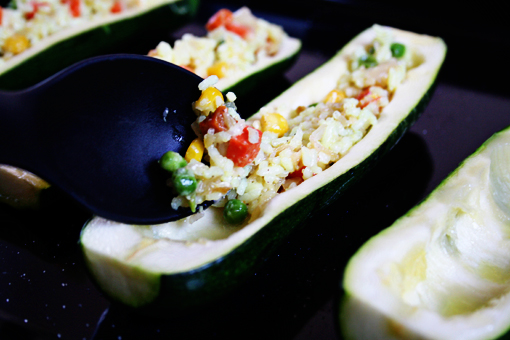
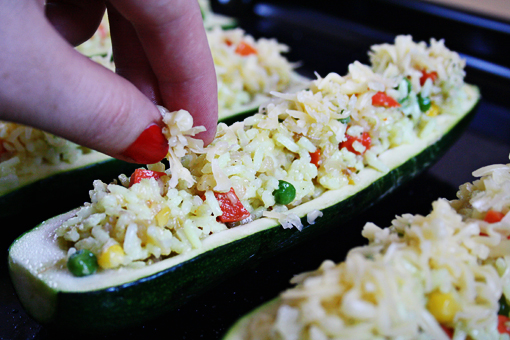
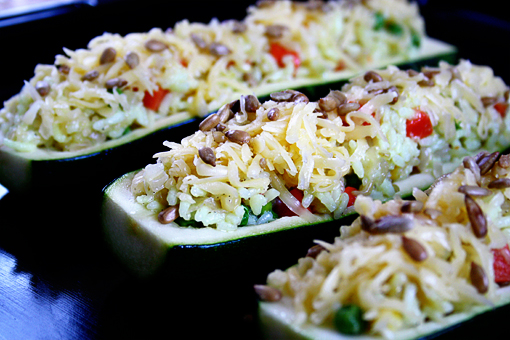
13. Stuff the zucchini halves with the rice mixture and cover the top with the rest of the grated cheese.

Stuffed Zucchini with Vegetable Rice and Cheese recipe with step-by-step images

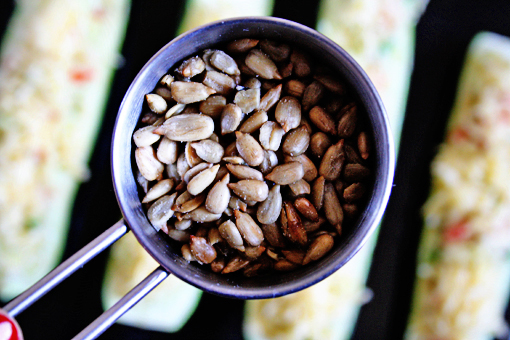
14. And now, just for kicks, sprinkle the whole thing with yummy sunflower seeds (or pumpkin seeds if you prefer those).

The seeds add an interesting and surprising twist to this dish, just try it, it’s fun…

Stuffed Zucchini with Vegetable Rice and Cheese recipe with step-by-step images

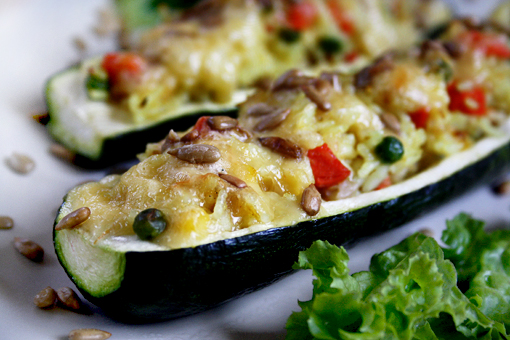
15. Put the stuffed zucchinis back into the oven and bake them at the same temperature (350 F – 175 C) for 20-25 minutes.

Stuffed Zucchini with Vegetable Rice and Cheese recipe with step-by-step images

It’s delicious, I’m telling you.

A scrumptious, light summer dish.

Yum!

Enjoy, dear friends.

(This recipe makes 2 portions.)

Send this to a friend