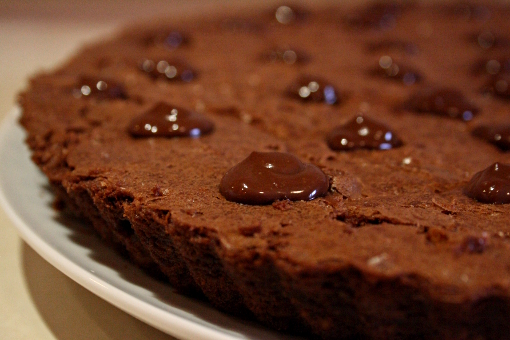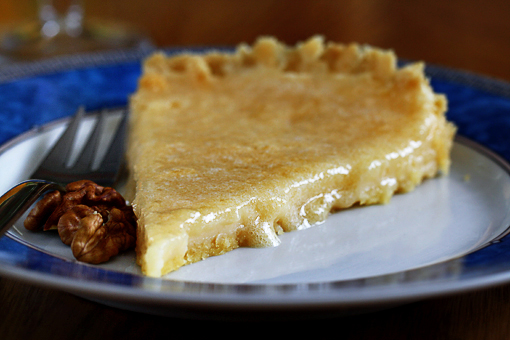
Well, this might be the most interesting thing I’ve ever baked.
I’d describe it as decadent, fascinating and delicious.
The combination of a mildly sweet pie crust and a rather strong lemony filling will not allow you to stay indifferent to this tart.
You’ll either love it or…you’ll love it even more.
The taste is definitely intense, but very impressive, delicious and refreshing – especially to all the lemon lovers out there.
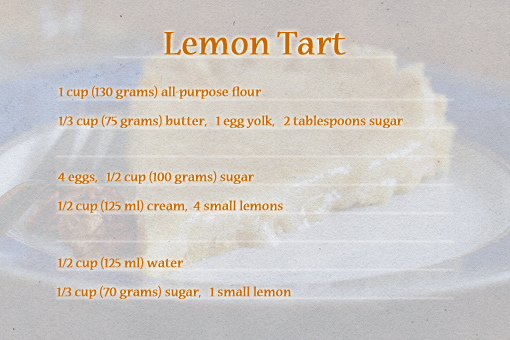
This is what you need to prepare this yummy treat.
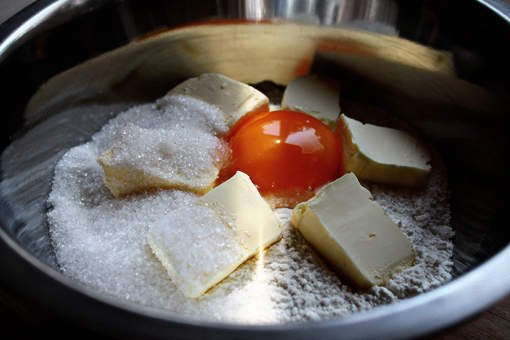
1. First, we are going to use the flour, butter, egg yolk and the sugar (2 tablespoons).
Place all these ingredients in a medium bowl and with your hand, first combine them and then knead until you have a nice dough ball.
But don’t you work too much at this point, dear friends – I mean, don’t overwork the dough since pie crusts don’t like it, they want to remain flaky after baking.
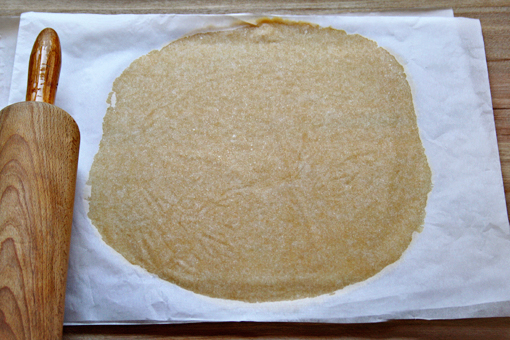
2. Now, place the dough ball between 2 sheets of parchment paper and roll it out into an 11 – 12 inch (28 – 30 cm) circle.
Wow, this rolling between two papers, that’s something. I definitely recommend it if you want to make you life easier.
So much easier. It’s a pleasure to work this way. No sticking to the working surface whatsoever – you can forever forget that.
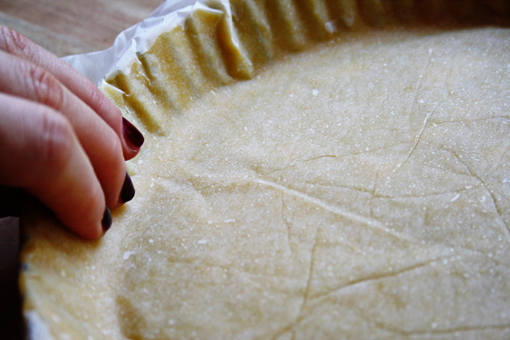
3. Have ready an 8 – 9 inch (20 – 23 cm) tart pan (with removable bottom, preferably, though I didn’t use that).
Spray the pan with a little oil.
Remove the top paper from the rolled out dough and invert the dough into the pan (along with the remaining paper that will end up being on top now).
Lightly press the pastry into the bottom and up the sides of the tart pan.
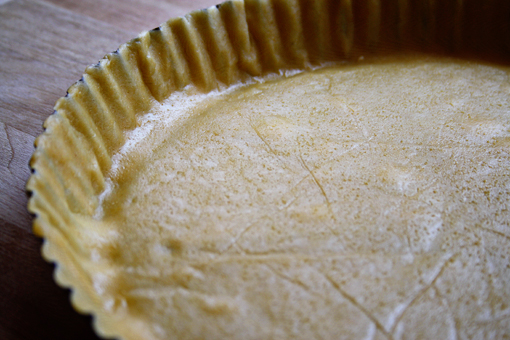
4. Remove the paper…
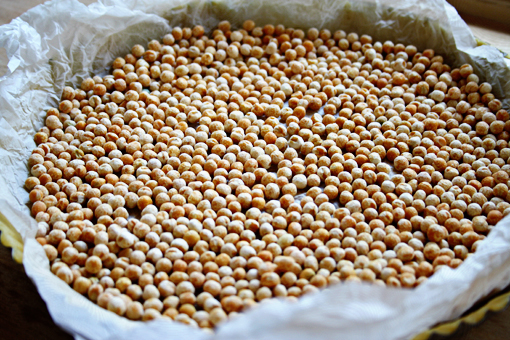
…only to crumple it and lay it out over the pastry again. Fill the paper with pie weights or just dried beans or peas.
Pop into the oven and bake at 375 F (190 C) for about 9 minutes, then remove the paper along with the weights and bake for another 5 minutes.
Remove from the oven and reduce the oven temperature to only 300 F (150 C).
Yeah, we are blind-baking (or pre-baking) here. This process keeps the unfilled pie crust from puffing up in the oven or becoming too soggy when the tart gets filled and baked.

5. Meanwhile we can prepare the filling for our tart.
Squeeze the juice out of four small lemons.
Make sure the juice contains no seeds – we don’t want this kind of surprise in the tart. Unless we wanted that, for some reason…
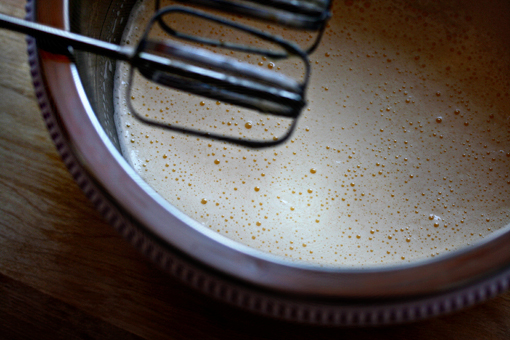
6. In the bowl of you electric mixer mix the eggs with the sugar (1/2 cup – 100 grams) for about 5 minutes or until smooth, fluffy and almost white in color.
Then add the cream and the lemon juice and mix again shortly.
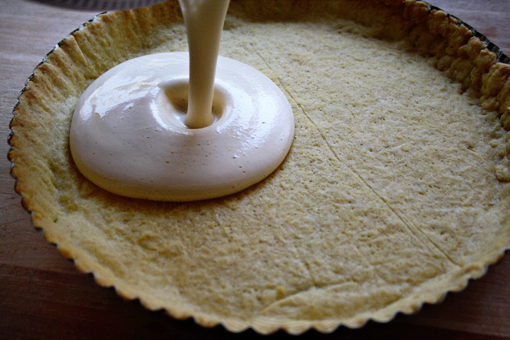
7. Fill the crust with the filling and bake at 300 F (150 C) for about 40 minutes or until the filling doesn’t wobble.
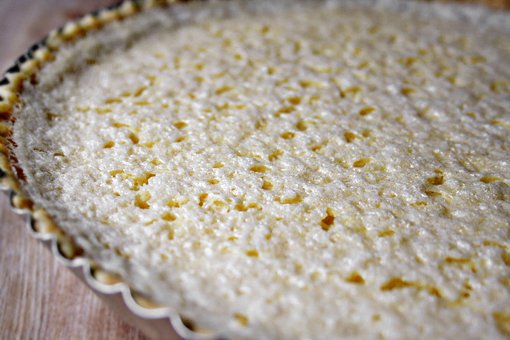
8. Remove from the oven and let cool on the wire rack.
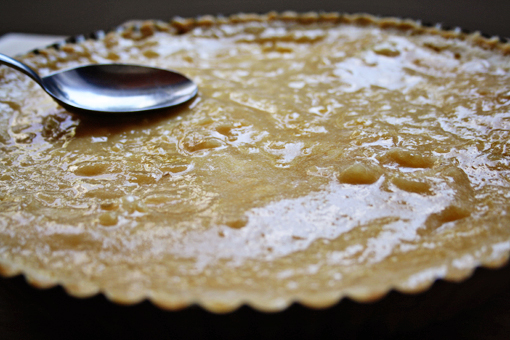
9. We are going to cover the whole tart with a nice lemony and syrupy glaze.
To prepare the syrup, pour the water and sugar (1/3 cup – 70 grams) into a saucepan. Place the saucepan over medium-low heat and heat the mixture up.
Peel the remaining lemon and slice it into thin rounds. Add the lemon rounds into the saucepan and let the mixture cook for about 15 minutes, stirring every now and then.
Then pour the mixture over the tart and spread it evenly.
And that’s it.
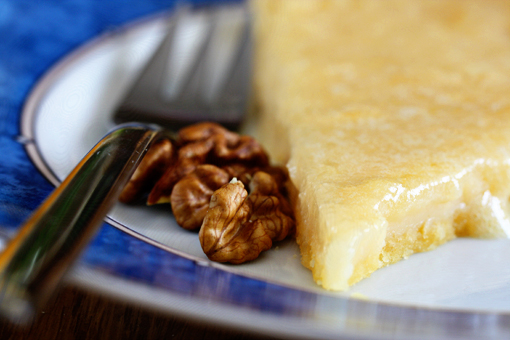
Mmmmmm…

Yummy!
I recommend chilling the tart before serving.
Also, store it in the refrigerator.
Enjoy, dear friends.
- Like
- Digg
- Del
- Tumblr
- VKontakte
- Buffer
- Love This
- Odnoklassniki
- Meneame
- Blogger
- Amazon
- Yahoo Mail
- Gmail
- AOL
- Newsvine
- HackerNews
- Evernote
- MySpace
- Mail.ru
- Viadeo
- Line
- Comments
- Yummly
- SMS
- Viber
- Telegram
- Subscribe
- Skype
- Facebook Messenger
- Kakao
- LiveJournal
- Yammer
- Edgar
- Fintel
- Mix
- Instapaper
- Copy Link


