How to Knit a Twisted Headband

how to knit a twisted headband

Hi dear friends! I hope you are doing fine!

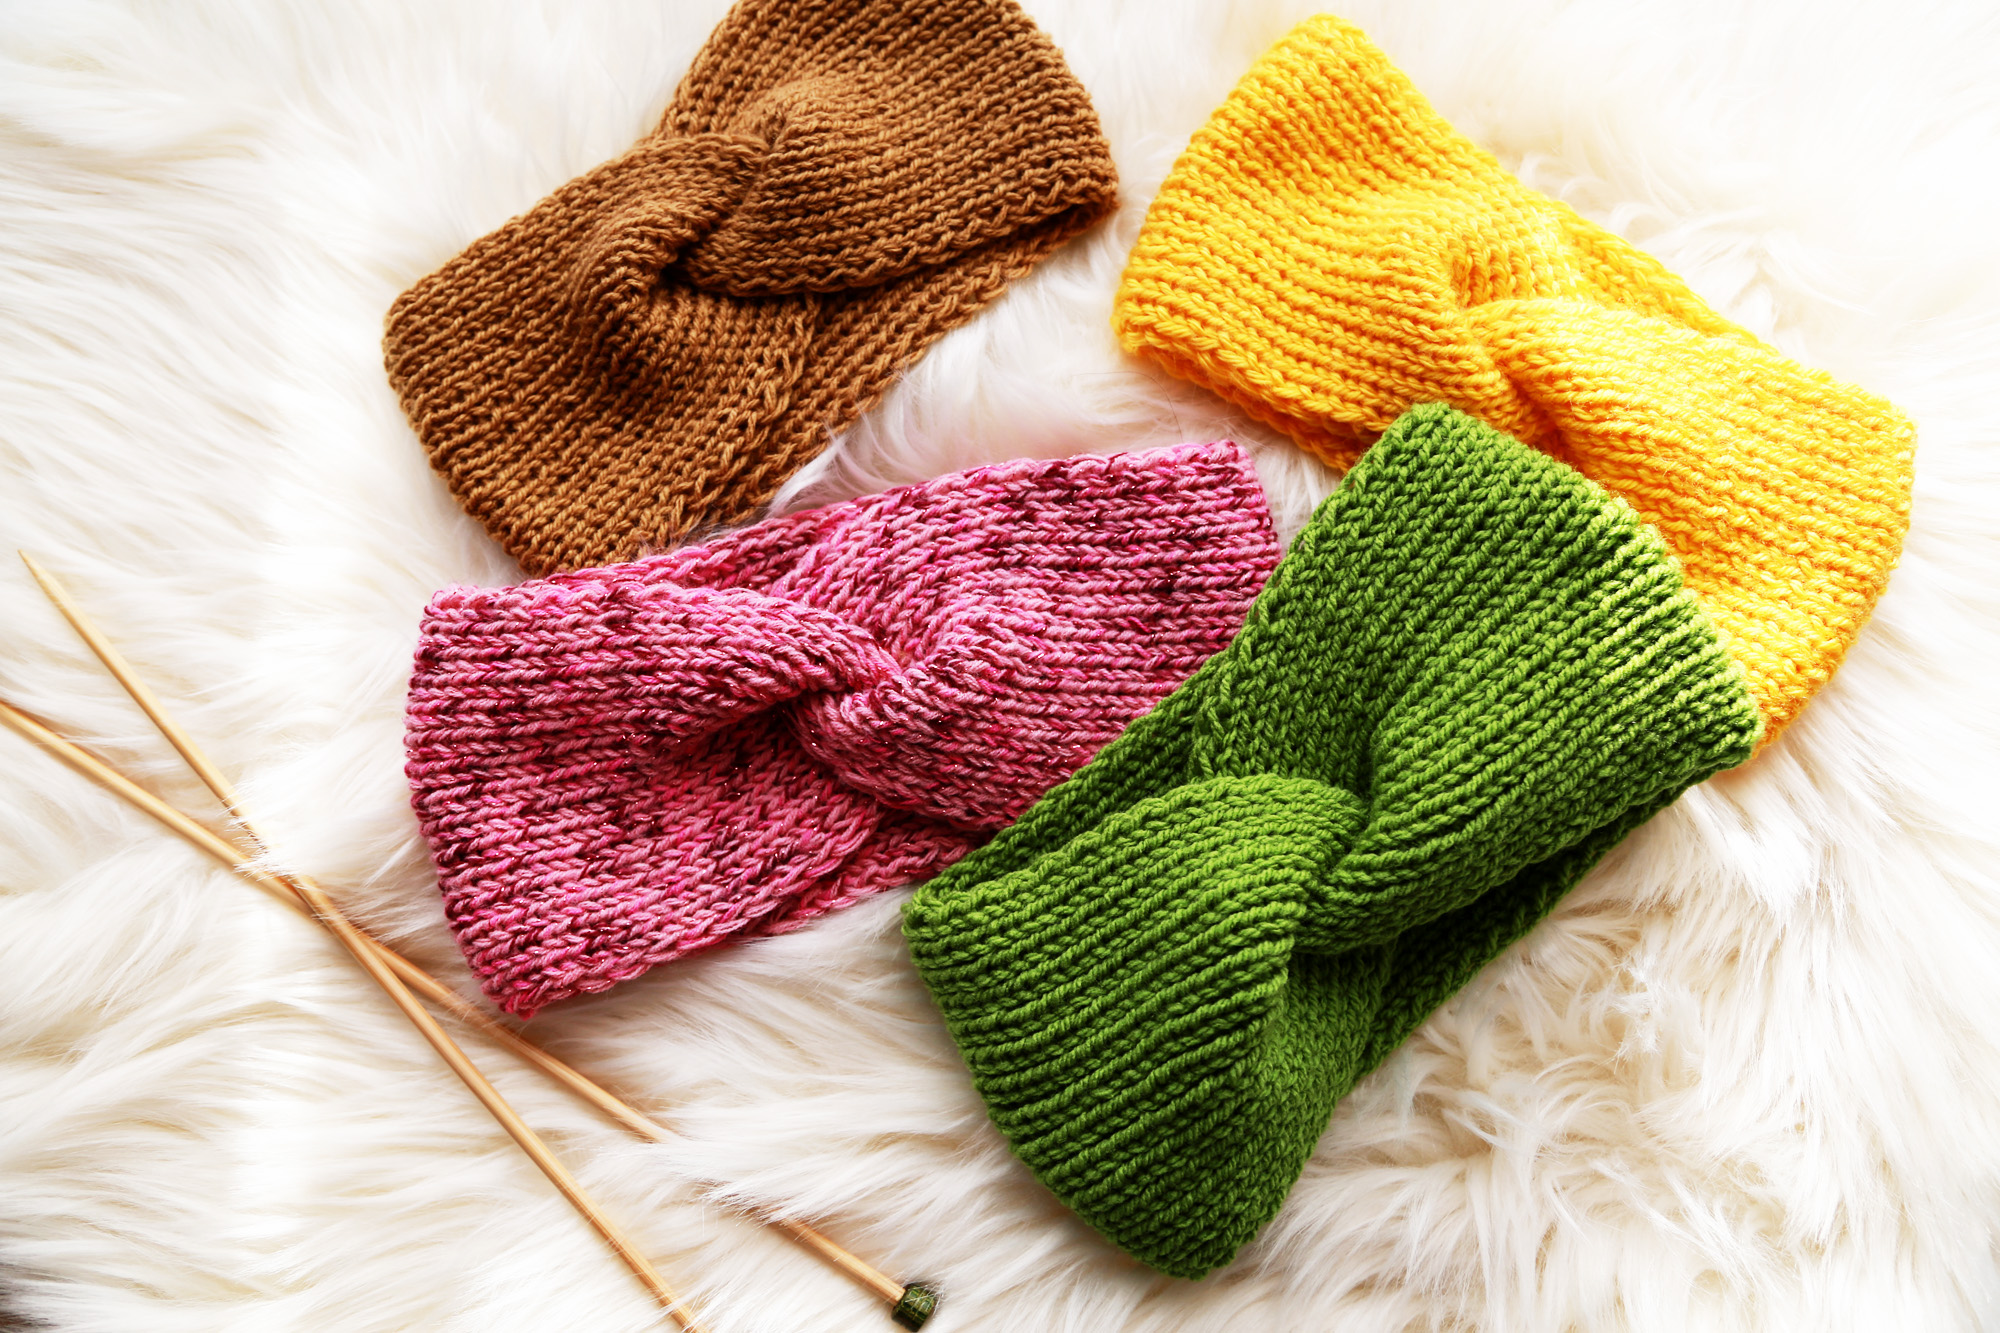
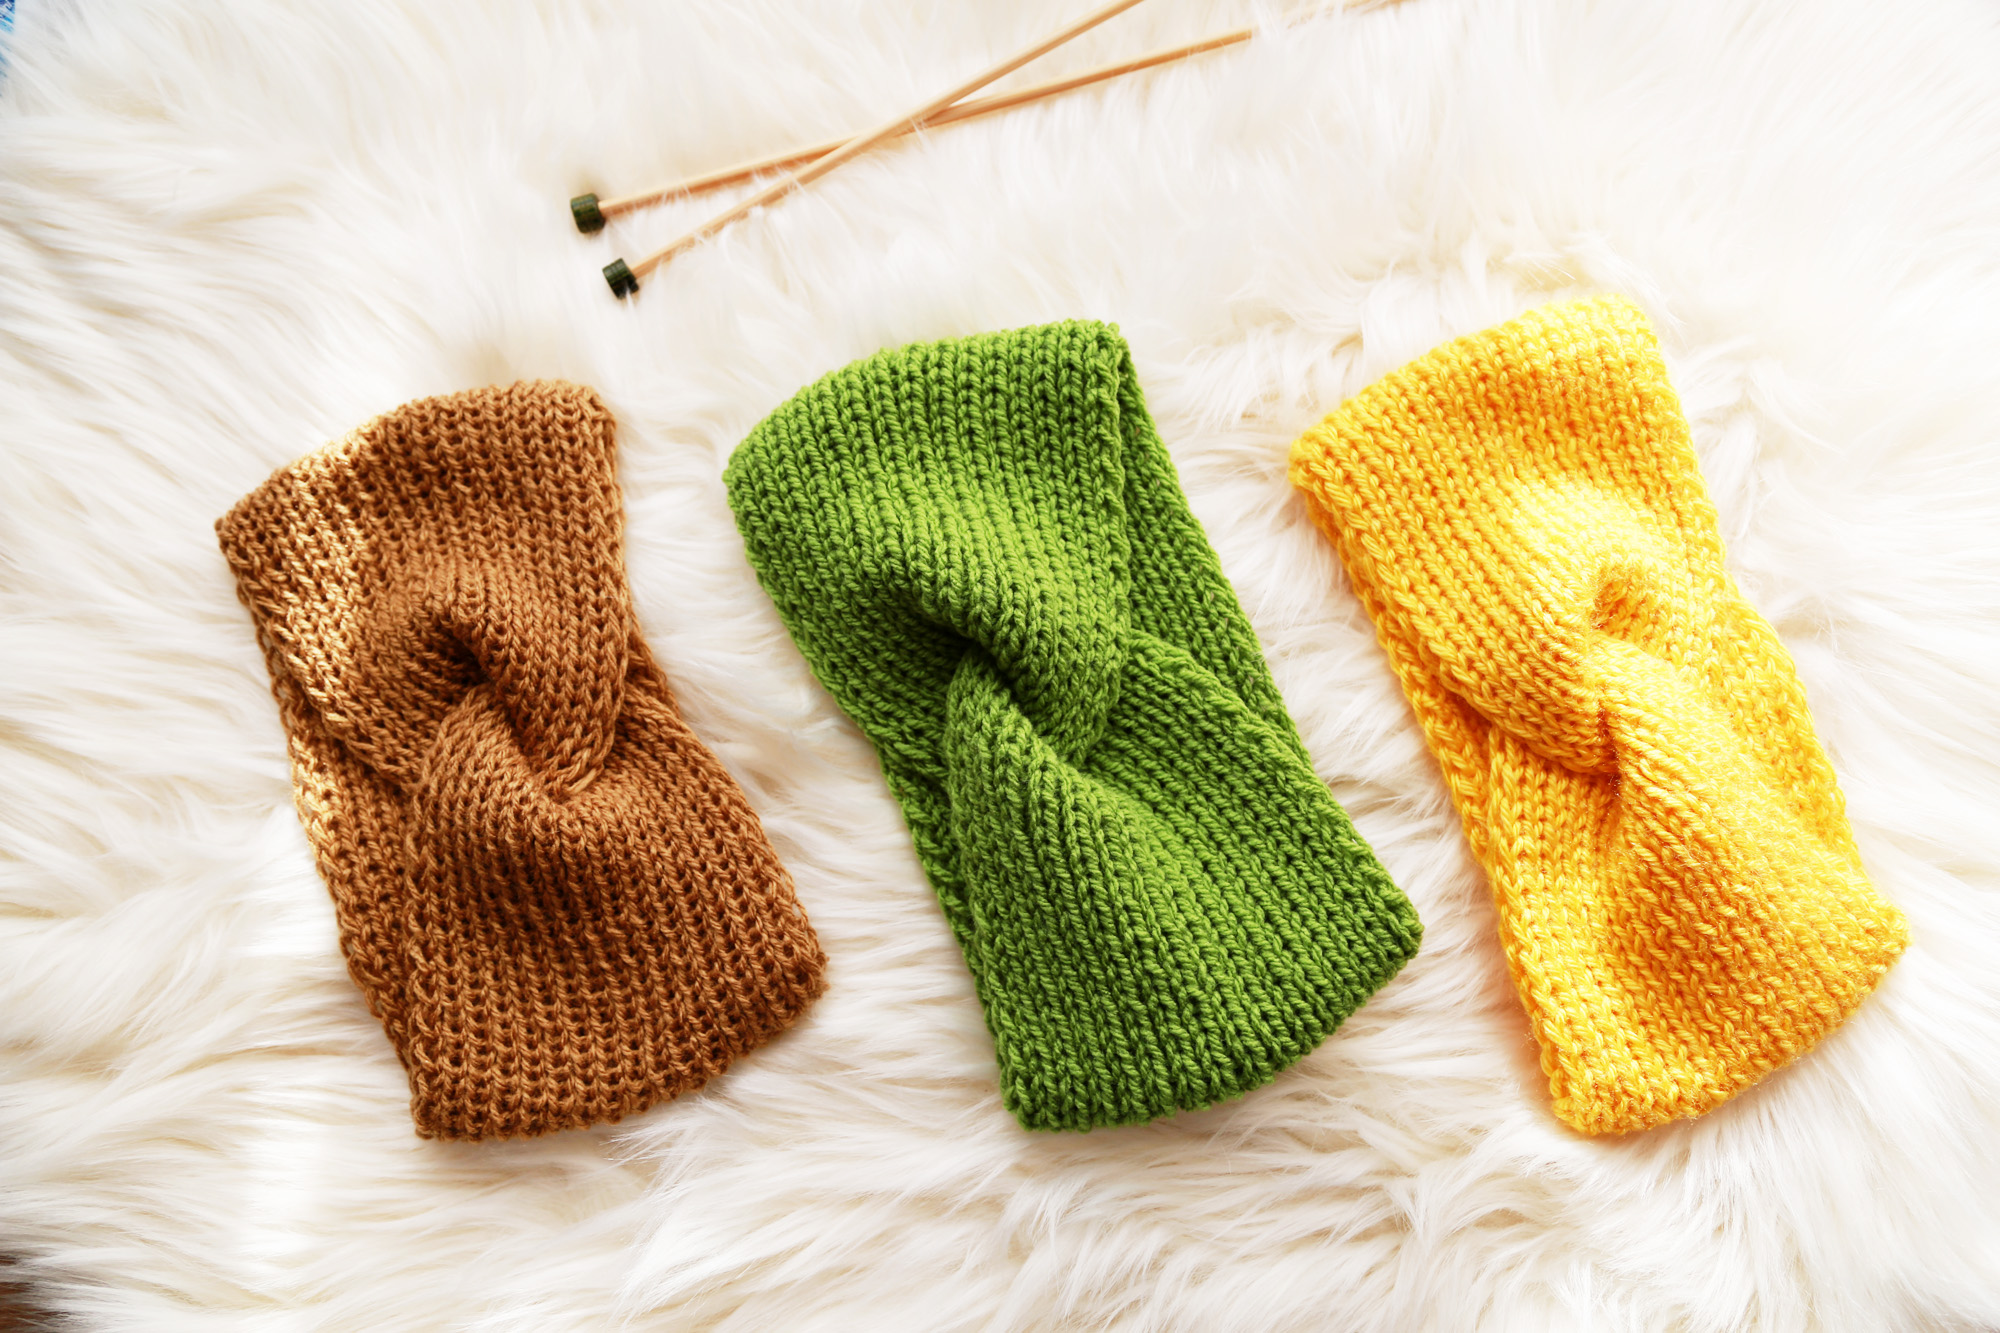
I have a very simple tutorial for your today. It’s an easy knit twisted headband.

And it’s easier to make than you’d ever think.

This is how…


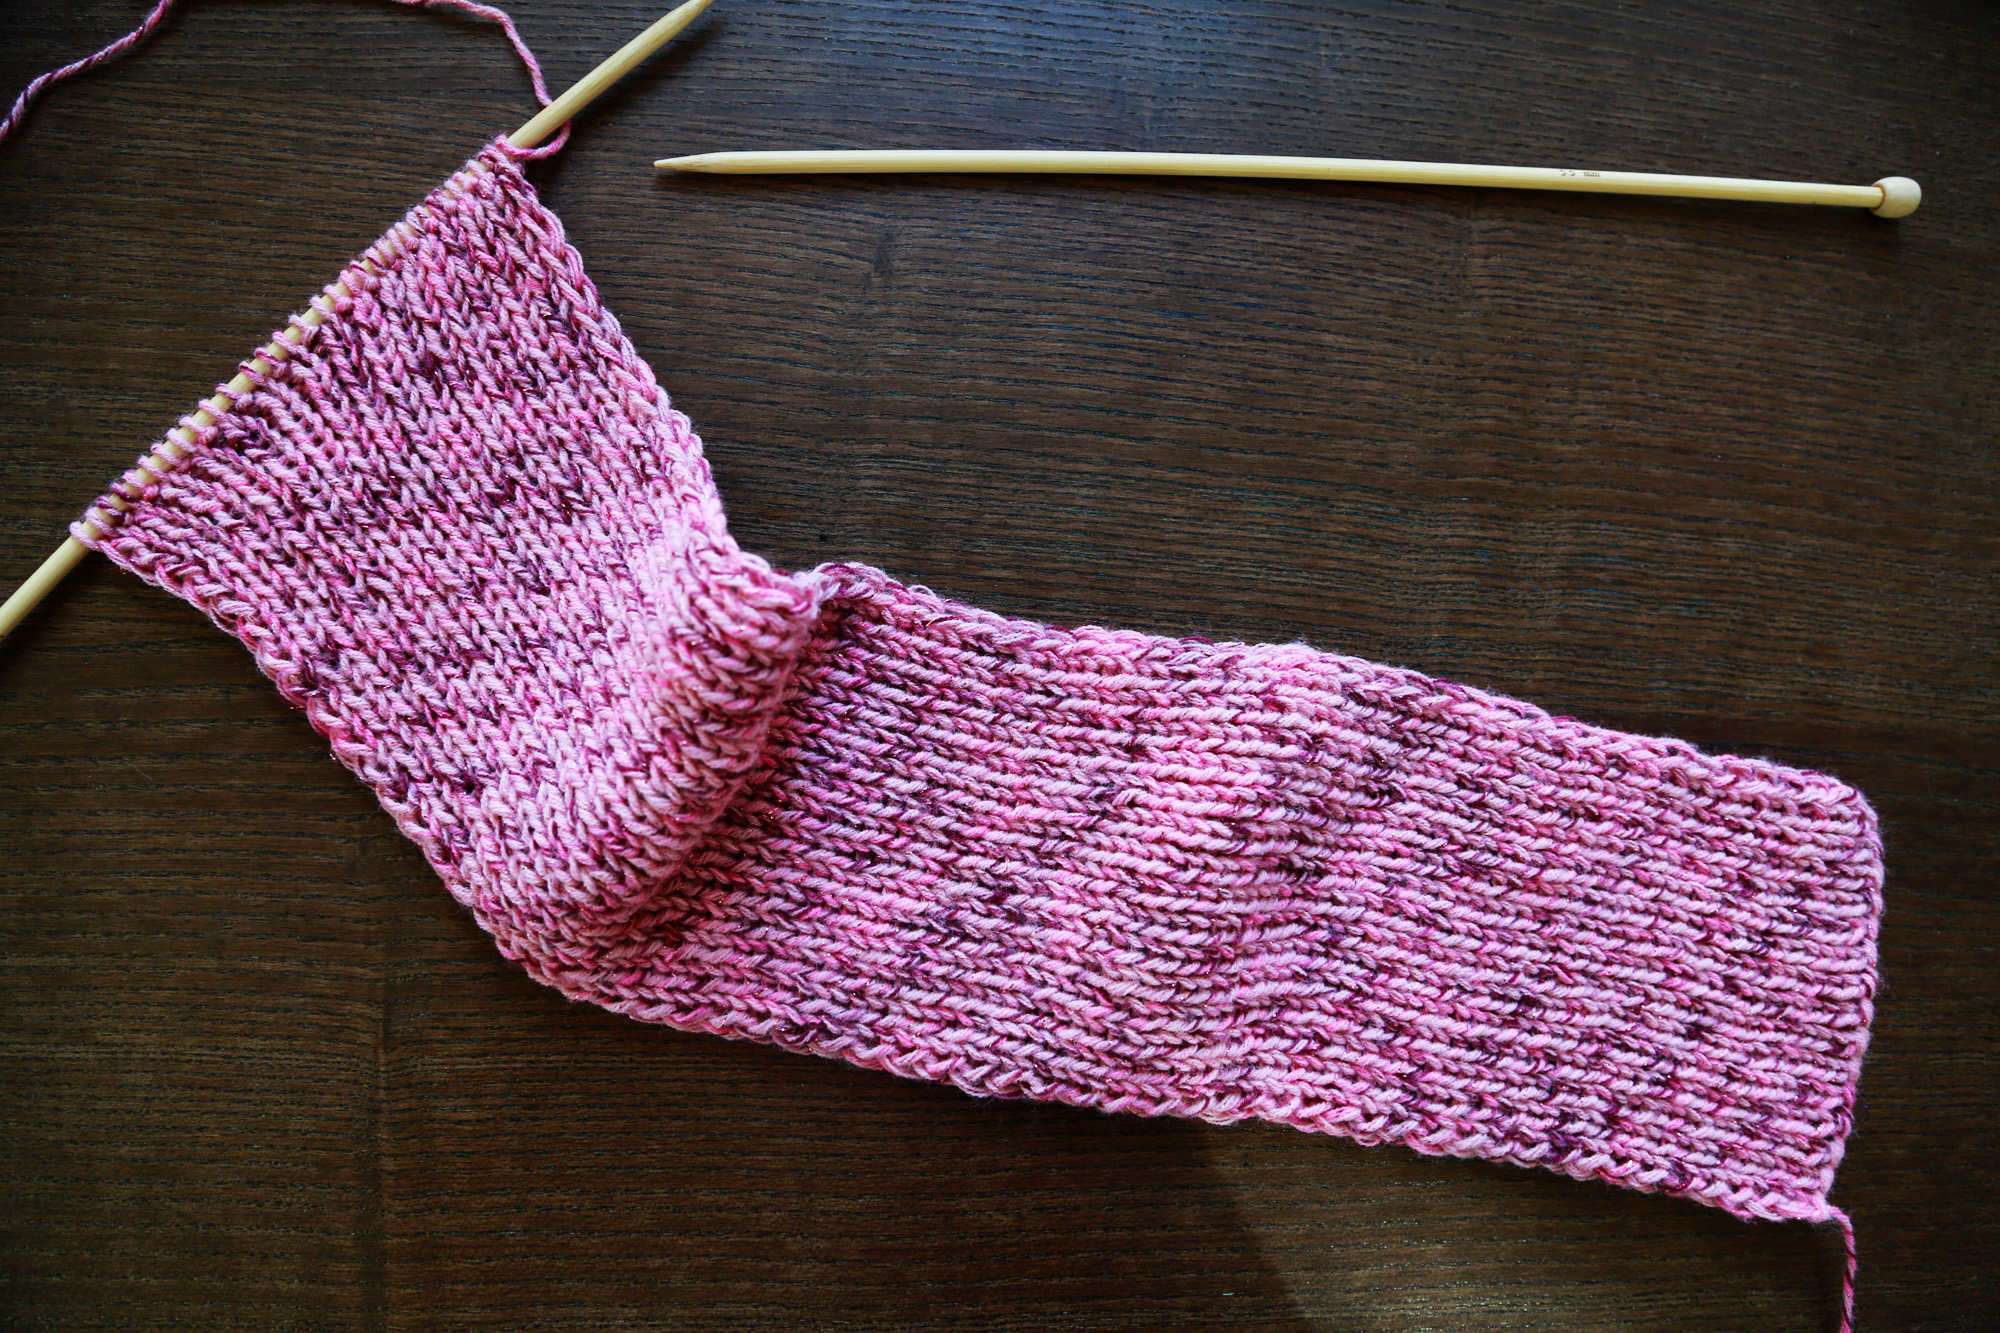
Using a simple rib stitch (knit one, purl one), you knit a piece of fabric that wraps around your head comfortably, covering your ears.

I worked with worsted weight yarn (Aran), cast on 32 stitches and used 5 mm knitting needles.


how to knit a twisted headband

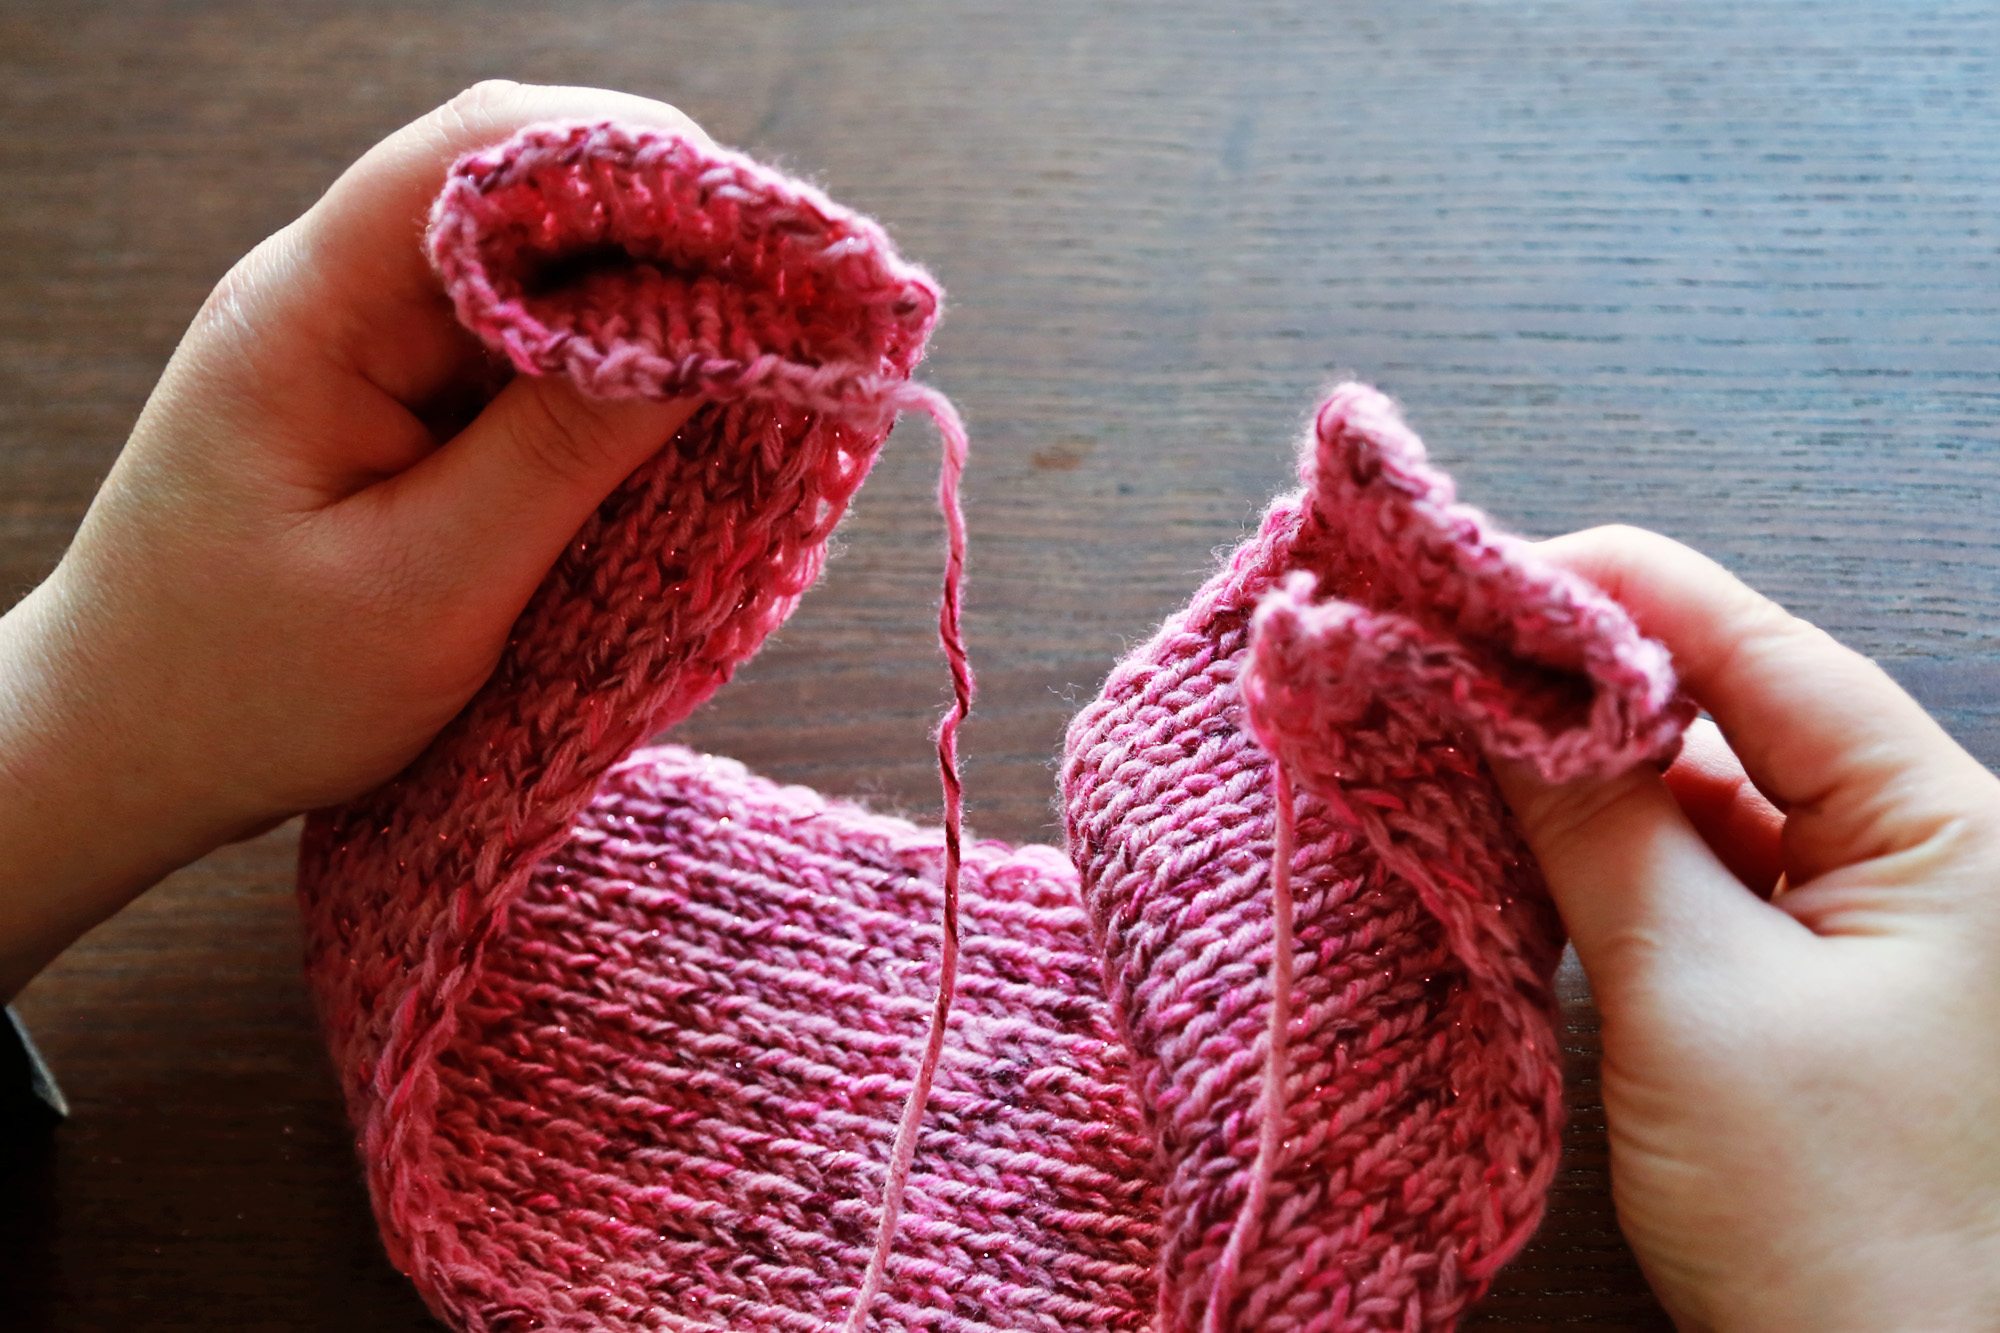
After casting off, fold both ends in half.


how to knit a twisted headband

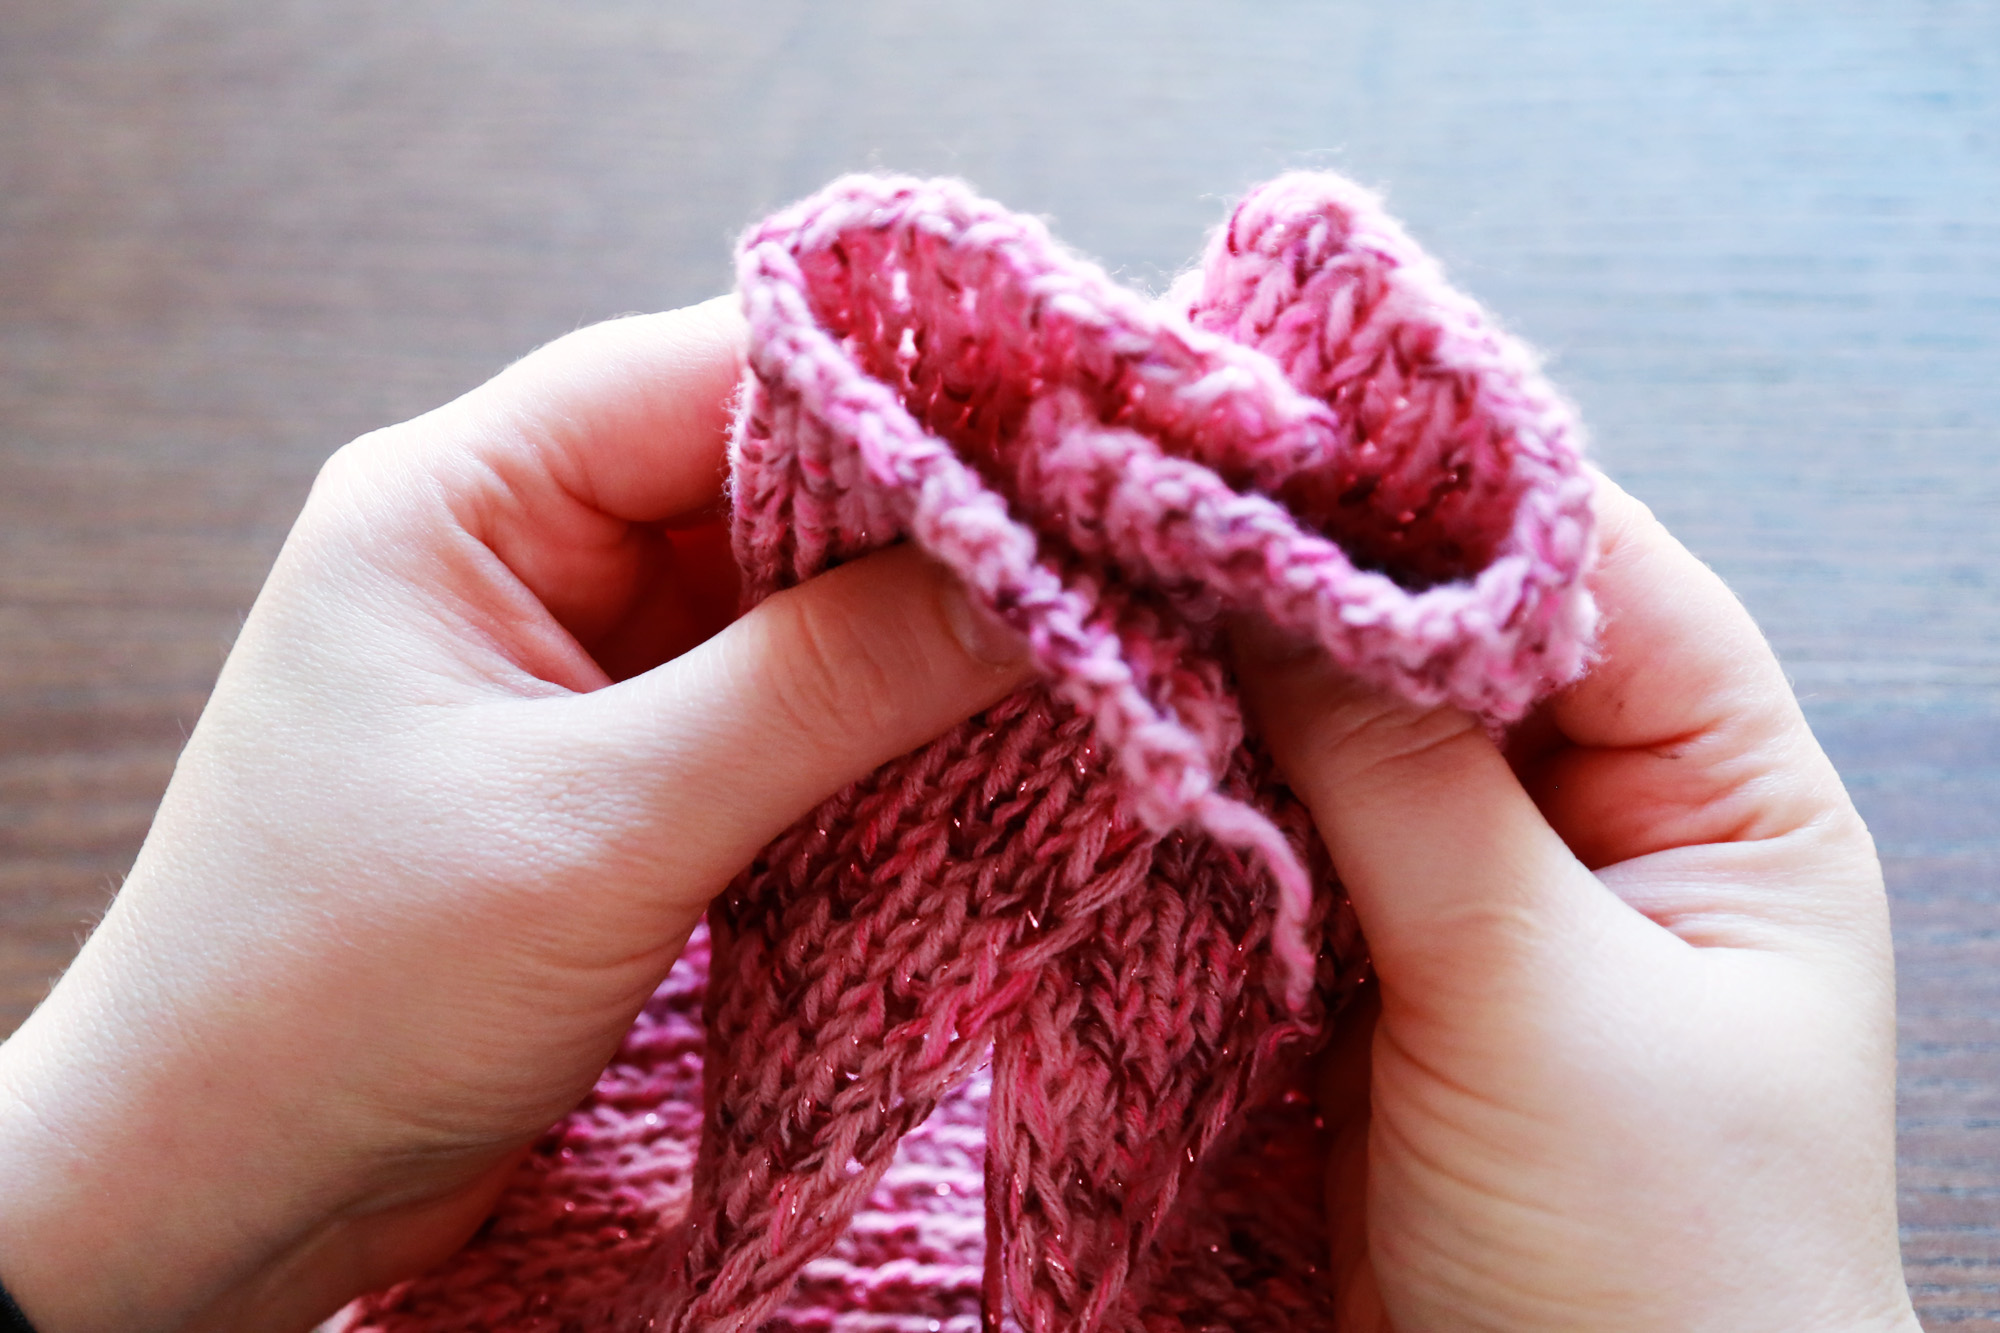
Then move both folded end close together so that they are kind of hugging each other.


how to knit a twisted headband

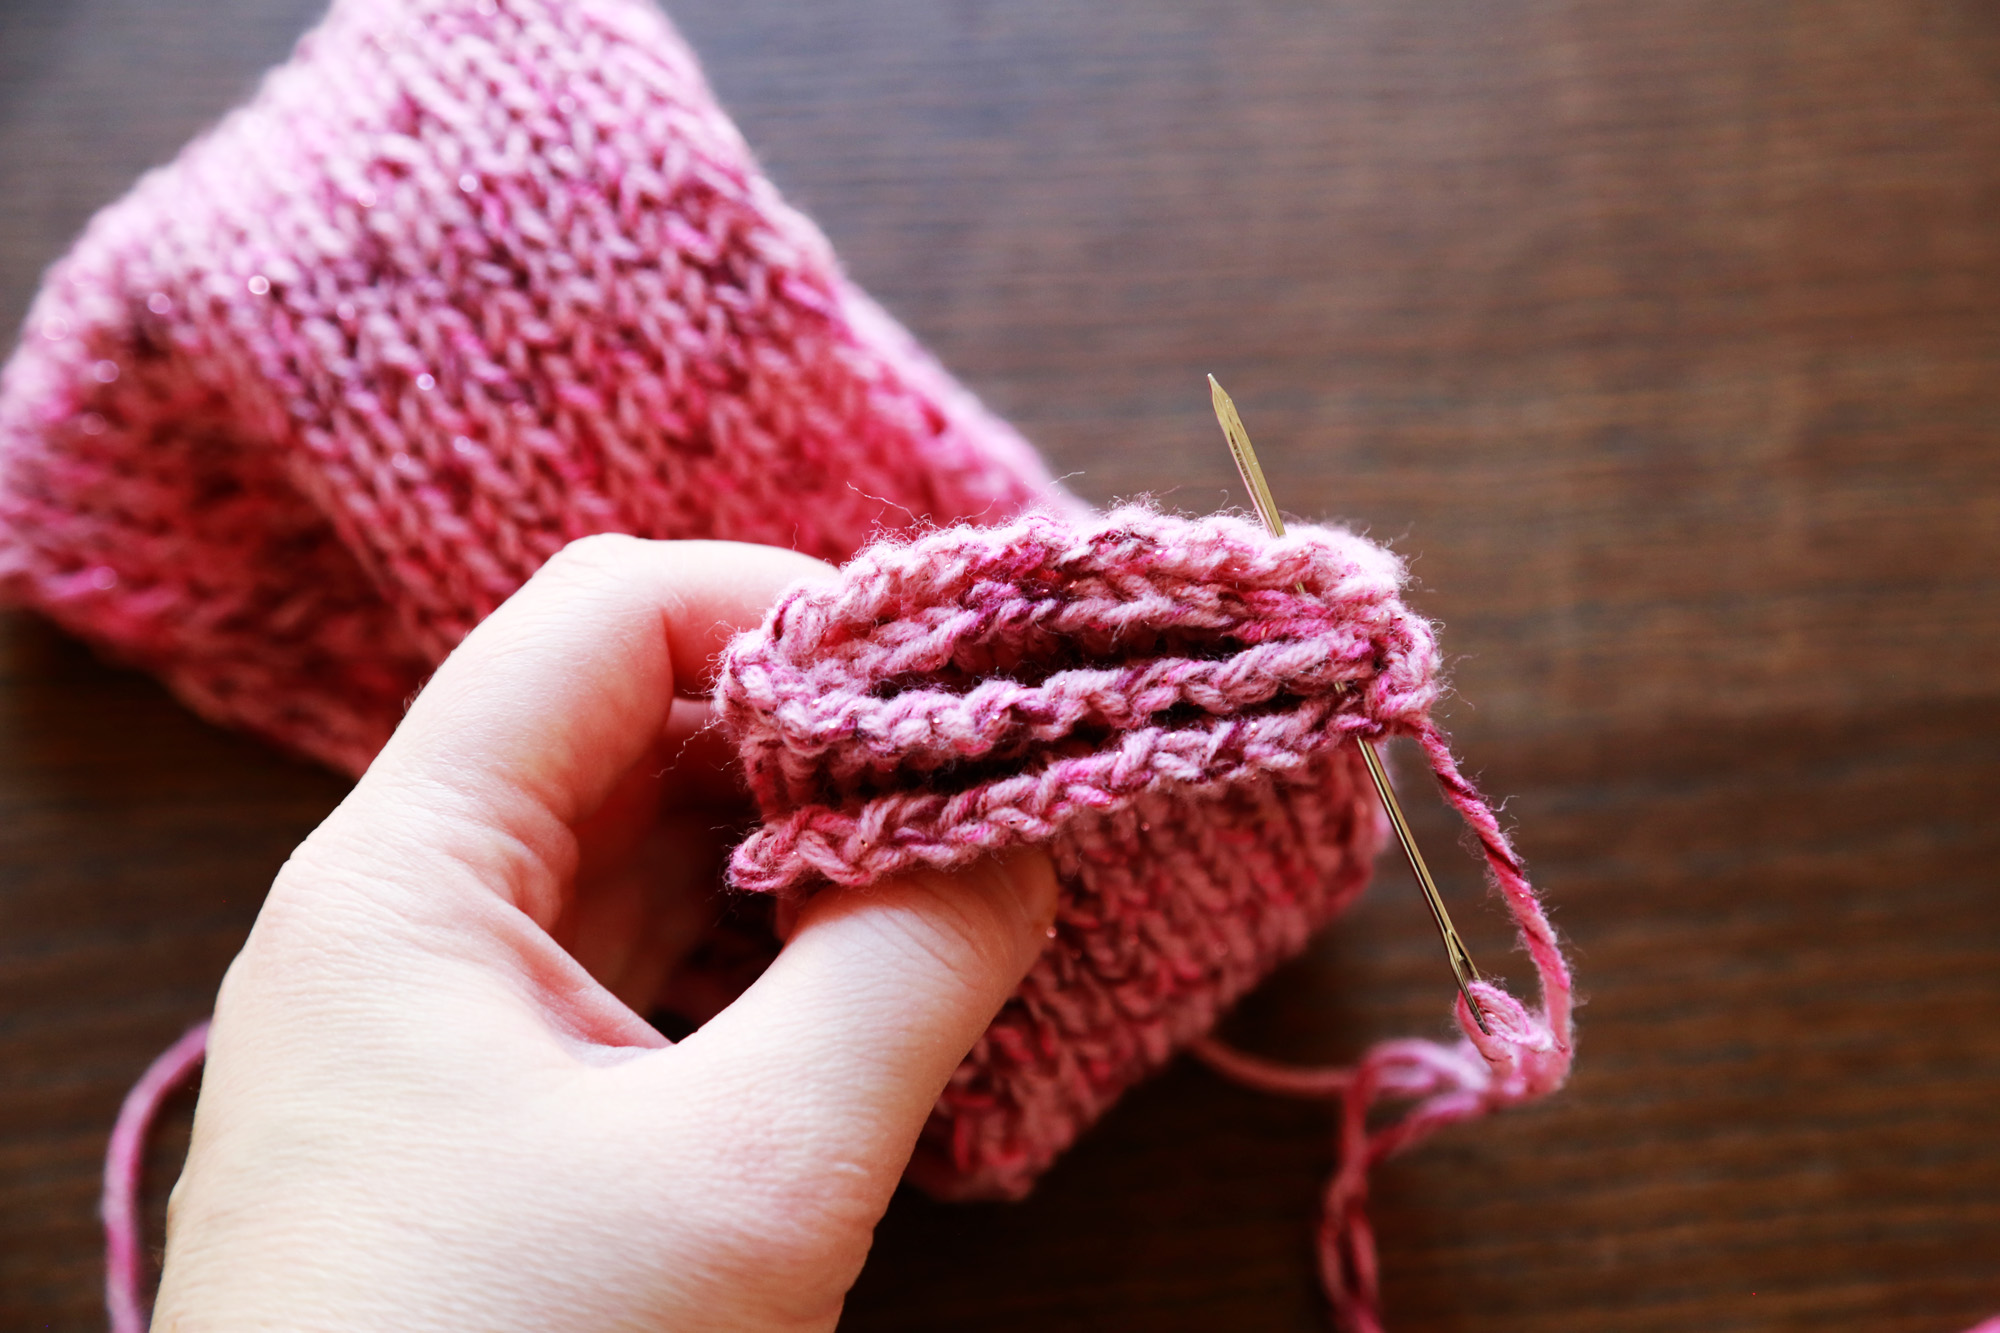
Finally, using a yarn tail and tapestry needle, seam the edges together.


how to knit a twisted headband

Well, that’s easy, right?

I love wearing these headbands. And I am quite addicted to making them.

Sending lots of love,

Petra


Crafting with Kids: Easy Air Dry Clay Christmas Ornaments

air dry Christmas ornaments

Hi friends! How are you doing?

Me and my son have been making Christmas ornaments over here. And we’d sure love to share.

They are really easy and a lot of.


Easy Christmas Air Dry Clay Ornaments

I think there’s just something really special about making handmade ornaments?

All you need is some air dry clay, a rolling pin, a couple of Christmas cookie cutters, a straw, a few interestingly textured items to give your ornaments some lovely festive patterns, brush and watercolors and some yarn. That’s it.


Easy Christmas Air Dry Clay Ornaments

To make our ornaments, we first rolled our clay into about 3 mm thickness.


Easy Christmas Air Dry Clay Ornaments

We used our cutters to cut out various shapes.


Easy Christmas Air Dry Clay Ornaments

We used a fir tree branch and a rolling print to make a fun imprint.


Easy Christmas Air Dry Clay Ornaments

We also used a piece of burlap ribbon to make a pattern.


Easy Christmas Air Dry Clay Ornaments

To make sure we’ll be able to hang our ornaments, we made holes in them using a straw.


Easy Christmas Air Dry Clay Ornaments

Cute, right!


Easy Christmas Air Dry Clay Ornaments

Love them!


Easy Air Dry Clay Christmas Ornaments

We let the ornaments dry for a day or two. And then we painted them.


Easy Air Dry Clay Christmas Ornaments

Finally we added festive pieces of yarn to be able to hang our ornaments.

Easy and fun.

We are wishing you the best Holiday Season!

We love you,

Petra and her family


Send this to a friend